Continuation of the cult series of role-playing games. A mysterious, otherworldly power awakens within you as your brain becomes a container for an illithid larva. The new abilities that she gives you give rise to a monster inside, and you lose everything that was before - home, friends, future. However, power grows with darkness, and it will be your salvation in a cruel world where gods, devils and sinister otherworldly forces are at war for the Forgotten Realms. In this vast, diverse world, every square meter is filled with secrets, and almost everything is available for exploration - from the depths of the Underdark to the glittering rooftops of the Upper City. You have to use your new abilities and knowledge to overcome obstacles and explore this world. But in addition to secrets and dangers, another test awaits you - to keep in touch with the brotherhood, because only together can you face the threats and determine the future of the Forgotten Realms. What mark you leave in this world and whether you can survive is up to you.
Baldur's Gate 3. 100% completion of the game [all quests]
In-depth walkthrough guide Baldur's Gate 3 and completing all quests and tasks in the game. All BG3 secrets in one place.
Baldur's Gate 3, after three years of development in Early Access mode, has finally reached its full release. This exciting adventure provides players with the opportunity to immerse themselves in an exciting story and engage in clever battles. In this guide, we will take a detailed look at how to beat Baldur's Gate 3.
Helpful Guides:
NOTE: The Baldur's Gate 3 (BG3) guide page will mainly focus on the main questline and some other important quests that occur in the recommended order by location. For a complete guide to the various events, dialogues and encounters in the location, please visit the Helpful Guides section to find a guide for a specific quest.
IS BG3 A SEQUEL TO BALDUR'S GATE 1 AND 2?
Yes. Set 100 years after the events of Baldur's Gate 2 and shortly after the events of Descent into Avernus (5th edition campaign).
HOW IS THE BG3 STORYLINE CONNECTED WITH D&D?
Baldur's Gate 3 takes place directly after the events of Descent into Avernus. The holy city of Elturel disappeared from the Forgotten Realms and sank into Avernus, the first level of the Nine Pekels. In our canon, he was saved by a group of heroes. The game is based on the rules of 5th edition D&D and was created in close collaboration with Wizards of the Coast.
UNDERSTANDING THE INTRO CAMERA
When you first start Baldur's Gate 3, you are treated to an intense cinematic depicting the Mind Flayer and his ship and their attack on the city. You will then see a group of Dragon Riders teleport into this space to attack the ship, causing a chase across various worlds. Those unfamiliar with D&D lore will be confused by what's going on, so this is an "executive summary" of the key points you need to understand:
- Illithids “reproduce” by infecting other races with “cephalopods” - after some time the creature gains control over the host and turns him into an illithid. They are also known for their powerful psionic powers, which allows them to control and enslave other beings - whose brains they consume.
- The “Dragon Riders” that appear are the Githyanki, a tribe of a race that was once enslaved by the Illithids. Having successfully freed themselves from their control, they established their headquarters in the "Astral Plane" and made a deal with the goddess Tiamat, according to which a small group of Red Dragons became their riders. The Githyanki despise and seek to destroy all Illithids.
HOW IS DAMAGE IN THE GAME CALCULATED
The rules for calculating damage in Baldur's Gate 3 are based on dice with different numbers of sides. The notations you provided, such as 2d6 or 1d8, are the format used to describe damage in terms of "number of dice" and "number of faces on a die." In this context, "d" stands for "dice".
Let's look at examples:
- 1d6: Means that you roll one six-sided die, and the damage can range from 1 to 6.
- 1d8: Roll one octagonal die, the result can range from 1 to 8.
- 2d6: Here you roll two six-sided dice and add up the results, resulting in damage ranging from 2 to 12.
- 2d8: Likewise, two octagonal dice will give damage ranging from 2 to 16.
So, in combat, dice are automatically rolled and the result determines the damage you deal. It is important to remember that damage in Baldur's Gate 3 can vary depending on the weapon, spell, or skill of the character.
Baldur's Gate 3 Walkthrough
Walkthrough content:
- Prologue
- 1 Act
- 2 Act
- 3 Act
- All endings
Prologue
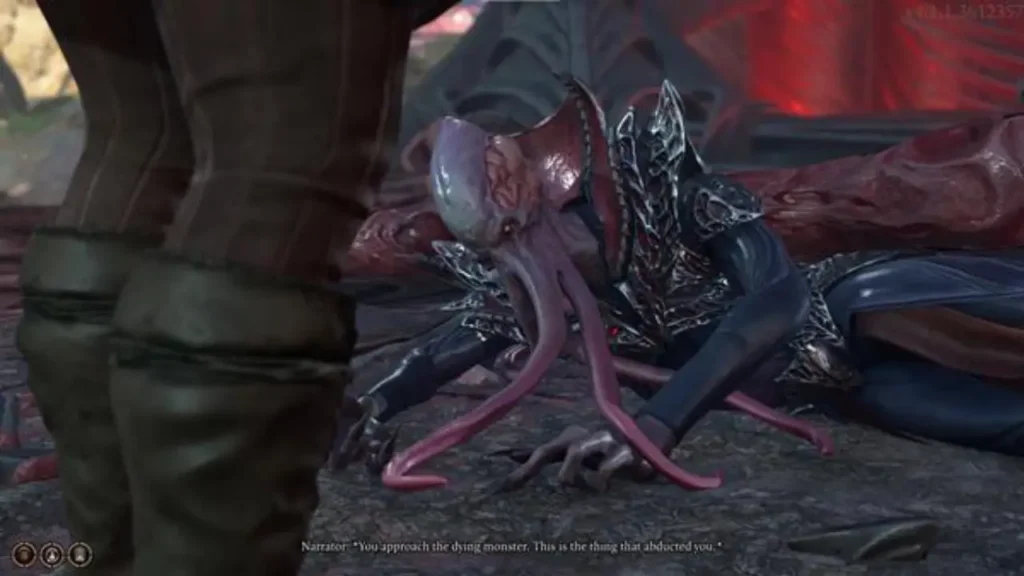
Powerful tentacled creatures, the illithids, captured our heroes and infected them with their larvae, awakening mysterious and frightening abilities in them.
Choosing the main character is an important step. The game features 7 story characters, as well as the opportunity to create your own. To get all the achievements in one playthrough, it is recommended to start with the character "Dark Seduction" at the "Tactics" difficulty level. 10 races, 6 main characteristics, several initial skills and focuses (initial spells) await you. Later you will have to choose the object of your dreams: your beloved lady or young man.

The illithid set out to recruit new recruits for his sinister influence, hovering above the city. However, his airship was attacked by dragon riders, which caused a fire. As a result, we were able to avoid capture.
At the fire site, we examine the bodies and collect small items (press Alt to highlight). In the center you can explore the reservoir [intelligence 10], but be careful - it is very fragile. In the east there is an opportunity to go up to the 2nd floor, where you will find 2 cartilage chests.
In the next room in the center there is a neural device that takes the elevator to the 2nd floor. At the top you will meet an infected named Mirnat. Use [Intelligence/Strength/Dexterity] to extract the brain, which will transform into a creature that can follow you like a pet and help you in battle.
As you move aboard the airship, jump over the chasm and meet with a Githyanki warrior named Laezel. Take on 3 flying imps together in turn-based combat. After winning, rise to the surface, examine the bodies on the floor and climb up the slime stairs.
Baldur's Gate 3. Prologue In the upper hall you will see a control panel with three round buttons and three seals on top. If you have [Magic Skills], you will be able to read the button names. The left button is to raise and release slaves, the middle button is aggression, the right button is to kill slaves. If you select the middle button, a battle with 2 cultists will begin. One capsule contains a girl, and the chest on the right contains gold and a gem. To unlock a chest, right-click and select "open".

At the fork, head east into the room. Search the bodies of 2 women and find objects: a golden key and an otherworldly rune. There is a slave mind on the table nearby, take it with you - it will come in handy later. Use the key to unlock the chest in the previous room. To free the girl from the capsule, use the found rune on the remote control nearby, passing the [magic 10], [wisdom 2] check. If successful, you will receive 5 experience and free Shadowheart.
Captain's cabin.
Go to the southern hall, where the illithids are fighting the demons. The monster will order you to connect your nerves to guide the ship out of danger. You have 15 moves. Fight 2 imps and 1 boar. You can try to kill the demon leader - Commander Zhalk.

If you succeed, you will receive a blade"eternal flame", scale armor and achievement "Pesky Devil". Death of an illithid will do nothing. Defeat the rest of the demons, activate the nerves, and you will be able to take the ship out of the danger zone.
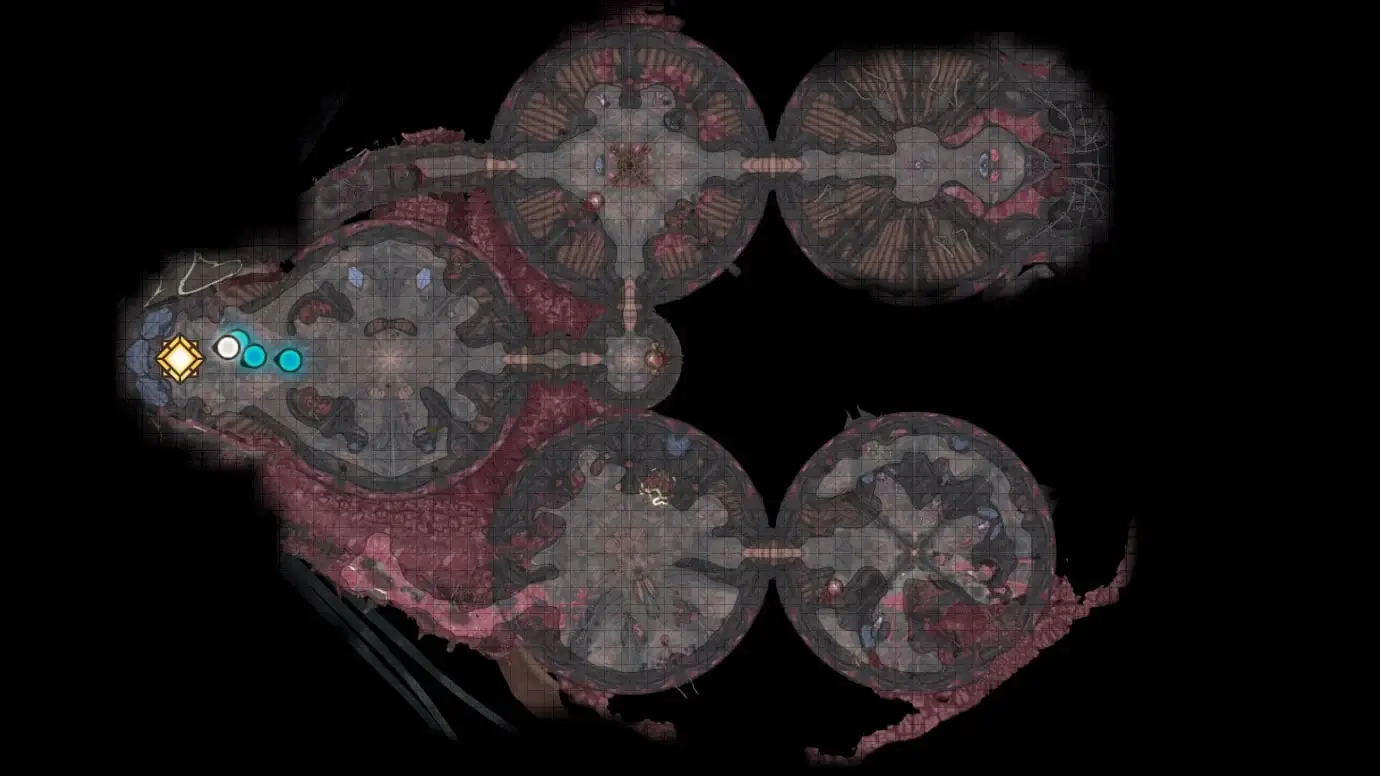
Act 1. Emerald Grove
1-1. The Ravaged Coast of Baldur's Gate 3.
Introducing Baldur's Gate 3. The Broken Shore
After a strange transition to an alternative reality and a catastrophic fall from an airship to the shore, mysterious forces seem to slow down our collision with the earth, ensuring survival. The misfortune, however, did not pass - the living brain died in this process, and Laezel remained locked inside the vessel.
We will inspect the surrounding area, where bodies are scattered along the shore, and a backpack and a book are visible on the pier. An infected girl will meet us at the gate, and we will feel a strange telepathic connection. At our request, this girl, a warrior named Shadowheart, can join our group. Together with her we move north, walking along the coast, collecting herbs and examining the bodies of the dead fishermen.
We move towards the overgrown ruins, where three strange creatures suddenly appear in front of us - the brains of the “intelligence devourer”. If we have not yet reached the second level, then it is better to stay at a safe distance, attacking them with magic or arrows. After a successful victory, we learn the skills of resting and leveling up. Also during the overnight stay we have the opportunity to communicate with our companions.

There is an interesting place: on the western shore, south of the ship, you can jump onto a stone path, where there is a cache guarded by a patterned chest. To open it we will need a good skill [nature 10]. By moving the stone with a strong character, we will find inside a notebook, a harpist card, gold and a ruby worth 1600 gold. The map also contains a description of the location of the cache near the Moon Tower in the forest.
In the southwest we will be met by an elven hunter infected with illithid influence, who offers to kill the boar. Having accepted the challenge, we can either kill the beast or tame it.
A little further north we will find a surviving illithid, infected after the crash. To get rid of its hypnotic effects, we will need [Intelligence 10 / Wisdom]. Trying to establish a connection using [intellect] can lead to tragic consequences. Ultimately, you will have to choose whether to kill the illithid or let it live. When killed, we will receive items, including 2 Void Tubers.
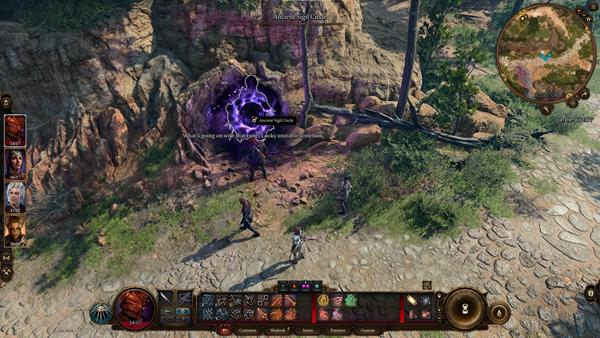
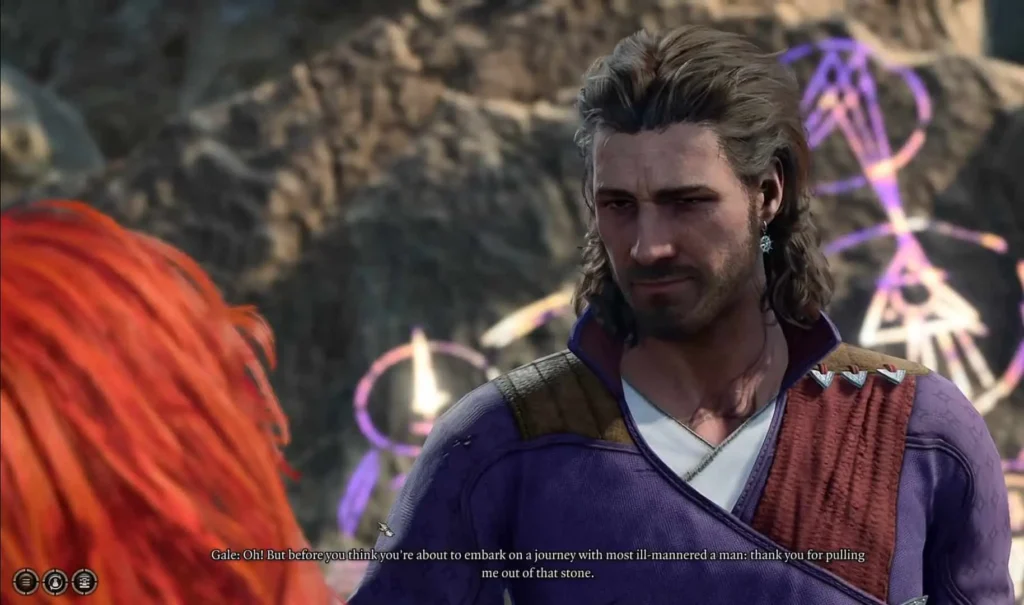
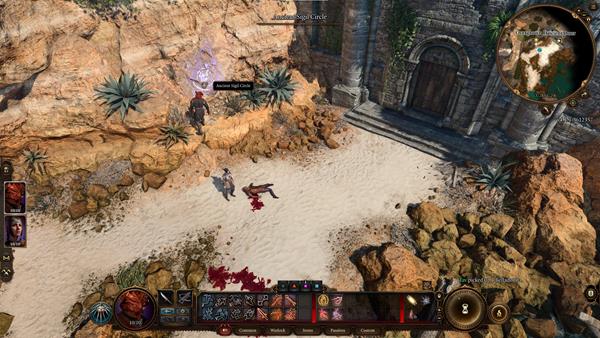
Next we turn our attention to the cliffs near the road in the northwest, where we find the second “rune circles”, highlighted on the map with yellow swirls. These portals allow you to quickly move between different points. A mage named Gale will appear from one of these teleporters, and to free him, you need to show [strength/charisma 7]. Gale will offer help in finding a healer to get rid of the illithid parasites.
Baldur's Gate 3. Entrance to the chapel
When looking at the ruins inside we will find four robbers. We can use [Persuasion, Deception 12, Intimidate 10] to avoid confrontation or fight them. Two bandits are on a hill, and two are on a slab from which you can throw a hanging stone. This can be done by selecting archery and aiming at the rope above the rock. Behind the wall, on the eastern slope, you can find a mound of dirt [survival 15], which can be dug out using a shovel.
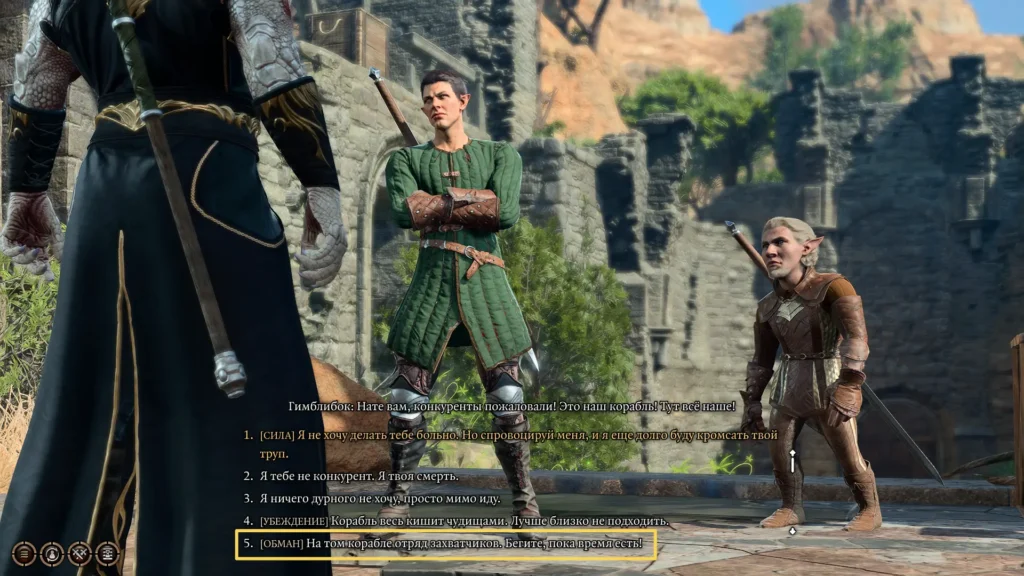
The door behind which Gimblibok speaks presents another option. We can [act role, deceive 5] to try to enter. If you cannot enter through the door, you can go down into the hole formed by the fallen load. You can also return south to the Ancient Door, where there is a chance that Astarion, our rogue companion, will be able to break it open.
Refectory, Bedroom
Having jumped, we will find ourselves in a side room, where a squad of five people will attack behind the doors. It is recommended to defend behind the doors, use bottles of oil and set them on fire. Let's hide in the corners to avoid the archers' arrows.
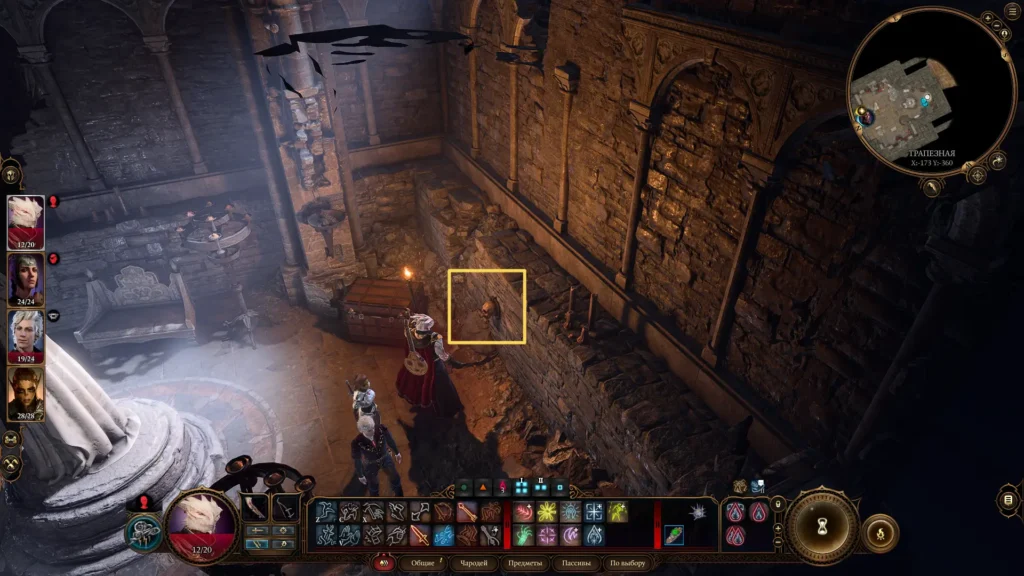
After a successful victory, we examine the shelves with books and chests. To the south, behind the statue on the wall, there is a lever [attention 1 / wisdom 9], which opens the entrance door with torches on the opposite side. There is also a locked door that requires you to light the two torches on the sides to open it. Then in the north we unlock the door, where we find one enemy with a bandit key. We collect food from the tables and move to the western doors.
Baldur's Gate 3. Dark Crypt
By opening this hidden location, we get 10 experience. Inside we find traps in the form of gas pits, which can be closed by dragging the box onto their round holes. In dark conditions, we use night vision or a torch for illumination.
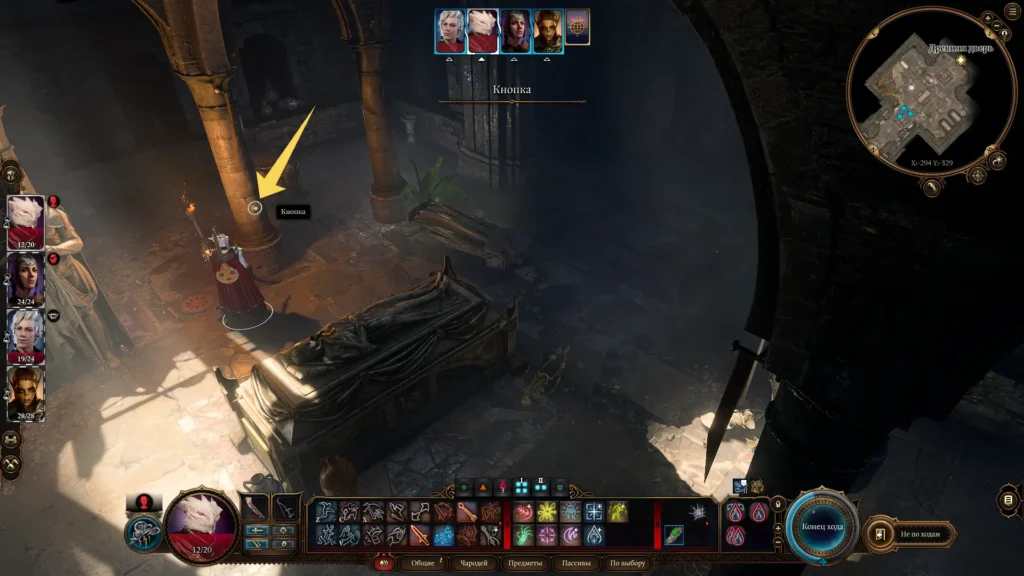
First, we examine the side crypts, paying attention to the sarcophagus in the center, containing a weapon and a key. When the trap is activated, fireballs are released from the side walls, which must be avoided. On the right central column there is a button to disable traps.
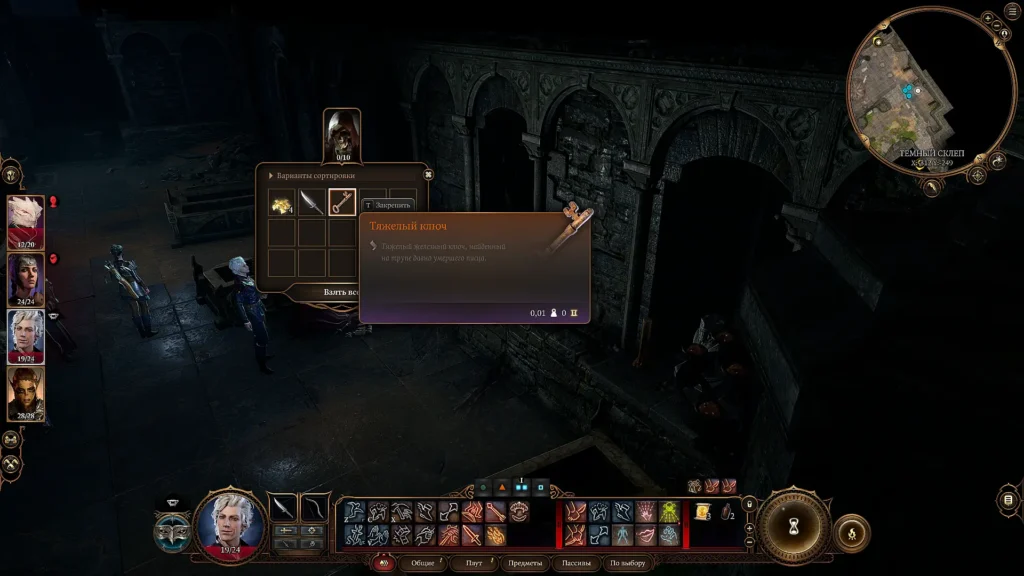
To the north we see a locked gate, which requires thieves' tools [dexterity 10] to break open. Behind the gate in the hall we find buried scribes, and one of them has a heavy key.
In the center of the hall stands a huge statue [religion 15]. In the corner you can find a book of dead gods, which can be opened with [magic, strength, charisma]. Opening the book, we receive a page containing a description of the deceased and reborn deities.
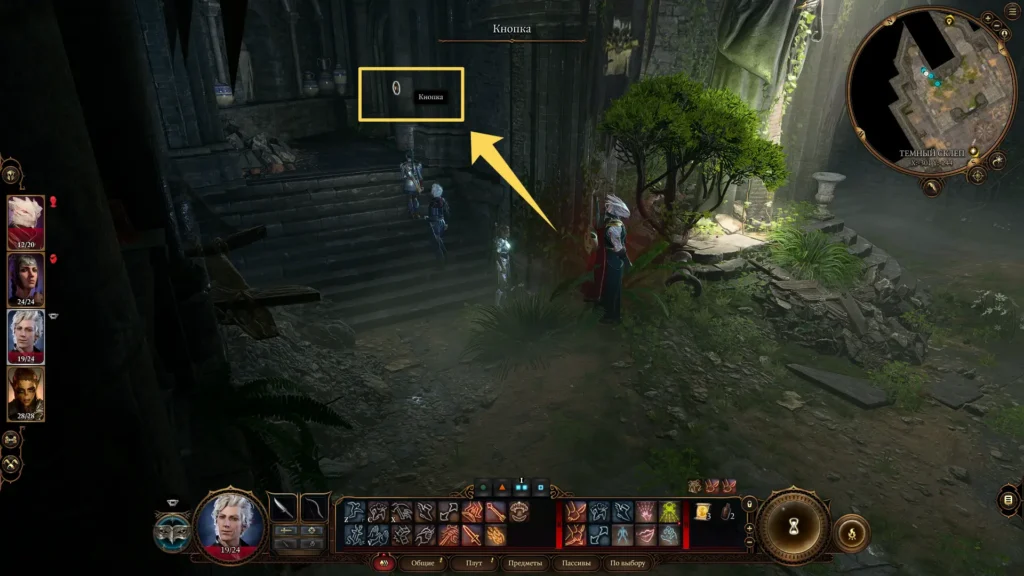
In the northwestern dead end of the hall, on the wall with a column, we find a button [attention 7], which opens the tomb, but at the same time we are attacked by rebel scribes. After the victory, we open the main sarcophagus, from which the Withered One appears. He asks the question: "What is a single life worth to mortals?» He then warns that we will meet again and leaves, leaving behind gold, potions and a mysterious coin. Nearby in the chest we find the “Conversation with the Dead” amulet. In the right cave there is a lever and a ladder to the surface, leading back to the "Chapel Entrance".
Neighborhood of the Emerald Grove.
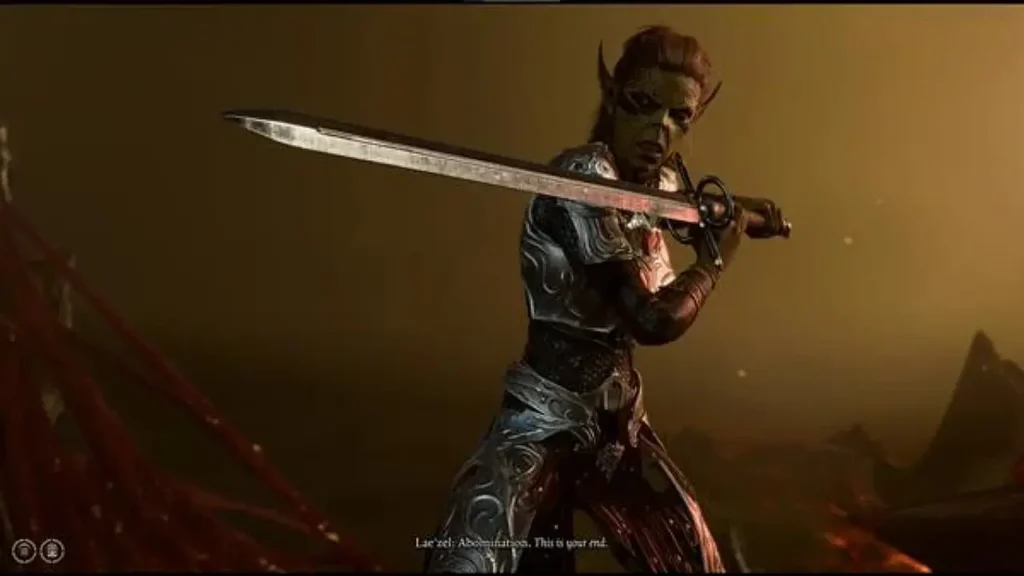
We move north through the forest, where we see that Laezel is locked in a grate with two tiefling demons. We can use [deception, persuasion] or engage in combat. You can also take a [Persuasion Check] in conversation to learn about healer Nettie in the northwest. Left alone with Laezel, we pick up the bow, shoot at the bottom of the cage, and the captive falls out. Her people know a cure for the parasites, and Laezel offers to follow her. Companion Laezel, a Githyanki warrior, begins a conflict with Shadowheart. It's better not to take them into the same squad.
A little to the west we find a pile of earth and a shovel. We take a shovel and dig a hole in which we dig up a chest of gold. With a shovel, we can return to the chapel to dig up another pile. In the northeast we find three rune stones.
To the north we see a detachment of goblins attacking people who were trapped by the gate. We take part in the battle. Enemies on the battlefield: 5 warriors in the clearing and 4 shooters on the hills. We are supported by 5 allies. It is more effective to start by clearing the hills, occupy the high ground and fire at the opponents. After the victory, we search the bodies, avoiding touching the dead allies. We remove the gloves of power from the main enemy and enter the settlement.
1-2. Emerald Grove Baldur's Gate 3.
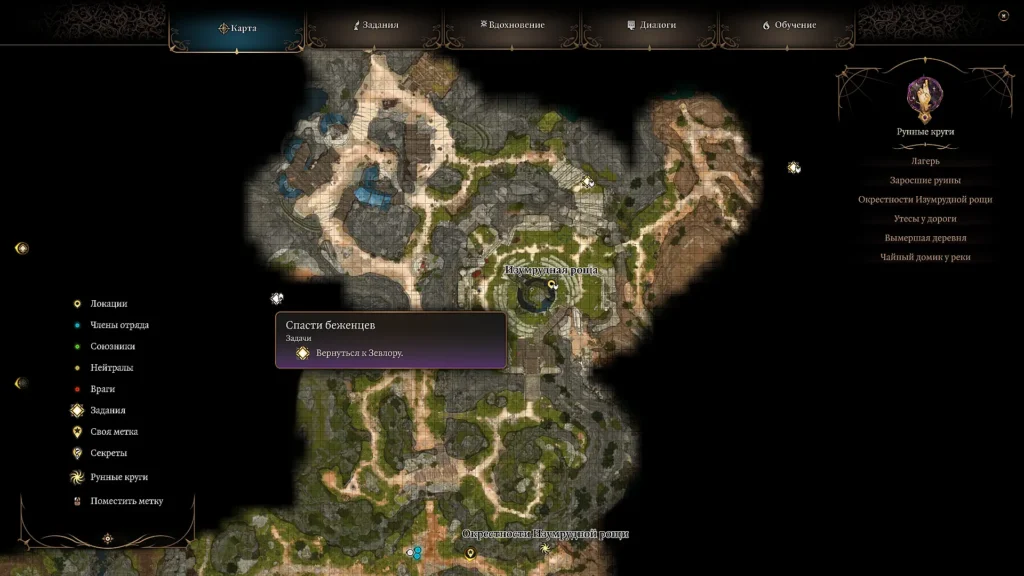
Upon arrival at the grove, the tiefling will begin to reprimand the squad of people for failing to protect the druid. We can prevent conflict by intervening [attack/force/persuasion 15]. If we leave everything as is, the tiefling will strike one of the people. After this, we communicate with the tiefling Zevlor, who asks to “save the refugees” - people who are going to be evicted and who were sheltered by the druids.
We go southeast to the camp, climb the hill with the telescope. Here one of the girls is attacked by the remaining killer bugbear. After a successful victory, it turns out that the girl Nadira has a special coin. We can use [deception/intimidation] to obtain the "mystery coin" item (2). If you have the [magic] skill, you can see that there is a soul inside the coin.
Stone Hall (Cavity)
Arron - a halfling merchant, ready to buy back all unnecessary things.
A pair of tieflings are about to leave the grove and can be persuaded to stay [persuasion 10]. There is also a tiefling nearby - a farmer with two oxen.
In the west, under the canopy, you can open a chest [sleight of hand 10], inside of which there is change and a book, part 4. There are several more tieflings on the second floor that you can tell about Baldur's Gate [Baldurian].
Mattis - a boy offers to buy a lucky ring. If you have the skill [attention / wizard / intelligence / dexterity 15], we will reveal his deception. You can buy a thief's manual from him, a shovel for treasure hunting, but all the rings turn out to be useless. There's also a pickpocket boy nearby [Acumen 5/Athletics/Detect Thoughts] who will hide in the secret hatch nearby. There is a staircase down, there is a hole near it [attention 5]. Both of these entrances are unfortunately too small for adults.
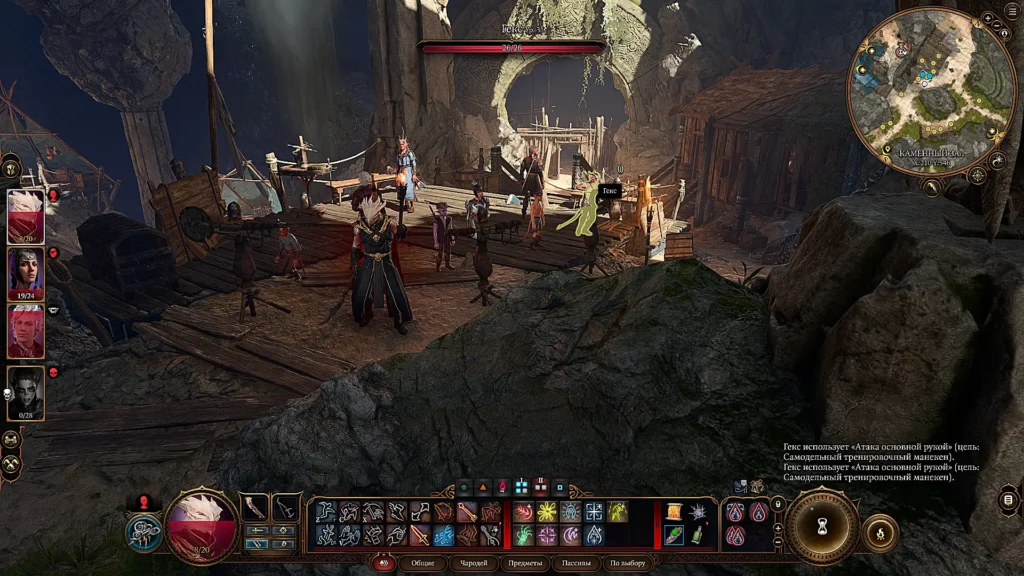
At the center, a tiefling trains children to fight. Adult Hex is training on a dummy and we can train him to [athletics/insight/detect thoughts 10/rogue]. As a reward, he gives a battle axe. Also here is the swordsman Will, with whom you can take into the squad.
Dammon - tiefling blacksmith in a tent with a furnace. We can sell him or steal things.
Octa — the tiefling grandmother is at the pot, offering to eat for free.
Ethel - An aunt who sells ointments and decoctions can provide a healing potion.
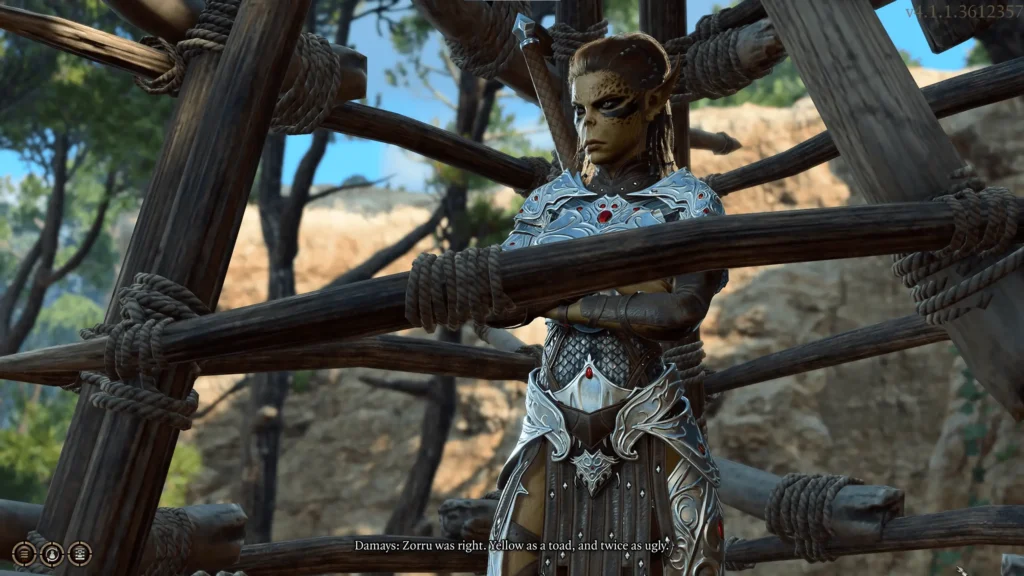
Zorru - a tiefling warrior standing next to a wooden platform with children under the stairs. We can communicate with him on behalf of the Githyanki Laezel, as well as on our own. Zorru will tell you that he saw other Githyanki at the pass and points out the location on the map. When talking to Laetel, we can use [insight, wisdom].
Tiefling Hideout
Doni, a boy from the Stone Hall, tries to leave during the conversation. We can try to find it using [attention/intelligence]. If unsuccessful, we leave and return, then try to interact with [insight, persuasion/detect thoughts]. On the second try, he will show us the lever, and we will discover a secret entrance in the rocks. We go down through it.
Inside the shelter, we are greeted by a large chasm, which can only be jumped over using the spell to increase jumps (this is the spell Laesel originally used). After jumping to the other side, we will find a chest with 20 gold and fire amber.
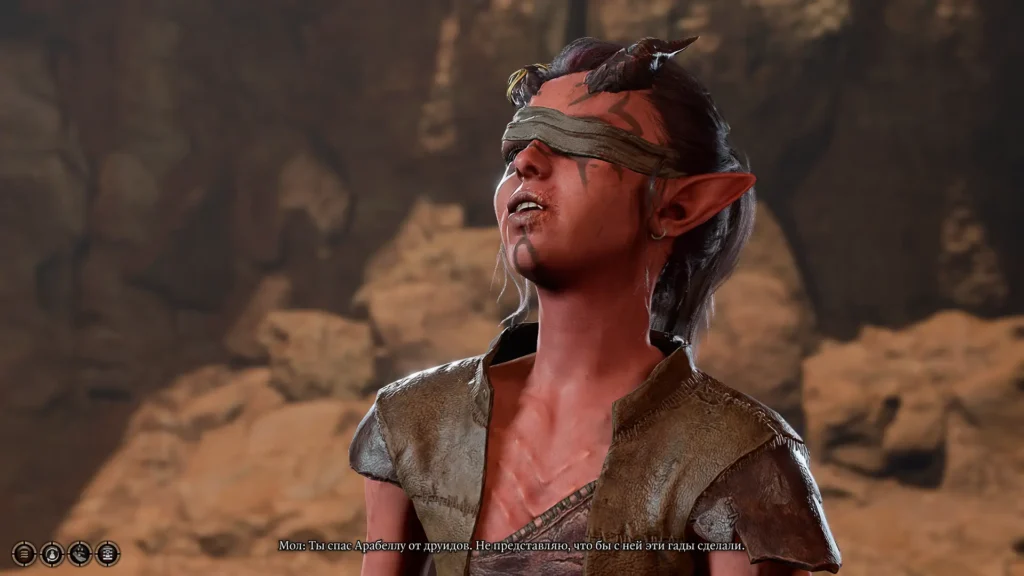
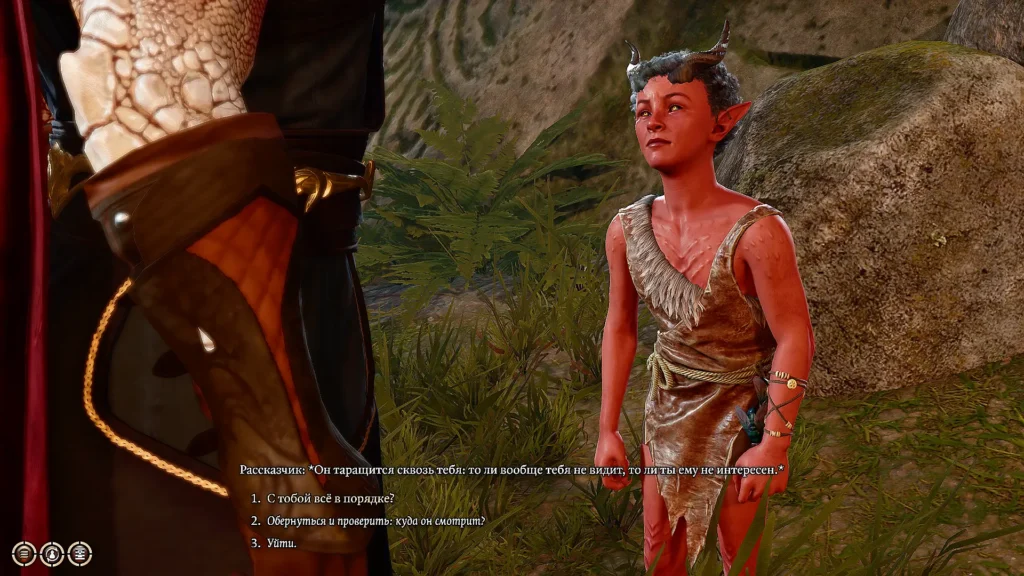
In the center of the room is a girl named Mol. She praised us for helping other children on the surface. She also has an offer to invest 20 coins in the development of her thieves guild. If we invest money, she will give a task for the stolen druid figurine in the center of the pond, activating the quest “Dubious Connections”.
In the south there is a rocky crevice, which serves as an exit to the grove, as well as a ledge with a waterfall.
Storage.
If we break down the door in the north of the camp, we will get into the storage room. You can also get there by walking around the rock around the prison. Inside we will be greeted by a sitting girl named Pandirna, who will ask us to leave. We can convince her [insight / persuasion 10 / deception / intimidation]. Pandirna cannot get up because of the potion she drank. We can remove paralysis from her using the “Non-Recovery” spell and take something from the warehouse as a reward.
Secluded chambers.
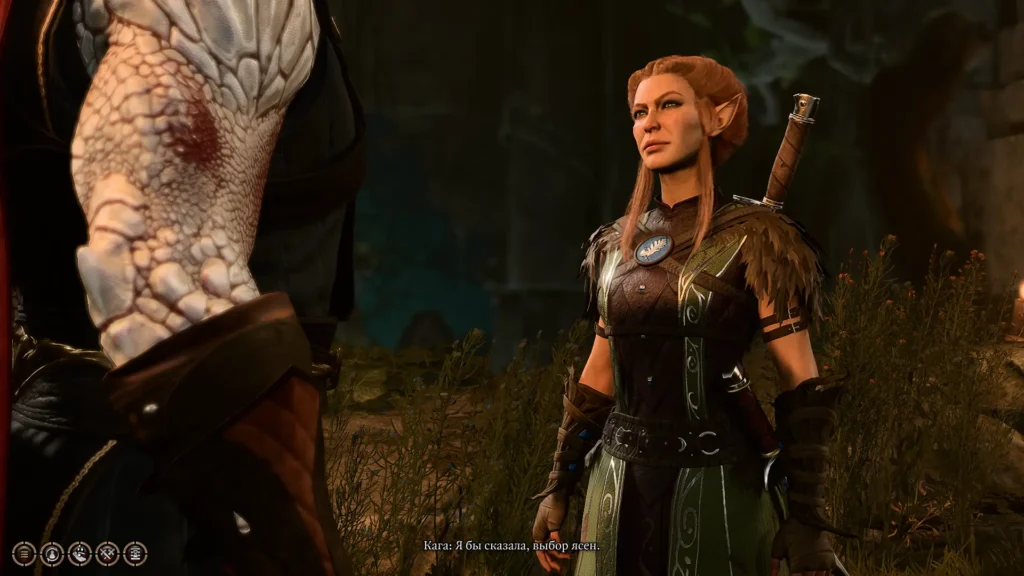
Next to the tents, behind a stone door, there is a descent into the basement, where the refugee leader Zevlor and a family of tieflings live. One of their children was on trial for theft. Zevlor will offer us to help the refugees by sneaking into the goblin lair and killing their leaders so that the refugees can leave the grove (task “Help the Refugees”). Alternatively, he may suggest killing the druid leader Kaga.
We climb the stairs from the chambers and find ourselves on the top floor of the Emerald Grove. Here the drow Lakrissa meets us, offering to make a bet that we will kill all the goblins.
Temporary prison.
In prison, the tiefling girl Arka wants to shoot the goblin Sazza, imprisoned in a cage. She, however, does not have permission to do so. If we don't intervene, Sazza will die. We can protect the captive [persuasion/intimidation] to later free her from the grove and gain the achievement. After this, we can talk with the captive Sazza, who will tell us about the priestess of her tribe. There is nothing interesting behind the shabby door, but at the cliff we can jump onto the cliff on the right and find a stone door underground [attention 5].
Underground passage
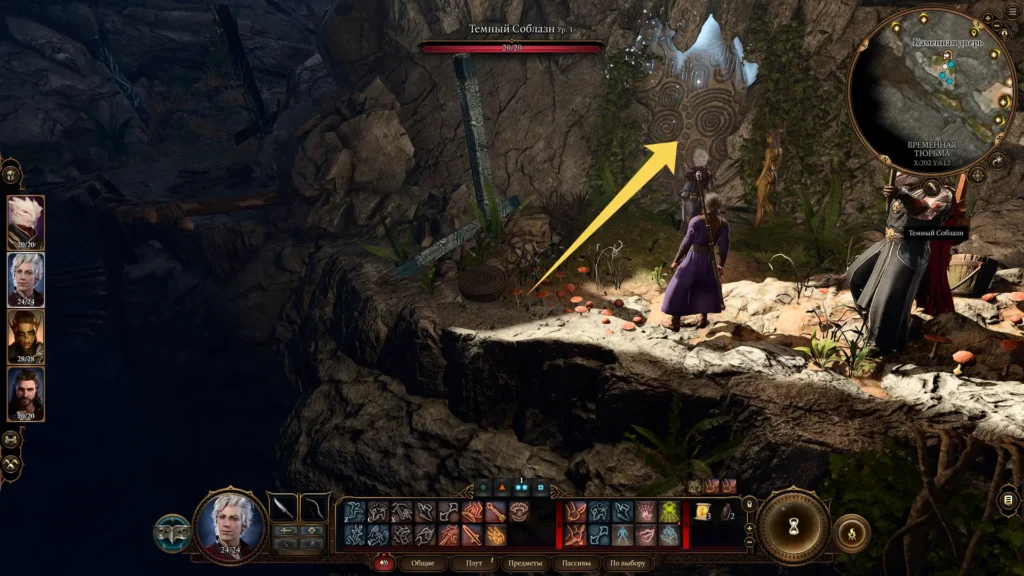
In the underground passage we encounter a fire trap, which is a statue of a guard. There are two ways to get around it: destroy the statue or activate the “bear rune” and quickly pass by. After this, we meet a detachment of four goblins and enter into battle. After the battle we find Findal dying from his wounds. We can cure him with a spell. If he dies, we get a Mystic Circlet from his body.
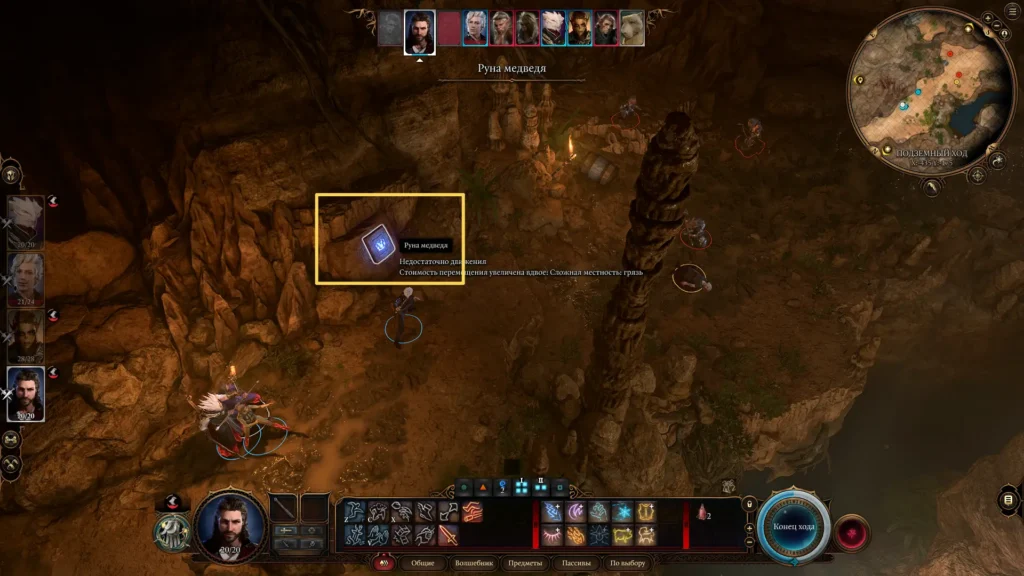
There is another body on the rock to the right. Let's split the group, jump onto the rock and go down, dodging two fiery statues. We turn off the “wolf rune” and find a burnt key on the body. After returning to the top, we pay attention to the heavy chest in the east, but there is a trap on it [attention 10]. We beware of the trap and gain access to the chest, inside which gold and staff of the Force of Nature.
Next we go to the third rune, go around the fiery statues and go through the door leading back to the forest. There is another door leading to the Library, but it is recommended to go back.
sacred pond
At the entrance to the pond area we are greeted by two druids and a bear. All Druids perform rituals on the pond. Next to us is a man named Volo, who is interested in the details of the battle at the gate. He heads to the goblin camp to record their history.
The next gate is guarded by the sleeping bear Gorka. We can wake him up using [training], and then he will leave, opening the elevator to the top. To the right of the entrance is a bird, next to which you can steal gold items and a shiny key. If we have the skill of talking to animals, we can convince the bird Topaz [deception/intimidation/bard].
In the center of the pond stands the Idol of Silvanus, which can be stolen by a thief without attracting the attention of the druids (quest “Theft of the Idol”). However, after this, a conflict will begin between the druids and tieflings.
Emerald Grove (Basement)
Entering through the stone door on the side of the druid ring, we find ourselves in the basement, where the druid Kaga is holding a trial against the little tiefling girl Arabella for stealing an idol. Let's start perhaps by observing before intervening [nature/persuasion/bard 15/detect thoughts]. Convincing Kaga will be difficult, but if we do it successfully, Arabella's parents will later give us a Valuable Medallion as a token of gratitude. This will complete the “Save Arabella” quest.
Kaga, who became the main druid after the disappearance of Halsir's mentor, evicts the tieflings from the grove, and not all druids support her decision. She advises turning to Zevlor to protect people during their journey from the grove. Rath and Zevlor ask us to find the elf Helsin. There are also tablets and paintings on the walls around us that require knowledge of [religion].
Passing through the servants' quarters, we can break into Kaga's chest to get a note, a book and a heliotrope stone.
In the druids' chambers we meet Nettie, a healer. After waiting for her to cure the bird, we can turn to her for help. If we deceive her, she will inflict a cut with a thorny branch and demand death as a cure. By requesting the antidote three times [persuasion, intimidation, deception], we can avoid death. If we tell the truth about the illithid larva, Nettie will also provide an antidote.
In the enclave library, we see a statue in the middle of the room, and around it there are four signs: elk, bear, eagle and empty. There is a book about parasites on the side table, and next to the body we can use a spell to revive it and ask questions.
If we decide to hack the Rath in the Emerald Grove, we will find the Wolf Rune in his pockets. Upon completion of the quest to find the druid, we will also be given this rune as a reward.
By inserting the missing rune into the empty altar in the library, we will activate all four altars, starting with the Wolf and moving clockwise. The statue in the center will lower down, revealing a staircase down to the Secret Vault. Down below we collect items such as scrolls, potions, jade, Robe of Summer (armor 10, +1 agility), and the spear Sorrow (1d10+1, entangling strike).
In the library, in the corner between the corridors, there is a “stone slab” [attention]. By hacking it, we will open the way to the “Underground Passage”, where we have already been. At the entrance there is a cloud of poison that can be disabled by standing or placing any object on the split stone in the center.
Secluded Cove
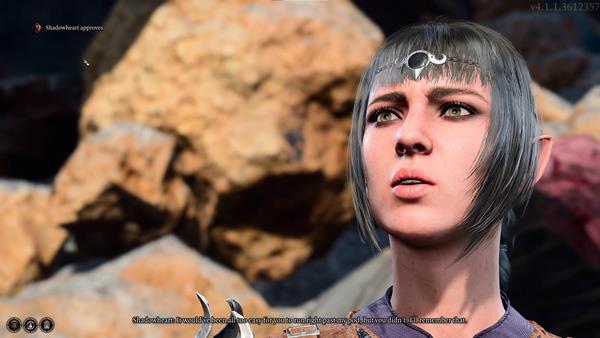
Leaving the druid ring in the Emerald Grove, we head towards the eastern cliffs. Raphael appears there, who takes us to his castle and turns into the devil. Raphael offers his help in getting rid of the parasite when we are faced with disappointment in other methods. After returning, Shadowheart will discuss the appearance of the devil with us.
To the southeast of the grove we go down to the sandy shore, where we meet another bear. Moving further, we jump into the water to a separate island, where we find a chest with 120 gold and a cloud scroll.
To the south of the grove, on the rocks, a tiefling girl sits, singing a song. We can help her compose a song, after which we will hear the full version. She will tell us about her deceased mentor. We also have the opportunity to communicate with the squirrels sitting nearby. There is a spirit lifting hat in the chest on the cliff.
The task “Inspect the shore” begins at the singer, after which we go down the rocks. In the north we jump along the columns over the water, in the northern dead end we find a treasure, including gold and alchemist's fire.
On the eastern shore we find the boy Myrkon listening to another singing voice. We can listen or use [wisdom/performance]. If we follow the voice, one of our characters will be put to sleep and we will be attacked by 4 harpies. In battle, we try to quickly reach and hit those harpies that begin to sing. After the victory, the boy will tell us about the girl Mol, and we must talk to her in the shelter to complete this task.
Moving along the rocks to the east, we find a chest behind a large rock with 55 gold. We jump over the rocks to the south to get to a large harpy nest, which contains a letter, onyx, bone and a ring of colored splashes (illusion 1). Later we will meet the boy in the underground shelter under the Cavity, and he will thank us with the text “The History of Mirkon”.
1-3. Extinct village Baldur's Gate 3.
Forest
After leaving the grove through the entrance gate we head west. In the forest we notice two people trying to lift a wounded man. We can help him using [medical skill/wisdom]. The wounded man, Ed, says that they were looking for fugitives on the orders of the Absolute and was wounded by Medvesych. Despite the help, Ed dies, a parasite crawls out of him, and we can decide what to do with his remains [insight / strength / endurance]. The two survivors who have passed the first test are subordinate to us, and we can send them to the camp or order them to kill the bear owl in the cave.
There are sand hills on the south side. We climb the vertical stairs to the empty camp at the top of the mountain. Next to the fire we search the skeleton on which there is a silver pendant [story 12]. We also pay attention to the rocky crevice from which you can get something [nature 10, sleight of hand]. Inside, coins and a cocoon with spider eggs await us. On a wooden platform by the fire, coins and silver bars await us in a chest.
Now let's go back down.
Bear's nest
We move north, passing under the bridge and entering the cave. On the way we examine the bodies and take the pickaxe. We meet the bear and his cub. We can avoid the fight using [training/survival/execution 15]. If we approach a second time, we will begin the battle. After the victory, we choose what to do with the cub - attack or spare. It is recommended to spare him to get the achievement.
From the nest we take the bear's egg and, next to the bones, the armor Embrace of Silvanus (13, +1 agility).
In the southern corridor of the cave there is a golden chest locked with magic [magic 15]. Nearby we jump behind the statue and take the book, reading it over the chest. Shadowheart expresses displeasure about opening the Moon Witch's chest, but we can convince him [insight / wisdom / persuasion / intimidation]. Inside we will find an idol of Selune, a silver necklace and heliotrope.
We cross a stone bridge in the forest. There is a cart on the bridge, only dishes in the drawers. Behind the bridge there are traces of a massacre and two survivors. The mercenaries say that they are looking for the “Song of the Night” relic and promise to pay 10 gold for it. There was a druid with them, but he died in a battle with the goblins. The survivors refuse the order, and we can take the text of the “Printed Leaflet” order from them.
A little further north we find the bloodless body of a wild boar. The rogue Astarion suggests not wasting time on this. We can use the [medicine] skill to see two punctures on the animal’s neck. Then we use [persuasion/intimidation] on the rogue. We find out that Astarion is a vampire, but he won’t admit it.
A dog is wandering in the north of the forest, with its deceased owner Gomvik nearby. We can talk to the dog Shkryab and convince him [training / attention / intimidation]. The dog will tell you how they were attacked by gnolls. If we try to prove to the dog that his owner is dead, he will attack us. It's better to invite him to join later in order to get the achievement later. On Gomvik's body we can take 3 letters, one of which indicates the location of the treasure in the grave.
Was the article helpful?