
In Atomic Heart, a system failure at Soviet facility #3826 causes the machines to rebel against the people. You are Major P-3, a private agent, and your task is to minimize the consequences of this "system failure" and prevent the leakage of classified information. To succeed, you'll have to do your homework and study every deadly enemy to avoid becoming their next victim, as secret experiments have resulted in terrifying mutants, implacable machines, and bloodthirsty creatures.
Walkthrough Atomic Heart: Annihilation Instinct

Detailed story quest guide with puzzle solving and boss-killing tips
Contents of the manual
- Key features of the Survival Instinct DLC and how to launch it
- importunate lady
- In a quagmire of worries
- Magnetohod Bus-A
- surface method
- Scarlet flower
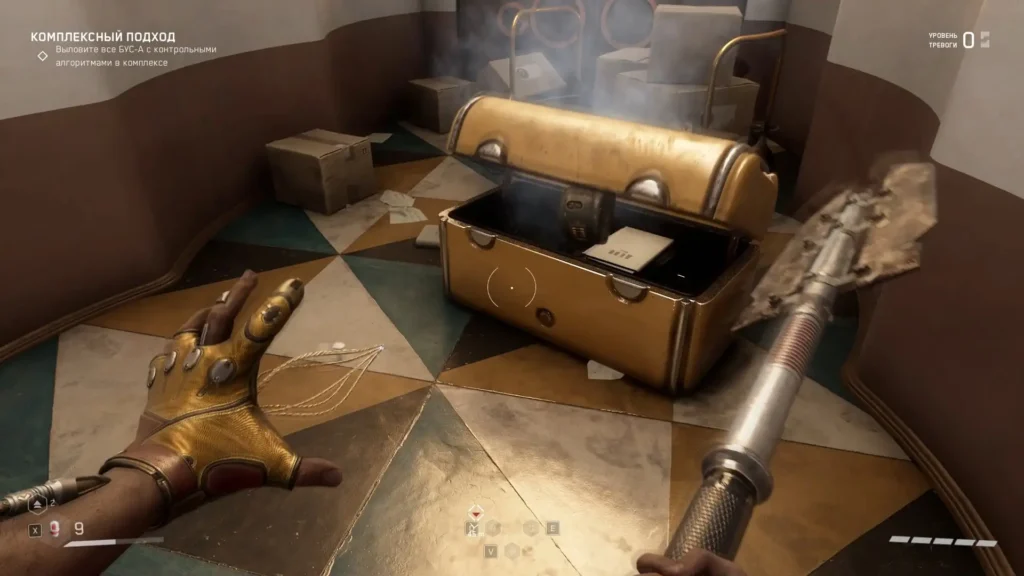
- Life is like a box of chocolates
- A complex approach
- Boss
- surface method
- Eleanor's Heart
- Desperate measures
- Puzzle with BEADS
The events of Atomic Heart: Annihilation Instinct take us on a parallel journey with the main character of the game, Major “P-3” Nechaev. The plot of this side story takes place after the conclusion of the main storyline. In the canonical ending that was chosen, Sergei retrieves HRAZ from the glove.
Key features of the Survival Instinct DLC and how to launch it
In this new content, Atomic Heart: Annihilation Instinct, you will find a variety of additions and improvements. You will be able to evaluate the new elements of melee and ranged combat, including weapons with two firing modes, as well as the powerful Alenka gadget. There will be a new ability, Technostasis, which slows down the movement of enemies, allowing you to deal more damage to them and provide a more strategic approach to combat.
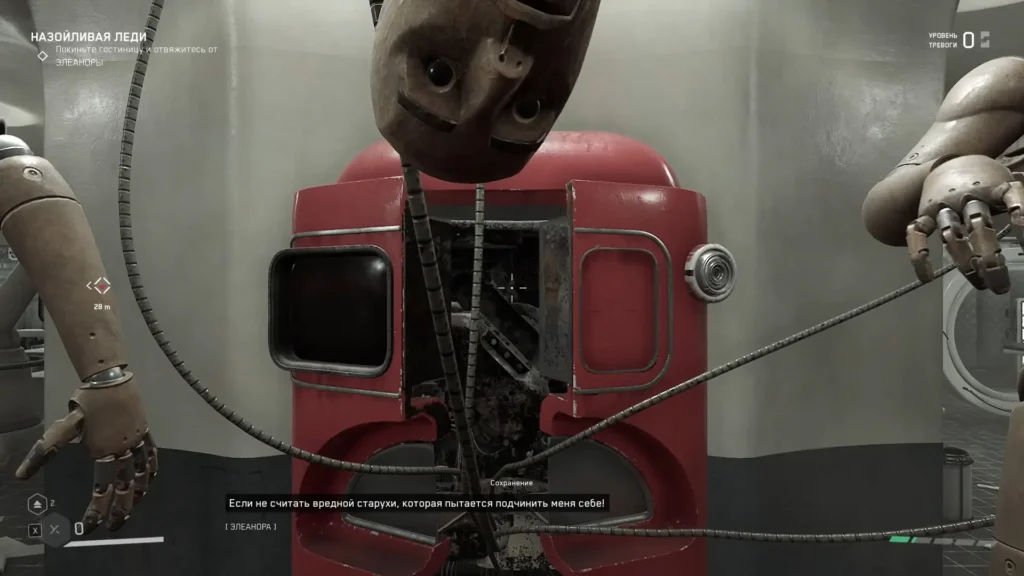
The additional campaign also gives you the chance to travel to the new Mendeleev complex, where new enemies and powerful bosses await. Here you will uncover the story associated with the enigmatic figure of Eleanor, known as a manufacturer of weapons and ammunition.
It is worth noting that you do not have to complete the main game to access the add-on. You can start your adventure right from the main menu. In addition, if you pay attention, you will notice three more mysterious slots for future story DLCs: 2, 3 and 4.
- One melee weapon, one ranged weapon with two fire modes, a powerful Alenka gadget, a new Technostasis ability that slows down enemies, allowing them to deal increased damage, and so on.
- Hike to the new complex "Mendeleev".
- New enemies and boss.
- The story associated with Eleanor (the same vending machine that produces weapons, ammunition, and so on).
You don't need to play through the main game to launch the add-on, as it's done straight from the main menu. And, by the way, if you are careful, you can see three more slots for story DLC 2, DLC 3, DLC 4!
importunate lady
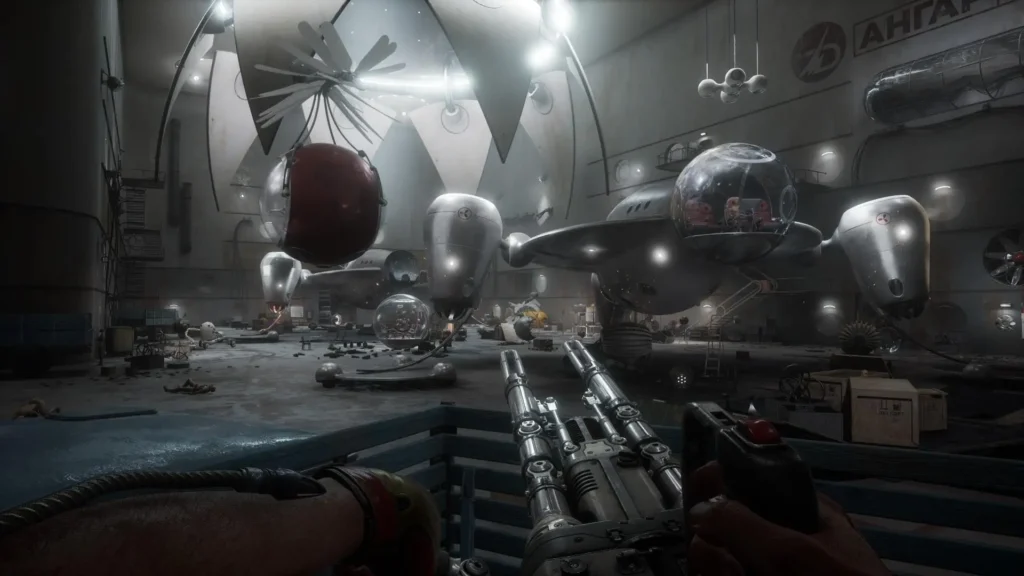
After you have come to your senses, find the door in the room and go outside. You will be met by the hotel "Legkaya", consisting of floating houses. Wait until Eleanor ends the conversation and removes the storm, opening access to the bridge. If you want, go downstairs and explore the house. Almost every dome has an opportunity to penetrate - each of them has two floors. Computers with additional information are scattered in many places.

In order to leave this place, get to the upper house by pressing the "up" button in front of the bridge, and follow the bridge. Repeat this step for two more bridges to get higher. Go around the domes and notice the second bridge leading down. However, it will be locked, and to unlock it, you need to go inside the house, and then find a panel on the lower floor that you can interact with. By performing this action, you can unlock the bridge. Return to it, press the “up” button again and continue moving. Cross the bridge, go around the dome and head down the other bridge. Get to house number 12, go inside and find a familiar panel on the top floor. After interacting with her, go down the bridge, stop near the console and activate the “down” button. In general, you need to repeat the initial steps, but this time you should move down from house to house, ignoring the bridges.

Before you leave the hotel, go near the bar - here you will find the Alenka neuroimpulse launcher, reminiscent of a chocolate bar. Pick it up, it will prove to be very useful later on.

Go through the door on the left, extract the new melee weapon"Klushu” and approach the hole in the wall on the right to start a new cutscene.
In a quagmire of worries
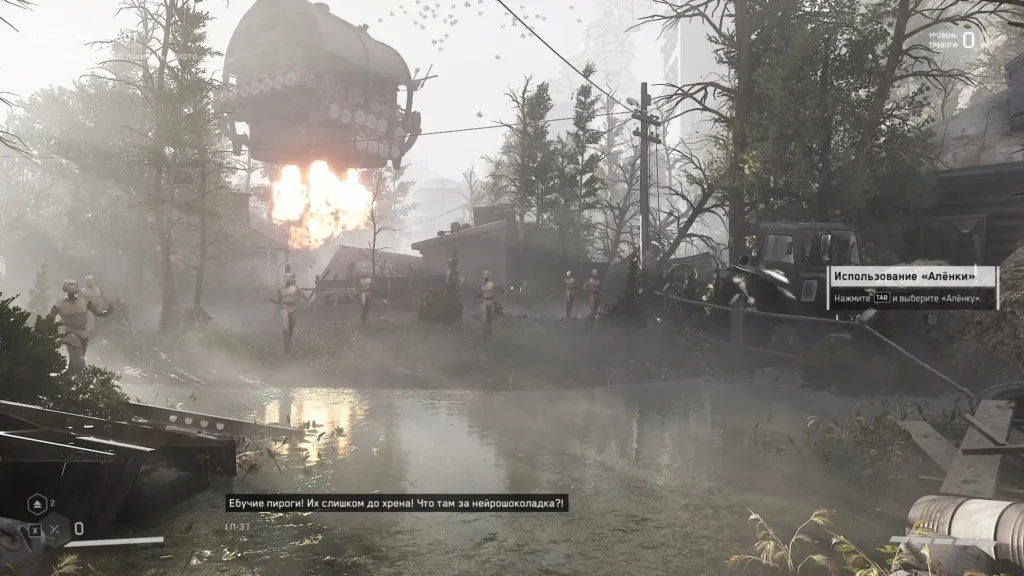
Proceed along the only path available, eliminating the Shiz dummies. To fight more effectively, pre-charge your empowered attack by holding the right mouse button and get close to your enemies. It is important to note that only brown mannequins will be active. Finish off a few of them until Baba Zina flies into the scene, resting on her flying machine. When prompted, press the TAB key and select "Alenka" to summon a powerful whirlwind that destroys all enemies. Wait until Baba Zina leaves. The gauntlet is currently inactive and item collection is not possible.
Continue forward and following the marker, turn right. Eliminate a few more enemies to clear the area, after which Professor Lebedev will lower the elevator. Go inside and go to the top floor. Interact with Lebedev, sit in a chair and wait for the procedure to complete, asking any questions. In addition, you can view records in computers. When finished, leave this location.
Magnetohod Bus-A
You need to find the first magnetohod. Go down using the elevator. From now on, your gauntlet is available to you, which will allow you to collect resources from defeated enemies and open chests. Follow the marker and go through the ruined wooden house, at the entrance to which there is a chest. On the other side, note several chests on the left, including one yellow one. Keep moving down the street, eliminating opponents, and find another open house that you should go through.

After that, clear the location. On the left side you will see a capsule in which you have to load the BEADS. Go into the building a little further, where you will also find a chest. When you exit the building, you will be attacked by a talkative goose - this is one of the features of this area. However, how to deal with the goose remains a mystery, as it ignores any of your weapons.
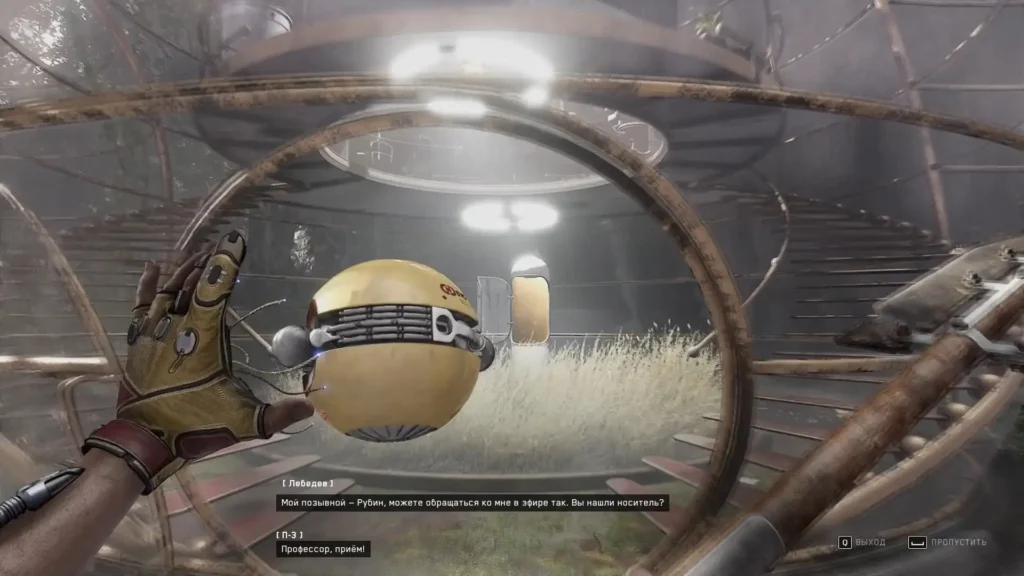
Continue moving through the square with trees and benches until you reach the indicated place, where you will need to eliminate several mannequins at once (about 5-6). Here you will find the first BUSU. Attack it in the glowing weak spot to deactivate it, then pick it up like a regular item. This will open the gate to Lebedev's tower. Head there, take the elevator and watch the cut-scene.
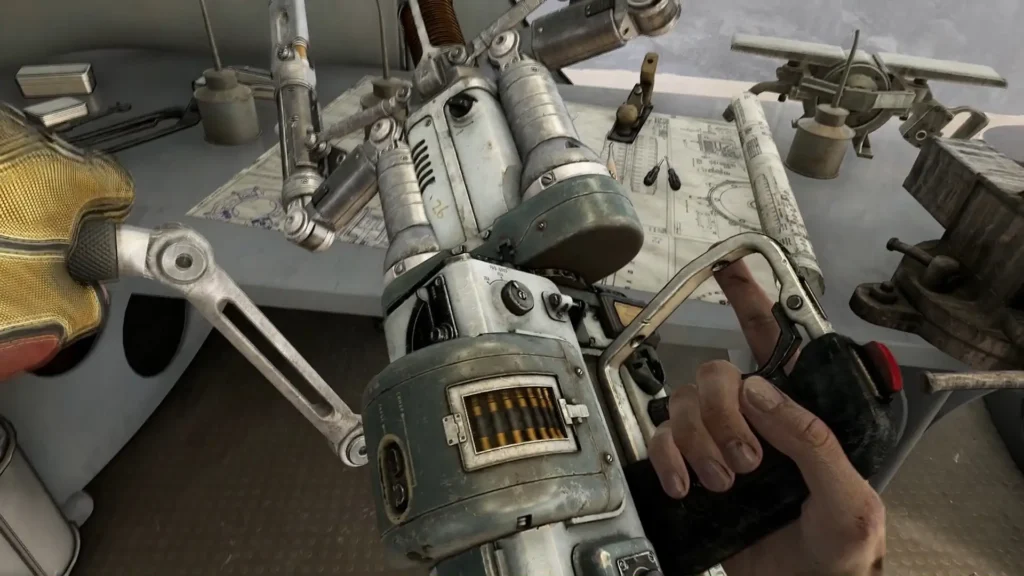
Ride the elevator to the floor below, where Terentyev is, and grab the new long-ranged weapon “Pruner” from the table. Then go back upstairs and start a conversation with Professor Lebedev.
surface method
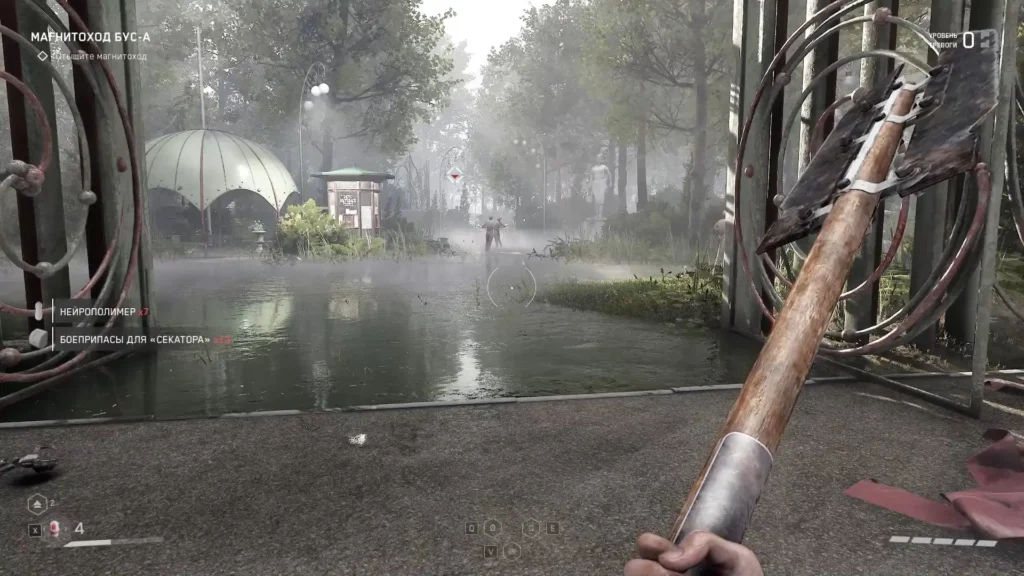
Use the elevator to go down and go through the same square. This time there is no need to go around in circles. Also check out Technostasis, a new ability that can be activated with the Q key.
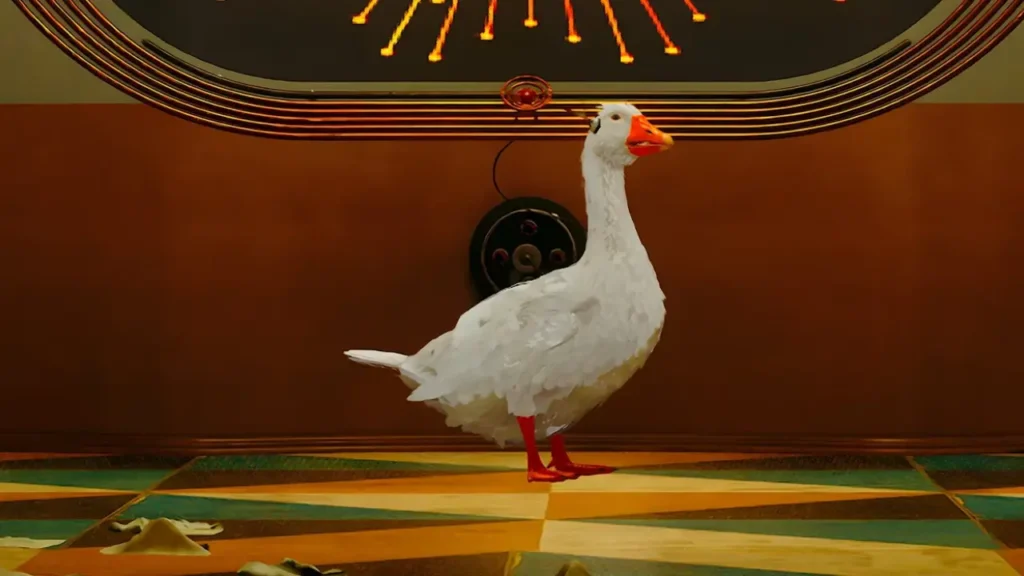
Lebedev will report that one of the BUS is in the greenhouse sector. In the area to the right of the entrance you can meet talking goose (will also appear in other places), which will shower you with various references.
Scarlet flower
Clear the indicated location in front of the building with several domes, then go inside and destroy some BEADS.
For optimal damage and increased effectiveness, shoot (or use the "Klusha") at the glowing dots at the top of the BEAN when they are not moving. After successfully defeating them, dismantle another BEAD, pick it up and place it in the loading room on the first floor of the same building. This will be the first BUS loaded into this device. You will receive a notification that the Makarov pistol (PM) has been added to Eleanor's inventory. For now, Eleanor remains unavailable to you.
Life is like a box of chocolates
Collect resources, go outside and follow the marker through the square to a familiar point. Please note that on one of the benches in the square there is a “Labyrinth” chirp, and another called “Keykeeper did” can be found on the steps of the bus next to the current marker.
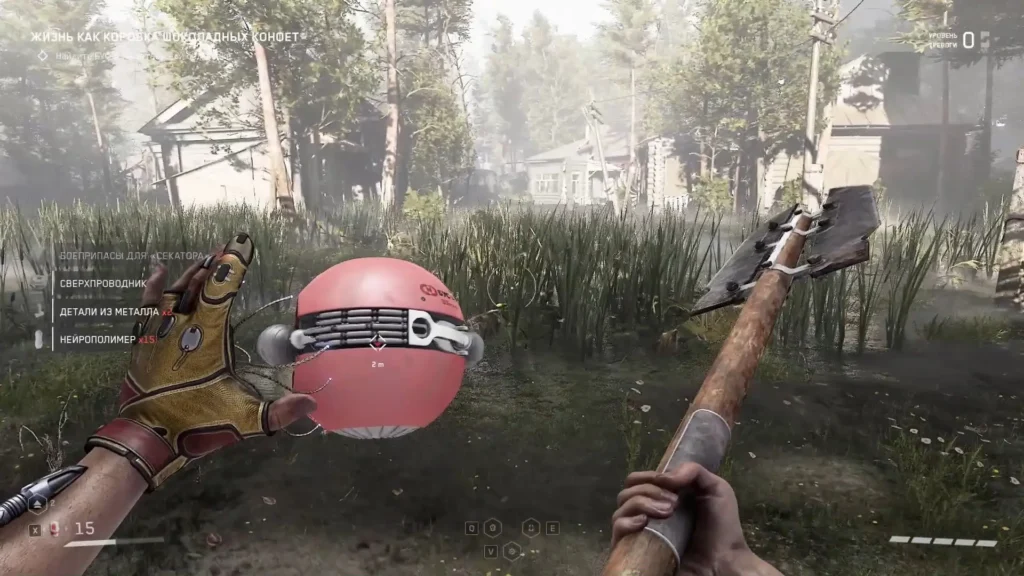
Defeat all opponents. This time you will have to face both the Shiz and the BEADS. After a successful victory, smash the main BUSA, then use the gauntlet to pick it up and carry it to the loading device, which is located near the place where you first met the goose.
As a reward, the KS-23 shotgun will appear in Eleanor's assault rifle.
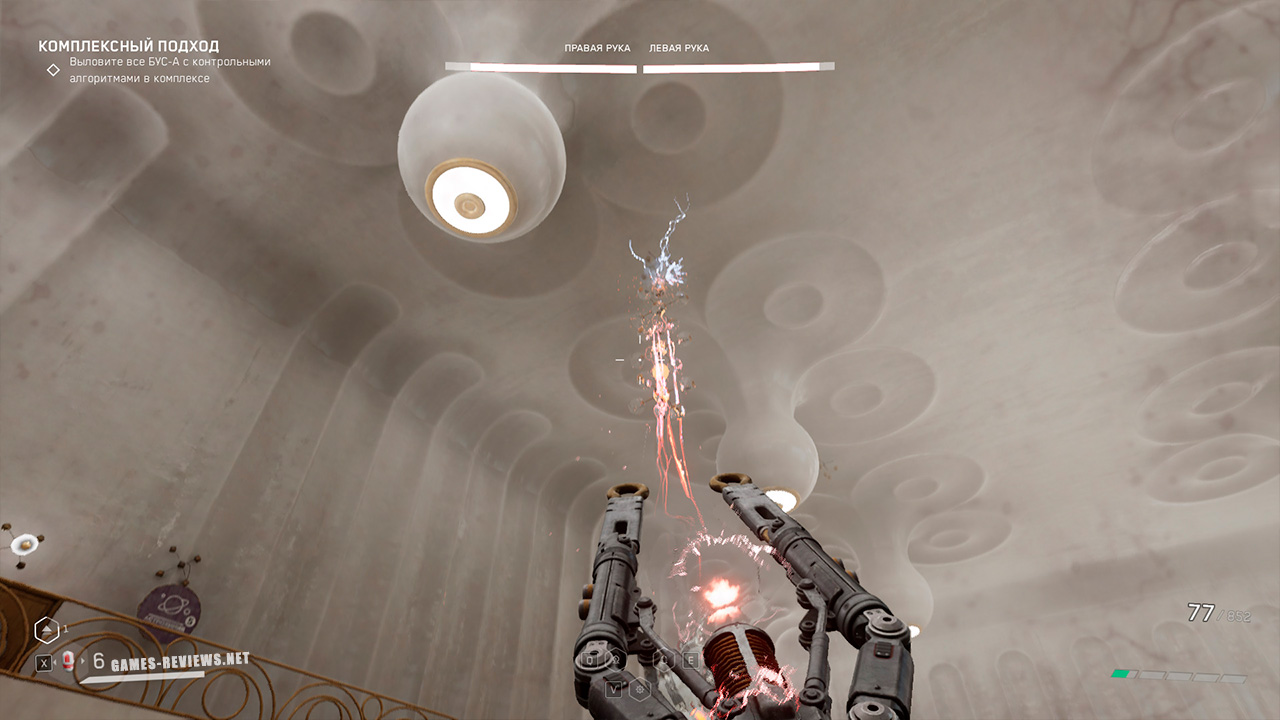
A complex approach
Return to Lebedev's laboratory in any convenient way (through the village or the square), go up, go around and go down to the indicated place to run into Baba Zina again. After listening to her, go inside the laboratory in the indicated cave.
Gather resources and around that time you will unlock the Klusha - Hilt upgrade. Walk along the corridor, on the bench on the right, look for the "Cossacks-robbers" chirp. Enter the room with Eleanor, upgrade your weapon, sort out your inventory, take a shotgun and PM if you wish, buy upgrades for neuropolymers (you can upgrade Technostasis and Shield, while the rest of the branches are pumped to the maximum). Exit through another door.
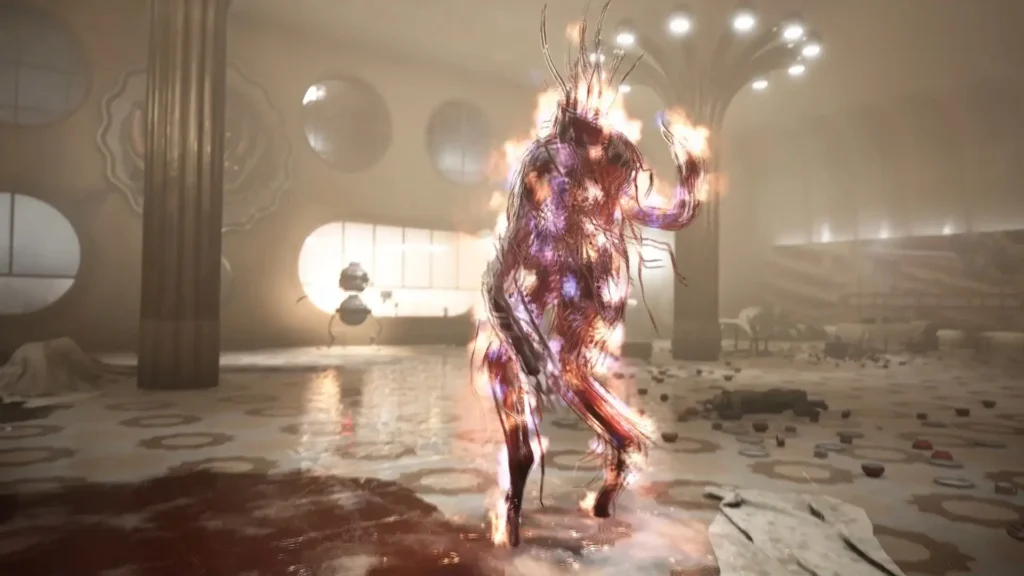
Enter the dining room ahead and watch the cut-scene. You do not need to fight the monster from the previous game, but the BEADS will begin to merge with each other. And the more PEDs unite together (like up to three), the more dangerous they will become. Attack the glowing dots at the junctions to break the beads apart. In general, win this tough fight, collect resources and pick up the third BUS, which you can place in the loading platform in the kitchen. As a reward for this, the melee weapon "Asterisk" will be added to Eleanor's warehouse.

The door in the main hall leads to the room with Eleanor, but to continue you need to move along the corridor from the kitchen. A loaded cart with spikes will move along this corridor, so run after it and hide in the side niches. At the end of the corridor there will be a door with a familiar puzzle. Click with your fingers to slide in all items. Win the battle, load the fourth BUS into the device and visit Eleanor.
Go through the door opposite her room and kill the enemies in the corridor, including the familiar Vovchiki, who will prove to be less durable than the Shiz. On the right there will be another room with Eleanor. A little further lies the corpse of a man, somewhat similar to Petrov. Soon you will find yourself in a huge hall with a statue of Mendeleev, but for now I do not recommend activating it, because a dangerous enemy will appear!

Instead, go through the door on the right side. Finish off the enemies and go left or right. In any case, this is a circular corridor, you will end up in the same place, you can kill enemies and collect some resources, and then visit Eleanor to prepare for the upcoming battle. Mobile turrets and more enemies from the original game will appear. Also, if you turn into the side passages and find yourself near the red fence (you were on the other side when you left the dining room to the room with Eleanor). There is a stand with an Alenka chocolate bar and a chest from which you can get the Secateurs - Energy Supercharger upgrade.
How to defeat the bead boss
Return to the main hall after the maximum available upgrade and press the button near the statue of Mendeleev to fight the boss. It consists of a huge number of BUS, attacks with legs and arms. The battle will be divided into three stages. On the first one, you need to destroy one of the two hands (front or back). Fortunately, each hand has a separate scale, so you don't have to focus on both. Deal damage to either of the two until it is destroyed. In the second stage, the monster will fight with the remaining hand, and in the third, the middle one will appear.
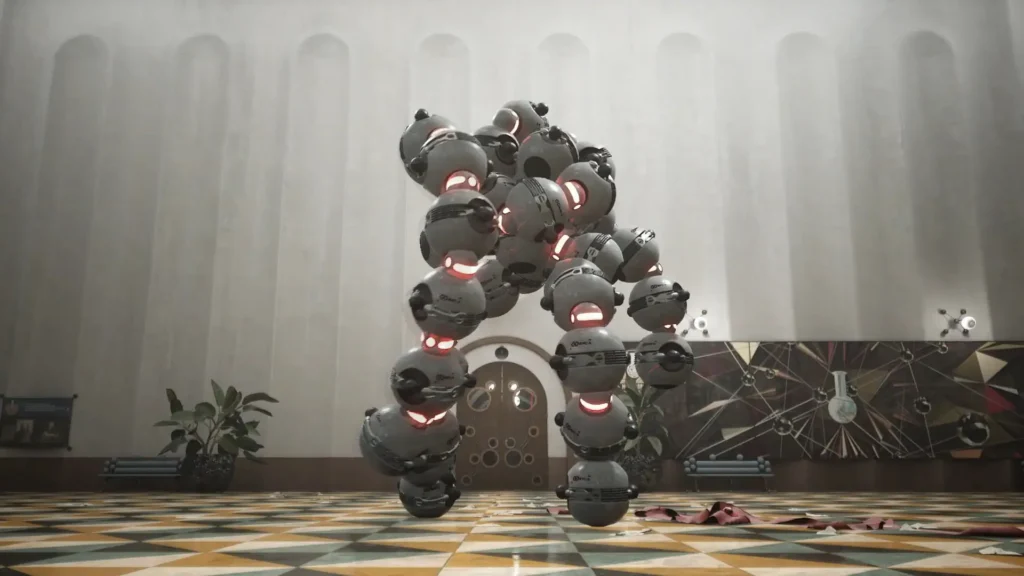
You can only deal damage to these very hands. They are easy to recognize by the luminous junctions. Wait for the enemy to hit his hand from top to bottom, and it will remain lying on the floor. Use technostasis to slow down time and hold your hand, and attack the Clushes. You can even stand under the monster so that you can deal damage with Clushes by attacking upwards. If memory serves, then in the second and (that's for sure) third stages, the boss will hit his hand from top to bottom three times in a row, and only after the third will he stop. Also in the third stage, as a result of such attacks, an expanding ring of fire can appear. You have to jump over it. Also, in the third stage, shoot at the glowing balls that the monster scatters. At the end of each of the three stages, the boss will disintegrate and some BEADS will attack you. Once defeated, pick up the BUS and place it on the loading platform. First you need to kill the enemies located near the capsule. In the same room there is a stand with "Alenka" and a door to the room with Eleanor.

Return to the hall and go through the door on the right. In the room with Eleanor, on the left, there will be a chest containing the Pruner Shop upgrade. Go further into the room with the familiar puzzle. You need to make sure that three blue beams fall on three blue receivers. To start, interact with any part of the puzzle. Then find a source with a blue beam. Swap it so that it is at the other end. One of the beams will turn blue and hit the receiver. Then, along the path of this beam, find two branching nodes on the side. The right side of the puzzle doesn't interest you at all! Set both branching nodes in the path of the blue beam, and then all three beams will hit three receivers. The puzzle is solved, the stairs leading down have opened!

Go down and go to the corridor on the right. Visit the room with Eleanor, in the chest is the improvement "Klusha - Blade". Clear the corridor, go forward, but before entering the laboratory rooms on the left and right, find the stand (near the right wall) with "Alenka". After picking up the chocolate, enter any laboratory. Magnetized Beads are worn around these laboratories, protecting each other. All of them have an identical color, so it’s not easy to identify the right one just like that. I recommend killing the enemies in the laboratories on the left and right, collecting the loot, and then start separating the BEADS and hiding them in separate booths. Don't forget to close these booths behind you! When there is not enough BEAN left, they will stop and you can pick up the right one. In one of the chests, I found another upgrade option "Pruner - Power Blower".

Exit the lab with the loading dock into another corridor. Look to Eleanor and go forward through the indicated door that leads to the hangar. Go downstairs, clear the huge hangar of enemies if you wish, and enter the indicated room with a hole in the floor. Jump down through the hole and run down the long corridor, avoiding carts and killing opponents. At the very end, you will climb up on an automatic round platform. You will enter a large hall with many dangerous enemies and connected BEANs. Great place to spend at least one "Alenka"!

After the victory, enter the indicated room, climb the stairs or, even faster, use the elevator. Kill the enemies, look at Eleanor, and then open the shutters by applying an electric shock with a glove (V key) on the block with batteries on top. In general, as they did it in the original game! Continue down the corridor until you pick another lock on the door. You will enter a room with an accelerator. Climb up the stairs, although before you can pick up the twitter "Eleanor - Beginning" on the lower bridges. There will be some control panels here, but it's too early to use them yet. Use the elevator to return to the surface.

surface method
Destroy the opponents on the left side, then load the last BUSA.
Eleanor's Heart
Return on the elevator to the complex and listen to Eleanor's words, then leave the complex again on the same elevator.
Desperate measures
Go forward from the complex and use the aircraft to return to Lebedev's laboratory (Svoboda Park). Start moving the metal things, then stop and listen to Lebedev. Enter the phone booth to chat with Sechenov.
Puzzle with BEADS
Return back on the flying machine and enter the Accelerator. You need to solve a puzzle. First, pay attention to the diagram on the right, which contains colored BEADS. So, five combinations of BUS are moving away from the arrow - one, two, three, four and five. There is a black BEAD in the arrow hole, so feel free to place the black BEAD in the center of the platform. Back to diagrams. On the left is a diagram of the location of the BUS on a large platform. The beads are connected to the central socket. The same five combinations with one, two, three, four and five BEADS depart from the nest. For example, there is only one BEAD below the central hole. We look at the right diagram and see that in the upper sequence with one BEAD it has a red color. We install it on the main platform below the central nest (we look so that the arrow points to the right). Do the same for all beads. Please note that if you have placed the BEAD into the correct socket, it will glow green. That is, you can solve the puzzle by selection.

In the middle of solving the puzzle, a cut-scene will start. Eleanor will try to kill Nechaev with a whirlwind (thus from "Alenka"), but the Twins Left and Right will come to his aid. Keep placing Beads until you have all the available ones. Once everything is assembled correctly, after pressing the red button, another cut-scene will start. Eleanor reversed the sequence.
Another boss will appear, which looks like the first one, but acts more aggressively. The rest of the fight will be in the same way. The enemy consists of a huge number of beads, attacks with his feet and hands. The battle will be divided into three stages. On the first one, you need to destroy one of the two hands (front or back). Fortunately, each hand has a separate scale, so you don't have to focus on both. Deal damage to either of the two until it is destroyed. In the second stage, the monster will fight with the remaining hand, and in the third, the middle one will appear.

You can only deal damage to these very hands. They are easy to recognize by the luminous junctions. Wait for the enemy to hit his hand from top to bottom, and it will remain lying on the floor. Use technostasis to slow down time and hold your hand, and attack the Clushes. You can even stand under the monster so that you can deal damage with Clushes by attacking upwards. If memory serves, then in the second and (that's for sure) third stages, the boss will hit his hand from top to bottom three times in a row, and only after the third will he stop. Also in the third stage, as a result of such attacks, an expanding ring of fire can appear. You have to jump over it. Also, in the third stage, shoot at the glowing balls that the monster scatters. At the end of each of the three stages, the boss will disintegrate and some BEADS will attack you.
After destroying the enemy, you will be able to place the BEADS, but note that the scheme has changed slightly, so read it carefully and place the three colored BEADS in the correct places. Press the red button and watch the final video. Apparently, there are no alternative endings in the game.
Was the article helpful?


