A Plague Tale: Requiem is the sequel to the third-person action-adventure game A Plague Tale: Innocence. Amicia and her brother Hugo will embark on a new journey. Heroes will once again face a deadly plague, swarms of rats and hostile soldiers. In the sequel, the girl's skills have grown up, so it will be easier for her to deal with opponents.
Walkthrough A Plague Tale Requiem - Chapter 9 "Stories and Mysteries"
"Stories and Mysteries" is chapter 9 in A Plague Tale Requiem. This step-by-step guide will guide you through all the tasks of the ninth part The Plague Tale Requiem.
Collectibles: 1 item for Hugo's herbarium, 3 memories, 2 secret chests, 1 knife, 4 tool chests
Trophies: ![]() Stories and Mysteries,
Stories and Mysteries, ![]() old defenders
old defenders

Walkthrough of History and Mystery in A Plague Tale Requiem
At the initial stage chapter 9 (Stories and Mysteries) Plague Tale: Requiem you will be given a task explore the island of La Cuna. Our walkthrough shows where to find the bird statues on the island, how to get to the ruins and get the map hidden in them, and where to find the way to the Las Madres Sanctuary.
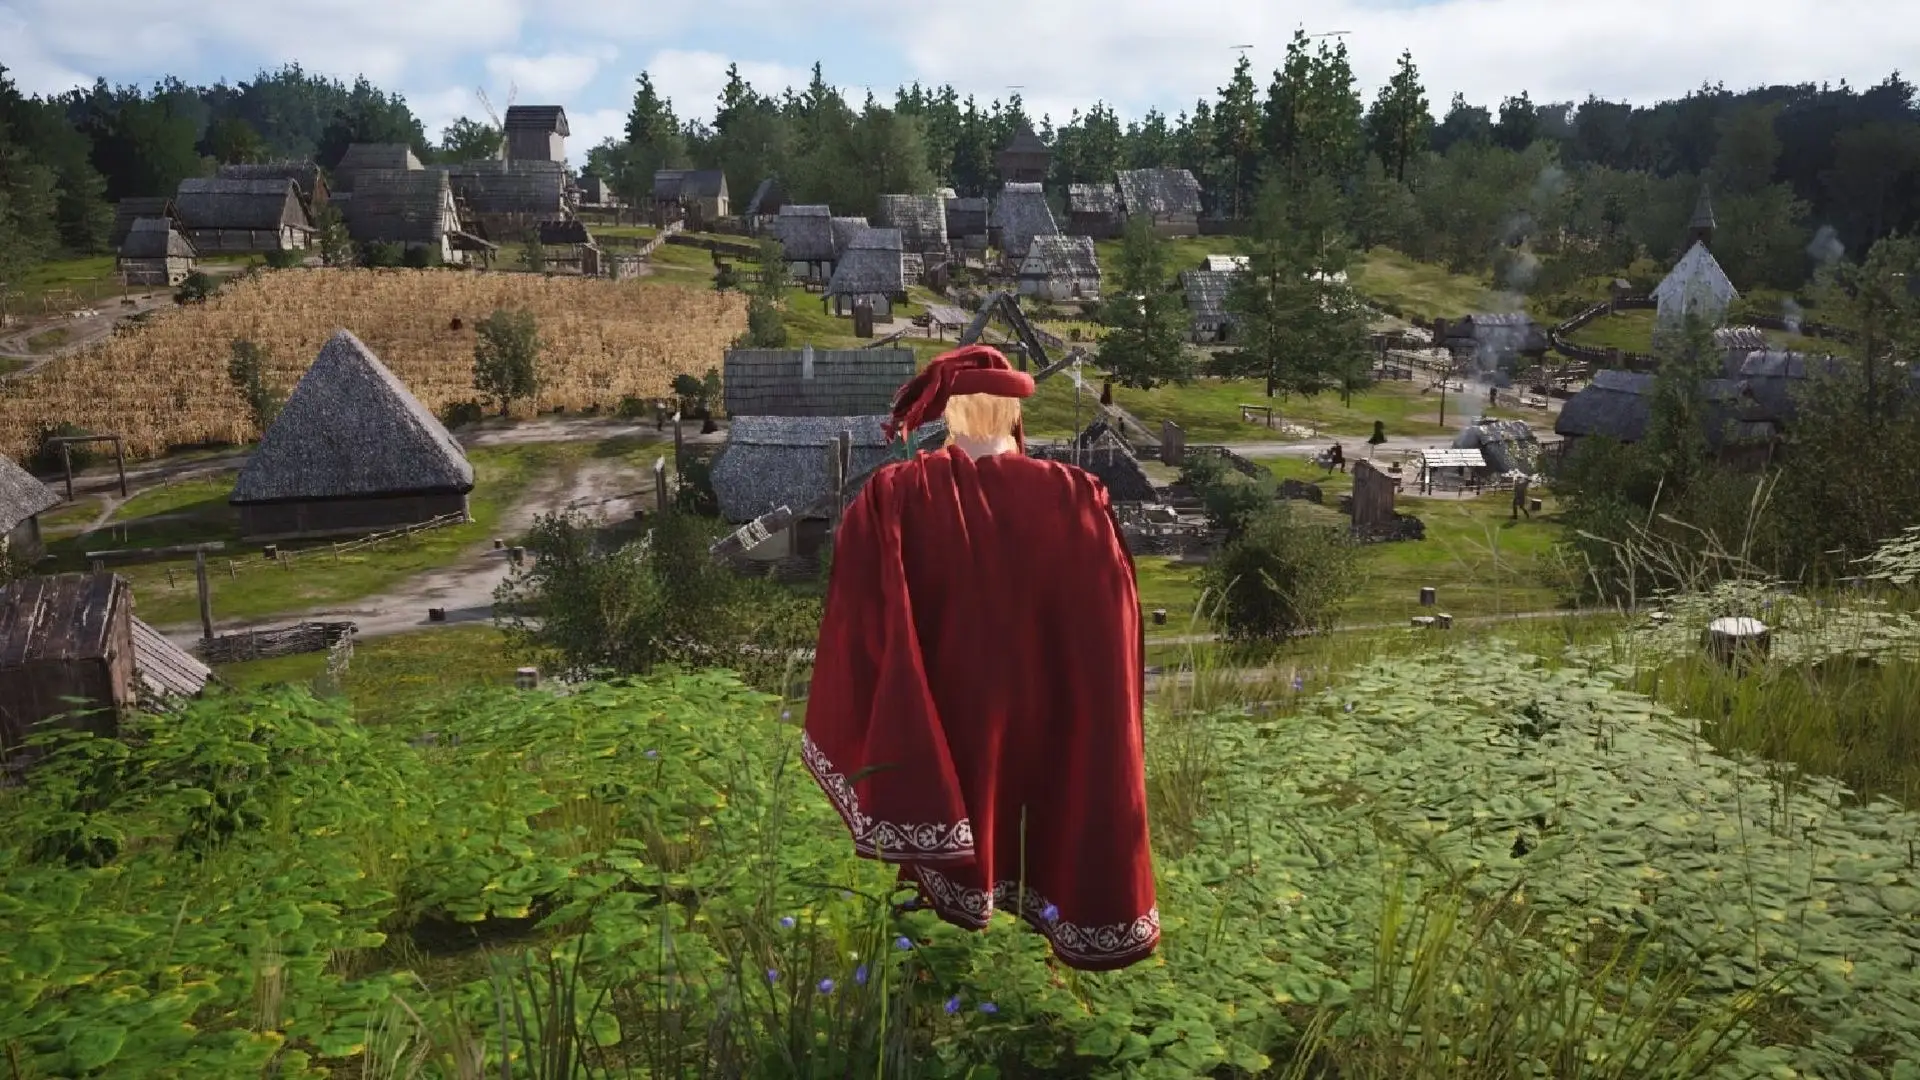
Explore the island
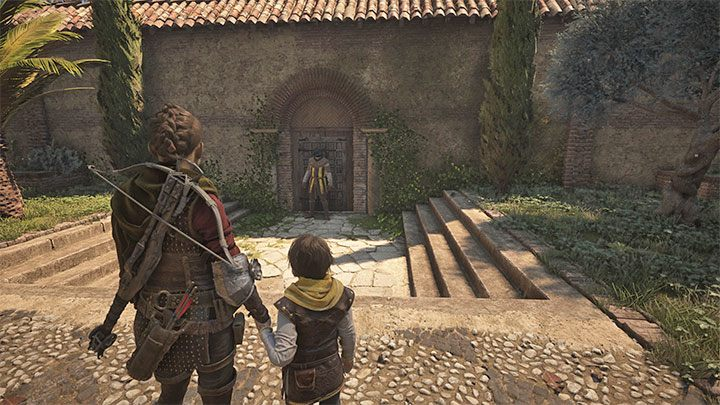
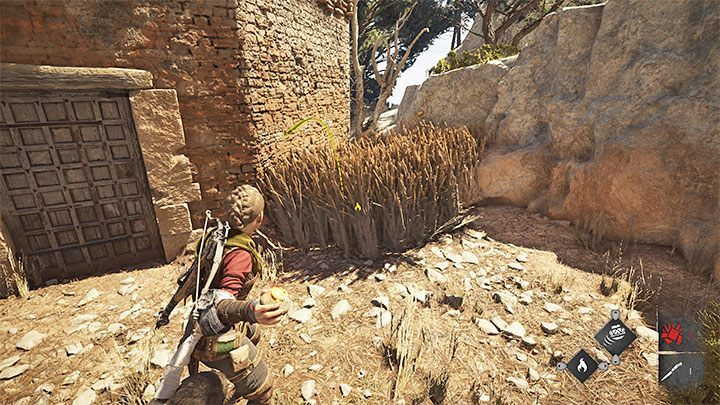
You start on the estate grounds. There are no loot or collectibles here, and you can go straight to the lower levels. Make your way to the exit guarded by the soldiers (screenshot above).
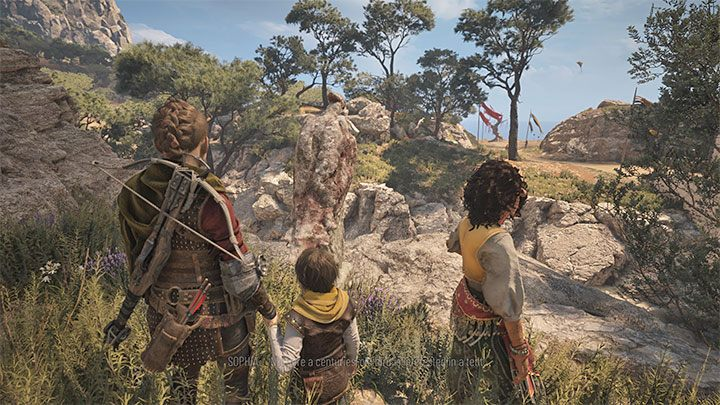
You will enter a semi-open area that encloses the island, and meet Sophia, who will accompany you during your exploration.
This page of the manual is dedicated to the mandatory actions that you need to perform while in the open.
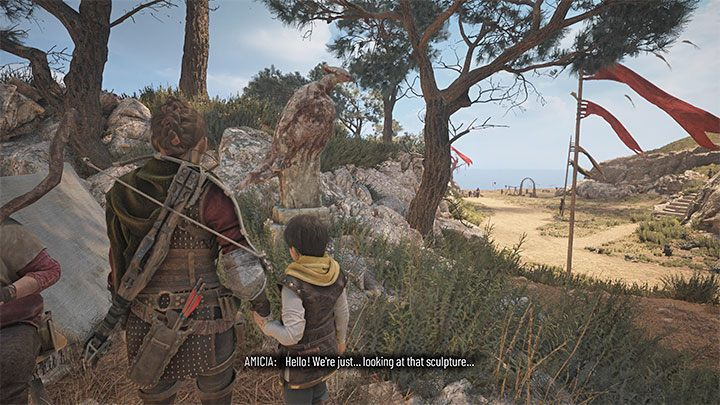
Follow the bird statues
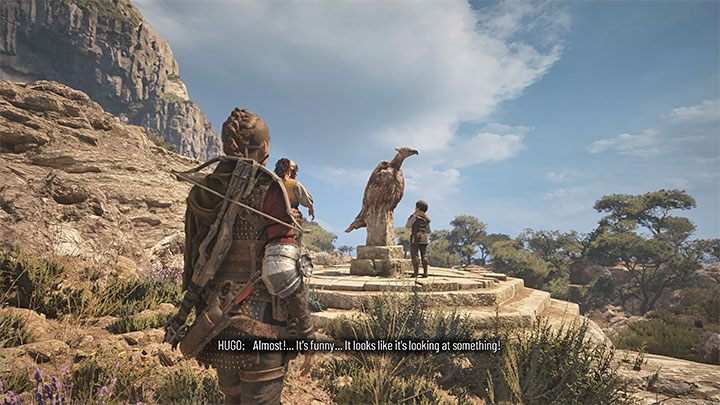
Follow the winding path leading down. Are you soon reach the first bird statue - follow them to stay on the right track. Always point in the direction in which the statue in question is.
Keep following the same path until you see the second bird statue on the right. Shortly after, you should see a house with a woman leaning in behind the open window in front of you, on the right. Enter the garden behind the house and go all the way to the end of the path, framing the cliff side, and you will find a large tree that, when interacted with, opens memory No 15/21 A thousand years.
Return to the main path and cross the large bridge. When you reach the first yellow flagpole on the right, go up the stairs and you will see four windmills.
This is a puzzle that, when solved, will give you access to the Secret Bracelet, which allows you to take more damage before dying, which can be especially useful in NG+. Each windmill has a lever inside that either turns the windmill on or off. We will number the windmills from No. 1 to No. 4, with No. 1 after the stairs and No. 4 at the very end of the hill. To solve the puzzle, you need Windmills #1 and #2 to be off and Windmills #3 and #4 to be on.
So, first, go to windmills #1 and #2 to turn them off. For Windmill #1, you just need to unlock the front door, while for Windmill #2, you need to pull the box from the back with a rope. Then climb up to the large crate to crouch under the hole and deactivate this windmill.
As for windmills #3 and #4, you just have to deal with #4 with #3 already on. Go to the back of windmill #4 and crouch under the wooden cart, then up the stairs. Throw a stone at the door lock through the window to open the door, then drop back down and access the windmill to turn it on.
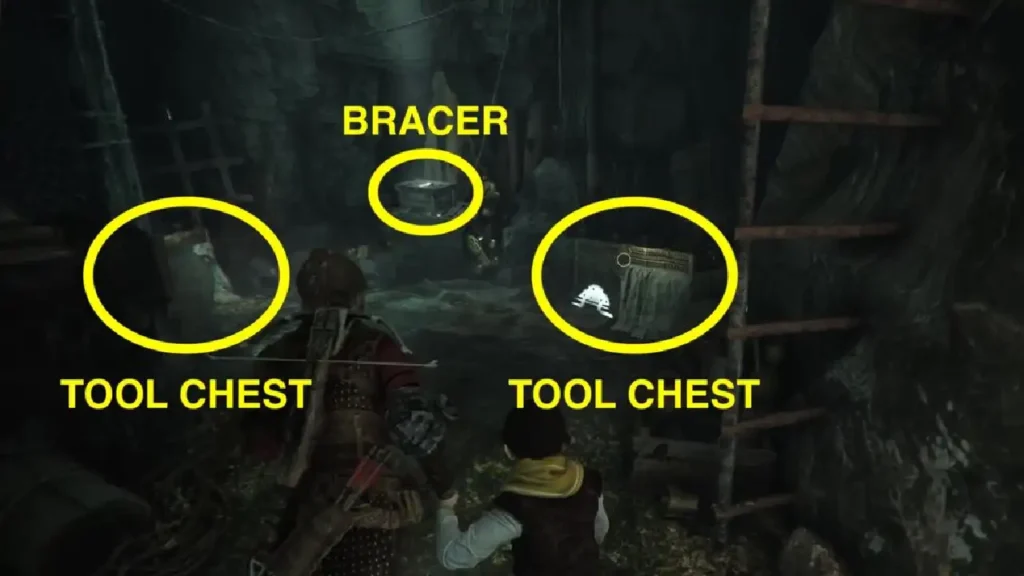
After that, go down the path between the windmills No2 and No3, which has 3 stone arches and leads to a cave. The cave door should now be open if you have turned the correct windmills on and off.
At the end of the cave is this secret bracelet, as well as 2 tool chest.
Go back to the windmills and if you look up into the sky you should spot some kites.
Climb back down the stairs that gave you access to the windmills and head towards the building that has the kites attached to it. Climb the ladder at the back and climb up to the roof.
Using the hole in the roof, shoot the rock through it and at the chain that keeps the crate hanging.
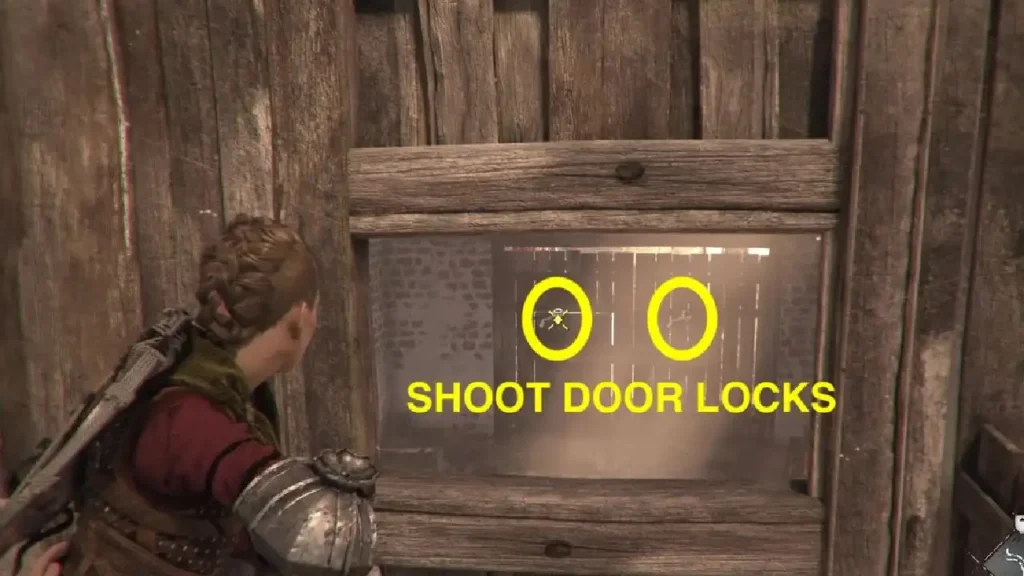
Now go down back to the balcony and look through the small window. From here, shoot two rocks at the chainlocks in the distance to unlock the building.
Now head back down and around the building to the front door to access it and find a chest with instruments with upgrade materials. Exit the building and go past the dead tree with all the people, then continue along the same path past the watchtower. Cross the bridge and you will see a ruined tower in front of you. Face the tower from the bridge, go to its right side and shoot the door lock from the window, then enter the tower and enter the room you just unlocked and grab knife from a broken barrel.
Now climb up the next two stairs to find Secret Chest #6.
Keep climbing up and interact with the viewpoint to unlock Memory #16/21 Nice Screeching.
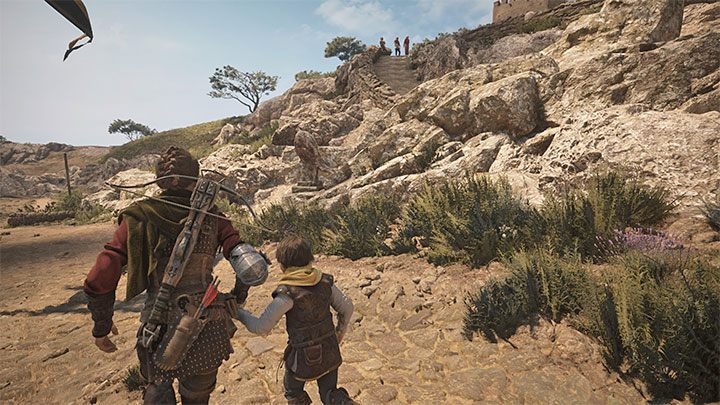
Now we can continue the story. Climb back and cross the bridge again. Now point the camera to the right and you should see some arched rocks.
Go in their general direction and you should notice a coffin that you can move and squeeze through some walls.
Find out what the ruins hide
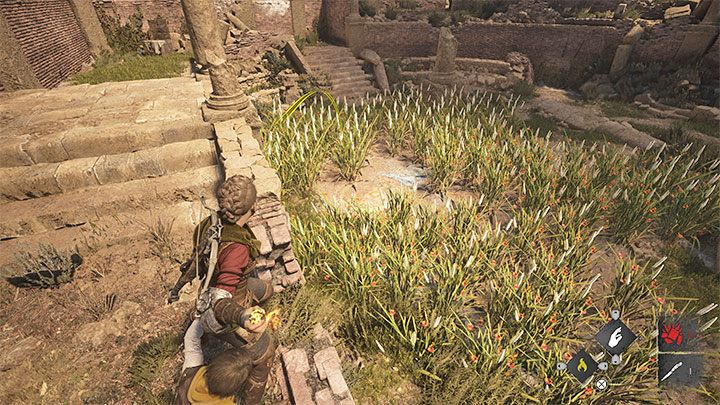
Now you are at the remains of the amphitheater. Enter the scene with a patch of grass and set it on fire to reveal a fresco of the island map, which shows the direction we must now take: the mountains called Las Madres.
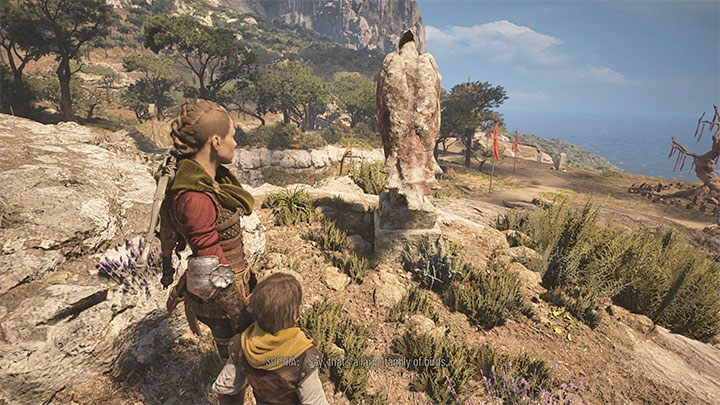
Let's go back to the bird statues for a moment:
Third statue located next to the bridge and facing the house.
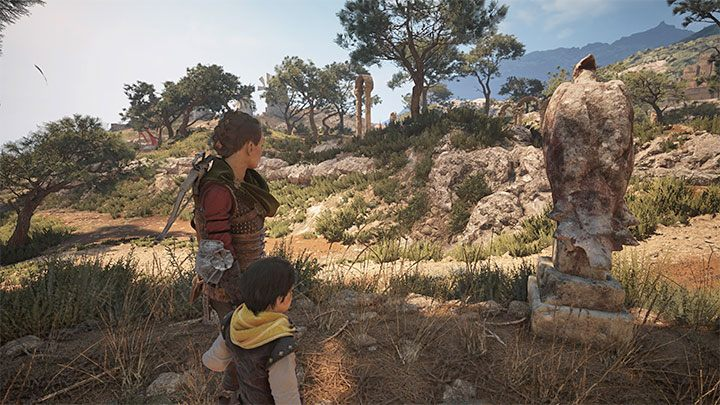
fourth statue located near the rocks and facing the red flags.
Fifth statue located next to the above flags and faces the hill.
sixth statue located on a hill and facing the trees.
seventh statue is next to one of the trees and faces the ruins.
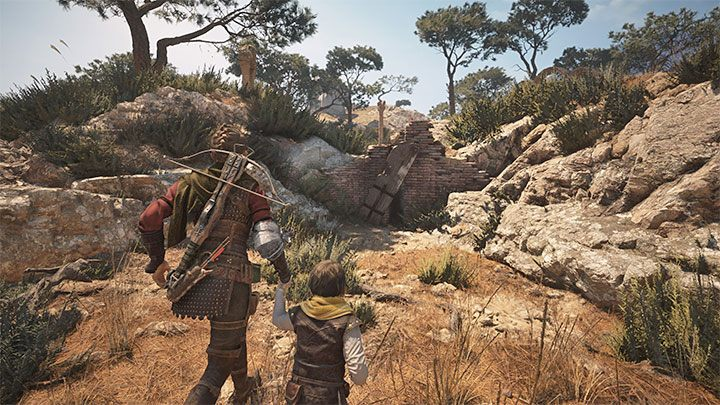
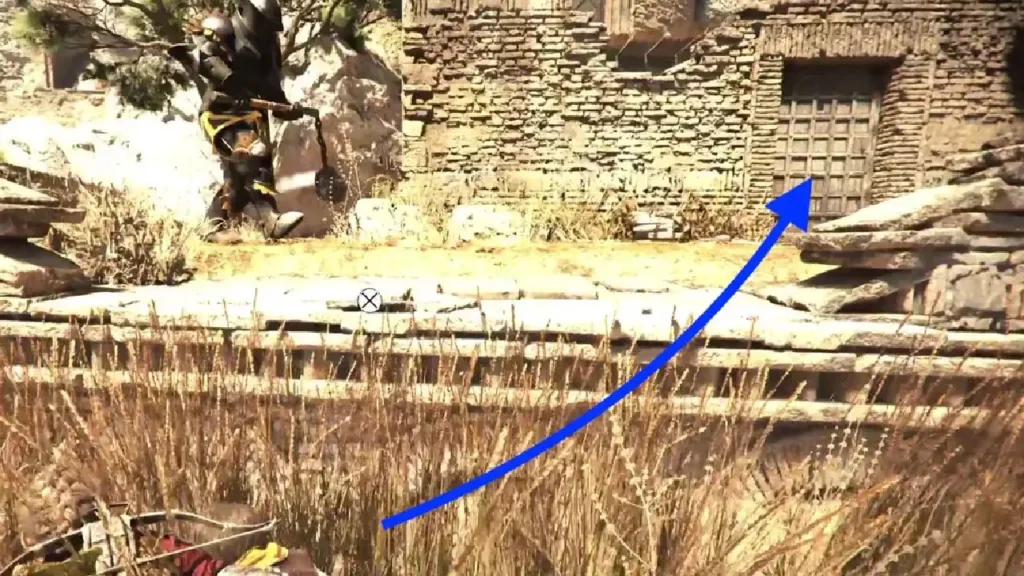
Destination - ruins in the central part of the island. The entrance to them is shown in the attached picture - you need to move the obstacle and squeeze between the rocks.
Get to Las Madres
Exit the amphitheater and cross the bridge again, moving in the general direction of the mountain. Keep going up the mountain and you will eventually reach a gate. Interact with him to open them.
Up
Get to Las Madres
Continue up the path until you see a fountain. Approach him to drink some water and then continue until you are blocked by a herd of goats.
As the shepherd suggests, take the side path on the left and ask you to bring back a missing goat named Tramontane if you see one.
Entrance to the Sanctuary
Find a way around the checkpoint
Head up the side path and up the ledge. Keep walking until you spot a ruined building to your left and you'll hear a bleating sound. It's Tramontane, the missing goat, but it's stuck inside. Burn the bush next to the door and ask Hugo to crawl inside.
He will open the door for you, enter and interact with the goat to unlock memory #17/21 Tramontane.
There is also a chest inside the building. instruments with upgrade materials. Return to the main path and climb up the ledge. As you continue to climb, frame the rocks and you should discover a hidden ledge. Climb up here and you will find Secret Chest #7.
Return now to the main side path and you will eventually reach a patrolled area. In this area, you cannot kill or be seen by anyone. However, you can use Sophia's Prism to divert enemies to certain areas of tall grass.
From the first patch of grass, instruct Sophia to use her prism on the grass by the ruins, and then sneak past the guard to the patch of grass in front of you.
Continue on, and when the guard in front of the broken facade moves, move on to the next patch of grass across from you.
From here, when the same guard returns to his post, ask Sophia to divert him to the patch of grass you came from, then open the chest and finally open the door.
Now continue on through the crack.
Get to Las Madres
Continue up the hill and when you reach a tree with a red ribbon around it, hide in a patch of grass to the left of it. When the guard on your left moves inside, go inside but hide behind the fence.
When he moves again, go around the fence and up the stairs.
Stay crouched and hide in the grass. From here, climb over the walls to the right and instruct Sophia to divert the guard in front of you into a close patch of tall grass to continue.
Crouch down the stairs and open the chest for tools for some materials.
Now head down and you should now be in the room where the very first guard we met is located. While inside this room, climb over the wall to land in the grass near the tree with the red ribbon, and from here hide in the bushes behind the large armored soldier.
While behind him, ask Sophia to burn the grass right in front of him and access the chest, then immediately hide in the grass you just ordered Sophia to burn.
From here, wait for the large armored soldier to return to his post, and then, after making sure there are no other guards in your direction, continue up the hill and hide in the grass to the left against the wall.
Use Sophia's skill one more time to distract the guard on the hill and continue towards the spot behind the chest.
From this patch of grass, ask Sophia to burn the grass on the other side of the path to distract the large armored soldier.
When no one is looking, try opening the chest for some upgrade materials. Then return to the same patch of grass and go up the hill and behind the cart.
Keep going up the hill, always be aware of your surroundings and reach the building on the left hill. Open the door past the third large armored soldier and up the stairs to access another door that leads you into the tower.
Walk all the way to the tower until you can go up to the left and go to the end of the path to find an item for Herbarium Hugo #8/12 / Feather #4/7 Barn Owl on the ground by a tree.
Now climb down the wooden ledge and continue to trigger a new cutscene during which Hugo, Amicia and Sophia will dress up to attend the ceremony.
Day and night
follow the ritual
Follow the attendants inside the sanctuary.
During the ceremony, the Count and Countess tell the tale of the Coal Child. Continue to follow the attendants and kneel when prompted to do so.
After getting the torch, continue following the escorts and head to the back of the shrine, making your way through the water.
Continue down the dark corridors and give the torch back to the Countess when asked.
Reach the sacred quarters
When Sophia reunites with you, follow her to the door to open it and then interact with the windows. We are now inside the actual sanctuary. Here we learn that the mythical Ember Child is just a fantasy based on a real child named Vasilius who was the first Prim Macula Carrier.
Phoenix
Explore the sacred quarters
Follow Sophia downstairs and open the door. Inside this room the trophy tracking starts 
Now enter the second room and interact with a toy chest on the right, with armor set across the entrance, swords and spears to the right of the armor set, and wax plaques on the chest by the door.
Now access to the third room, which is the courtyard. There is nothing to interact with here, so you can go to the door whenever possible. Here, interact with the flasks with the brass alchemy machine, the small cooking station opposite the machine (to the left of the door), the athanor through the door you just opened, the dark flask opposite the athanor on the wooden table, the stack of empty flasks in the corner (
Now go to the torn curtain at the athanor, climb through the window and go upstairs.
Here you can interact with some scrollbars in the left corner and a transparent floor grid in the middle.
When you're done looking around everything, talk to Sophia to continue. We now have a new direction based on where Basilius was last seen centuries ago.
Immersion
Leave the Sanctuary
Keep walking along the walls, making your way along the ledge and crouching as needed, and you will eventually reach the sewers.
Keep crouching through the sewers until you exit again.
This concludes chapter 9 of "History and Mystery" in A Plague Tale: Requiem. Now begins chapter 10"slave traders».
For all other chapters in A Plague Tale: Requiem, check out the full Walkthrough A Plague Tale: Requiem.
Was the article helpful?