Hogwarts Legacy is an open world RPG. Now you can control your actions and become the central hero of your own adventures in the magical world.
Galkrad's Rest Walkthrough Hogwarts Legacy

Galkrad's Repose is the 18th main quest in Hogwarts Legacy. This walkthrough will guide you through all the quests in the Main Mission "Galkrad's Repose".
Demand: to complete Professor Hecate's task 2 (Expelliarmus)
Reward: 260 XP, Professor Sharp's Challenge 1
Quest info: My search for the missing pages led me to a richly decorated room where I came across a portrait of Percival Rackham. Professor Fig will be happy to hear about everything I have learned.
Objectives:
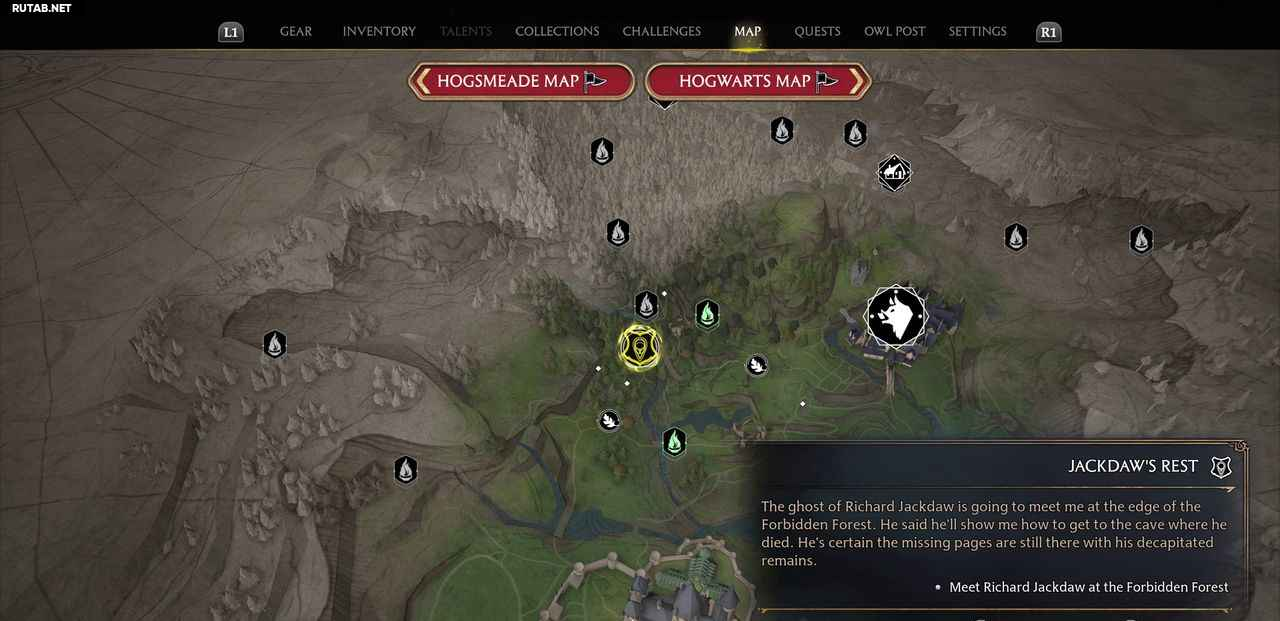
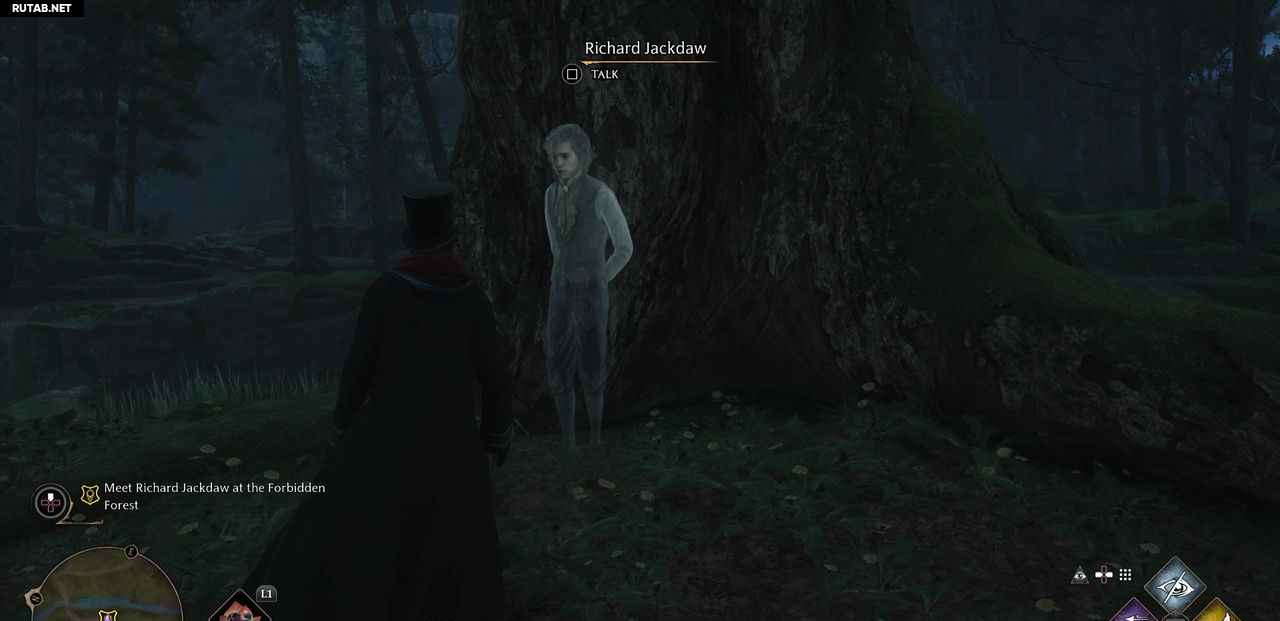
- Meet Richard Galkrad in the Forbidden Forest
- Follow Galkrad through the Forbidden Forest
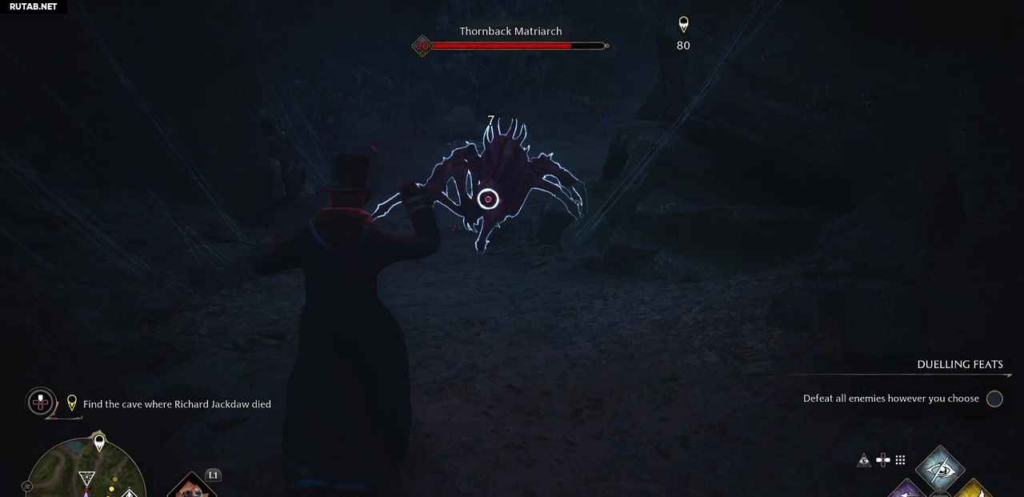
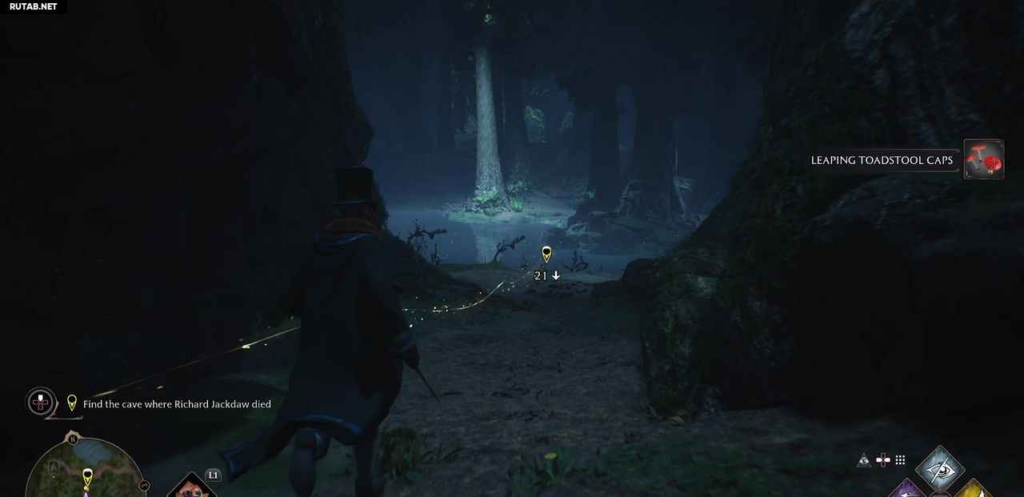
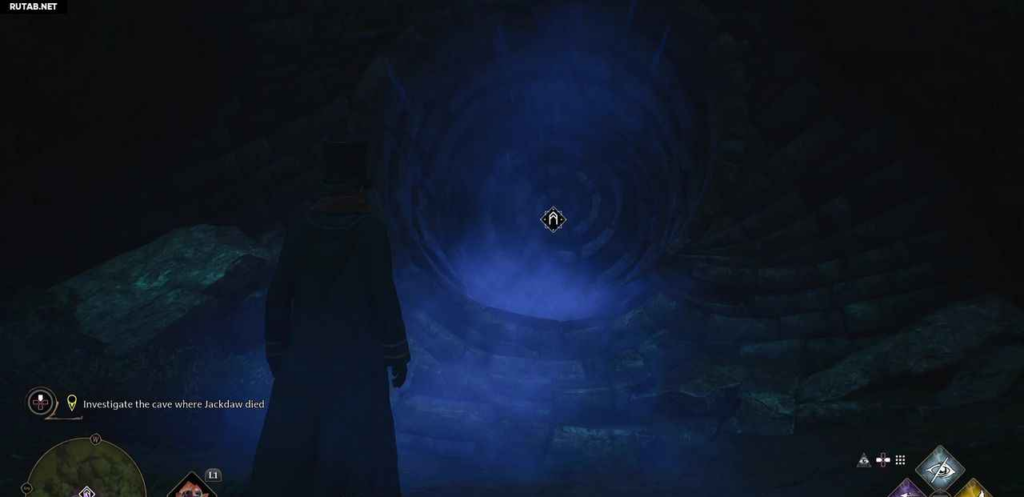
- Find the cave where Richard Galkrad died
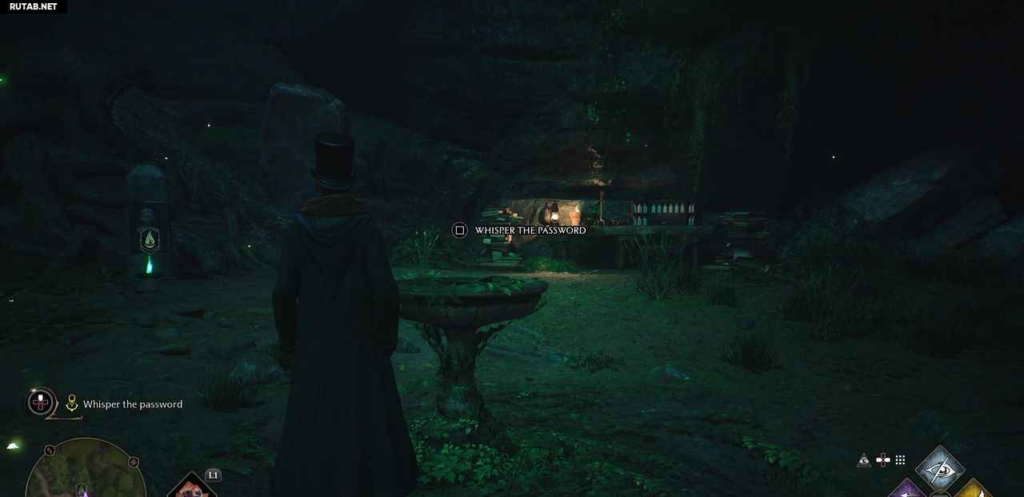
- Whisper the password
- Defeat Ranrok Loyalists
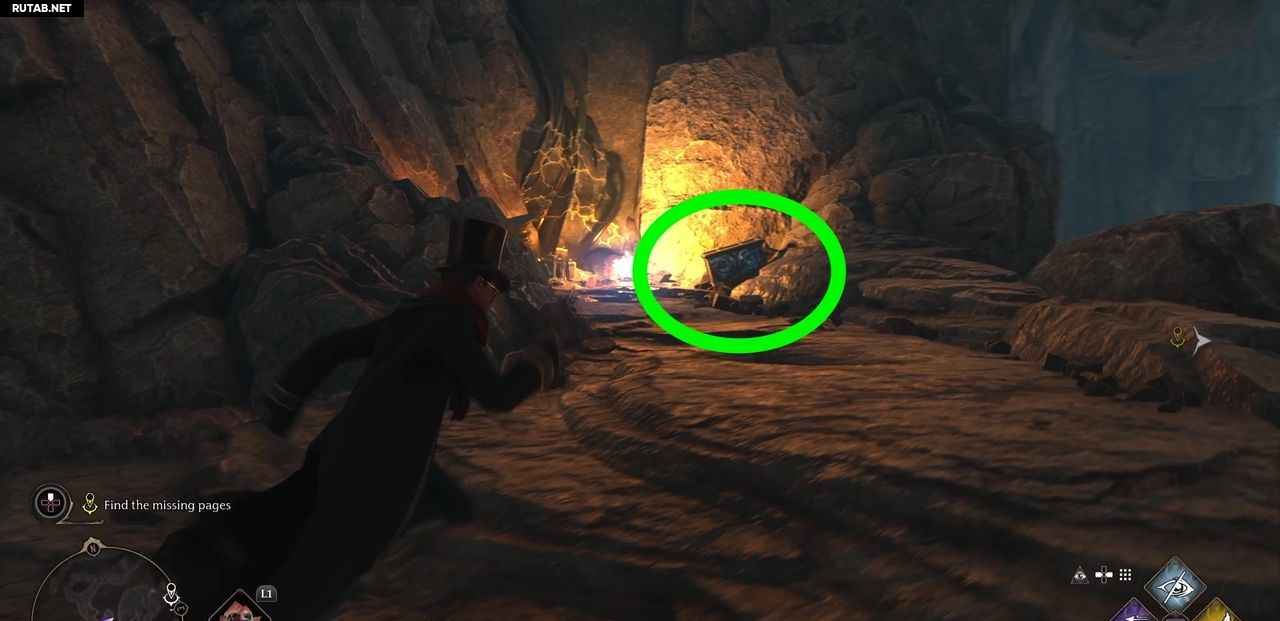
- Explore the cave where Richard Galkrad died
- Find the missing pages
- Protect yourself from ancient protectors
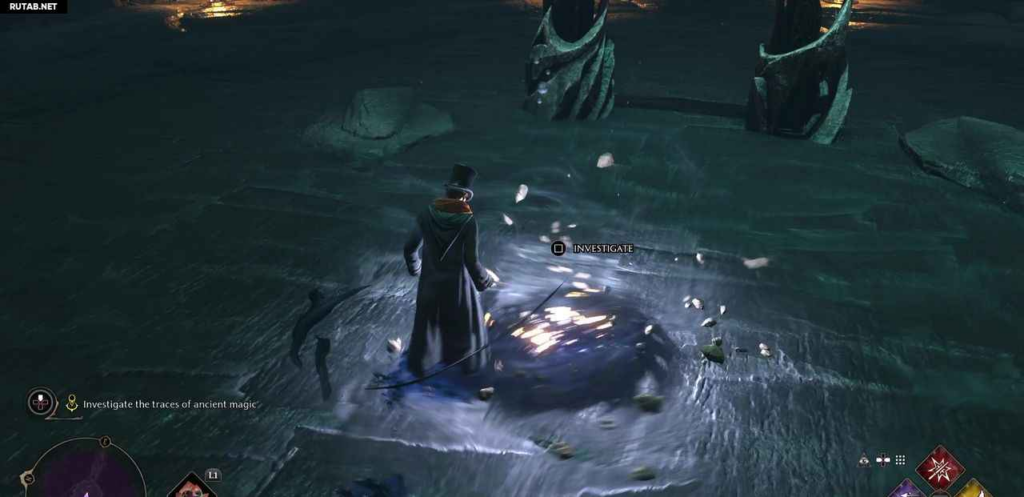
- Explore traces of ancient magic
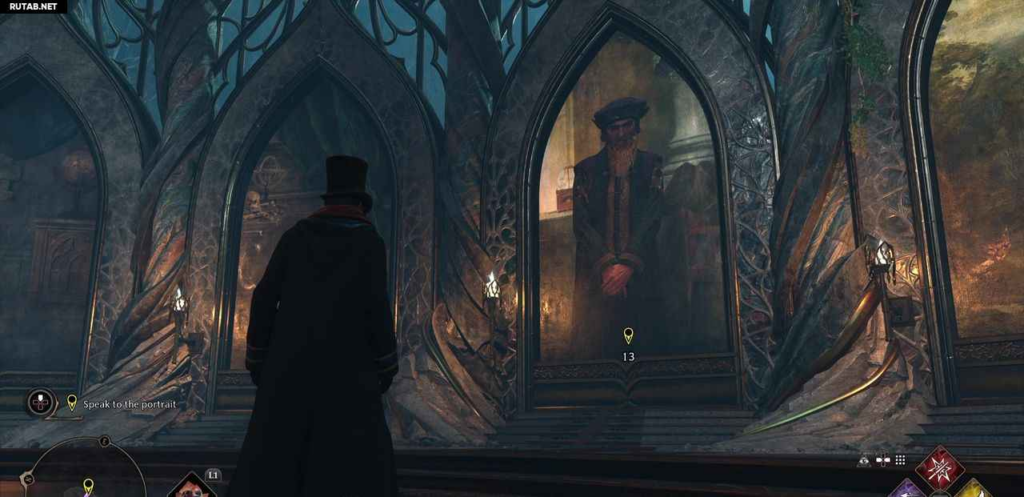
- Talk to the portrait
- Exit the mapping room

Starting Location: Galkrad's Rest
We have now learned the Disarming Spell Expelliarmus and are ready to face Richard Galkrad in the Forbidden Forest.
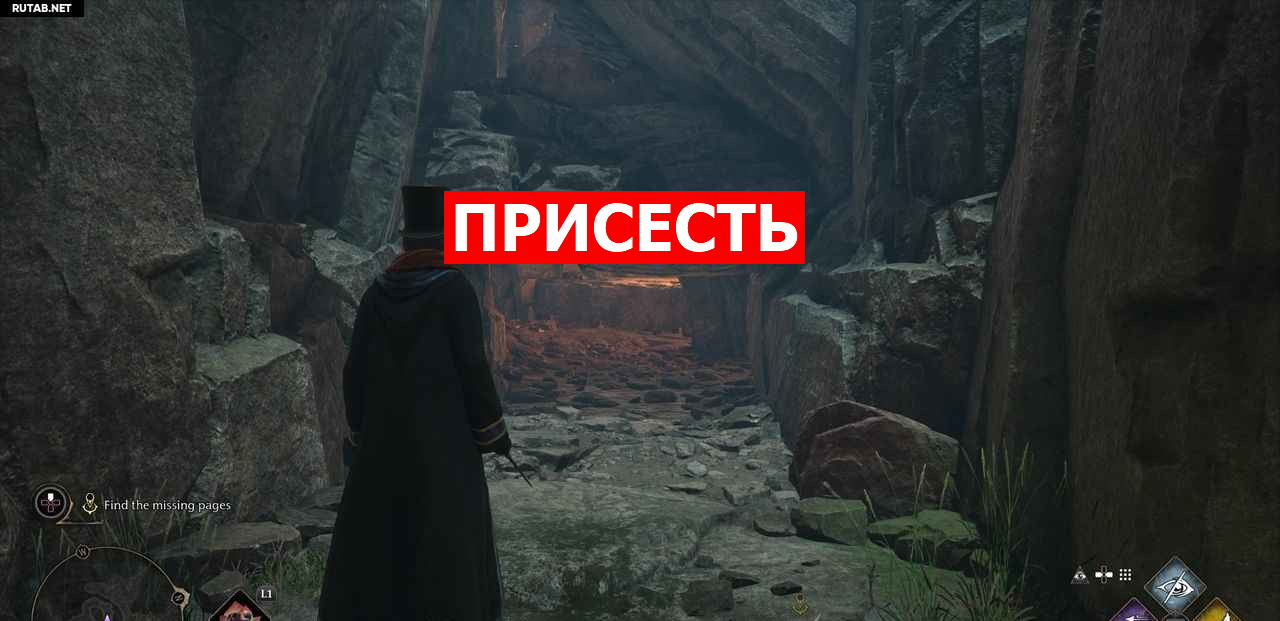
Press ![]()
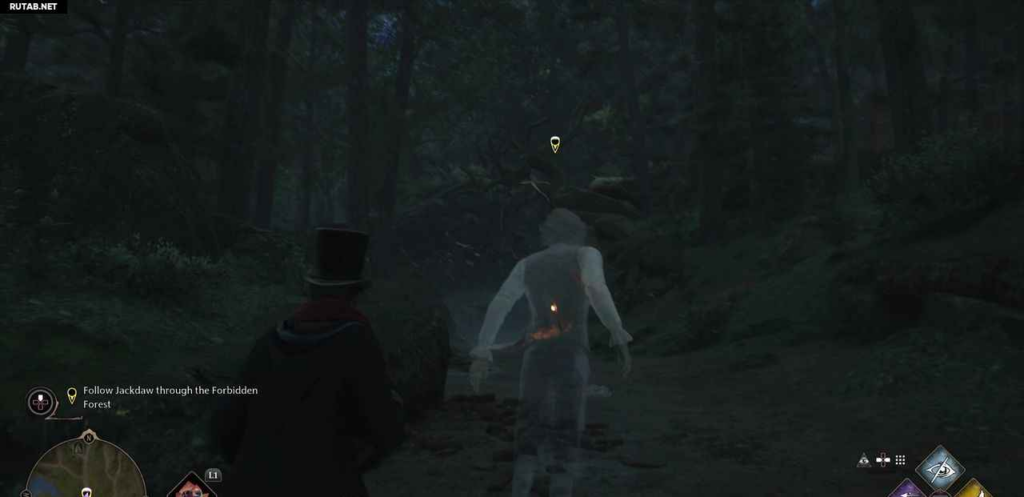
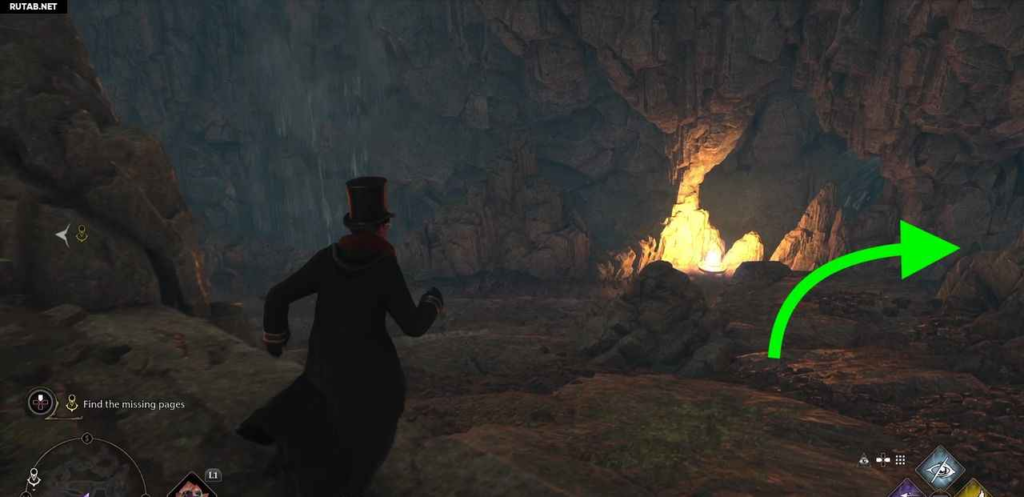
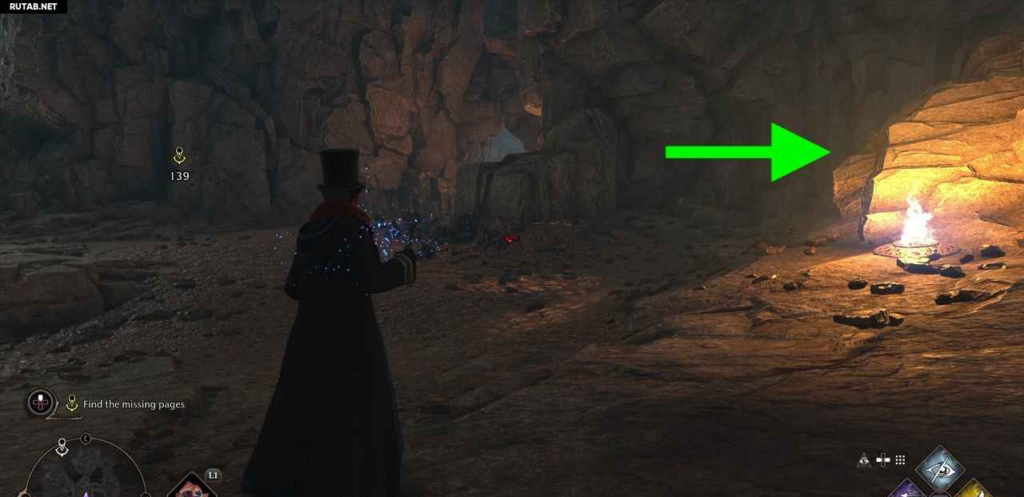
Follow Galkrad. On the way you will find a flying flame.
Continue through the cave tunnels, killing the spiders and burning their webs. After the tunnels, continue through the forest to the next objective.
If you get lost, click ![]()
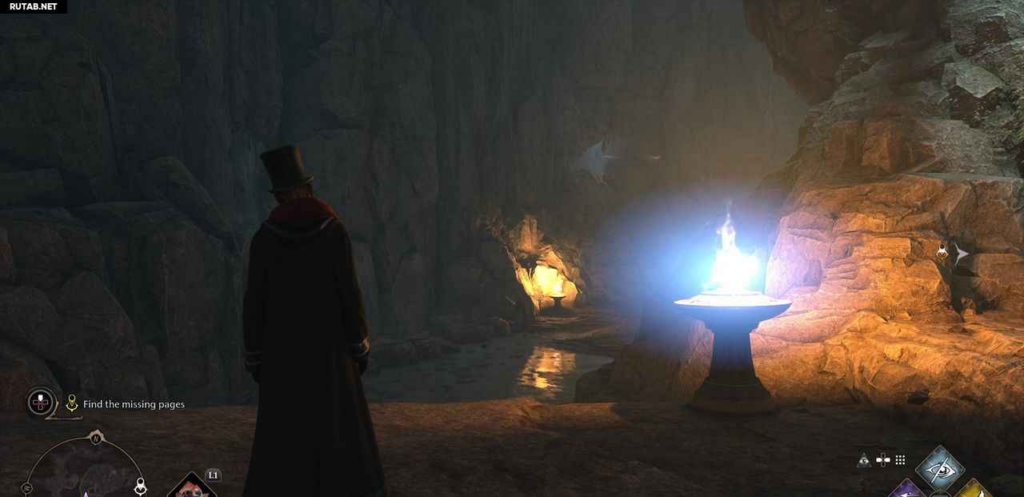
Go to the pool next to the flying flame and click ![]()
You will now be ambushed by several Ranrok supporters. Get rid of them and don't forget to dispel red shields with damage spells like Incendio or Expelliarmus.
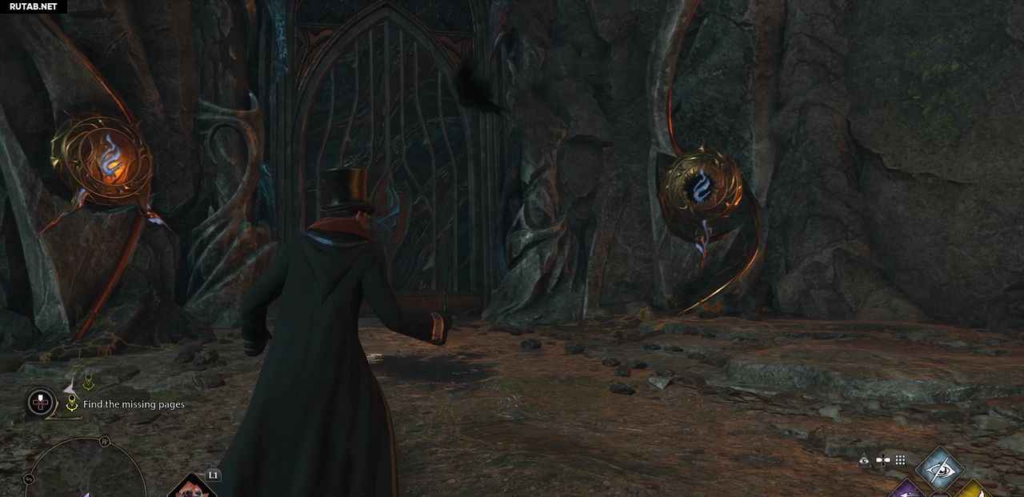
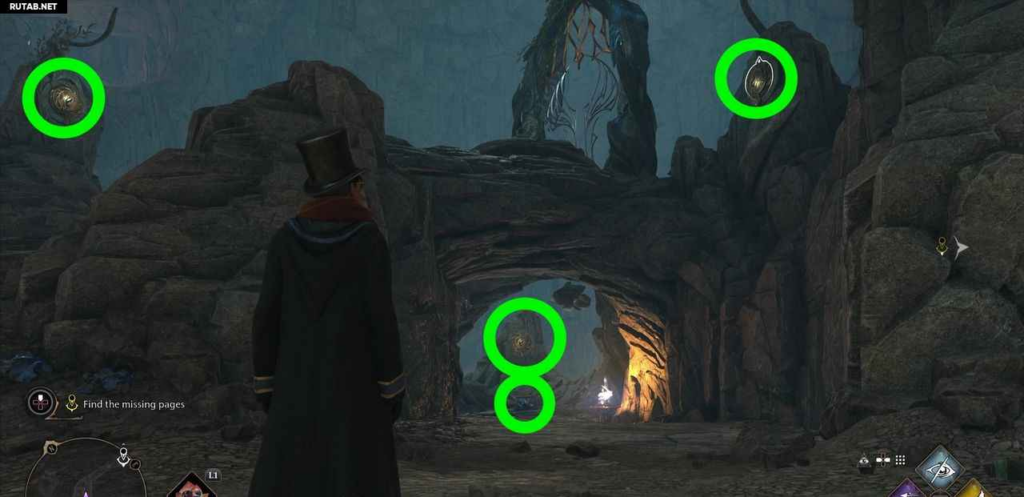
Now enter Galkrad's Tomb.
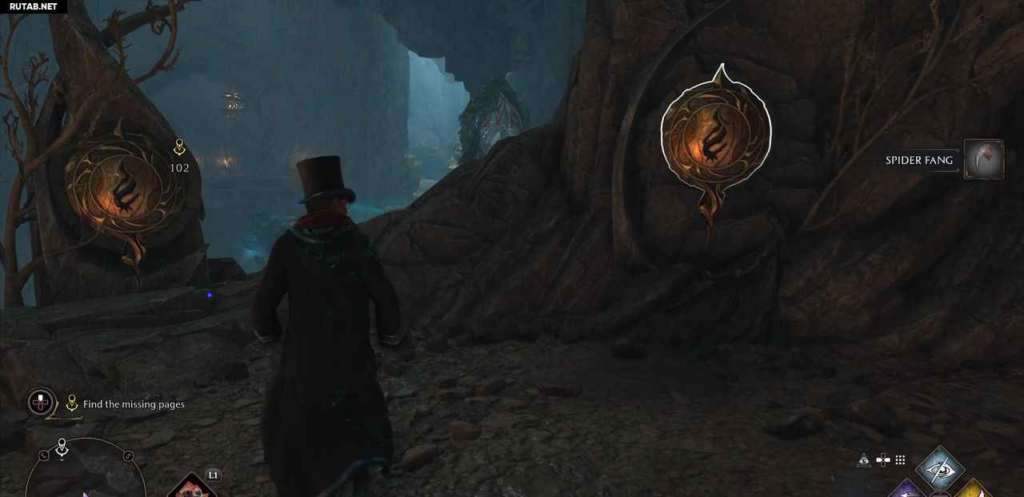
Continue down the cave and cast the basic spell on the three runic switches to open the gate and reveal part of the stone bridge.
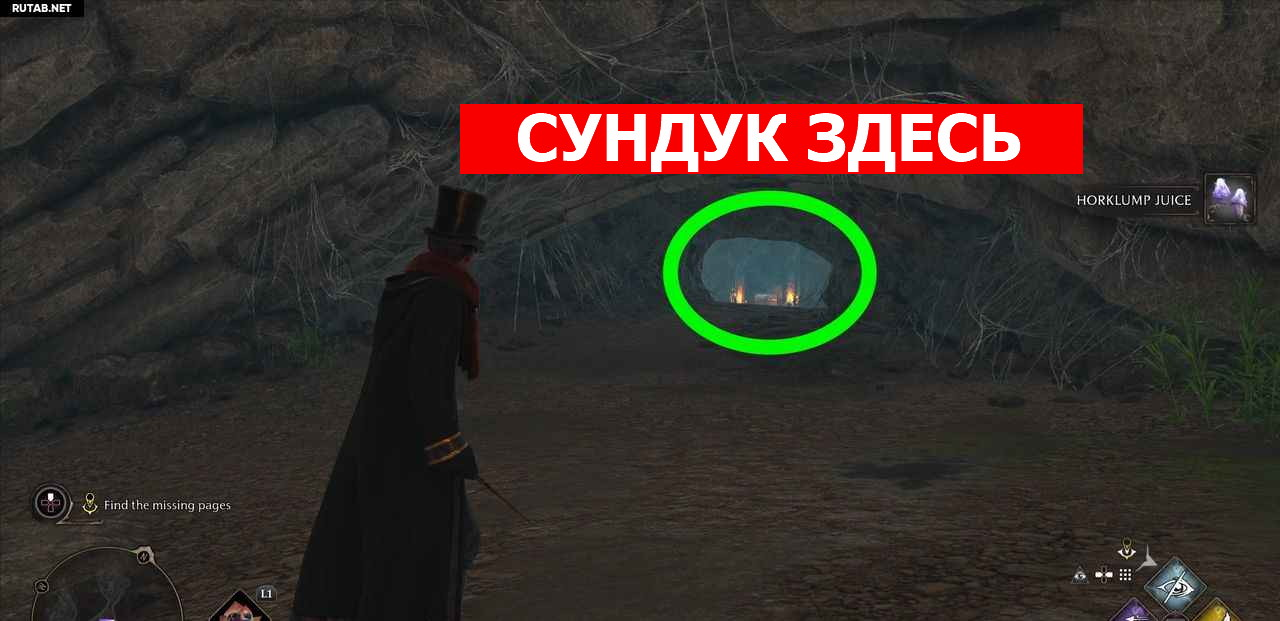
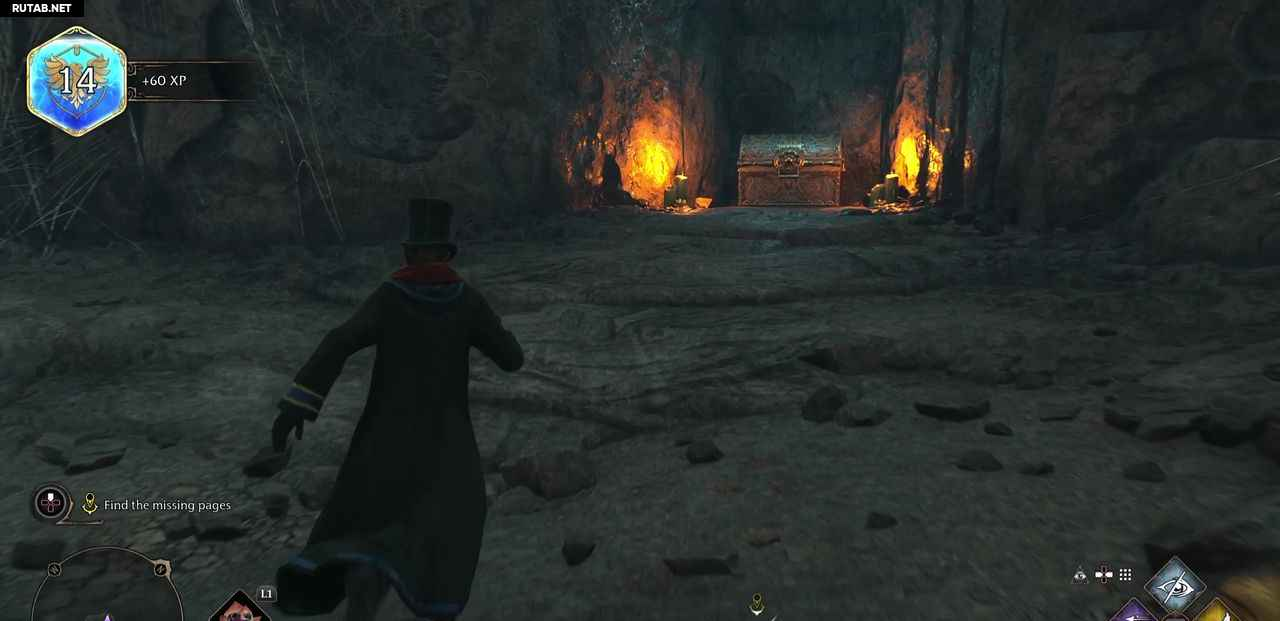
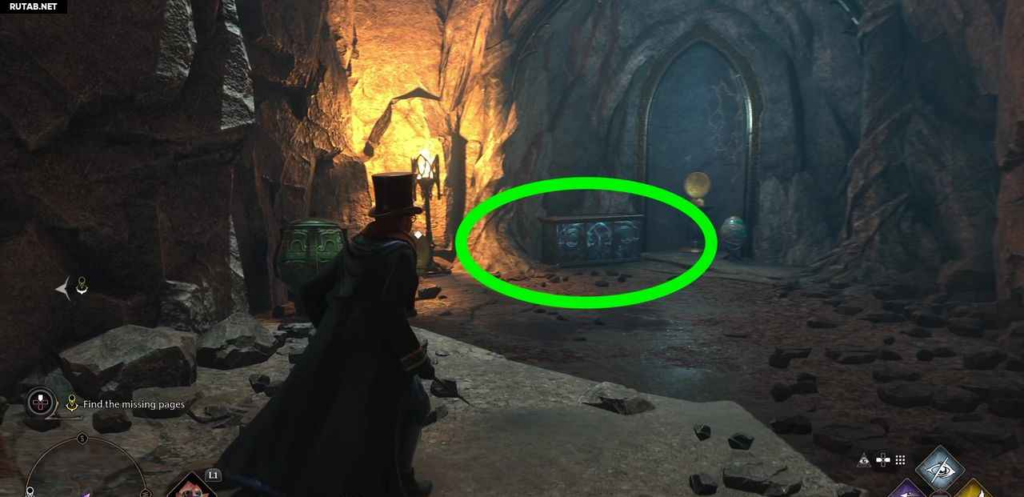
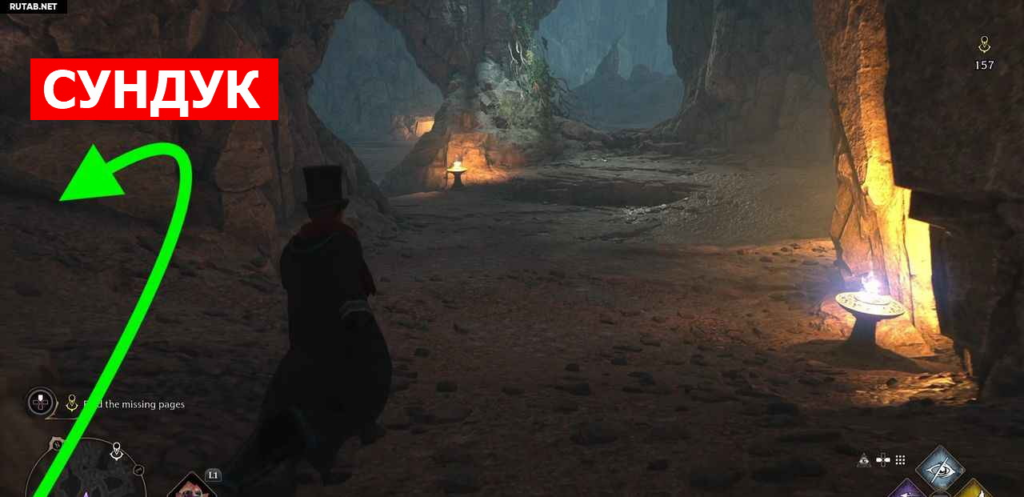
Continue through the gate, killing the spiders and burning their webs. When you get to the fork, go through the tunnel to reach the spider cave with a chest.
Then exit the cave and continue down the cave until you reach the second fork.
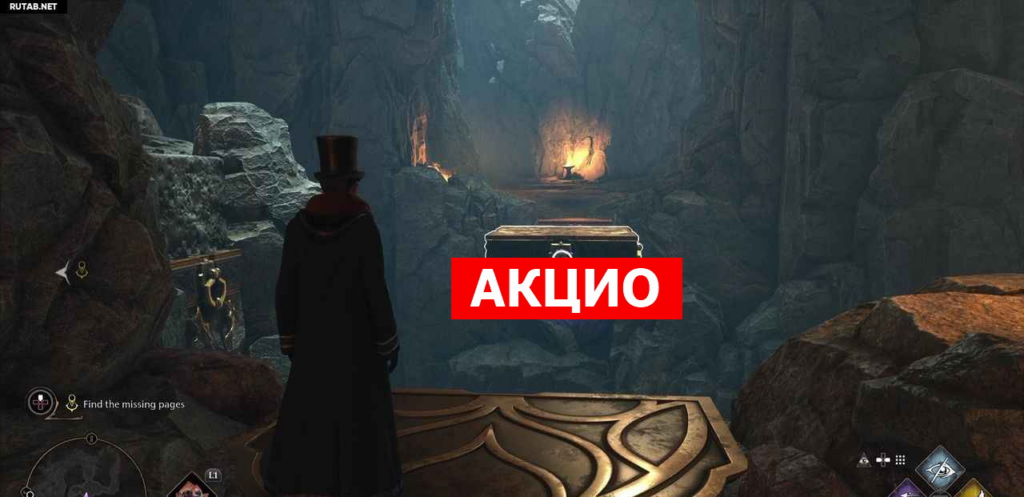
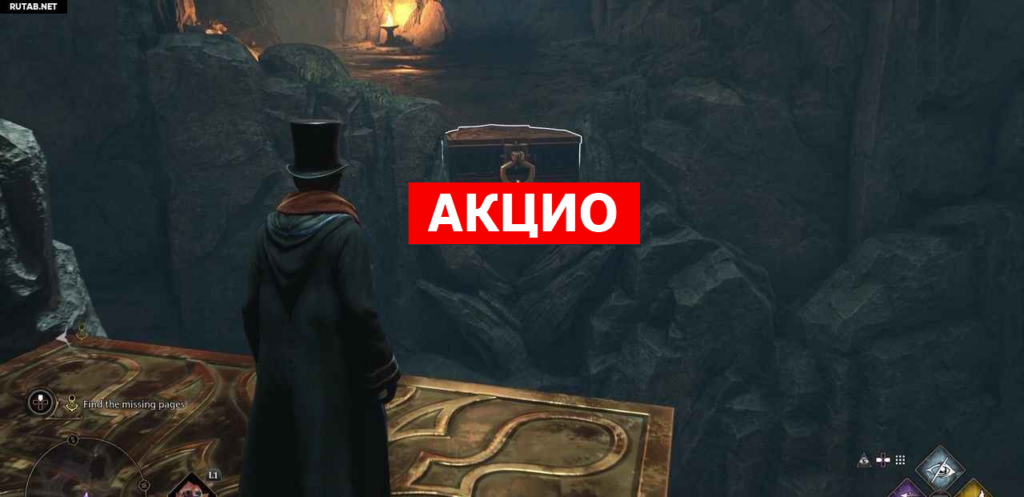
Here, go right and climb the small slope. Defeat the spiders here, open the chest, and then use and hold the Accio on the platform to pull it towards you. Now jump on it, use it and hold Accio again on another ledge to teleport it. Here you will find another chest.
Now head back to the rift and this time go to the opposite side where you can find three more rune switches. Use the base spell on all three to open the second gate and open up more of the bridge.
Now go through the gate and crouch under the rock. Almost immediately after the cliff, check the right side for a ledge that you can climb up. Crouch down and on the right you will find a chest to open.
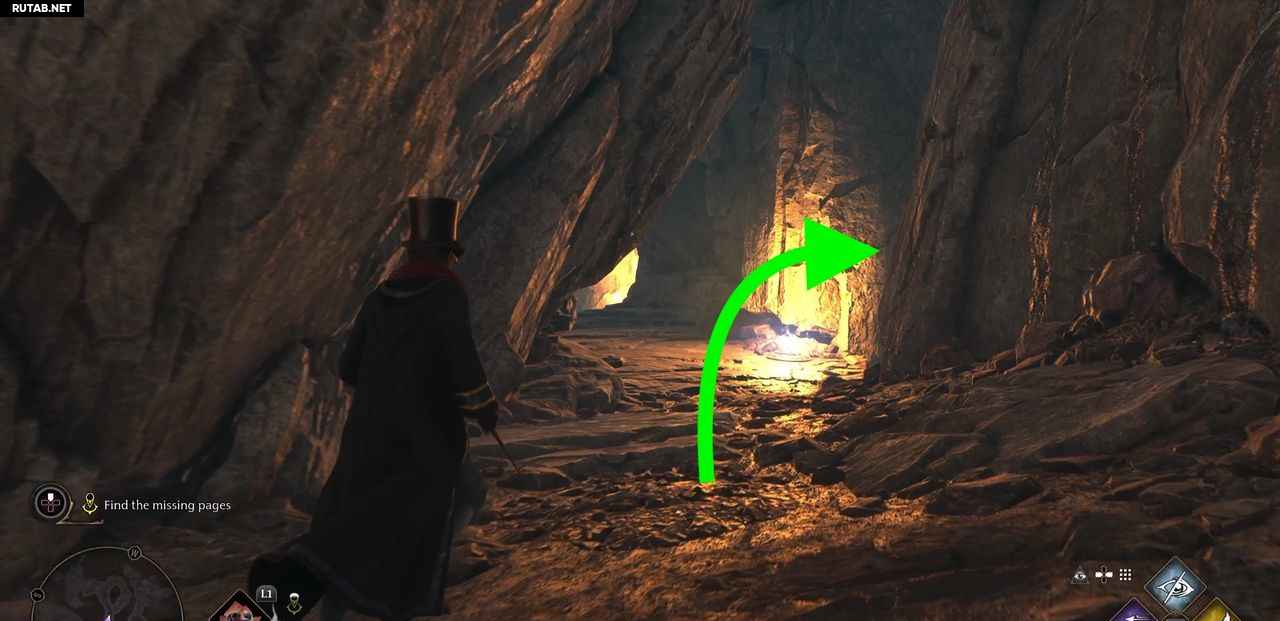
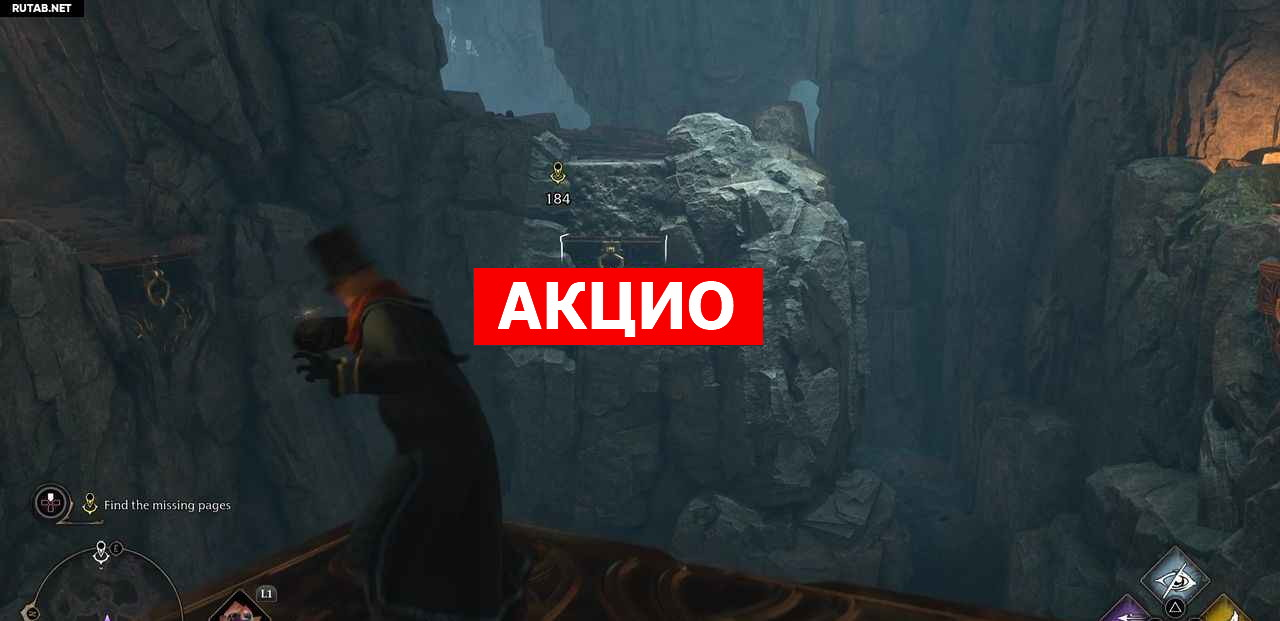
After opening the chest, don't go back, but keep moving to the right to jump down and find another platform where you can use the Accio. Pull the platform towards you while using and holding Accio, and jump onto it.
You should now see three hooks: one on the left, one in front of you, one on the right. Pull yourself up to the one on the right to reach an area with a chest, a spider cave, and another chest.
Once you're all done, return to the platform and pull yourself up to the hook in front of you (the left one from earlier). Here, climb the ledge to find another one. chest.
Finally, pull yourself up to the hook on your left (the one in front of you before) to continue down the main path.
Defeat the spiders, grab the chest from the ledge, then continue down the hill. Immediately to your left, as if you were about to return, there is another chest.
Stand with your back to the hill you just came down from and you will notice three large holes, two on the right and one on the left. Enter the first opening on your right and ride the platform using the Accio to the various ledges you find along the way, for a total of four chests in the area.
Once you've opened all the chests, jump down and return to the main room. This time go to the right (to the left of the previous one) to jump down into a watery area with more spiders to defeat.
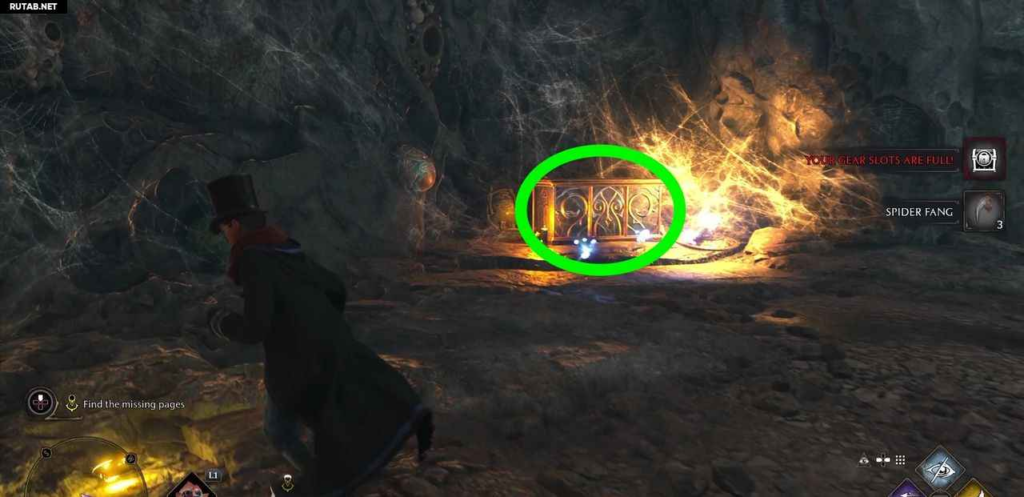
After defeating the smaller ones, two large red ones will appear. Once you've defeated all the spiders, go under the gate to find the rune switch. Two others on either side of the gate. Quickly cast a basic spell on all of them to open the third and final part of the stone bridge. Before you cross it, take the chest from the rune selector under the gate.
On the other side of the bridge, interact with Galkrad's skeleton to collect the missing pages.
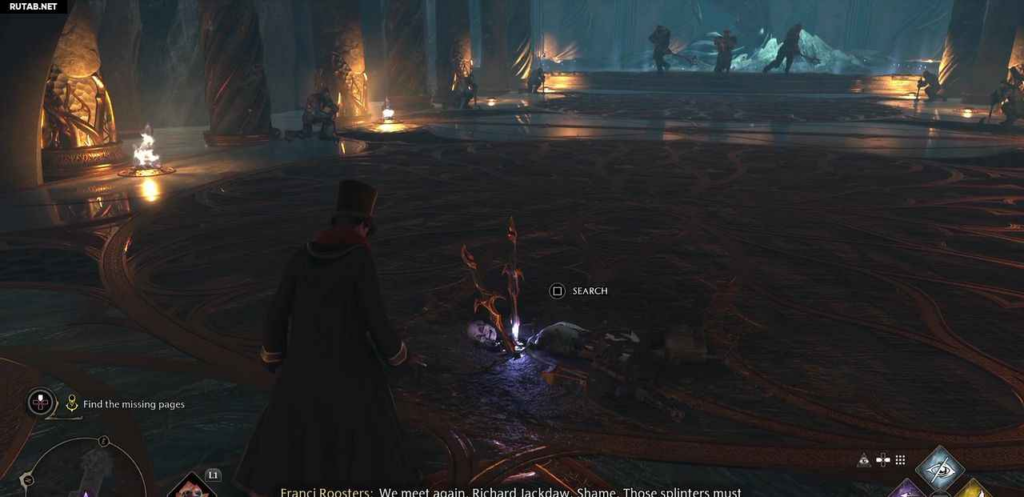
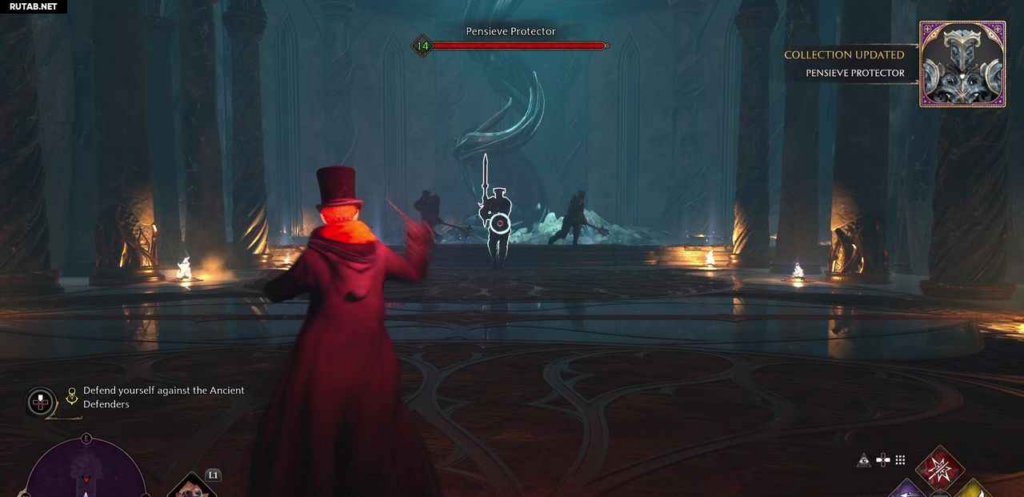
Immediately after interacting with the skeleton of Galkrad, the armored guardians of the Pensieve of Memory will come to life on the sides of the room. After defeating all the Guardians, the Defender of the Pool appears. This type of enemy is immune to all spells, but you can make them vulnerable if you disarm them first. So, insert the Expelliarmus if needed, and then throw it at the Defender. He will drop his sword, leaving it open for standard spells. Do the same on the next two Defenders.
Approach the portal and explore the pool of ancient magic. Then enter the portal and go through the flooded area. Continue the cutscene.
Now approach the portrait of Percival Rackham and talk to him.
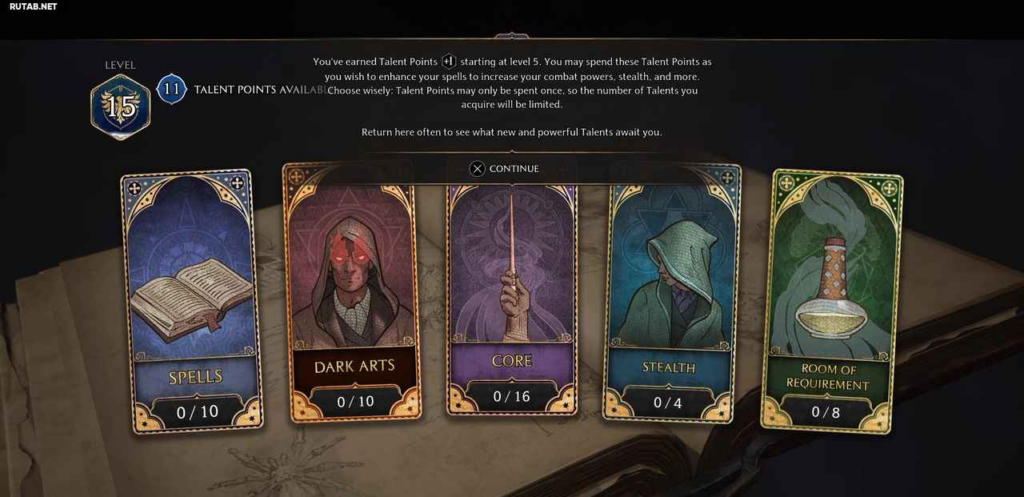
After talking to Percival, follow the instructions on the screen for talent points. Talent points are earned every time you level up your sorcery. They can be spent to boost your spells and increase your combat power, stealth, and more. Talent points can only be spent once, so the number of talents you can purchase will be limited.
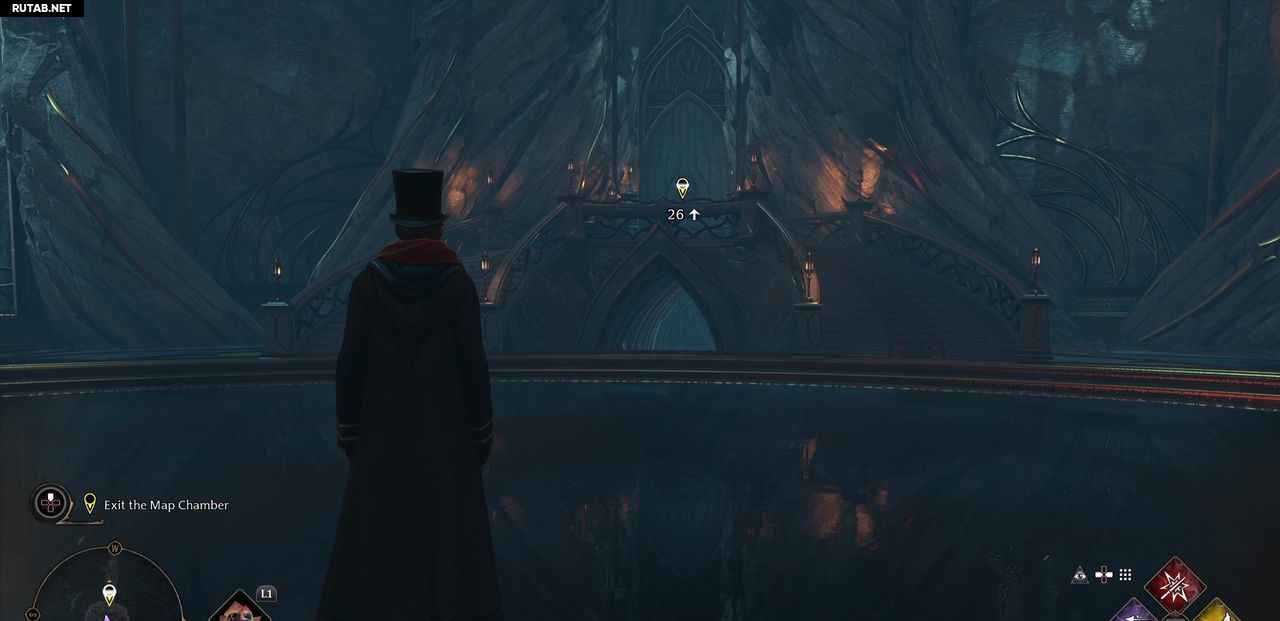
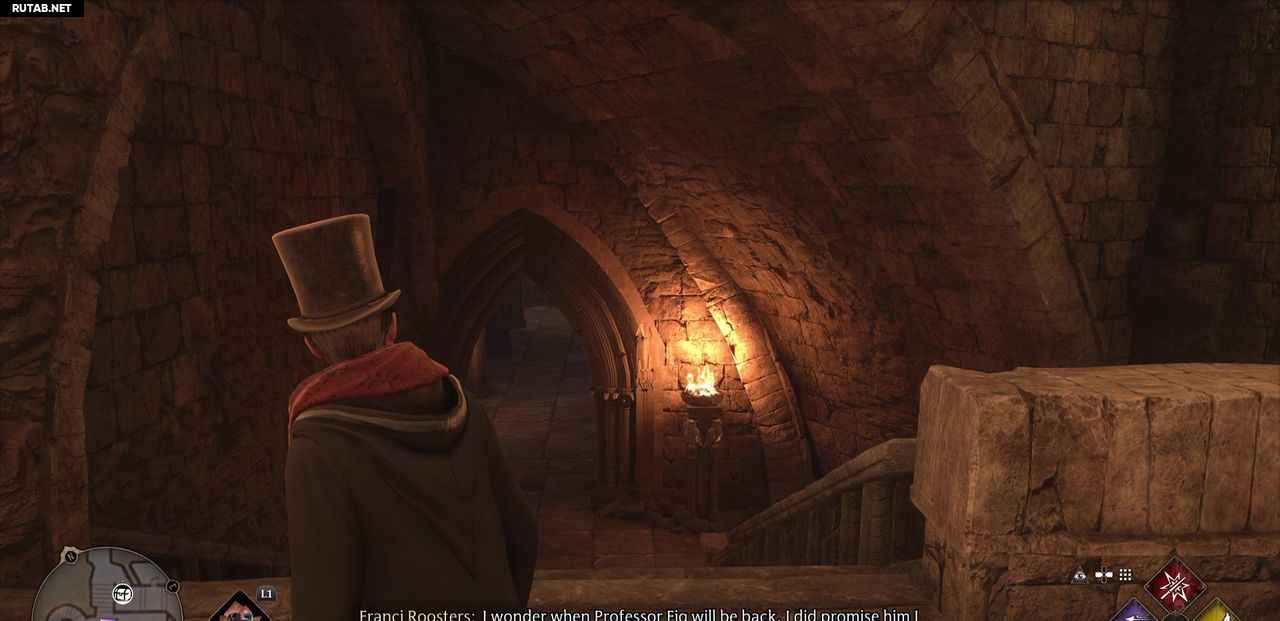
Climb up and leave the mapping room. Keep going up the stairs and you will return to Hogwarts.
This will end the quest and start a new storyline. Flying on broomsticks
For all other guides go to our Walkthrough Hogwarts Legacy.
Was the article helpful?