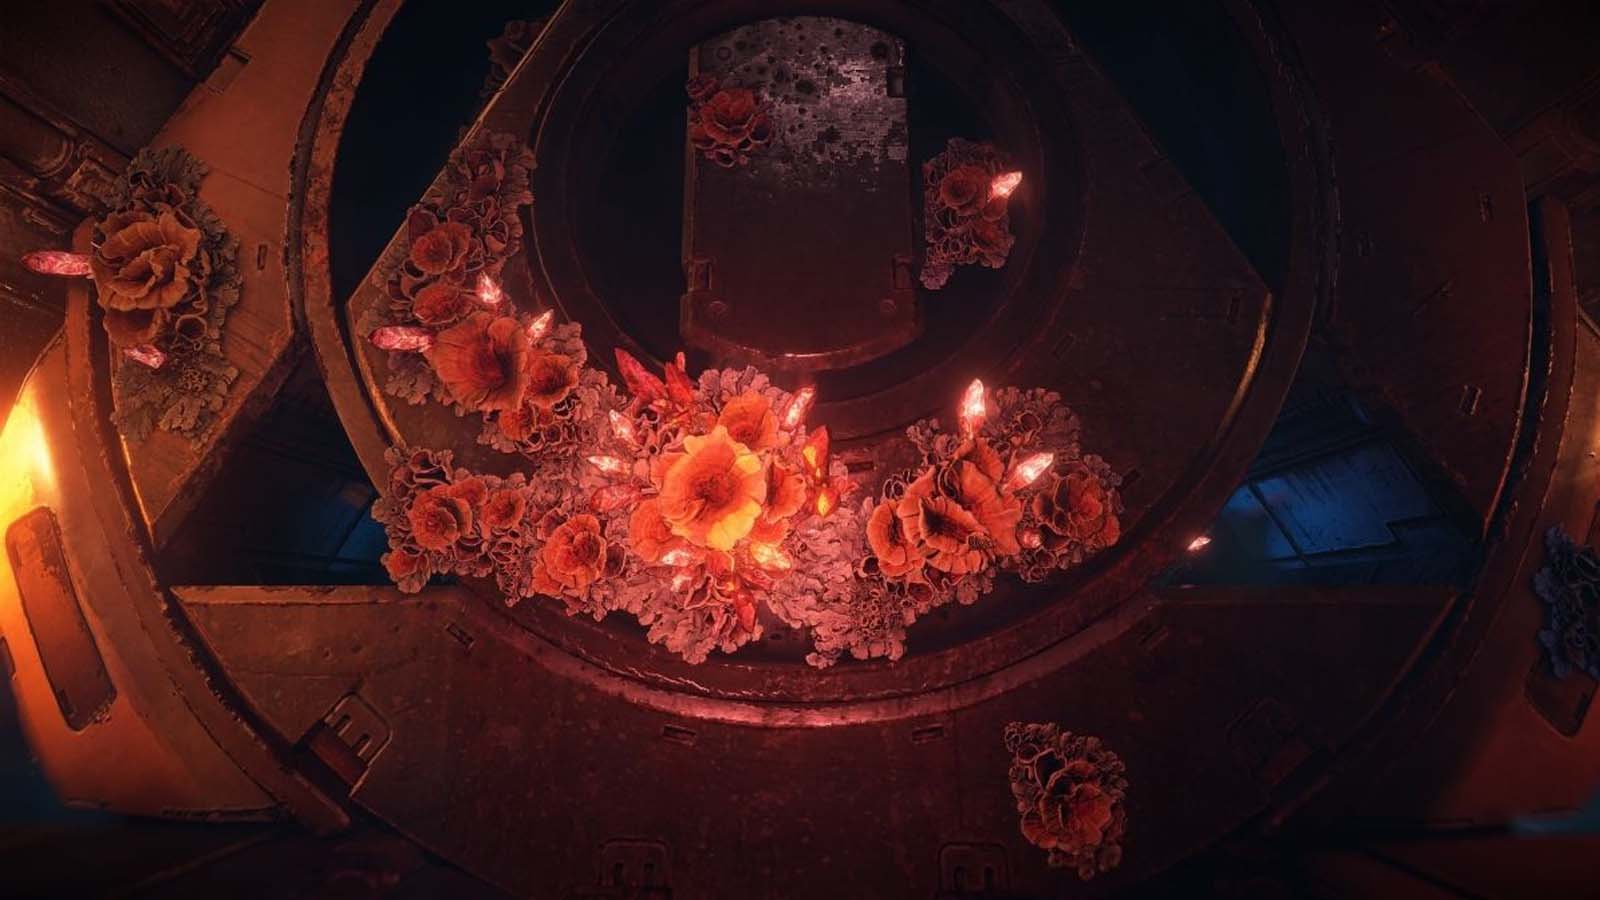
While playing Horizon Forbidden West, players will encounter red crystals known as Fire Glitter. Here is a guide to help you...
Horizon Forbidden West "Gemini" Walkthrough

Walkthrough of the story mission "Twins" in Horizon Forbidden West.
Job level: 30
Demand: Starts automatically after Tombs of Faro
Reward: +15000 XP, +2 Points
Walkthrough "Gemini" Horizon Forbidden West
Let's go back to base to meet the others and GAIA. GAYA informs us that HEPHAESTUS has multiplied and become stronger, which takes longer and makes it difficult to subdue GAYA. Although, perhaps there is a way to reduce the time. Exit the GAIA room and talk to Varl, who will tell you that Beta is in a bad state. Let's go downstairs and check.

Beta needs to be persuaded to join the cause, there is no other way. When talking to Beta, choose any conversation option that best suits your personality. Eventually, Aloy shows Beta a hologram of her foster father, Rost, and that's enough to convince Beta to join our efforts to save the world. Now return to GAIA to tell her that you and Beta have found common ground and are ready for the mission.
When everything seems to be going smoothly, trouble comes. We are being attacked by a new mob of machines and we need to protect Beta while killing the machine. One of the machines is a Behemoth, weak to fire and acid damage, with many removable, explosive and chain components. The other vehicle is the Ravager, weak to acid, with a useful detachable cannon on the back that we could use against the Behemoth itself. So ideally focus on the Ravager first.

When the machines are finished, return to Beta and Varl. Meanwhile, HEPHAEST has escaped through the system. It's time to follow him. Now we need to go deeper into the cauldron to find HEPEST. Navigate to a waypoint to continue moving forward. In the new room, slide down to the next platform. Now enter the giant room with the protective shield. Jump or slide down into the room and follow the direction of the conveyors above.
Shortly after that, you will reach a fork. Let's go left first. Use the pillars in the room to climb up to the left elevated area (where you came from as a guide). From here, use your Pullcaster on the blue energy cell to find a lift point, then from the top platform jump onto the conveyor when it's safe to jump onto it. You can jump off the conveyor when a new target appears.
The conveyor will take you to a room full of cars. Get rid of them first so that you can safely redefine the network uplink later. Here we have Apex Leaplashers and Longlegs, which shouldn't be too hard to handle at this point. As always, first examine the machines to identify their weaknesses and elementary flaws and add them to the database.

Once the area is safe, approach the node to try and bypass it. New machines, including the Grimhorn, will rush in. You know how to behave. Now try redefining the node again, and this time everything will go smoothly. Hephaestus escaped from this room and went to the second, nearest one. Exit through the giant door the cars went through and use the pillars to get to the opposite end as the entire floor has been electrified by HEPHAESTUS.
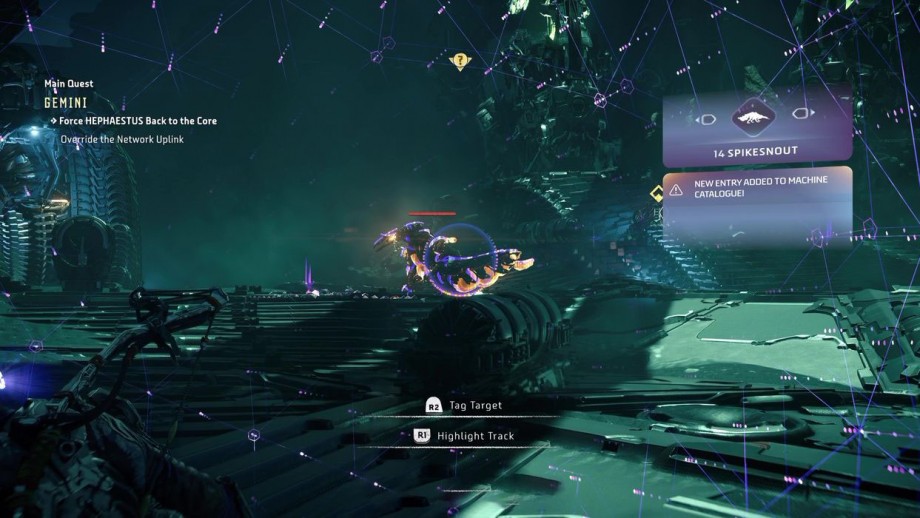
Then, using the grapple points and the Shield Wing, lift yourself up into the air a few times to get to a rail that you can use to drop down. As in the other room, remove all machines first, then when it's safe to do so, shut down the node. One of the machines here is the Spikesnout, a new type of machine. Scan it to determine its weaknesses: Fire and Cleansing Water. This machine in particular has a lot of removable and explosive components, so research it to determine what to aim for.
Once the area is cleared, approach the node to try to bypass it, but as before, the new machines will ambush you. Eliminate them. Kill the machines that ambushed you. One of them is Fire Bellowback, a variant of Bellowback. Scan and study it to add it to the database and discover its weaknesses and weaknesses (Frost). Most of its components are explosives, so don't be afraid to shoot them with arrows. The node can now be safely redefined.
Time to return to the assembly chamber, as we forced HEPHESTUS to return to the core. Remember to use the lift points and pillars and activate the Shield Wing from time to time to avoid electricity on the ground, and when you get to the assembly chamber, be prepared to face a lot of cars.
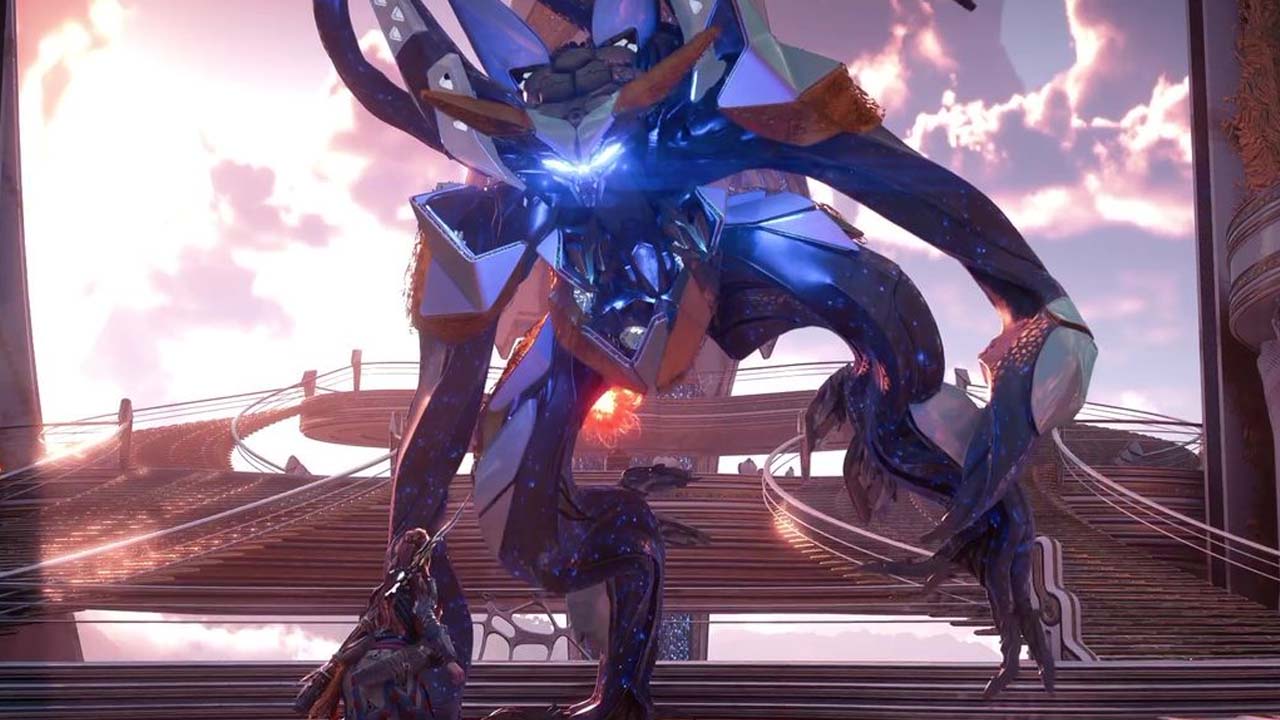
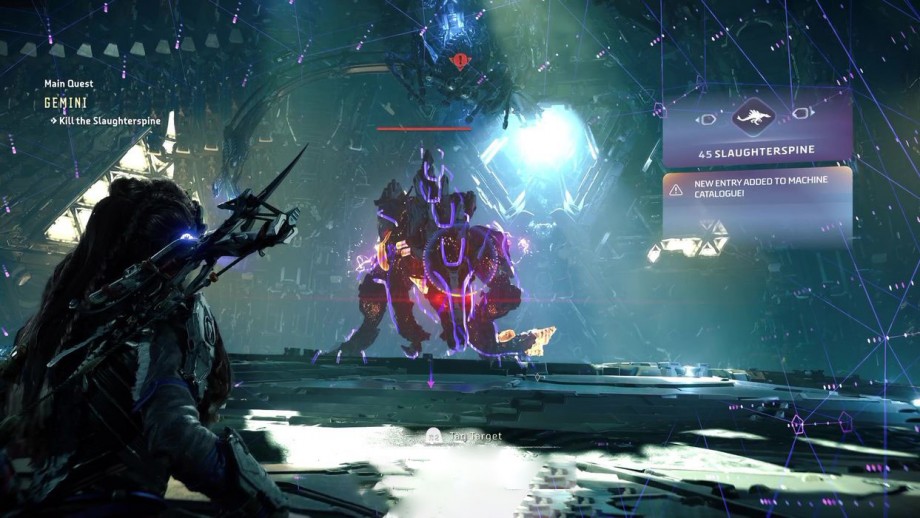
On your way back to the assembly hall, you will be ambushed by a gigantic new machine: the Slaughter Ridge. As with any new car, scan it to learn its weaknesses and weaknesses. In particular, this machine is only weak to Frost and Purgewater, and most of its removable components are on its spine and tail, so prioritize those once you weaken it with the right items. Suggested strategy: Place a Purifying Water Trap on the ground and freeze it to target its plasma cores to defeat it without taking too much damage.
Now go to the node to redefine it. Hephaestus was finally detained and returned to the main core. Just go back to Beta and Varl right now. Unexpected surprises will await you.
Was the article helpful?