The continent of Teyvat, full of life, was created by the confluence of seven elements, and it is ruled by seven Archons… You are standing in clouds of dust under the sky of an alien world. You are brother and sister brought here by the journey. But suddenly your twin is kidnapped by an unknown deity, and you fall into a deep sleep. You wake up in a completely unfamiliar place
Temple Where Sands Flow Like Tears Genshin Impact: All Puzzles, Dendrocules and Achievements
Special offer
Now in trend
BONUS +30% OF THE AMOUNT FOR THE POINT USING THE PROMO CODE "PortalVR"
Here you can buy any amount of game currency. Payment is made by any available means. We will send you the selected amount of game currency directly to the game, you only need the UID.
Also, you get daily gifts in free cases in the form of source stones, which you can also sell.
Show more
Here you can buy any amount of game currency. Payment is made by any available means. We will send you the selected amount of game currency directly to the game, you only need the UID.
Also, you get daily gifts in free cases in the form of source stones, which you can also sell.


A temple where sands flow like tears Genshin Impact: All the puzzles, dendrocules and achievements in Genshin Impact is the second task in a series of quests in the new area of the Sumeru Desert Panikhida Bilcis. The task is to explore the ancient temple and find the genie Lilupar, fight off ambushes of the hermits and continue deepening into the desert.
Contents:
- How to start the quest Temple where the sands flow like tears
- Walkthrough Temple where sands flow like tears in Genshin Impact
- Awards

How to start the quest Temple where the sands flow like tears
The task appears automatically immediately after you complete the quest "Seven pillars raised by wisdom". If this suddenly did not happen, then try to log out of your account, wait 20-30 minutes and restart the game.
Walkthrough Temple where sands flow like tears in Genshin Impact
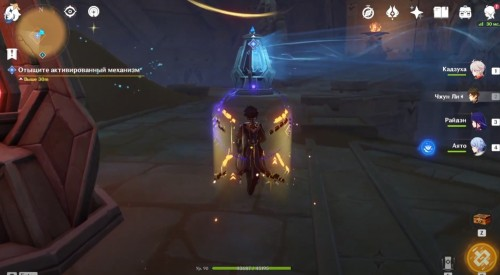
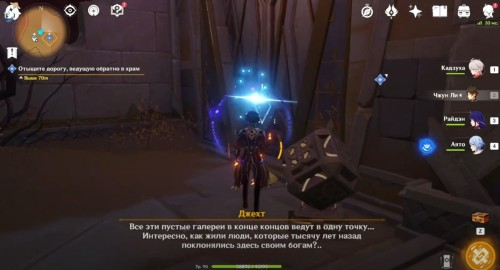
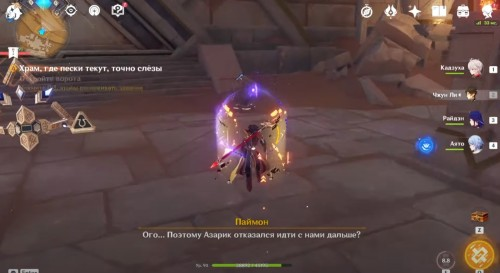
To help Jaht get to the Oasis of Eternity, you first need to find a genie who knows the history of antiquity. They say the genie dwells in the ruins of this temple...
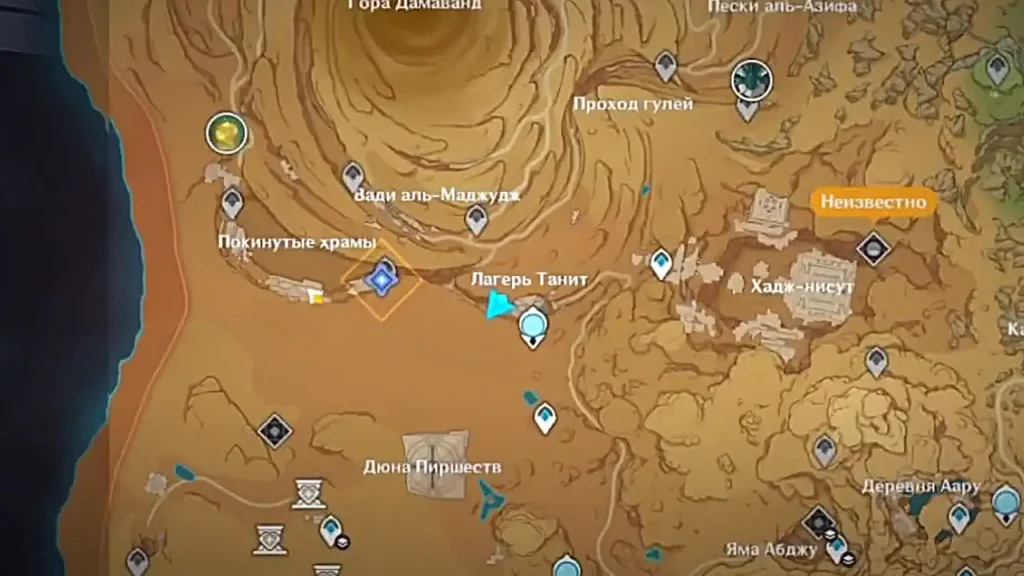
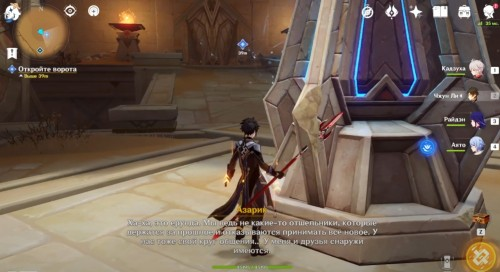
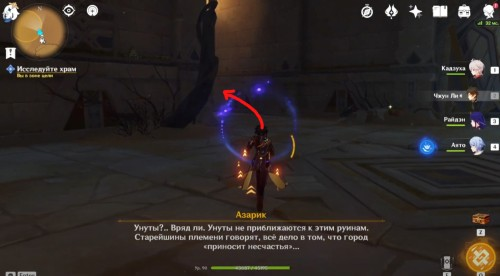
Head to the Abandoned Temples and go to the temple entrance. Near the gate is Azarik, with whom you need to talk.
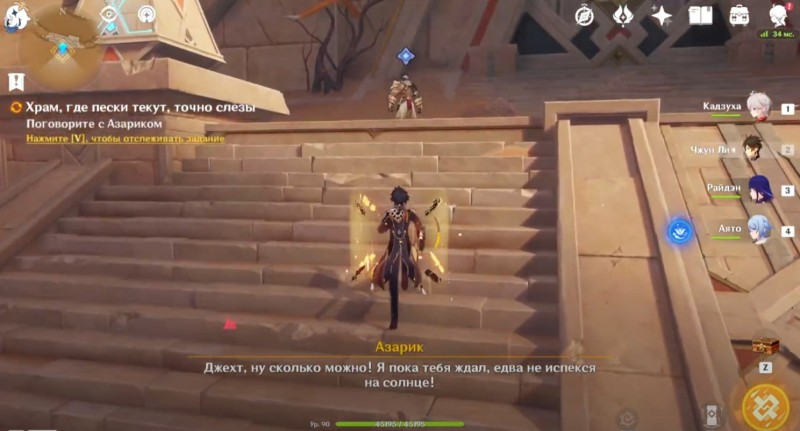
He will tell you how to open the gates of the Temple, and the in-game description will introduce you to a new type of rotary mechanism that generates wind currents.
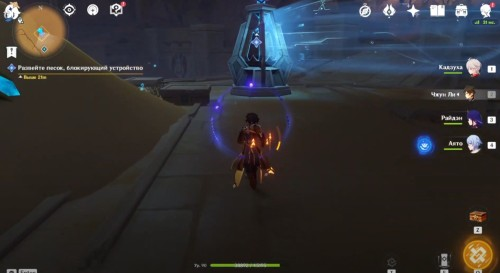
How to use the runic mechanism to clear sand mounds
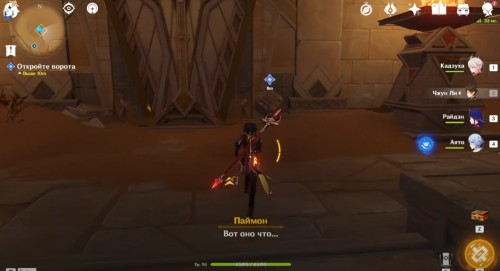
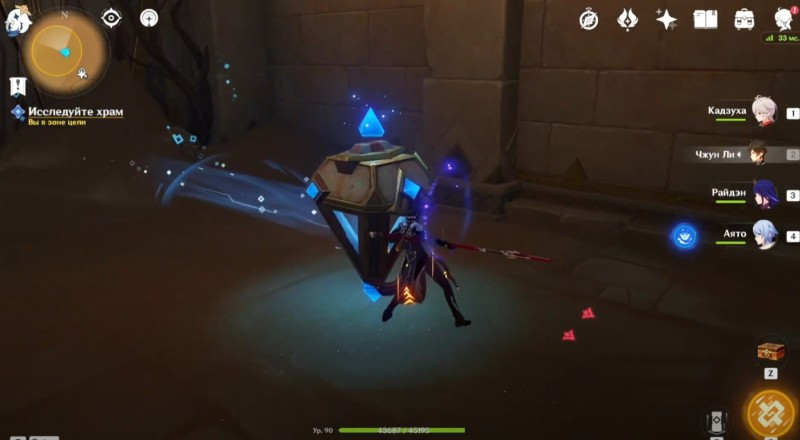
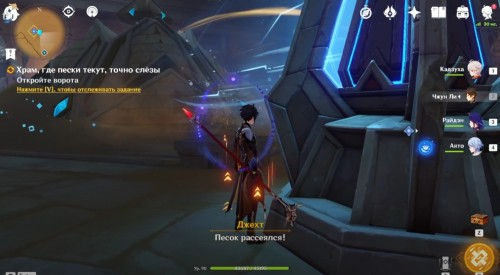
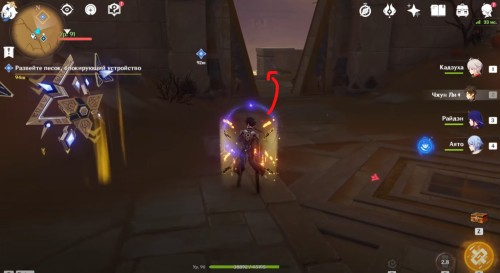
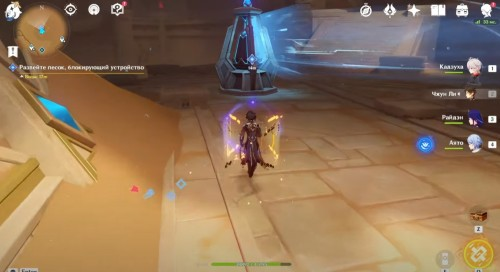
There are a great many such mechanisms inside the temple, so carefully understand how it works. So, as a rule, the mechanism is always on and already emits air currents. The meaning of his work is to blow sand mounds in the direction of the wind flow. Father-in-law, if you see a covered mechanism that opens a particular door, then as a rule there will also be a blowing mechanism nearby. To change the direction of the wind flow, you need to hit the device with a normal attack.


On impact, the mechanism will rotate 45 degrees clockwise, on the next impact another 45 degrees, and so on ad infinitum. Direct the wind to the sand mound, blow off the sand and activate the remote control.
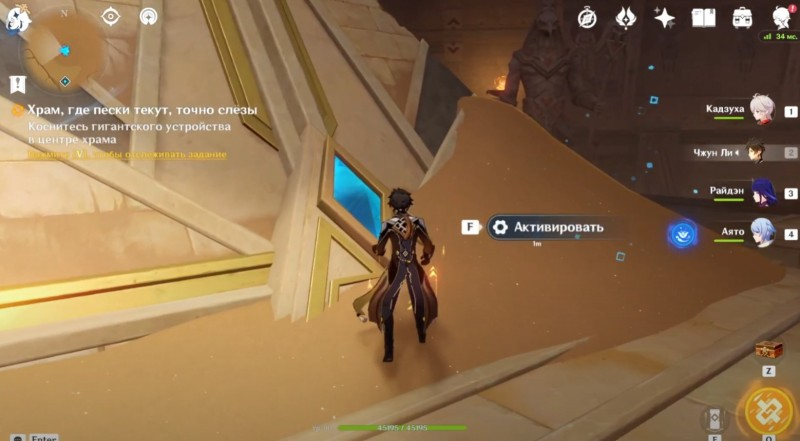
Now that we know how to use the mechanism, turn it towards the mound and clear the console. Then open the temple gate and go inside.
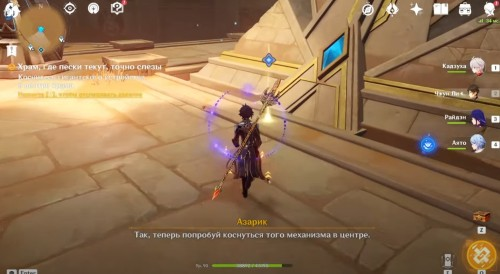
Inside, talk to Azarik again. He will bring you up to date and start a big four-move puzzle.
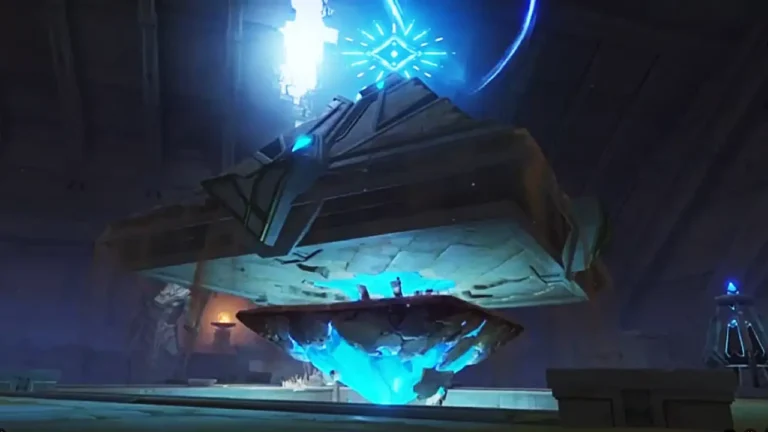
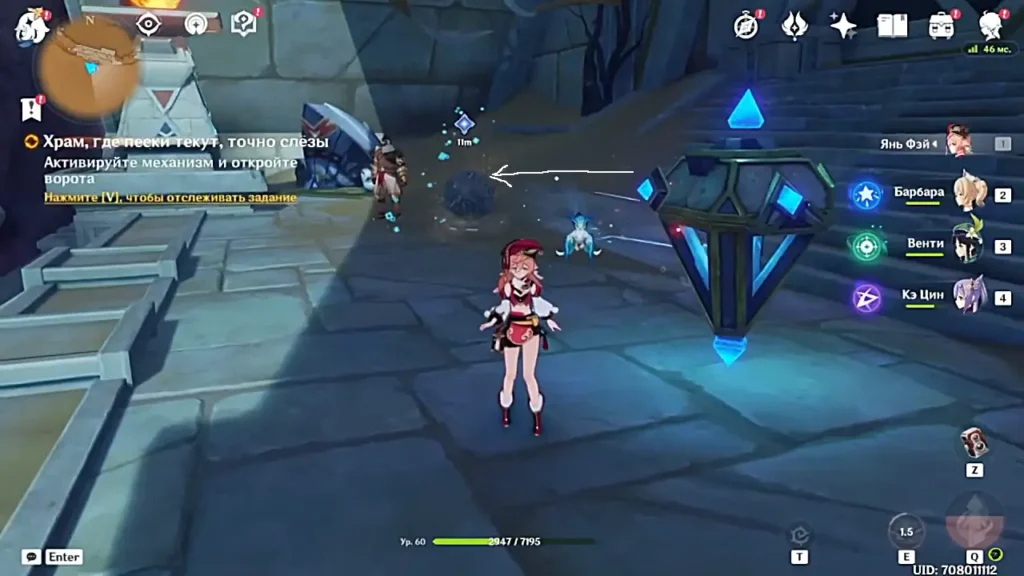
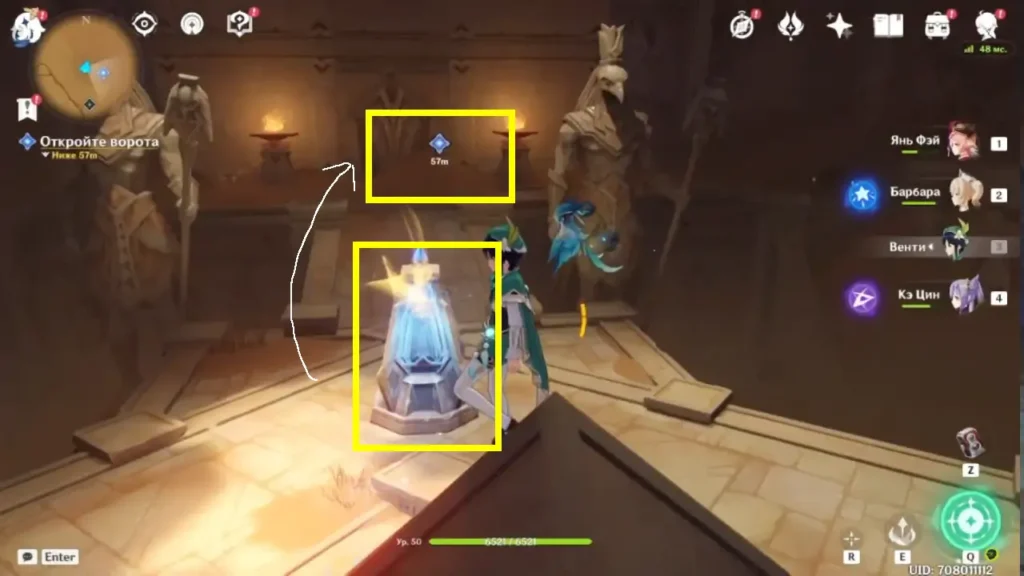
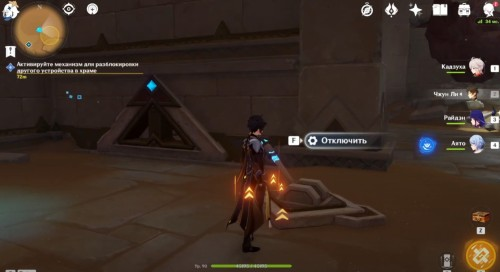
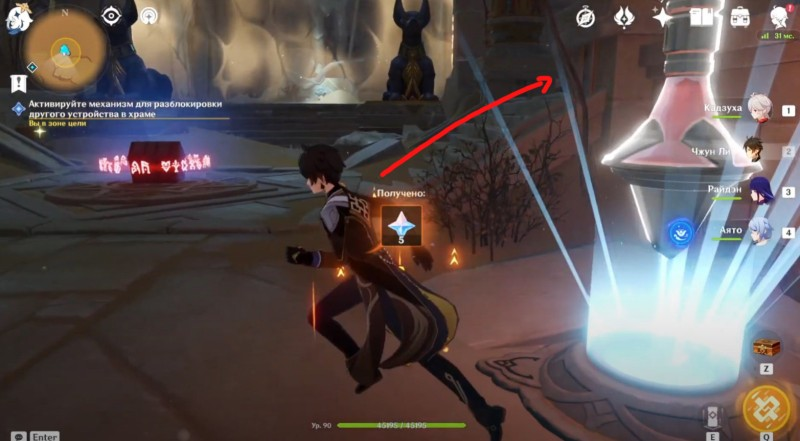
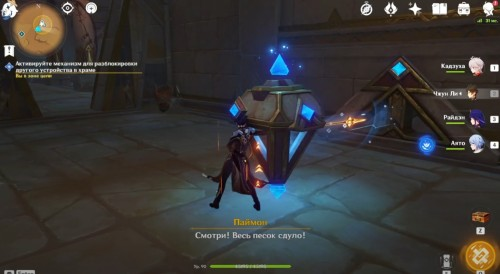
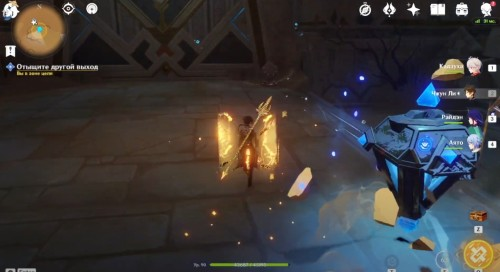
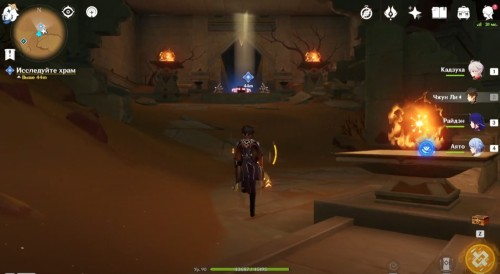
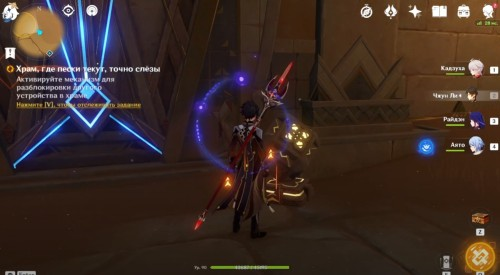
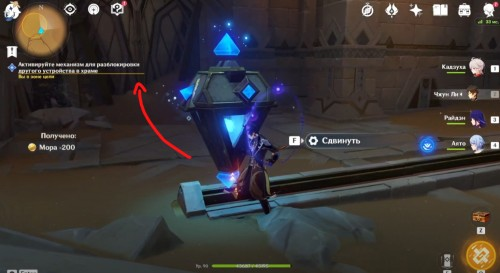
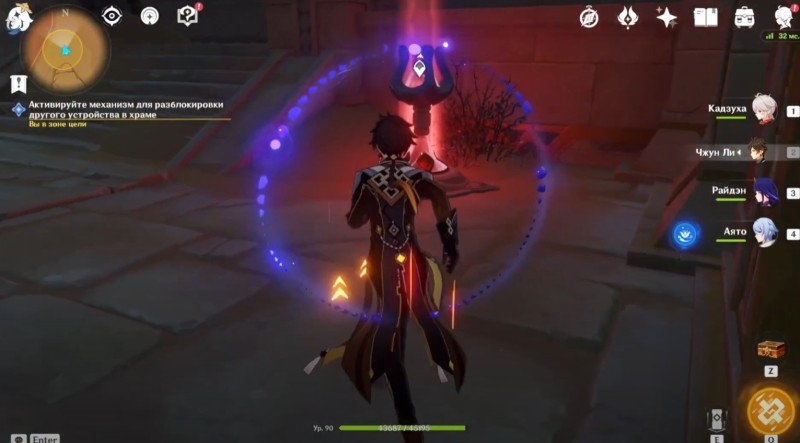
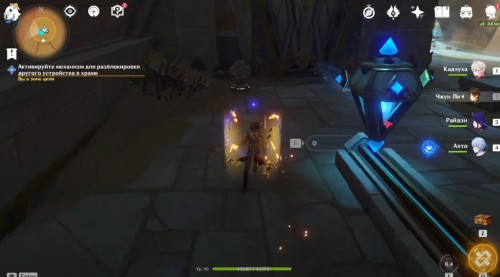
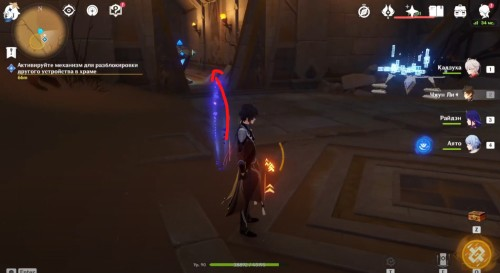
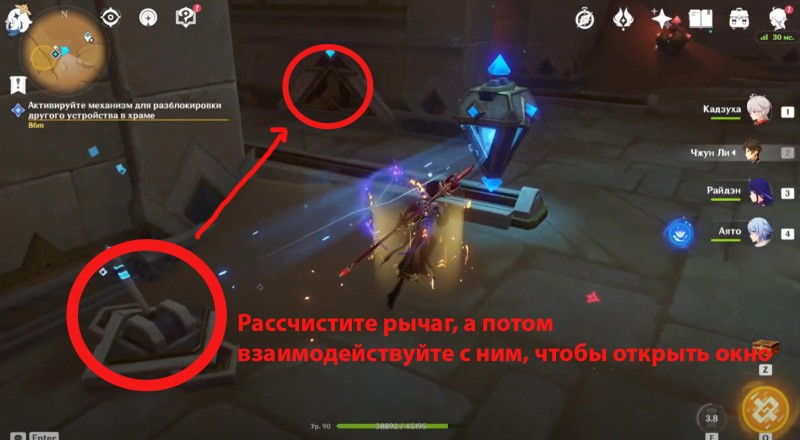
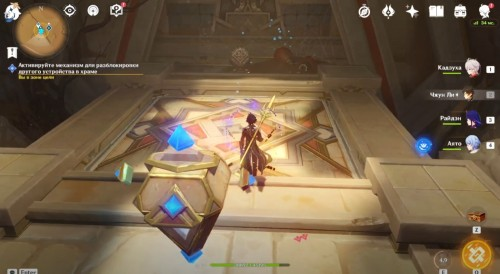
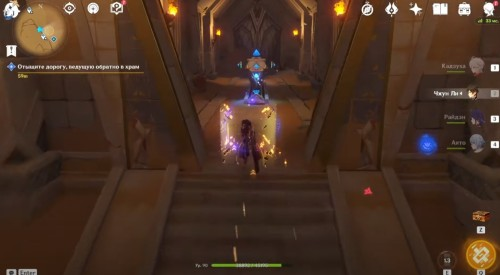
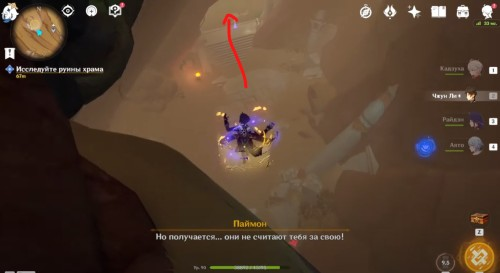
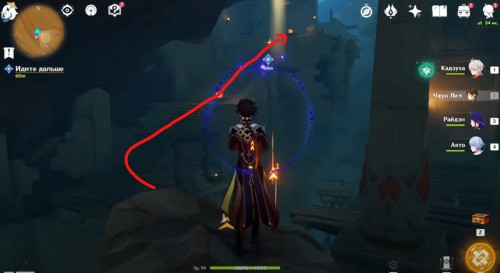
In the main hall, our goal is to clear the pyramid of sand and raise it up. There are four mechanisms around the perimeter. Three of them are not active and are highlighted in red (image above), and one is activated after touching the remote control and will blow sand from one face of the pyramid.

In addition to the cleared edge, you will see a diamond-shaped button on the pyramid that can be pressed, which will launch energy flows from the top of the pyramid.
It remains to solve the problem with three inactive devices.
We now have a quest marker that points to a closed door and a buried remote.
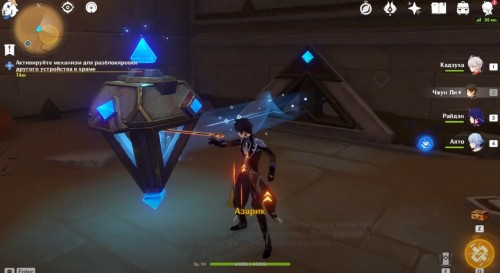
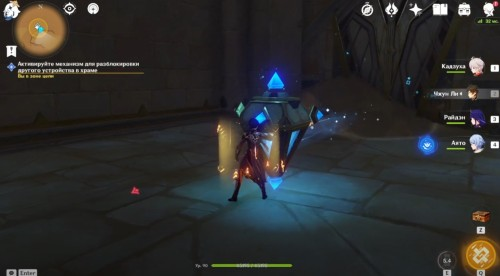
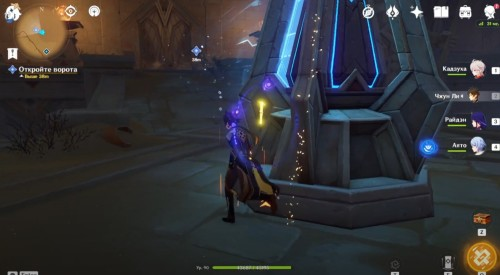
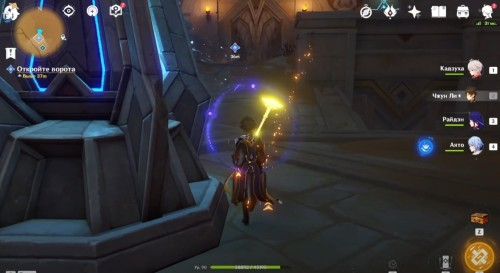
Approach the activated large mechanism and knock on it several times so that the stream emanating from it is directed to the gate located on the other side. Thus, you will be able to clear the cube console from the sand - interact with it and go through the opened passage.
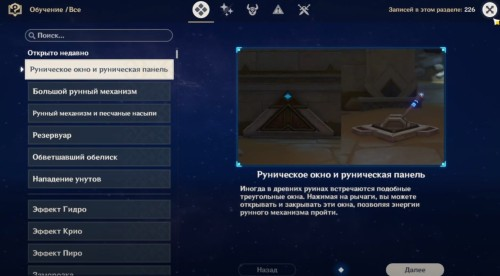
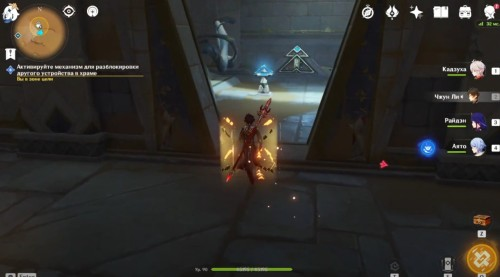
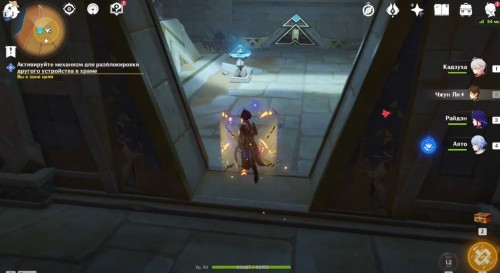
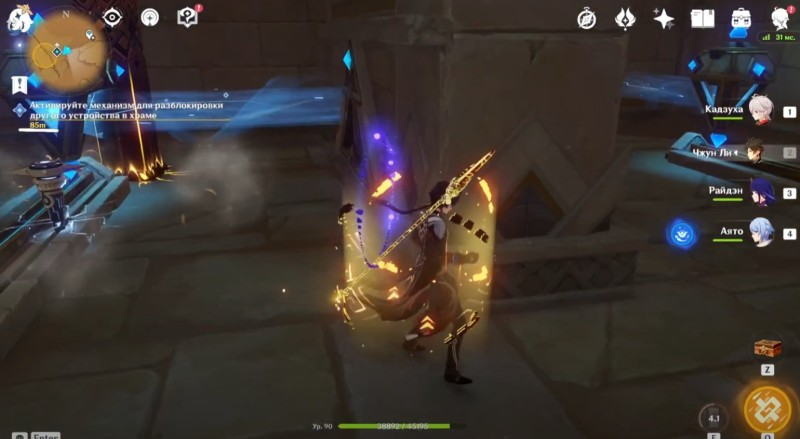
Now you need to activate the second mechanism to unlock the second device. To do this, you have to use the runic window and the runic panel. First of all, interact with the lever to open the triangular window next to it. Then knock on the rune mechanism once, so that a stream of energy passes through the open window and removes the sand from the other side of the wall.
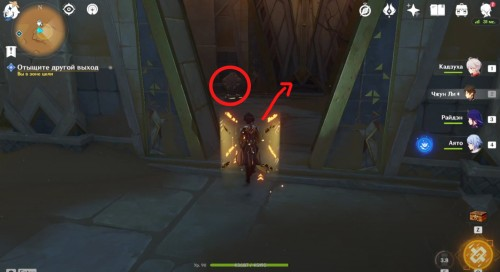
Take the contents of a regular chest, and then interact with the cube to open the door. Climb the stairs, collecting various "garbage" along the way, and go into a spacious room with a rich chest blocked. Turn right and activate the teleporter.
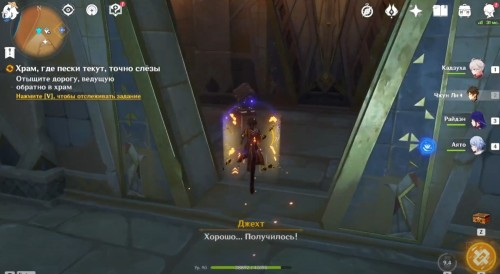
Next, turn right from the chest, climb the small ladder and enter the passage ahead. In the new room, hit the rune mechanism a couple of times to disperse the pile of sand and interact with the lever to open the triangular window. Turn the rune mechanism again so that the energy flow begins to “blow” into the opened window.
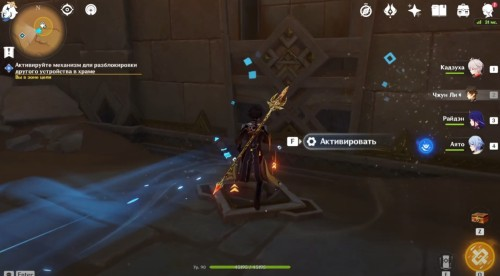
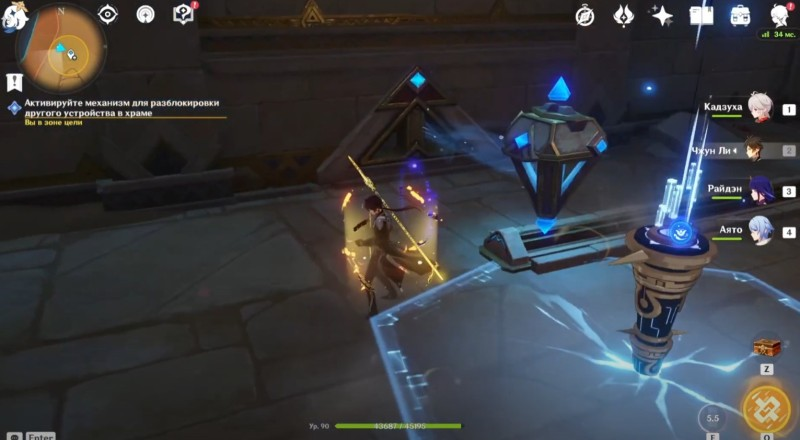
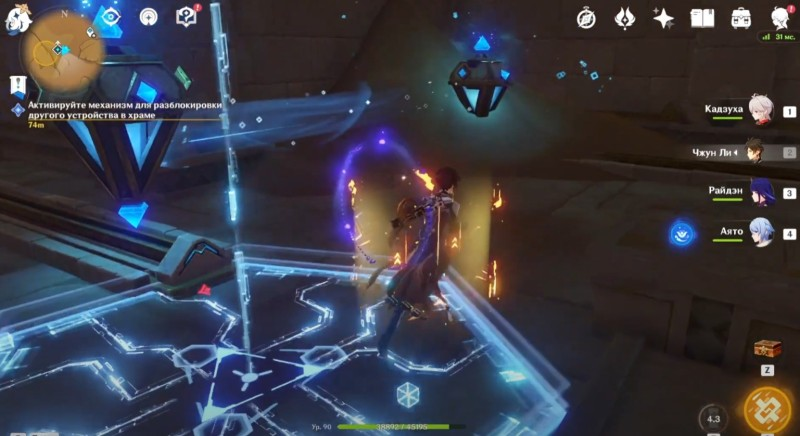
Return to the room with the locked chest and go to the other side. Hit the rune mechanism once to disperse the sand and interact with the cube to open the door. Enter the new room and turn right. Activate the pedestal with the blue triangle on top. As a result, the door behind you will open.
Turn around, interact with the console and go to a new passage. Climb down the stairs, hit another runic mechanism twice and click on another cube to open a large gate.
Head into the spacious area and drop down the crevice ahead to reach the quest marker at the very bottom. Enter the cave and deal with a group of carrion, thereby unlocking the chest. Move on and you will come to another large location. Climb up using the four leaf symbols.
Note: There are quite a few additional puzzles and chests in these ruins. We will cover their solution and obtaining in a separate guide. Here we will focus on completing quest tasks.
Run to the passage ahead, which is guarded by pristine structures. Deal with them to open a rich chest. Go inside and turn left. Hit the mechanism a couple of times to clear the door and the cube of sand. Go further and you will return to the main hall with the pyramid.
Get to the large rune mechanism you activated, watch a short cut-scene, and then hit it once to clear the sand from the pyramid.
Hit the big mechanism again to unlock the gate on the other side. Interact with the console cube and go through the opened passage.
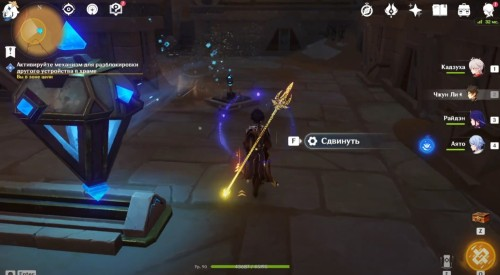
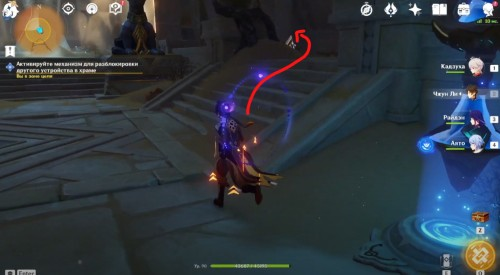
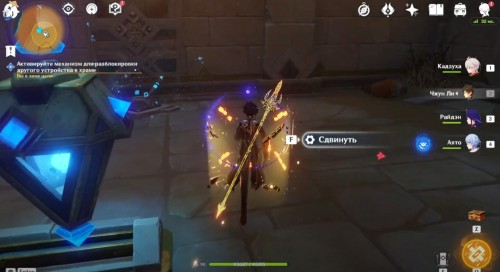
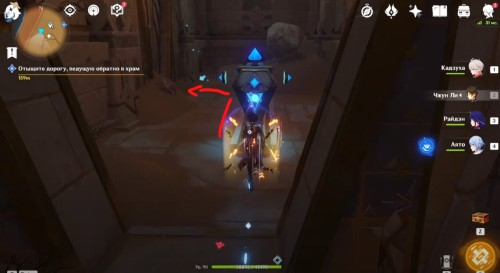
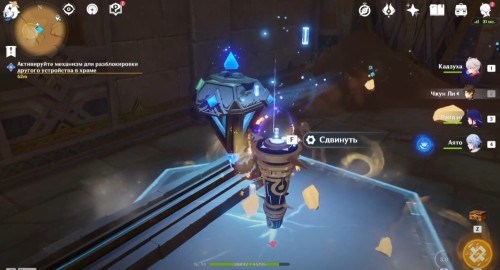
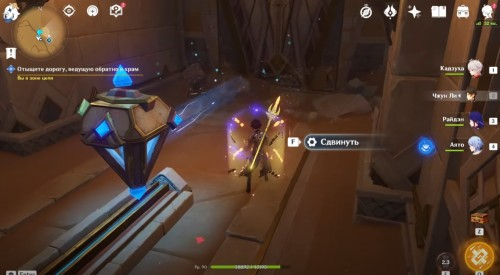
In the new room, approach the rune mechanism and move it back a little. Then hit him three times to clear another door and console. Move on to the new room. Here you need to move the next mechanism, and then hit it a couple of times to clear the lever of sand.
Interact with the lever to open the triangular window. Now move the nearest mechanism back - its energy flow will pass through the window and unlock a regular chest. Next, interact with the cube and go through the door to a new spacious area. On the right there will be another teleport that should be activated.
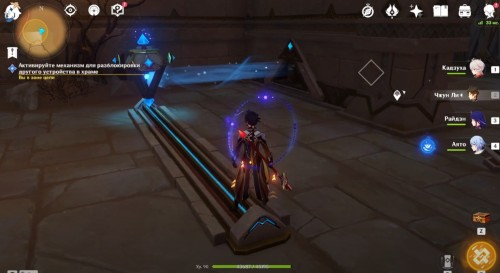
Climb the stairs to the right, deal with the primordial structure and enter the room with the rune mechanism that needs to be moved forward. Then hit it a couple of times to disperse the sand. Interact with the lever to open the window. Again, knock on the mechanism so that its stream begins to “blow” into the window.
Return to the spacious area and run to the other side. Slide the mechanism forward to unlock the door. Interact with the console and enter the room ahead. Run past the blocked console, turn right and activate the pedestal with the blue pyramid.
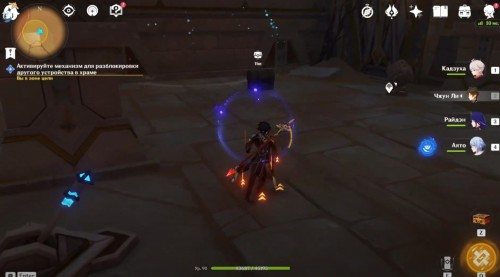
Turn around, click on the unlocked cube and go through the door. Go down the ladder and slide the mechanism back, and then hit it to disperse the sand. Interact with the cube to open the door and keep going down. On the way, you can, by the way, collect dendroculus.

Go down into the cave and move forward to the marker. Walk past the two sand clocks and climb up the ladder to the top. Interact with the cube console to open the door. Climb the stairs again, run past the enemies along the corridor and turn right. Eventually, you will reach the pointer.
You will return to the main hall. Approach the third device and hit it so that the stream from it blew on the pyramid and cleared the sand from it. Then hit it again to open the door opposite.
Click on the console and go through the next passage. You will immediately be attacked by two primordial constructs. Deal with them and turn left. Slide the mechanism forward to clear the sand and release the door. Go into the corridor, turn right, and you will find yourself in a spacious room.
Solving the puzzle with four rune mechanisms
First, hit the first rune mechanism on the left side once to unlock the lever on the left - interact with it to open a triangular window nearby.
Now move the mechanism forward and hit it several times so that the stream passes through the triangular window and clears the second rune device on the right.
Slide this second mechanism back and then hit it as needed to blow the sand off the third device on the right side.
The third device also needs to be moved back, and then hit on it to clear the sand behind it. As a result, you will unlock the console that opens the door. Enter a new spacious room - run forward a little to activate the teleport on the right.

After activating the teleportation point, climb up the ladder to the top. Here you will find another runic mechanism - hit it a couple of times to clear the cube console and interact with it. As a result, the floor will disappear, and you will be able to get to the Dendroculus and the pedestal with the blue pyramid - touch it.
Return to the room with the teleporter. The previously blocked mechanism will become available for use - hit it a couple of times to clear the cube-console of sand and interact with it. Now go into the opened passage on the left, climbing the stairs. Turn right, go down the corridor and turn right again.
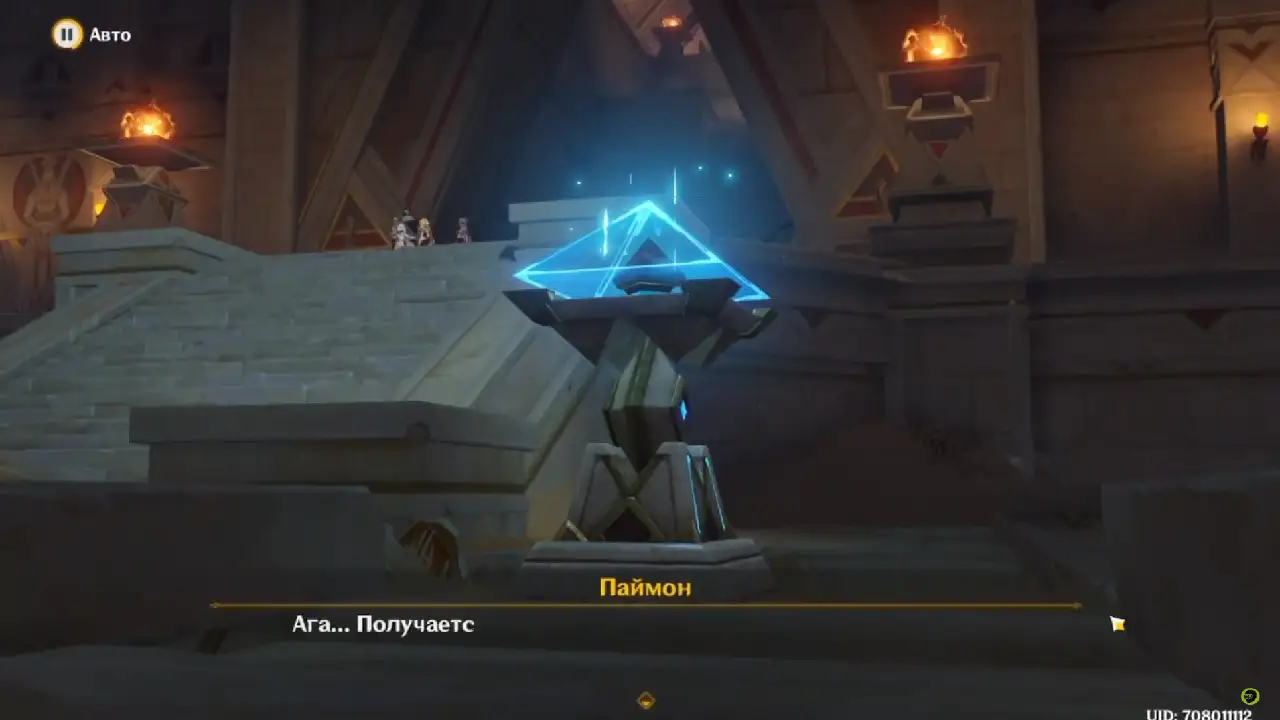
Move the rune mechanism forward to clear the door of sand. Go through it, and then turn left towards the marker. As a result, you will again find yourself in the main hall with the pyramid. Approach the fourth large runic mechanism and hit it several times to remove the remaining sand. Then touch the giant device and watch a small cut-scene.
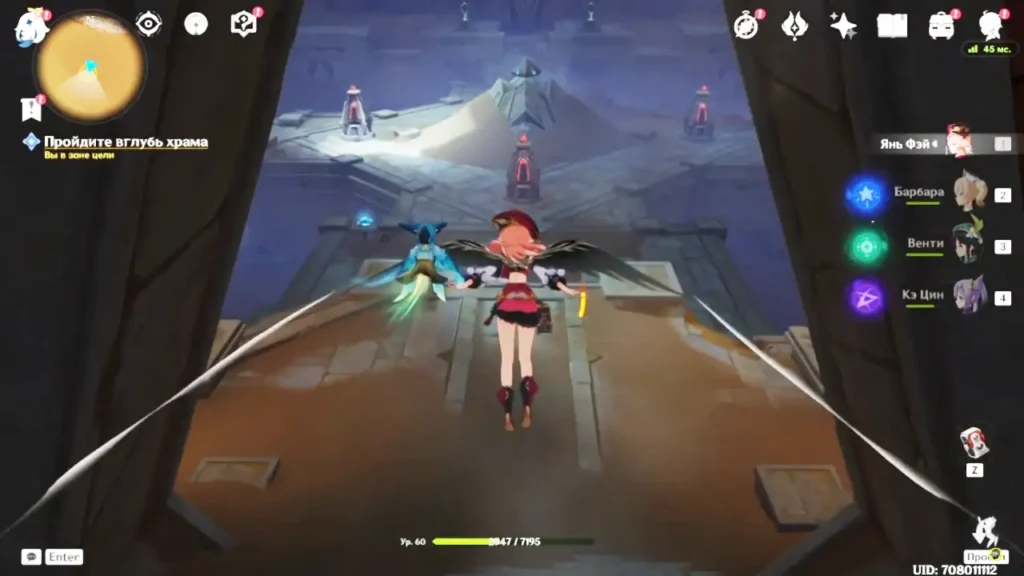
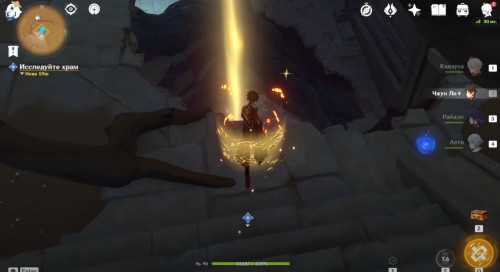
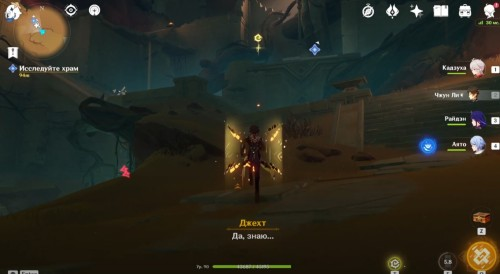
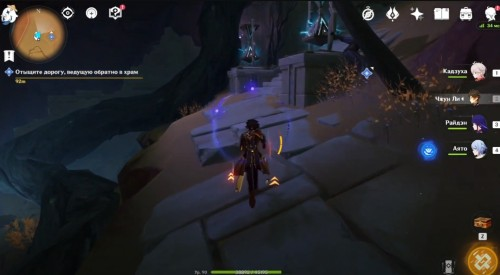
When the pyramid rises, be sure to jump into the hole that appears, as there you will find a luxurious chest. Climb up and climb the stairs to the top to exit the temple and see what's going on outside. Watch the new video.
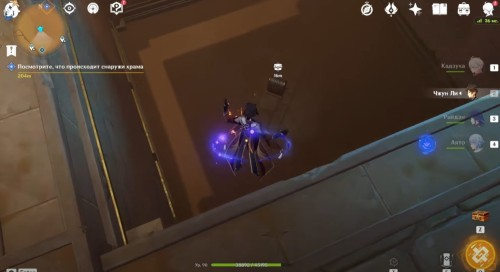

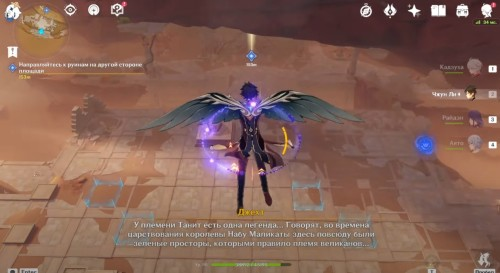
After talking to your friends, jump off the rock platform and glide down to reach the ruins on the opposite side. Open the gate by interacting with the cube console on the right side.
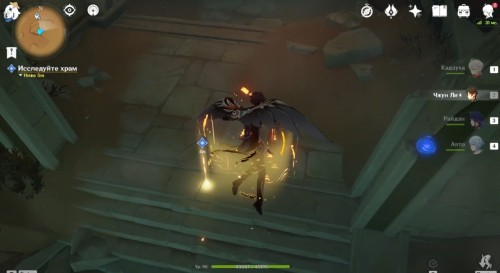
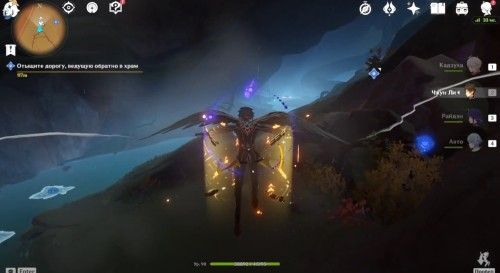
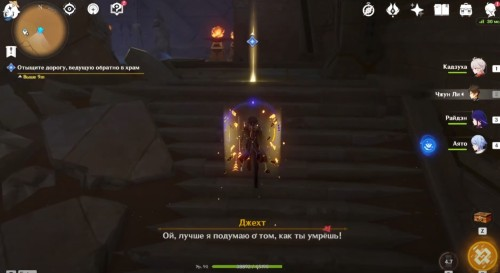
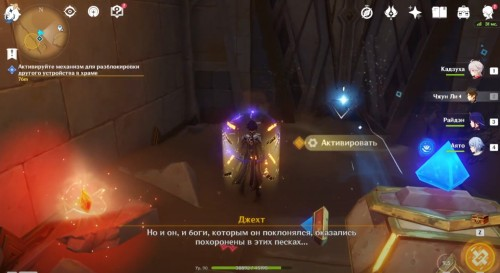
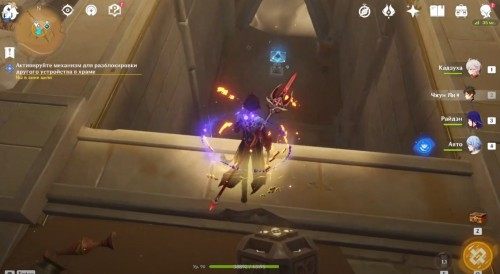
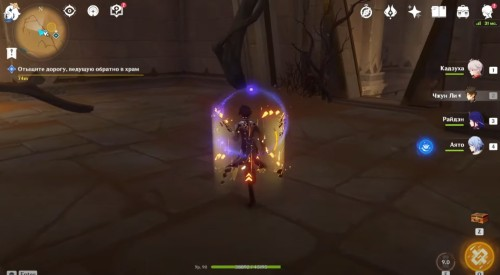
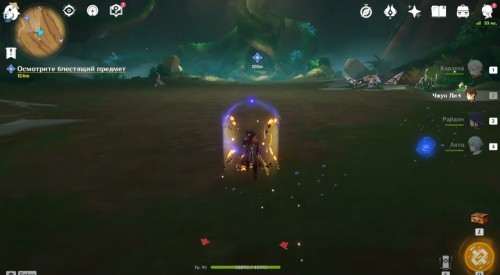
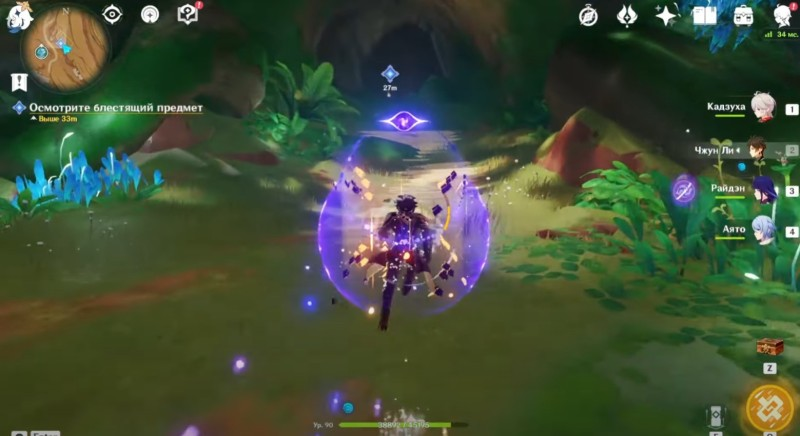
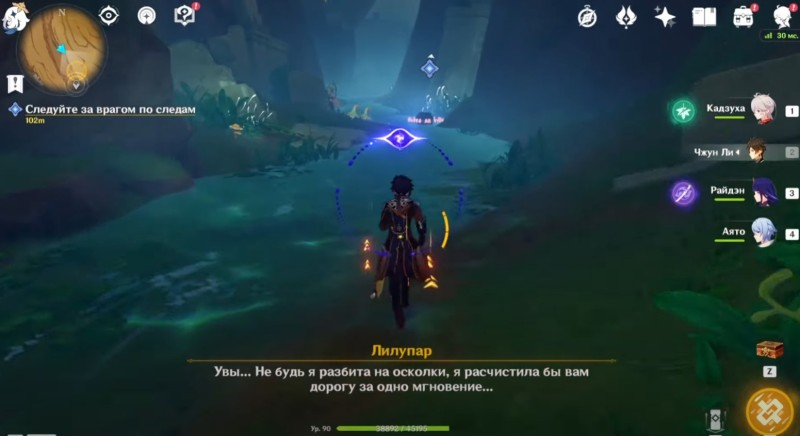
Move forward along the corridor, and then jump off the edge of the cliff into the cave. Run forward to the green area. You will need to inspect a shiny object, visible in the hollow of a huge tree. As soon as you approach him, a mini-boss will attack you. Anushbord.
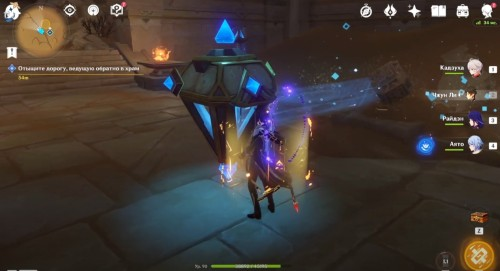
This is a significantly enhanced version of the original design. However, absolutely all the elements work against her, so just put your strongest pack against this enemy, and you are unlikely to have any problems with him.
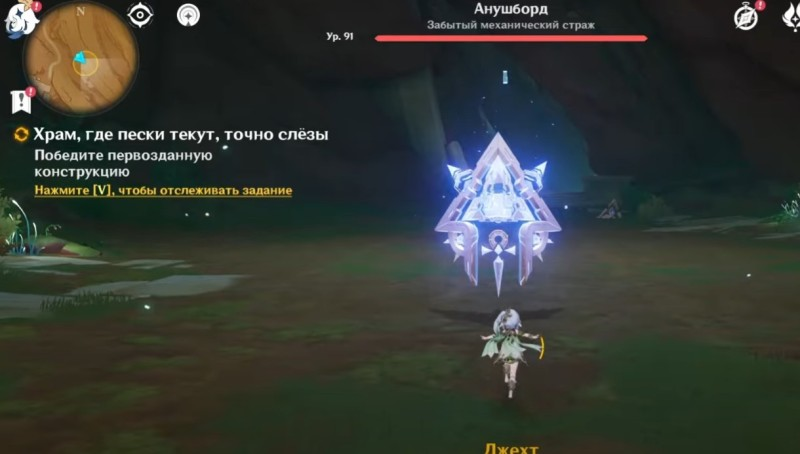
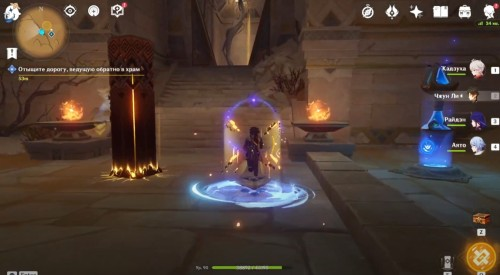
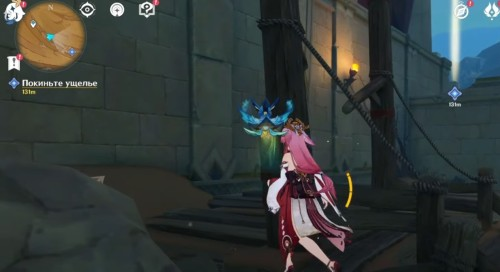
True, we advise you to take an Electro character to the squad. The fact is that with the help of electric attacks you can knock the enemy out of invisibility and stun him for a while. After dealing with the mini-boss, inspect the shiny object - you will find a genie lamp named Lilupar.
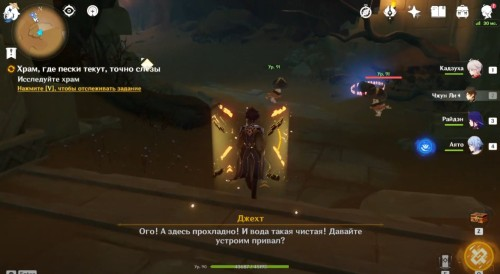
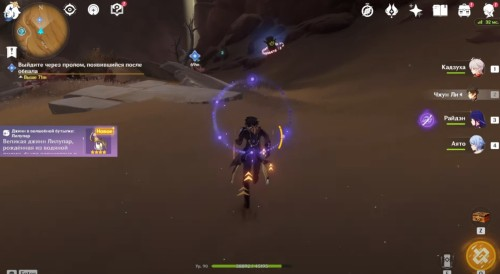
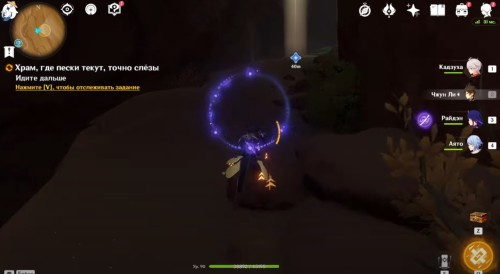
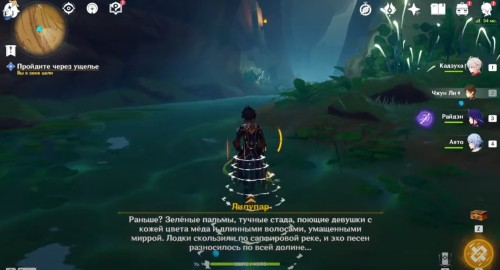
The genie will increase visibility during sandstorms and will predict their approach (at level I). Now go through the gap that appeared during the cut-scene - it will be marked with a quest marker. Keep going up. There will be dialogue again near the waterfall.
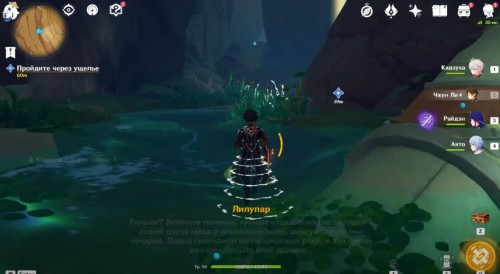
Required walk on water to the next pointer, otherwise the dialog simply won't start. After talking with the hostile hermits, enter into battle with them. We advise you to use Dendro, Electro, Cryo or Pyro attacks, as the "wet" status will be imposed on enemies.
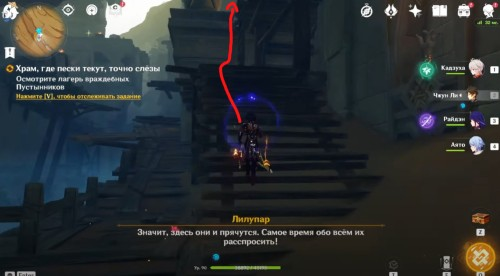
After dealing with the hermits, continue to run through the water to the area marked on the map. Deal with opponents along the way to unlock a rich chest. Soon you will reach the enemy camp, placed on wooden platforms.
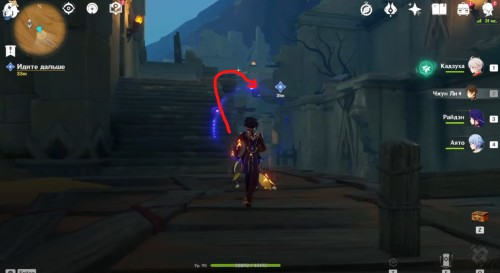
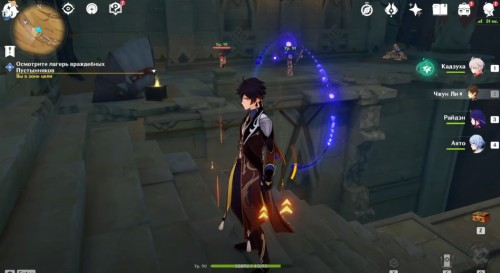
Here you will need to find three special places. For finding the first of them, climb to the right along the bridges and stairs to the middle level. Deal with a group of mercenaries there, and then inspect the notes on the box (they will be marked with a glowing marker).
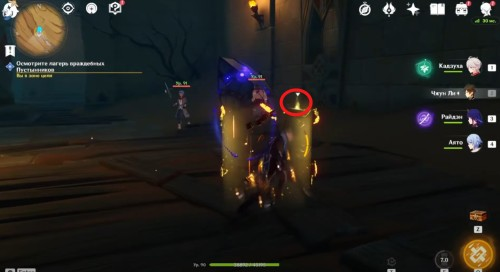
Second place located a little higher on the left side. Climb up there on the wooden stairs and deal with the next group of hermits. Then examine the records near the tent.
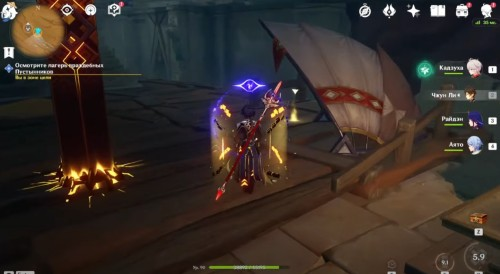
Last place located even higher, but already on the right side. Deal with several enemies, and then inspect the documents lying on the box near the tent.
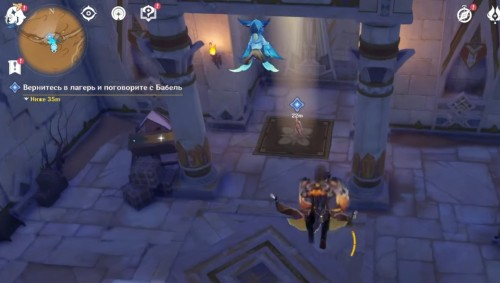
Now you will need to get out of the gorge - just follow the quest marker to the east. At the end, return to the camp by moving to the statue of the seven Archons and chat with Babel. Then talk to Jecht and Azarik, who will be waiting for you a little to the west.


This task will come to an end. You will now have access to the next quest in the chain, Abundance Beneath the Sand Dunes I.
Read more – Abundance under the sand dunes I

Nongrads
Successful completion of the task Temple where the sands flow like tears includes the following awards:
Was the article helpful?