Minecraft is an indie sandbox computer game created by Swedish programmer Markus Persson and published by his company Mojang AB. Persson published the initial version of the game in 2009; At the end of 2011, a stable version was released for Microsoft Windows PCs, distributed through the official website. In subsequent years, Minecraft was ported to Linux and macOS for personal computers; on Android, iOS and Windows Phone for mobile devices; for game consoles PlayStation 4, Vita, VR, Xbox One, Nintendo 3DS, Switch and Wii U. In 2014, Microsoft acquired the rights to Minecraft together with Mojang AB for $2,5 billion.
How to make a moving car in Minecraft
Special offer
Ever since slime blocks were added, players have been using them creatively to create workable vehicles. One of the most common is a car. In this guide, we explain how to make a car in Minecraft that allows you to move forward and backward.
Since advanced car mechanics such as steering and acceleration are not available in Minecraft (yet), the functionality of this car is rather limited. However, you can use it as a lazy (but slow) way to get from one place to another, as a way to show off to your friends, or even as a hovercraft to stay away from mobs on the ground.
Machine making
Step one: get the necessary materials.
To build a car, you will need the following resources.
- 2 x sticky pistons
- 2 x observers
- 11 x slime blocks
- 4 wheel building blocks (black wool is ideal)
- 1 x body building block (your choice)
- 1 x flint and steel
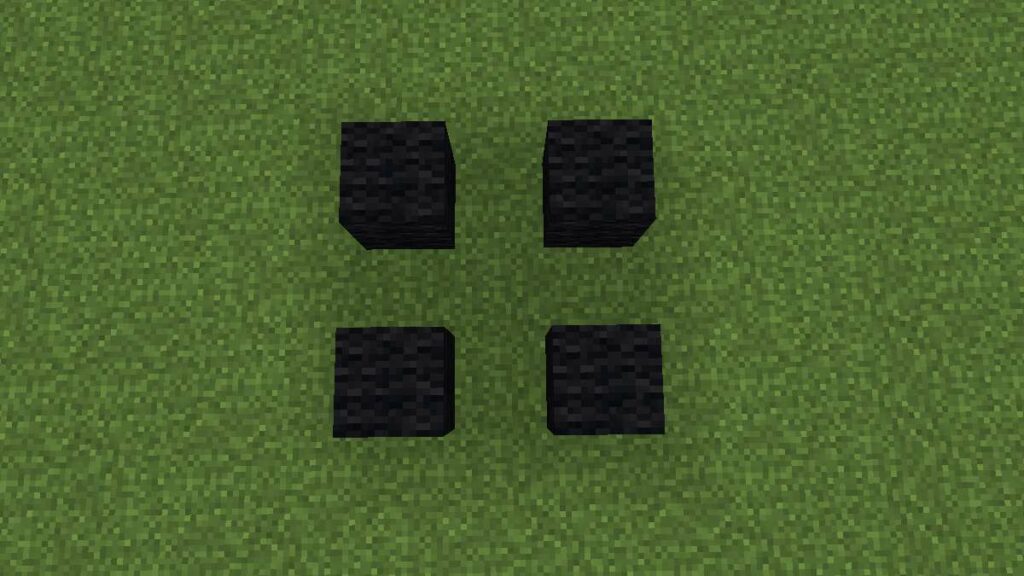
Step two: install the wheels.
Place the four wheel blocks on the diagram below. The total space used should be a three-by-three square so that none of the blocks touch each other. These wheels are not technically necessary, but they add aesthetics and make it more car-like.
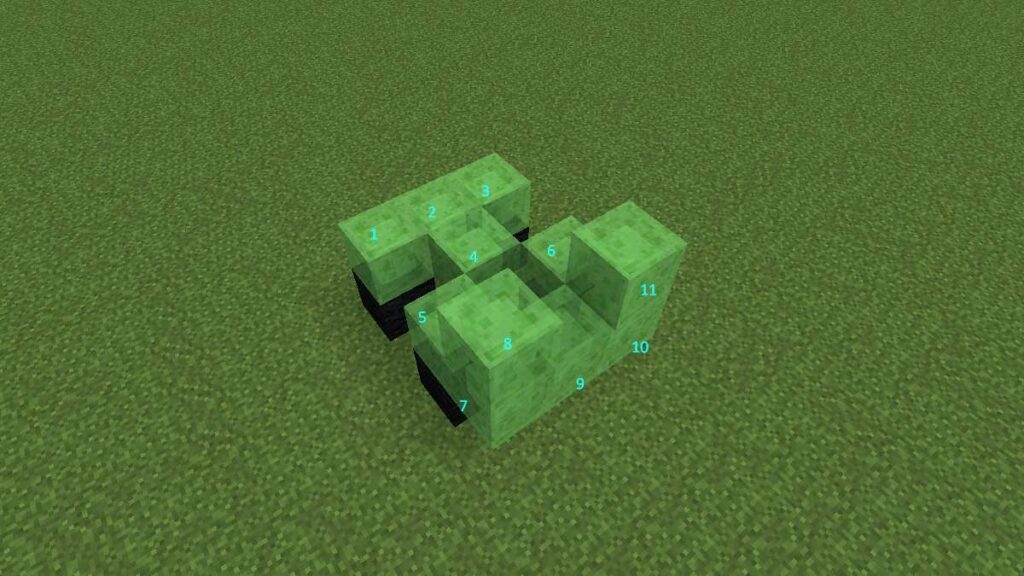
Step Three: Place the Slime Blocks
You can place all 11 slime blocks side by side. The easiest way is to place them in the order shown in the image below. Slime blocks are needed to move the car, and sticky pistons will not work with any other blocks, including honey.
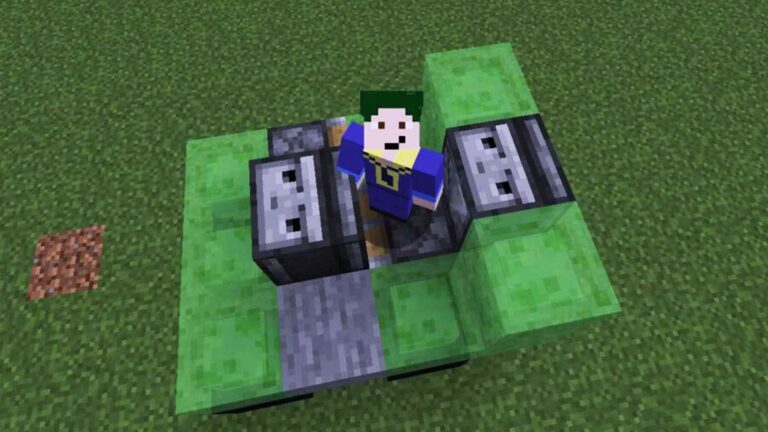
Step Four: Place Watchers, Sticky Pistons and a Solid Block.
Place the remaining blocks in the order shown in the image below. The placement and orientation of these objects is optional. Observers should be positioned face down. The sticky piston on the side of the car should point to the rear, and the sticky piston in the middle of the car should point forward. Place a solid block on the empty space on the side of the car opposite the sticky piston.

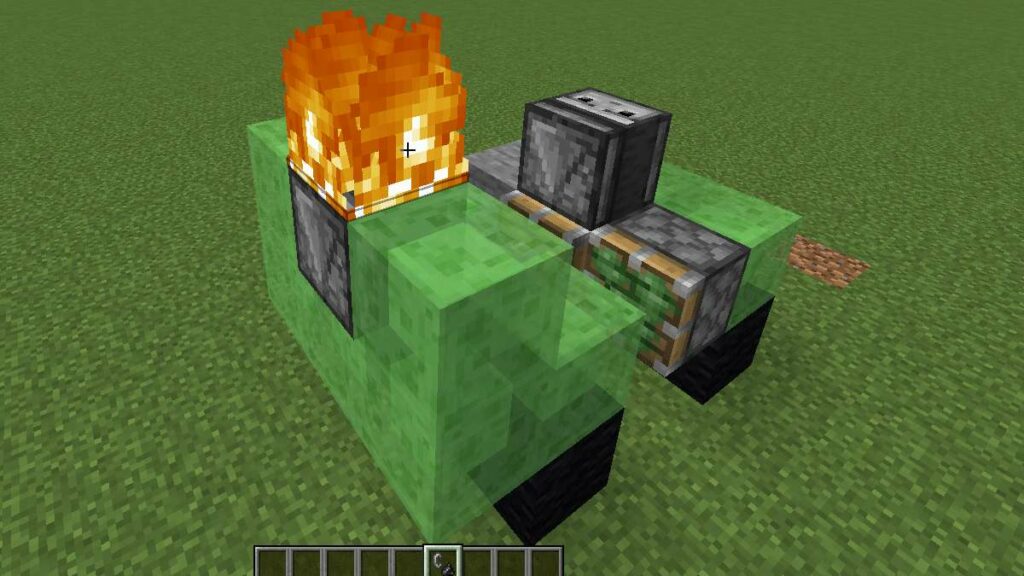
Step Five: Drive a car.
This is the hardest part of this machine, as it can crash if you time it wrong. In order for the car to move forward or backward, the Observer must be ignited. To make it stop moving, light the Observer again. With this method, the observer repeatedly detects the change and sends a temporary signal to the pistons, causing them to advance and retract.
Step Six (Optional): Decorate the car.
The only solid block required is a block on the side of the car. You can place any other block on the slime blocks and it will bring it up when the car is moving. However, it must be touching the slime block. This won't work if it's on the corner of a slime block or connected to the car via any other solid block.
That's all there is to creating a moving car in Minecraft!
Was the article helpful?