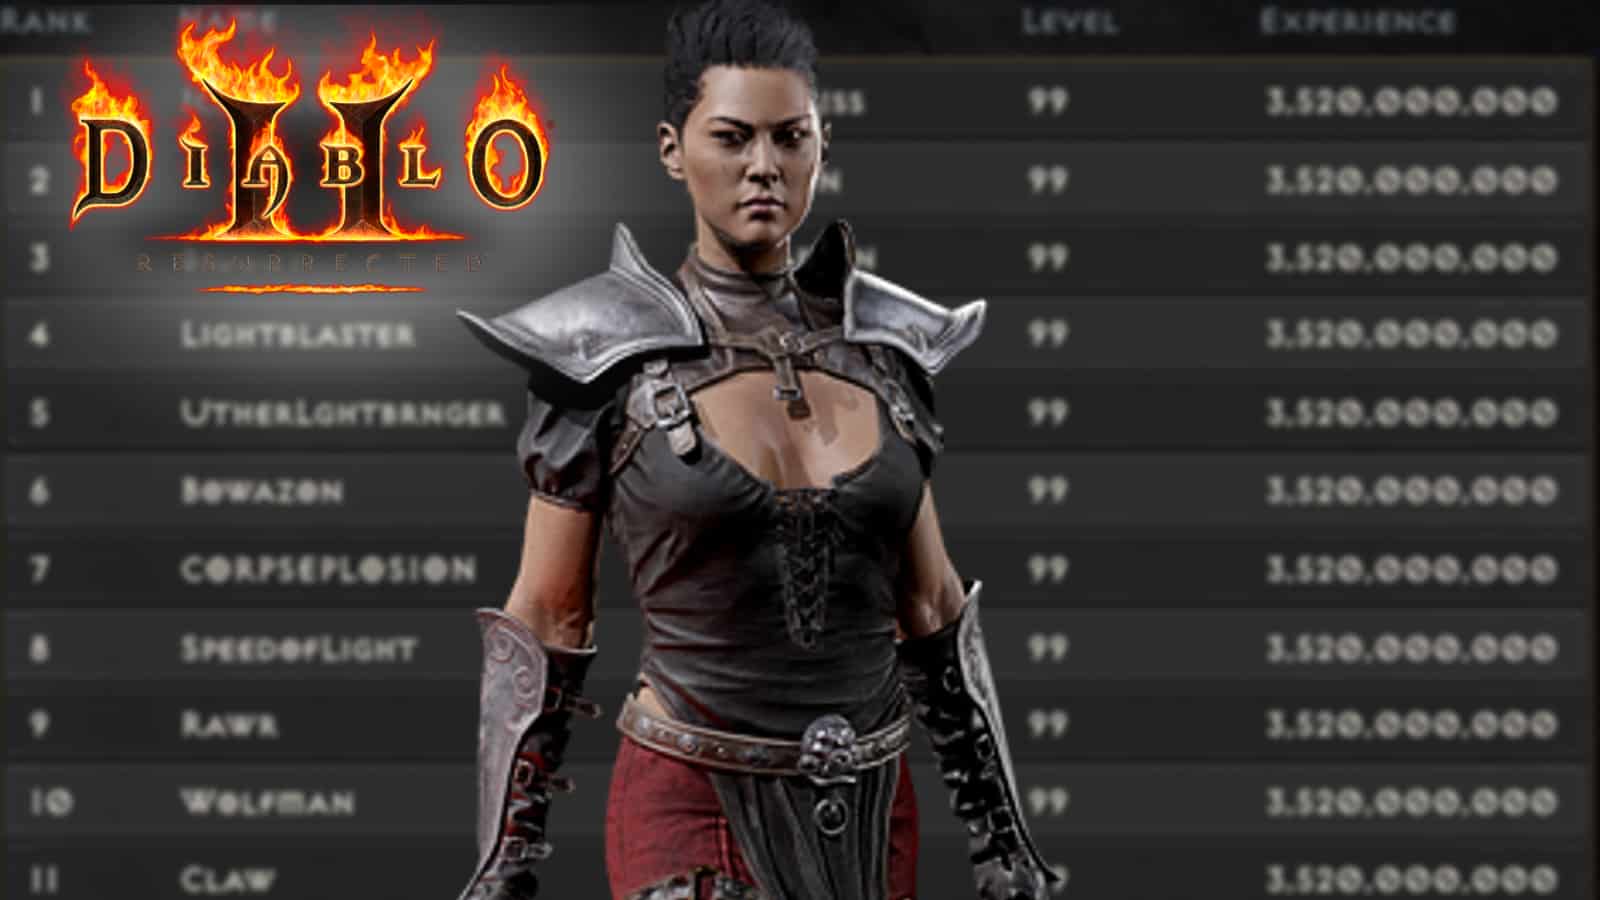
Season 2 of Diablo XNUMX: Resurrected Ladder is at launch and includes four unique modes, expected completion times, and...
Diablo 2: Resurrected - Act 2 Walkthrough Guide to All Act Quests
Act II
- Task number 1. Radament's Lair
- Task number 2. The Horadric Staff
- Task number 3. Tainted Sun
- Task number 4. Arcane Sanctuary
- Task number 5. The Summoner
- Task number 6. Seven Tombs (The Seven Tombs)
Welcome to the city Loot Golein . This is your new base for the second act of Diablo 2: Resurrected. Before heading out, we recommend that you first speak with Grits in the upper right corner of the city. He sells new mercenaries, and it's worth upgrading the Rogue you picked up in Act 1. Mercenaries in the desert are melee oriented, but they usually do more damage and can serve as a better tank. Plus, they come with a paladin aura to help you survive. Many players like to use the Combat Mercenary because of his Prayer Aura, but the Defensive Mercenary can also do wonders for his Defiant Aura.
In terms of general tactics, we definitely recommend trying to maximize your resistance. Some of the enemies you will start to see in this act can hit hard if your resistance is low. Keep them high with your gear, it can really help you. However, if you're playing through the game for the first time, you don't need to worry too much about gear at this stage. Use what you have, but don't forget your resistance.
Task number 1. Radament's Lair

Recommended level: 15-17.
Next to Grizz, you will notice a closed door. Click on it to open sewerage Luta Golein. If you go downstairs, this quest will start without having to talk to the quest giver Anya in the city, however, feel free to talk to her if you want. The Collectors have three levels to it, with Radament , your goal, located on the last level. Our best advice to get down quickly is to grab the outer walls and follow them until you find a ladder down. On the second level there is Waypoint but you probably won't come back here so there's no real reason to look for her unless you just stumble upon her.
This area is another place where the complexity is related to the compactness of the map. Just like in the underground passage in the first act, you can easily be overwhelmed by hordes of enemies. This is further complicated by Skeleton Archers who use fire arrows. If your fire resistance is low, they can quickly drain your health. One tactic is to move melee enemies away from their ranged friends. This will allow you to deal with them more easily before taking out the ranged attackers.
Similarly, Radament complicated by the huge horde with which he appears. Use the same tactic to draw his minions away from you to thin out the horde. Once the crowd is more manageable, enter and kill him. Keep in mind that even without his minions, he can still be strong due to how much poison damage he can deal. Don't be afraid to return to the city if something goes wrong. When Radament fell, he will drop a scroll giving you a skill point. Be sure to use it right away so it doesn't take up space in your inventory. Then open the golden chest to get another scroll, which starts the next quest.
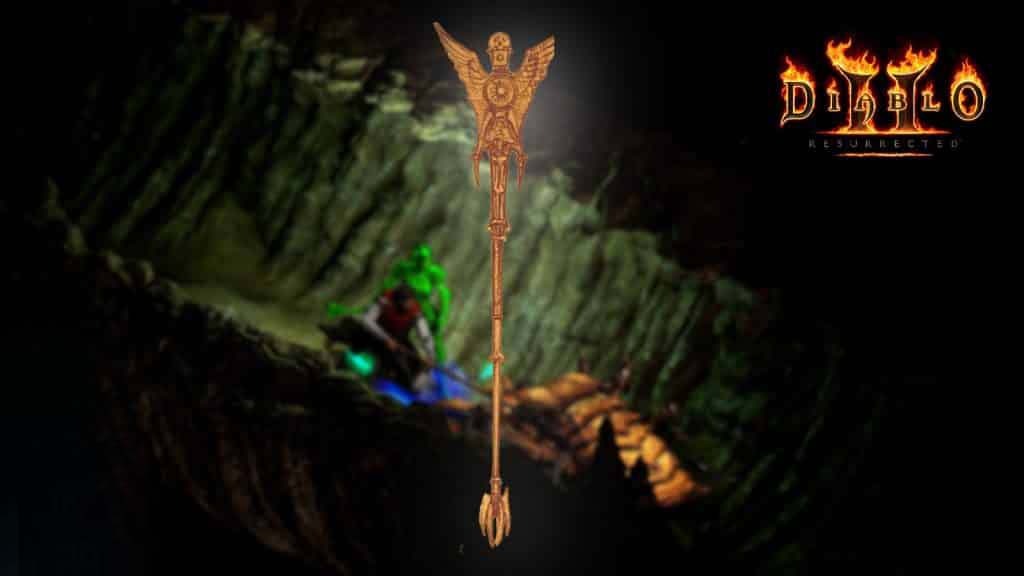
Task number 2. Horadric Staff

Recommended level: 17-20
This is a mandatory quest that you will be doing for almost the entire Act. After you bring the Scroll of Horadrics to Kain, he will tell you about one of the secrets of the magicians who sealed Tai Rashi's tomb with the Horadric Staff. However, after that, fearing betrayal, the staff was dismantled. You also have to find both parts of the staff, and put them together to open the sealed tomb of Tai Rashi.
In this quest we have to run a lot, it's a long quest. We have to find:
- Horadric Cube, which is located in the 3rd level of the Halls of the Dead, in the Dry Hills;
- Staff of Kings, which is located on the 3rd level of the Den of Worms, in the location of the Far Oasis;
- Amulet of Serpents, which can be found on the 2nd level of the Temple of the Clawed Vipers, the entrance to which can be found just outside the Lost Cities.
All three items can be searched in any order, but it is better to do it logically: that is, as indicated here.

First, let's find Horadric Cube. We leave the city, we get to the Rocky Wasteland. Here you need to find the transition to the next location - the Withered Hills. You should immediately find the portal of this area. Next, look here for the Halls of the Dead level 1. The monsters in this location are not particularly surprising, there should not be any difficulties. At the 2nd level, you can find a portal. At the 3rd level, we are waiting for a room filled with monsters, in which there is a magic chest. In it lies Horadric Cube. We take it and go to the city. There Kine will tell us about the cube, about its properties and its purpose.
Then you need to find the Staff of Kings, or shaft. After you have found the Cube, you should return to the city and teleport through the city portal to the Withered Hills. Then, there to look for a way out of them - a place called the Far Oasis. In it we can find a portal, for our own convenience.
We are looking for the Lair of Worms, such a small hole. When we go there, we will see narrow sandy passages in which it is difficult to escape anywhere. Here you will have to fight, of course, with worms, as well as beetles and midges.

You will have to go through all 3 levels of the lair to find the room we need. In this room, you will meet the Queen of Hearts, and a bunch of henchmen. Massive skills will be useful here, because the enemies are in a tight space. The uterus itself does not attack, but spawns worms, and after death emits a huge poisonous cloud, from which it is better to run away. After the death of all the inhabitants of this room, you can look around and notice a shiny chest standing nearby. It contains the Staff of Kings. We take it and run to the city to Kain. The staff itself is not bad, it has: + 10% to all resistances, a very strong increase in attack speed; but it is needed for another - for transformation into the Staff of the Horadrics, but more on that later.

The last item needed will be the Pommel, or tip. it is located in the Temple of the Clawed Viper of the 2nd level. To find this temple, you need to go from the Oasis to the Lost City, and from there to the Valley of the Serpents. That's where the entrance is. Entering the temple, we will meet the usual inhabitants, with the exception of a couple of new ones - salamanders and vipers. These snakes are strongly beaten, repelled and poisoned. After going to the second level of the Temple of the Clawed Viper, you will find a sanctuary there. After killing all the monsters at the altar, activate it. It will drop the Vipers amulet, which is needed for the staff.
- Interestingly: after defeating the vipers and destroying the altar, you will complete the 3rd quest in the second act.

After collecting all the items, open the cube with the right mouse button, put the staff and amulet in the Horadric Cube, and click on the "mix" button. As a result, you will receive Horadric Staffwith great power. The quest will automatically complete after the staff has been "boiled".
It is best to put the staff in the chest for the time being, it will be useful to us only in the 6th quest. The cube remains with us forever, and is useful for creating and upgrading various items.
Task number 3. Tainted Sun

After entering Lost city and the onset of darkness, we go to Drognan. After that, we break the Tainted Sun Altar, and the sun shines brightly again. Talk to Drognan again.
Reward: the sun is shining again.
Task number 4. Arcane Sanctuary

Now Vans need to go to Zhekhrin. He will talk about how some monsters tortured the girls from his harem. Now the entrance to the palace is free. We go down to the harem. After 2 of its levels we get to the Palace Cellar. There, in the center of level 3, you will find a portal. Come in. You will be taken to the Sanctuary itself. There are 4 directions. At the end of one is your target, at the end of the others are chests. Good place for a run. Having reached the goal, namely Horazon's Journal, this quest will end and a new one will begin.
Reward: no
Task number 5. The Summoner

Once in the Hidden Sanctuary, don't forget to take waypoint . There are four directions and location Summoner randomized. Just pick a direction and hope it's the right one. Otherwise, you will have to return to the waypoint and try another route. Enemies in this area include ghoul lords, goat people of the infernal clan, and ghosts. These are all tougher versions of the enemies you've encountered before, so they shouldn't give you too much trouble. However, in large numbers, they can easily overpower you. Don't get a big head. Take your time and you'll be done before you know it.
When you finally get to the Summoner, prepare to fight. He can use Glacial Spike, Frost Nova, Fire Wall and use Weaken. On top of that, the stairs leading up to it are an easy spot for minions to get into a tight spot. Then he will be able to take you with his spells from safety. If so, take out the minions and deal with them before moving on to the main course. Luckily, he has a relatively low health pool, so once you get to him, he usually drops quickly. Click on the pedestal in the Summoner location and you will get a real symbol Graves of Tai Rashi . This will allow you to complete the final quest in Act II.
Task number 6. Seven Tombs (The Seven Tombs)

Recommended level: 22-24.
On the in fact, you can start this quest much earlier by talking to Jerin , but you can't get to the Tomb until now. Go through the red portal to the Summoner's location to be in Magi Canyon . Look in the quest log to see which of the tomb symbols is correct. There are seven temples in this area, and if you go to the wrong one, you will only lose time. Of course, if you want to level up a bit and get some decent gear, feel free to explore other temples.
When you get to the desired Temple, go until you find Tai Rashi's room.. You will need to deal with the powerful versions of all the enemies you have seen so far in order to reach your goal, but you should already be able to deal with them. If you're having difficulty, consider going through a few extra levels before moving on. Once at the back of the Temple, use the Horadric Staff to open the door to the last room.
Before you set off, be prepared for an uphill battle with second act boss Duriel. This is often a hindrance for new players because you encounter him in a very small area at a relatively low level. We recommend using any summons or mercenaries you have to buy yourself time to reset the city portal when you enter the room. Then it's just a matter of using your skills and playing smart. Duriel very fast and strong. He can also slow you down with an aura called Holy Freeze . If you can hit him with cold attacks, you can turn the tide by slowing him down. This allows you to take him away in relative safety if you can attack from a distance. However, it's best to stick to what brought you here and not be afraid to run back to the city in the middle of a fight.
Once he is defeated, head to the back of the area and speak to Tyrael . Then return to the city and talk to Jerin. He will send you to Meshifuthat will take you to docks of Kurast and to Act III.

For more information on Diablo II: Resurrected Act walkthroughs, click below to see other Diablo II: Resurrected guides:
Was the article helpful?