Dungeons are some of the most challenging activities that Guardians will face in Destiny 2. Although they are not as difficult as…
Destiny 2: Xenophage Exotic Machine Gun │ How to Get?
0
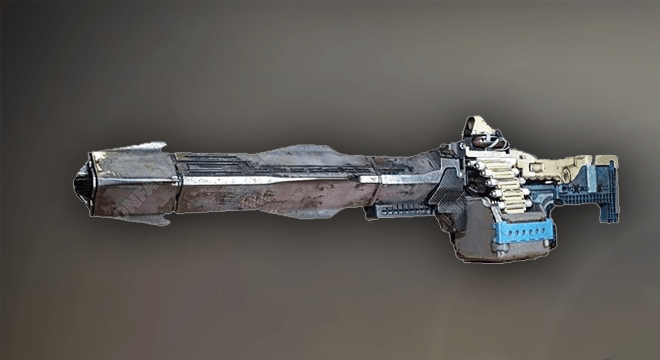
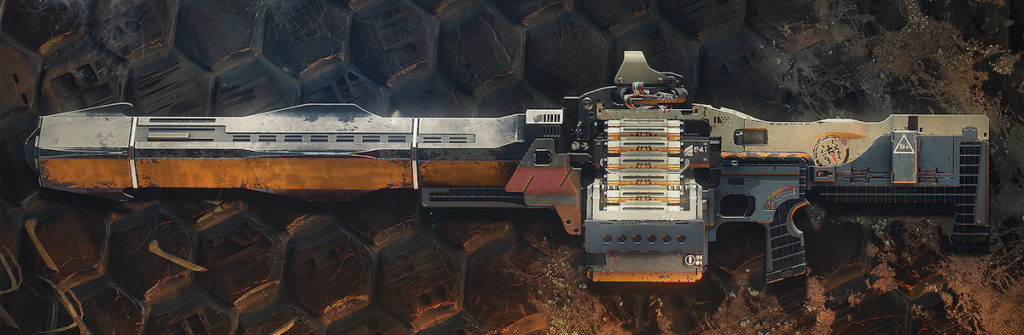
Our guide to the new Xenophage exotic in Destiny 2 Shadowkeep will walk you through everything we currently know about this exotic machine gun and how to start the quest. We have a complete overview of all quest steps, as well as a list of weapon perks and features.
START QUEST
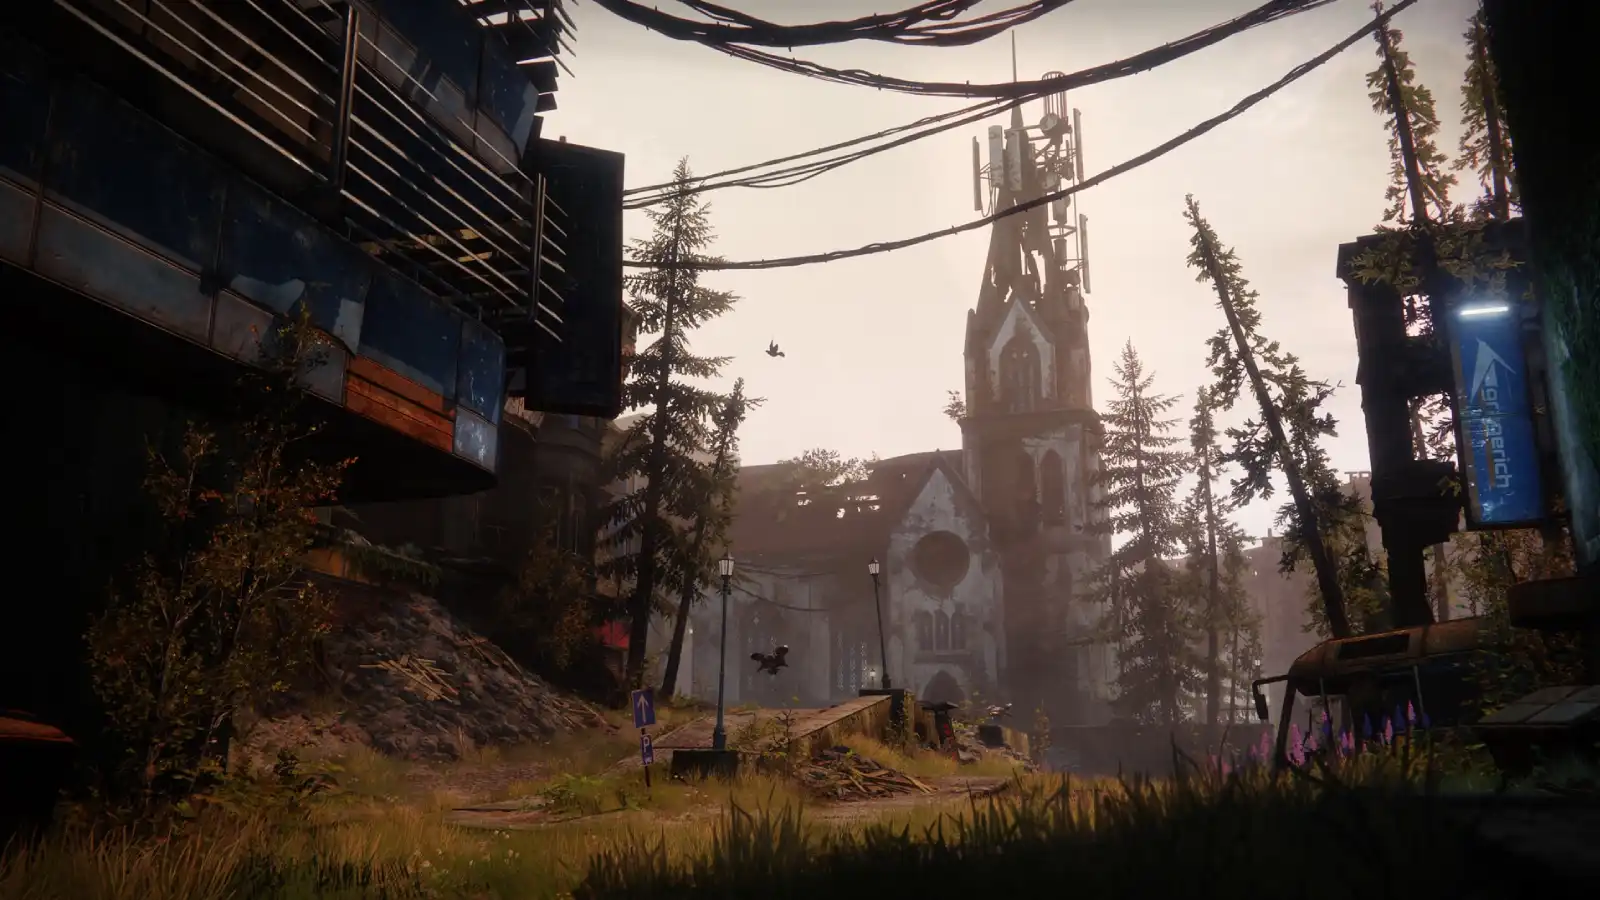
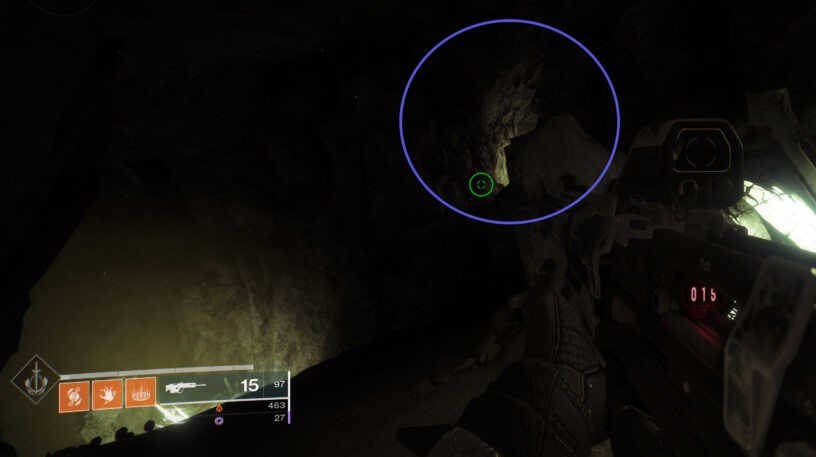
In order to start this quest, you will need to go through a portal, which is usually located in the landing zone of the sanctuary on the moon. If it's not there, then you'll have to do some footwork. Go to Harbor of Sorrow and enter the fortress. Go down the corridor and go through the door on the left. Keep following this corridor down until you reach a cave like area. You will see a bright green light and immediately after that there will be a large opening to go down into the cave and a smaller opening leading up and to the right. Jump to the right entrance and follow him to the area you'll end up in if you take the portal. The area of the two caves should look like this:
There are four statues in this room that you will need to light up in a specific order (if you are facing away from the cave): bottom right, top right, top left, bottom left. This will open a chest for you to explore, allowing you to start looking.
OUTPUT
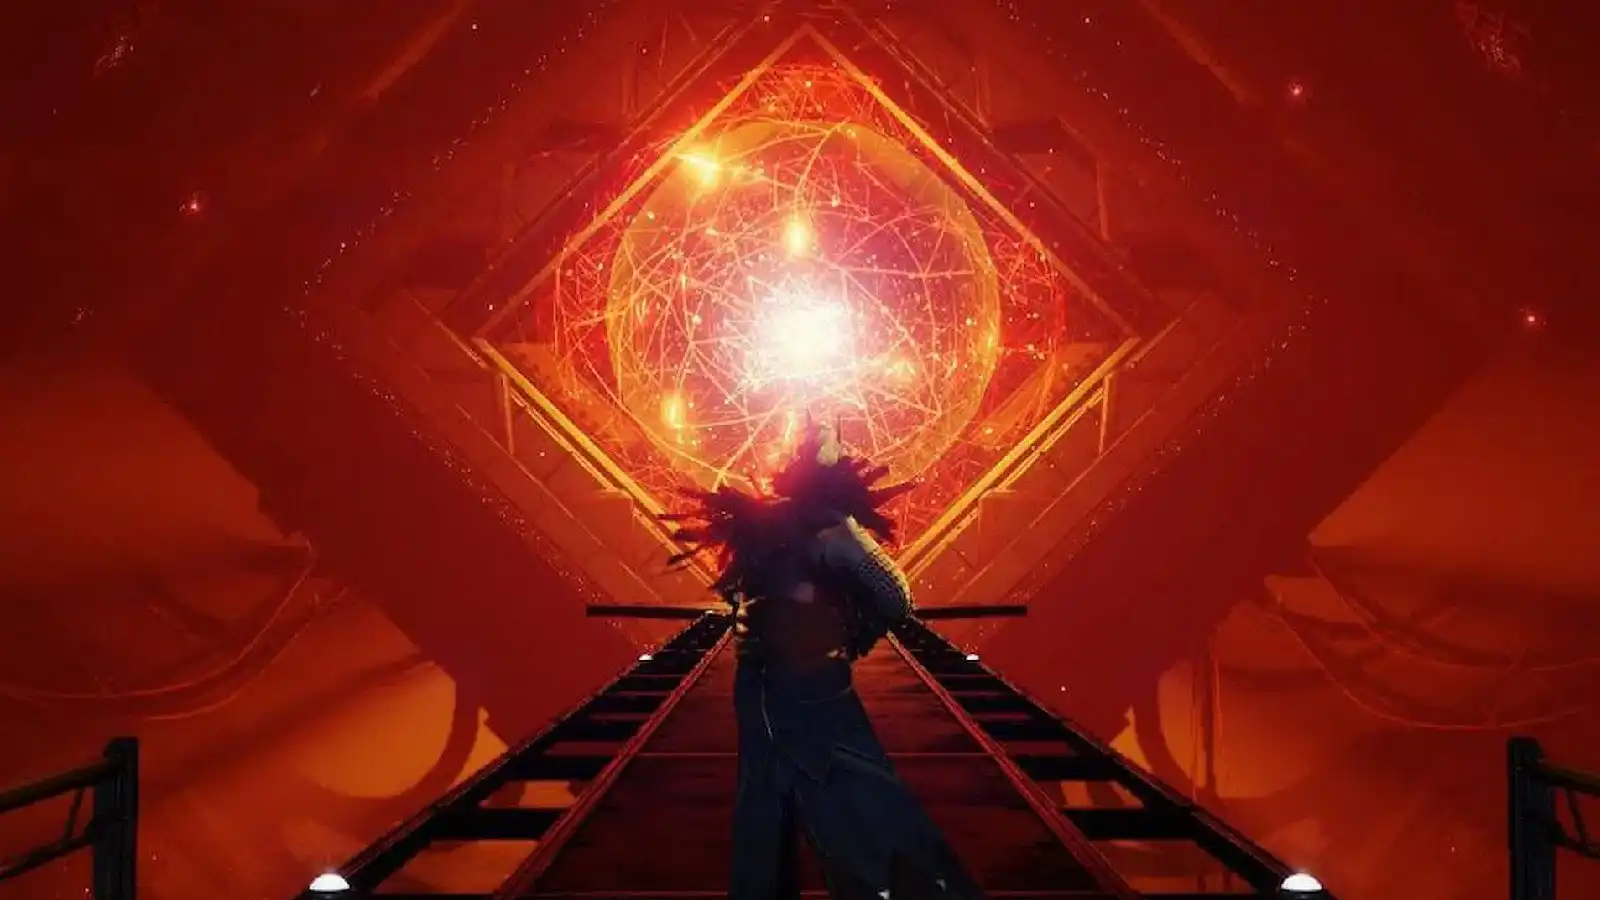
The quest simply tells you "came out of the dark." To complete this step, you will need to go to the Light Anchor area on the Moon and to this exact location:
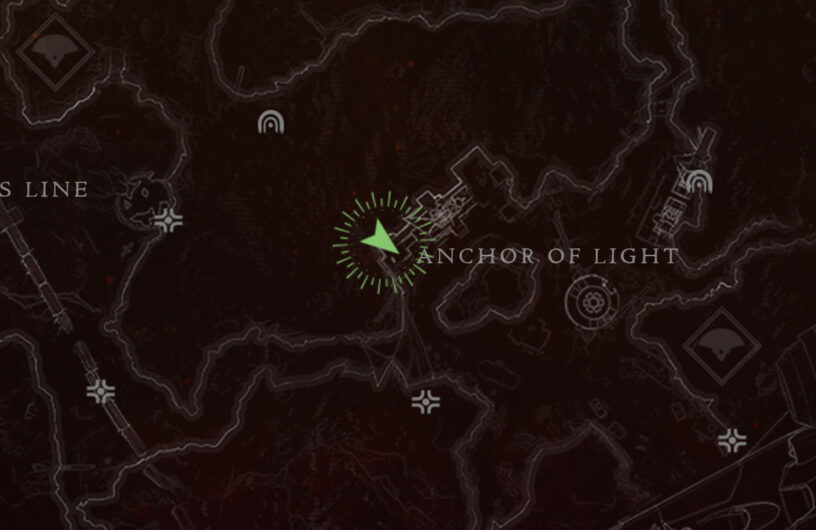
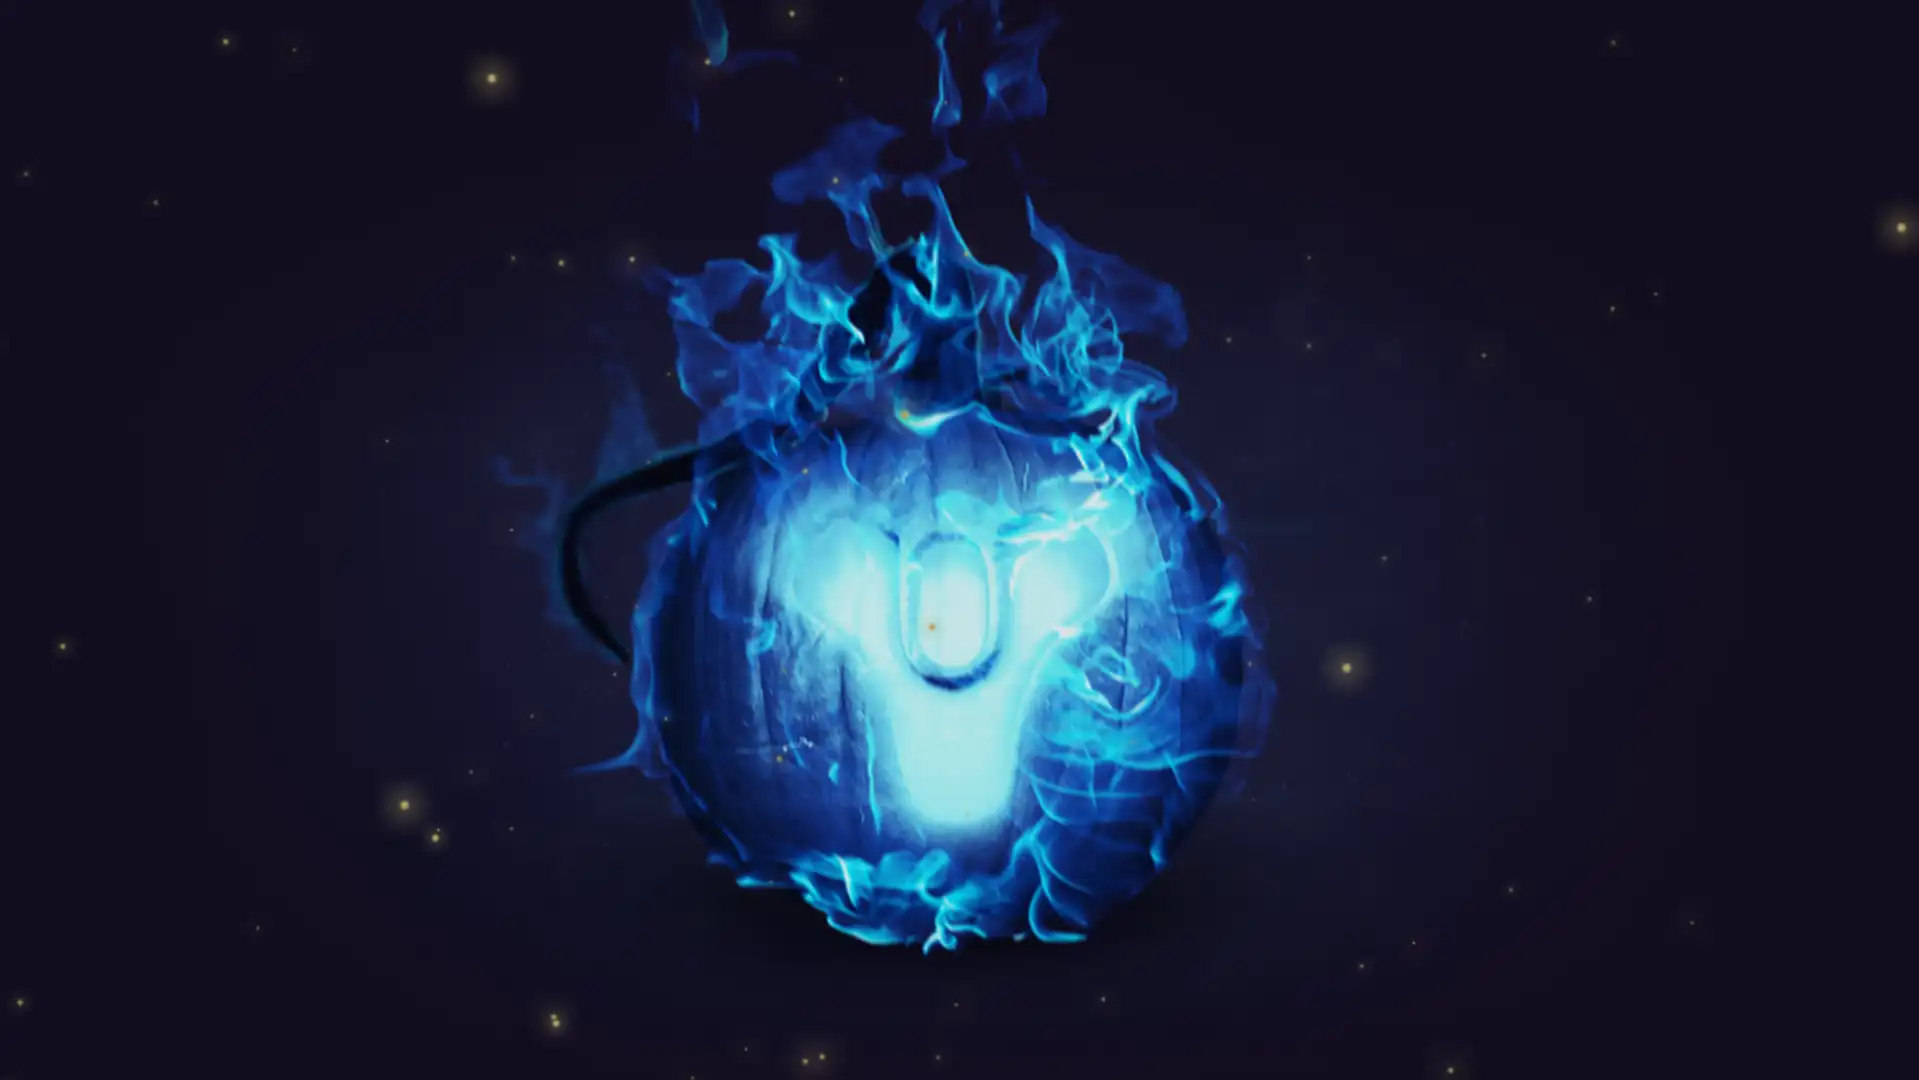
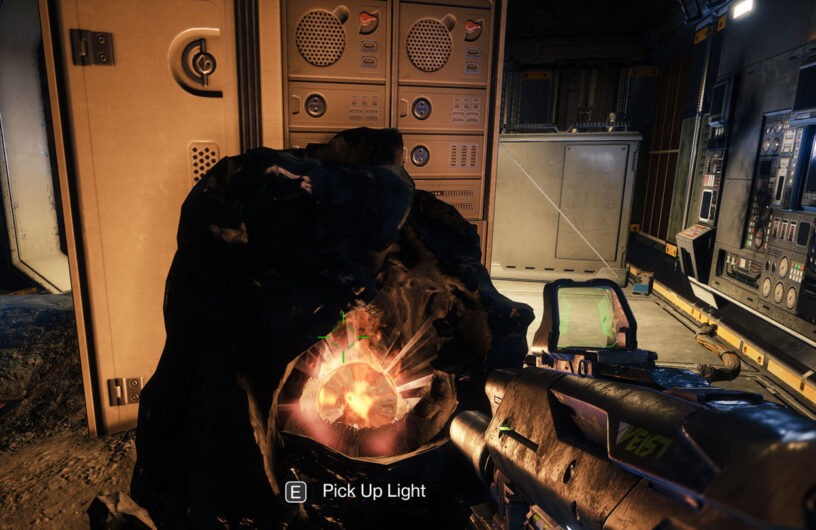
This place is inside a small building, you will find a ball of light hidden behind some mechanisms:
TRACKER
You now need to collect four path fragments, one from each of the Lost Sectors on the Moon. Once you are done with the boss in one of the sectors, a puzzle will appear on the wall. You need to solve the puzzle by matching six runes with the top rune.
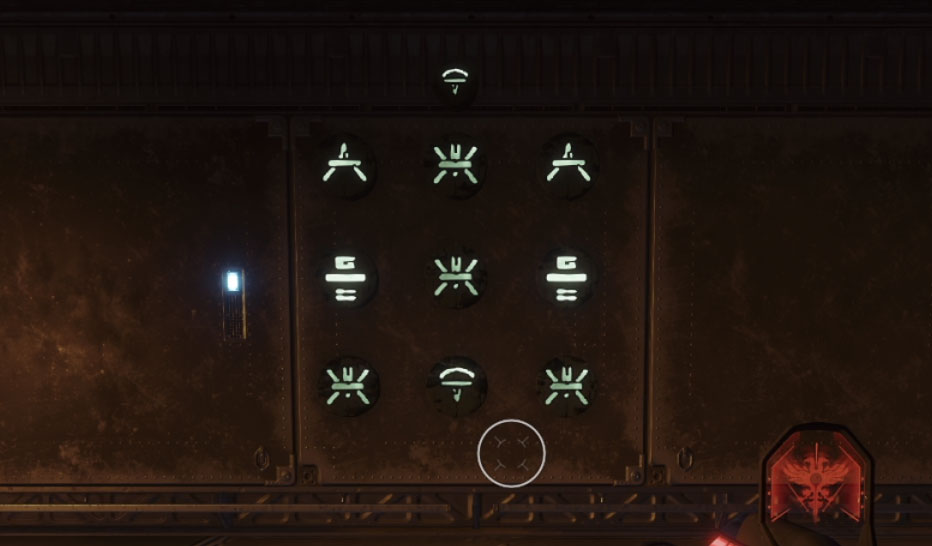
If you don't want to deal with this quest yourself, here are the solutions we have right now.
- K1 Gathering Center (Anchor of Light): Bottom Left, Bottom Right, Top Middle, Top Middle
- K1 Living Quarters (Hellmouth): Top Right, Middle Left, Middle, Bottom Middle, Bottom Right, Bottom Right, Bottom Middle, Bottom Middle.
- K1 Gathering Center (Archer's Line): Middle, Middle Right, Top Left, Bottom Left
- K1 Revelation (Harbor of Sorrow): Right Middle, Left Middle, Middle, Middle, Left Middle, Upper Middle, Lower Middle, Middle
If you ruin one rune, you can shoot it four times to restore it to its original state.
DESCENT
You will now travel to Sorrow's Harbor in the area Pit of Heresy. You do not need to complete the entire dungeon to complete this part of the quest. After the first encounter with the mini-boss, you will be taken to a jump section with a bunch of doors. You need to go to the top left door, the rune is there.
Here is a video if you are confused:
DISCOVERY
This part is really confusing, so I recommend that you watch the previous video with 1m33s.
Next, you basically need to now light the way into the dungeon. There are several glowing platforms that you will need to use, and then you will need to bring the ball of light to the braziers, as you did in the spawn stage.
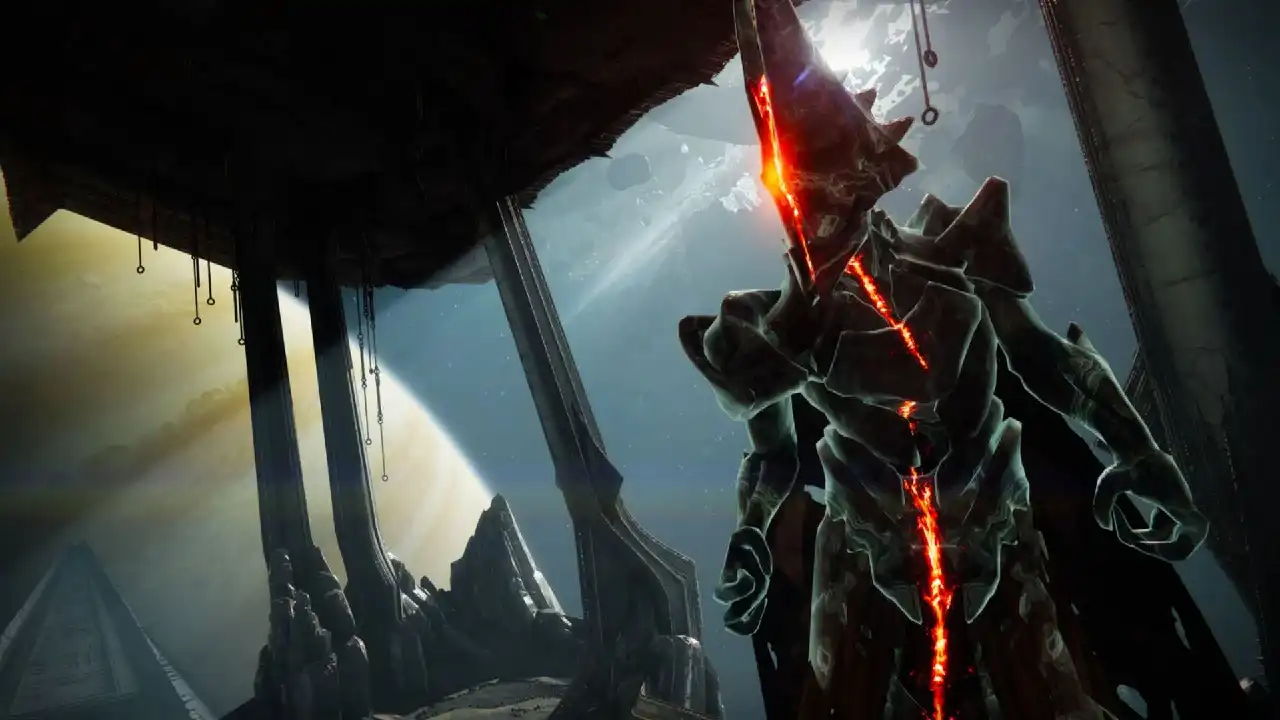
KILL VOLMAR, THE TEMPTED
It's time to face the boss, there are four elemental orbs in the boss room. Each of them corresponds to a certain elemental type of damage: arc, solar, kinetic, void. Each player on the team will receive a "scary" buff with a specific name. You will need to grab the orb in the middle of the room and place it in the correct slot.
Solar (Fire Horror) = Symbol X
Kinetic (neutral horror) = division symbol (two dots and a line in the middle)
Void (Abyssal Horror) = Glyph
Electricity (Thunder Horror) = Descending Triangle
Once you get the buff, you will have 15 - 20 seconds to damage the boss with that particular type of elemental damage. Keep doing this until the boss is defeated!
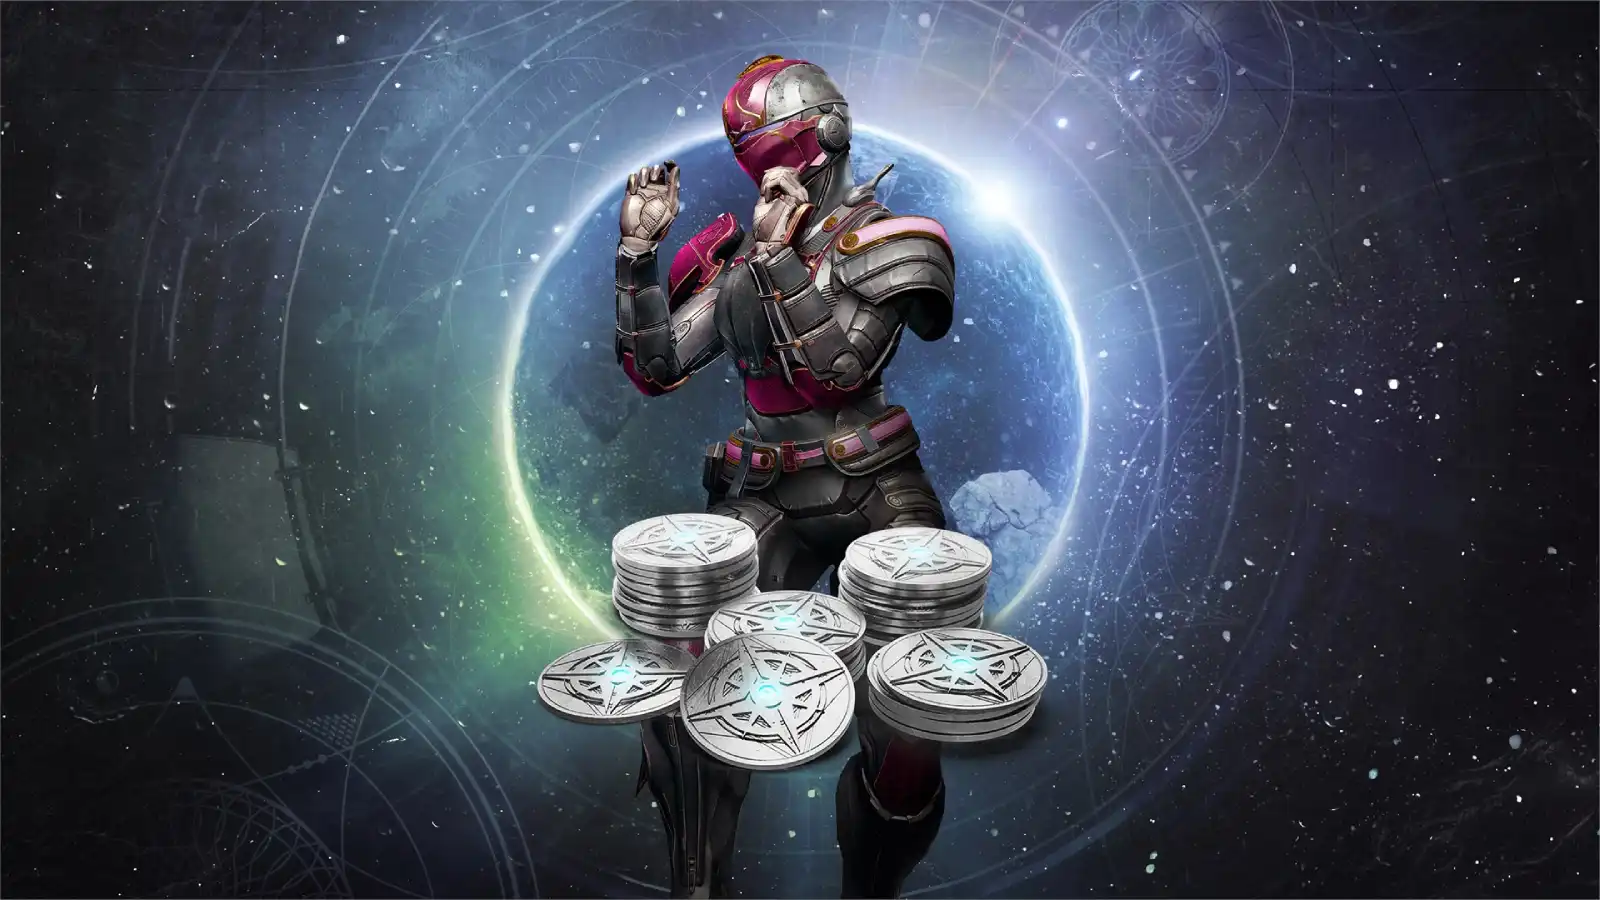
THE FINAL
That's all! Return to Eris Morn and collect your prize.
Was the article helpful?
 Thank you very much!