This is a walkthrough of the Menancia location in Tales of Arise! Read on to find out how to complete this chapter, boss fight strategy, items, and…
Calaglia Walkthrough in Tales of Arise: Side Quests, Owl Locations, and Defeating the Boss

This is a walkthrough of the Calaglia location in Tales of Arise! Read on to find out how to complete this chapter, boss fight strategy, items and chest locations, as well as side quests, owl locations, and more!
Passage of Calaglia
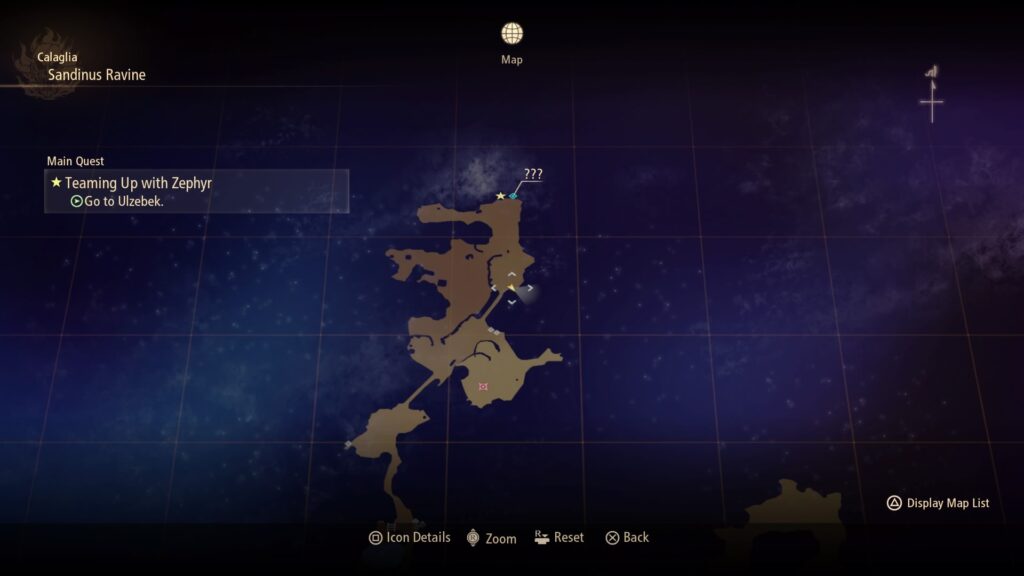
Note: Your goals will be marked with a star ★ on the map. Next to the star you will see a number showing the distance to the target. This is your pointer that will guide your character through the story(s) of Tales of Arise.
Video Guide
Goals
 | Ask Doka cure you |
| Save mysterious girl who you will find, performing your work imposed on you Renanami . |
| Meet with Red Ravensami and escape from the mine with Shion. |
| Find an outfit for Shion in Ruins of Fangan . |
| Attack the garrison and defeat Bolzef. |
| Return to the Fire Gate and look for a cure to bring Dock . |
| Departure from Calaglia. |
Save the mysterious girl
| Stages | |
|---|---|
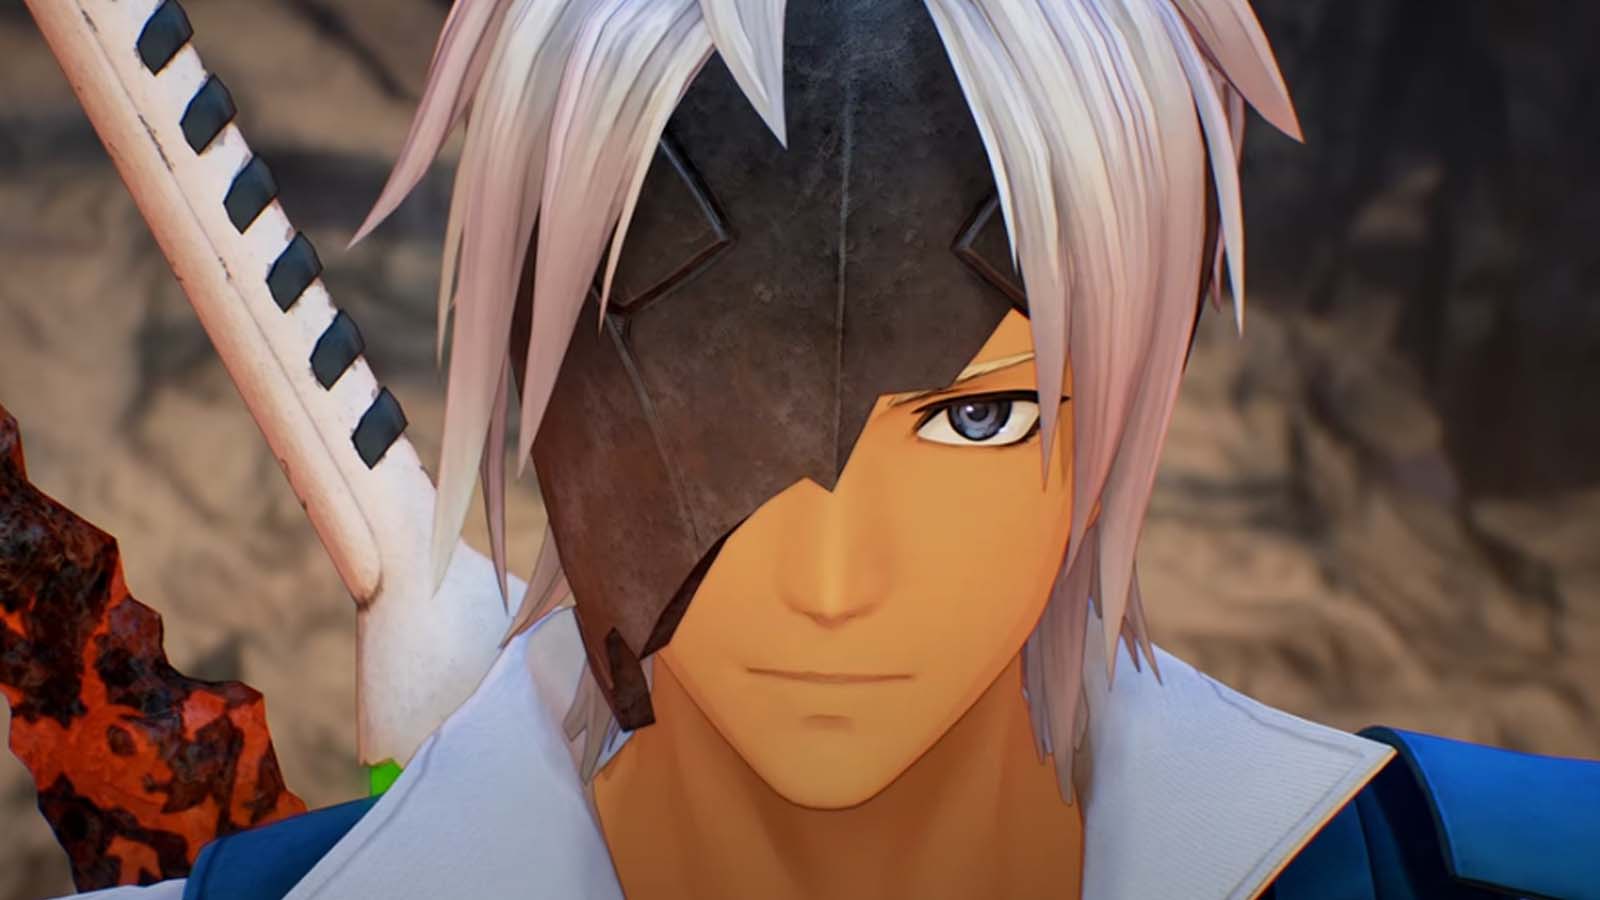
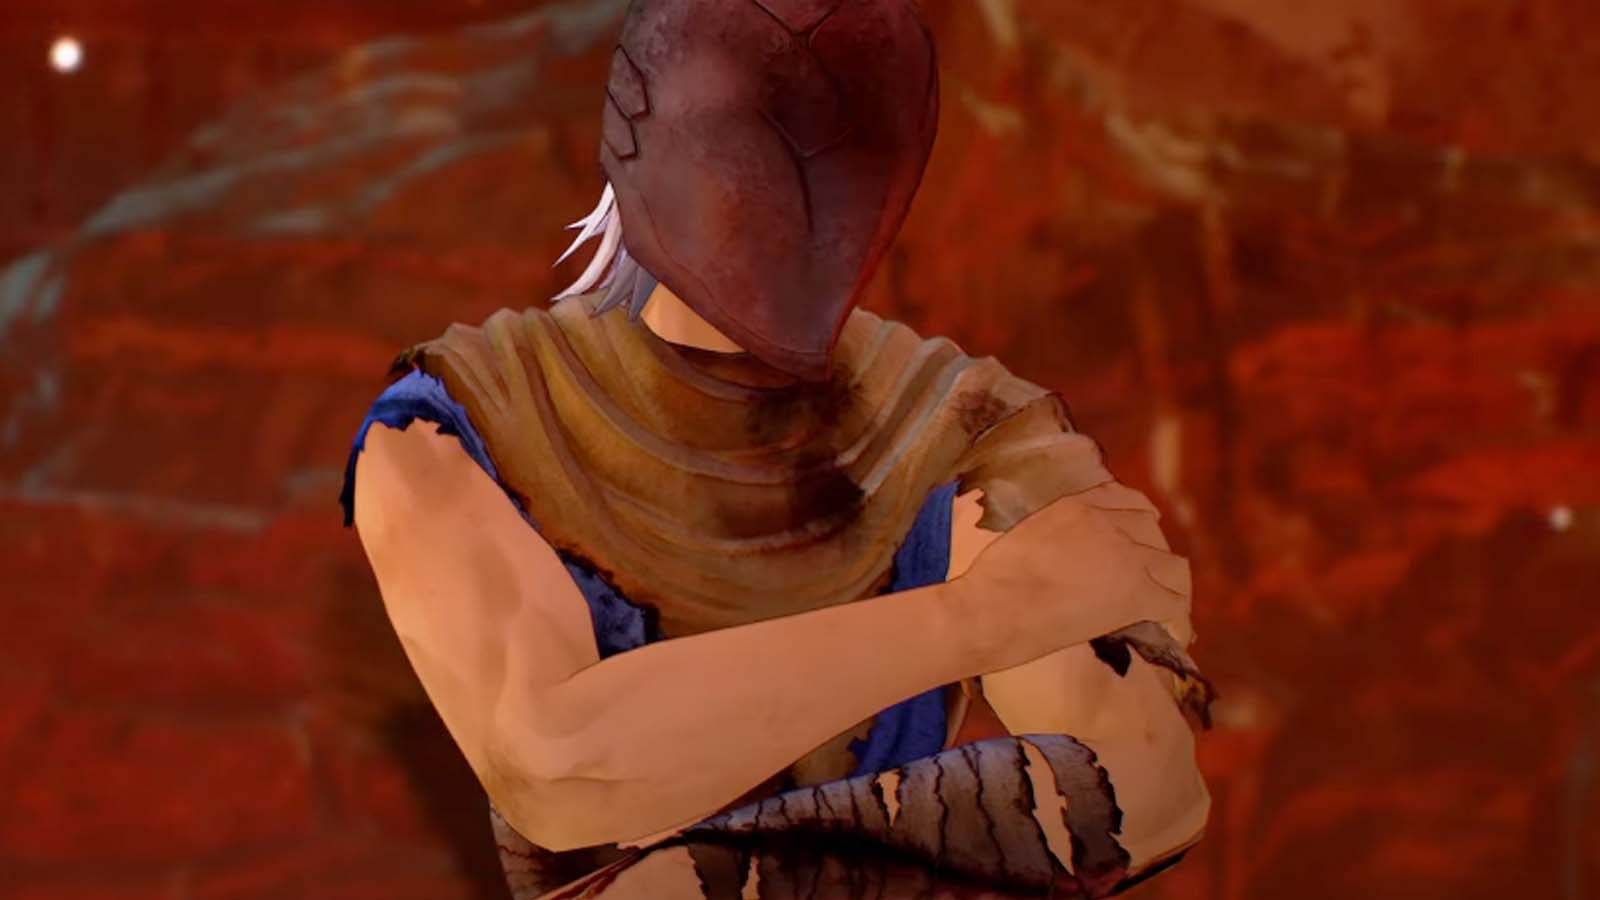
| 1 | Once you gain control of the Iron Mask (Alphen) , go forward along the path to a small tent directly opposite the stairs you come down from and talk to Docom . |
| 2 | 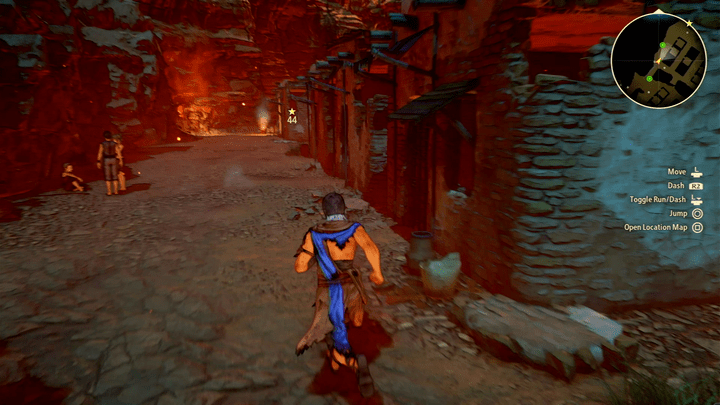 Once your wounds are treated by Doc, follow the sign down a street filled with NPCs to talk to. You will pass by several houses - yours will be at the very end of the row of houses that you will pass by. |
| 3 | After you sleep the next day, return to the tent and move towards the train cars. From there, a cut-scene will begin with the explosion of the train and the rescue of the girl who is shocked. |
Mine Escape
| Stages | |
|---|---|
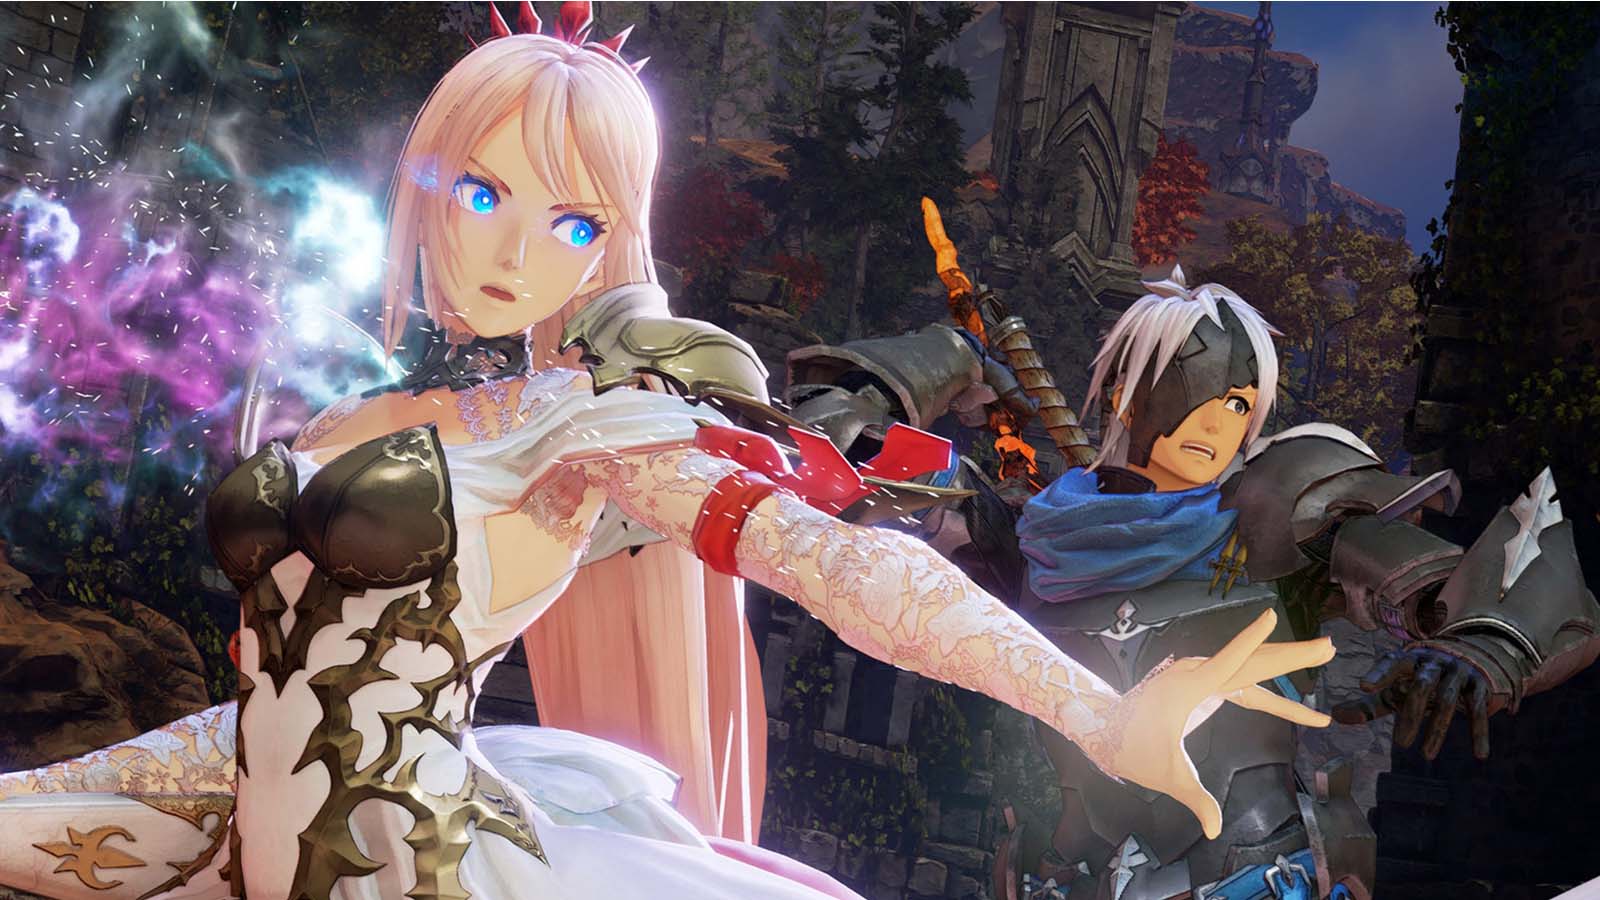
| 4 | After a really long cutscene, you will meet Tilsa. End the conversation with her and talk to her again to ask lots of questions if you're curious about the Red Crows and the mines. Follow the story objective marker to watch the cutscene with Zephyr and the mysterious girl. After this cutscene, you will receive a Dumb Sword. It is automatically equipped for the Iron Mask, but now you have access to the Equipment menu. 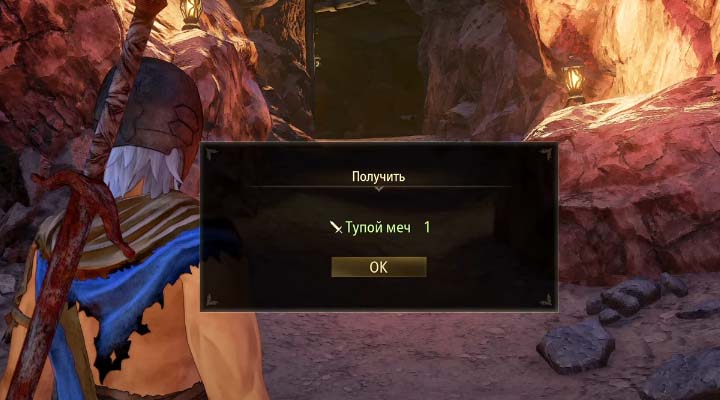 Follow the story marker back from where you came from, but this time go to the left and fight the guards. Focus on the manual and how to use the combat mechanics. Currently, you don't have to worry about the health bar. Defeat the guard and move on to the next group of enemies. After you catch up with the girl, kill more enemies and watch some cut-scenes. Meet Zephyr and watch a very long cutscene. They will both join your team, but Zephyr is just a guest character, so you can't directly control him in combat. Exit the area. |
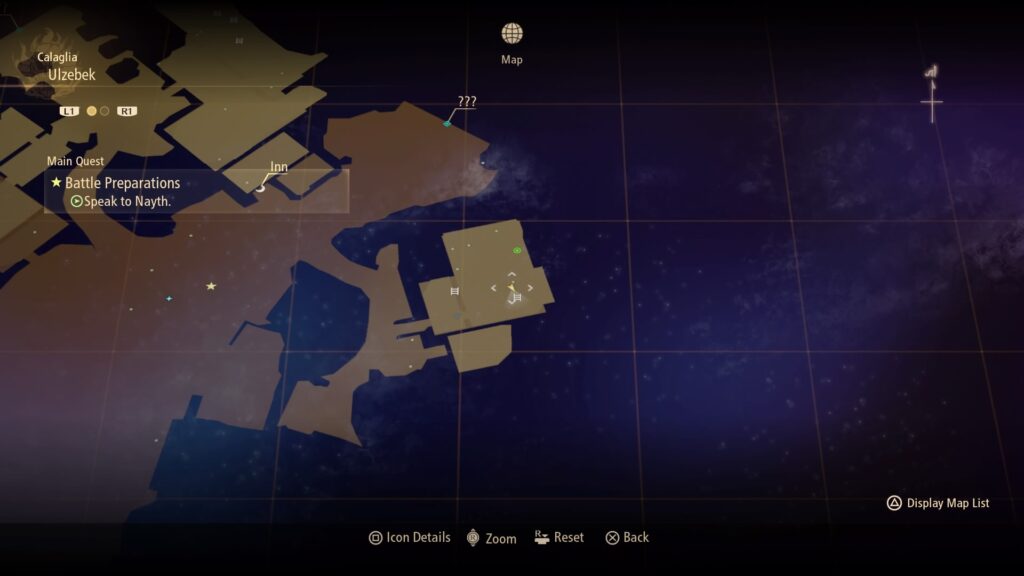
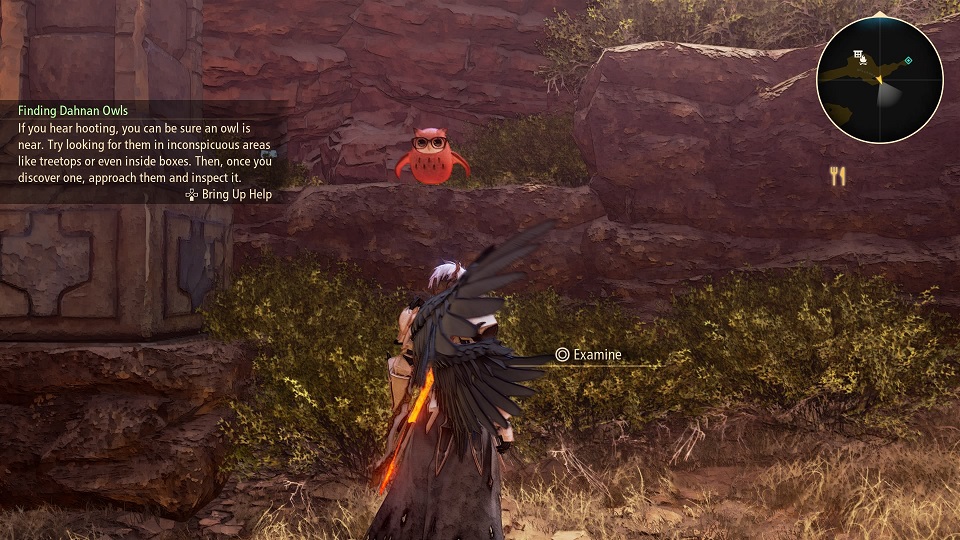
| 5 | Take a via sandinus gorge. Defeat a few monsters along the way and check out the new mechanics tutorials. You now have a health bar - so try not to die! Some large enemies, such as the Golem, will have glowing orange spirit cores that must be destroyed first to stagger the monster. After you defeat the Golem, go left and up the stairs. If you get lost, there is a ladder icon on your minimap. Climb up this ladder to find the ore. Jump off the ledge and continue to the right to find a chest with a bottle of life x3 before taking a longer path. 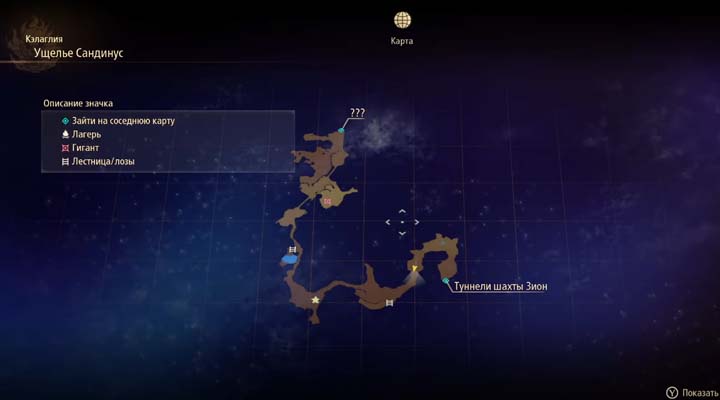 You will find a bonfire to restore your missing health. In the camping menu, you can view all previously viewed sketches and cut scenes. There is a lot of information to learn and absorb at the same time, so take your time. When you're ready, select Rest. When you wake up, your destination is Ulzebek, a refuge for the people of Danan. Open the map and head towards the yellow star or ??? marked on the map. If you find yourself low on health or CP, head back to the campfire to rest for as long as you like. On the way to Ulzebek, there are several unopened chests and collection markers. Once you cross the first bridge, jump down to the left and collect Carp and Sage x1. Climb the stairs and go to the next area, go left to get the apple gel. Run down what looks like train tracks and run up the cliff to your right. Don't fight this monster, it's level 43. Collect the Mushrooms at the foot of this cliff and keep moving. Kill the armadillos and look for Danan's red owl to your right. These Danana owls are collectibles and will announce their presence with a hoot as soon as you get close to one of them. 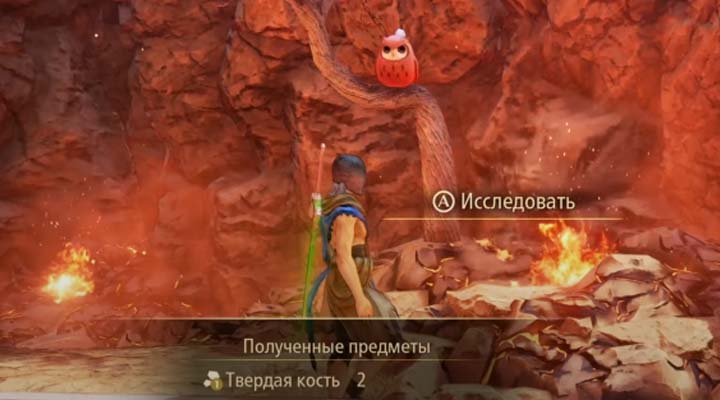 If you find them all throughout the game, you will unlock the achievement Owl Watch/Owl Count! This is the only owl in the area. If you open the map, you will see a new owl icon marked on the map to show its location once you have located it. You will also receive a new costume item - the Dog's Tail. After she flies away, move to the left to beat more armadillos x3 and collect more wheat and ore. There is also a sack on the ground orange jelly. Pick it up and move towards the large door to Ulzebek. |
| 6 | After the cutscene, Zephyr will leave your group. You can explore the area and immediately talk to the Red Raven girl on your right to hear a lot of additional information. There are two owls and a tavern with a shop in the area. The shopkeeper doesn't have many things.  Head to the yellow story marker when you're ready to watch a cutscene with Zephyr complaining about your current outfits. They are not good enough for Shion. An owl (don't forget to listen for the sounds of an owl!) and a treasure chest above your head. 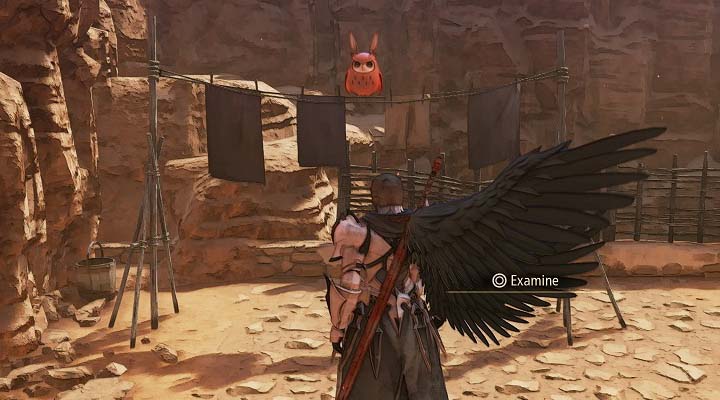 Climb up the stairs to find them. Go back to what looks like a square and talk to Nate. Nate sends you to a client to get a job from him. Speak to Diran, who is just a few meters away, and he will send you back to Sandinus Gorge to collect the supplies left by the workers. This is where the side quest begins: Finding supplies: Walk back through the large gate into Sandinus Gorge and return to the cave tunnels. After killing the monsters and taking the remaining supplies, return to Ulzebek to give them to the customer. Returning to Ulzebek, you will unlock skill bar. You will also get the achievementrebel spark« Deeron will send you back to Nate. Follow the story objective up towards the houses and Nate will give information about the nearby abandoned Renian warehouse in the Fagan Ruins, which has been locked up for centuries. Nearby is a worried looking NPC (with an envelope icon above his head) who will give you a side quest to kill a level 43 monster back in Sandinus. You definitely can't kill him now, so just clear this side quest and climb up the cliff to your left to move on to the next area marked with a blue marker on your minimap. |
Finding Rhenian Robes
| Goals | |
|---|---|
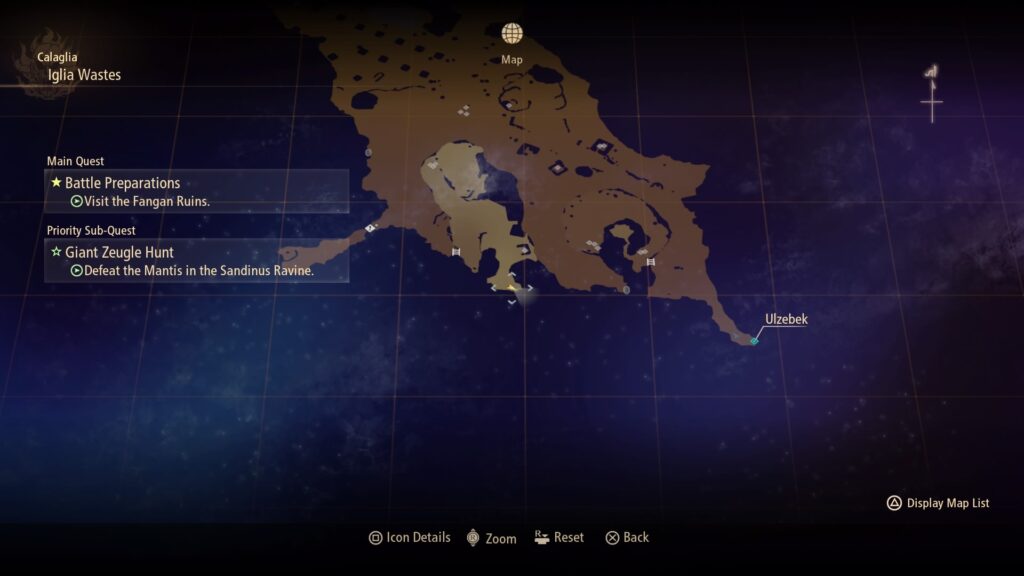
| 7 | Talk with Nafirom inside the house and go through the gate in the western part of the map. You have to go through a really wide area with several treasure chests and places to collect, including an owl at the very top of the stairs. When you're ready, head to the bonfire marked on the map to watch a cutscene and unlock the cooking. Only porridge can be cooked right now. Rest and move to the next area marked with a ??? on the map; Fagan Ruins ahead. |
| 8 | В Wasteland Iglia head north and across the plains until you reach Fagan ruins .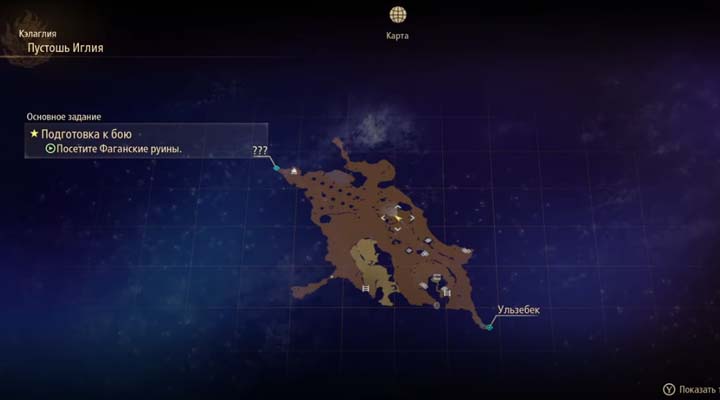 |
| 9 | Search upper levels of the ruins to find an outfit for Shion . As soon as you pick up the outfit and exit the ruins, fast return to Ulzebek. |
Attack the garrison and defeat Bolzef
| Goals | |
|---|---|
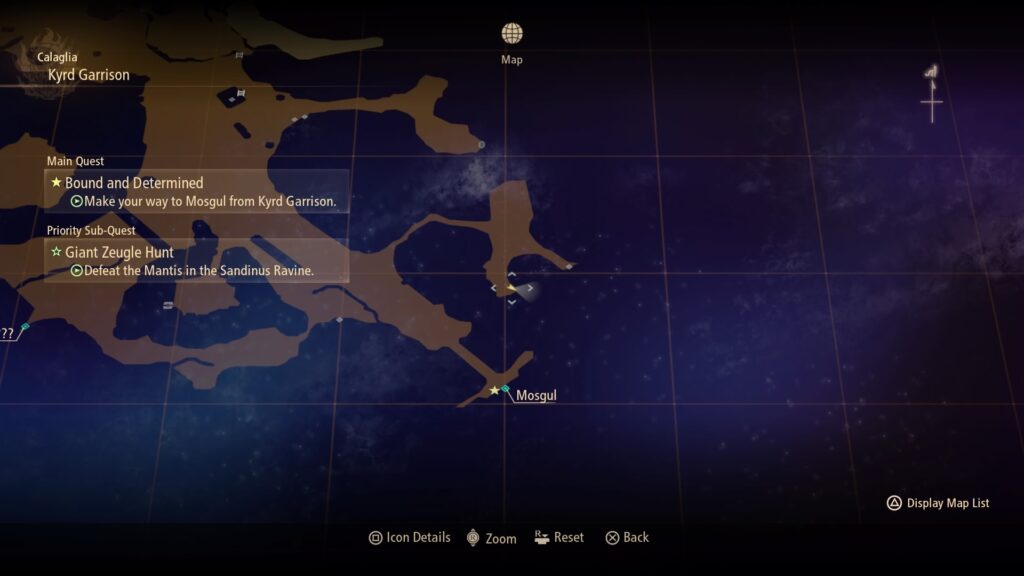
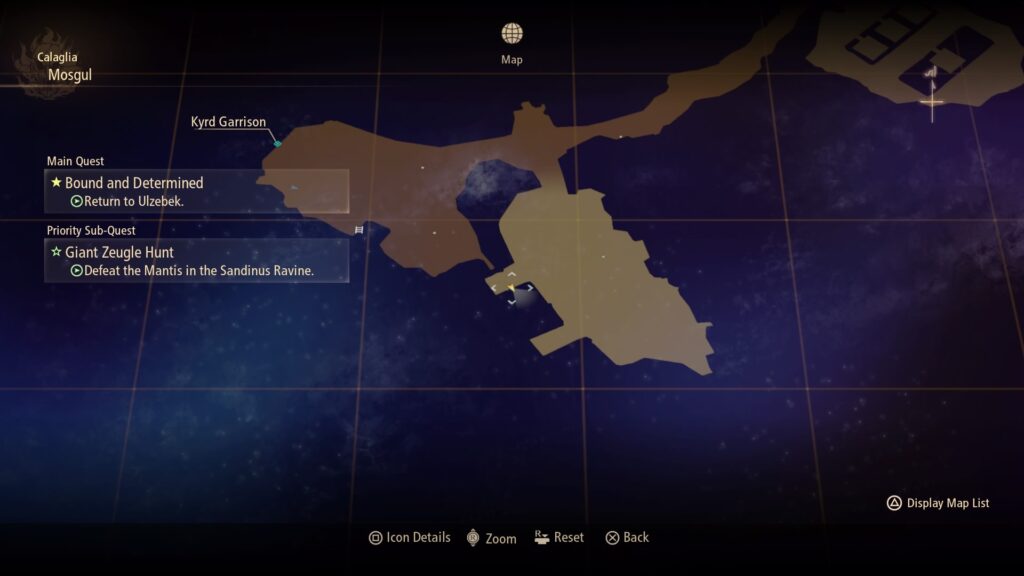
| 10 | Speak with Zephyr in Ulzebek. Return to Mosgul via Kird garrison . Save Doc. Return to Uzelbek. |
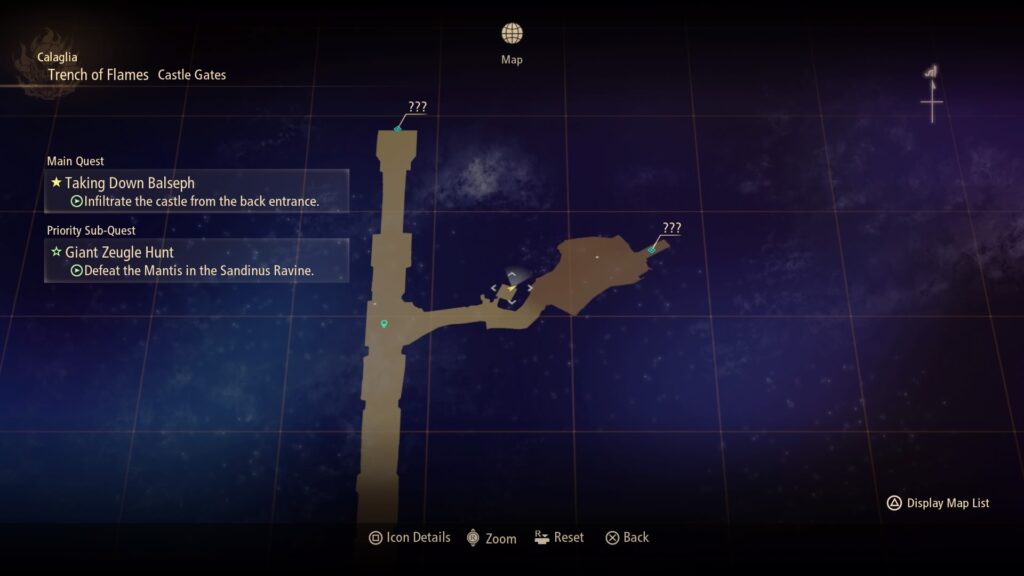
| 11 | Talk to Zephyr again and go to Flame trenches from the elevator in Kirda Garrison area. |
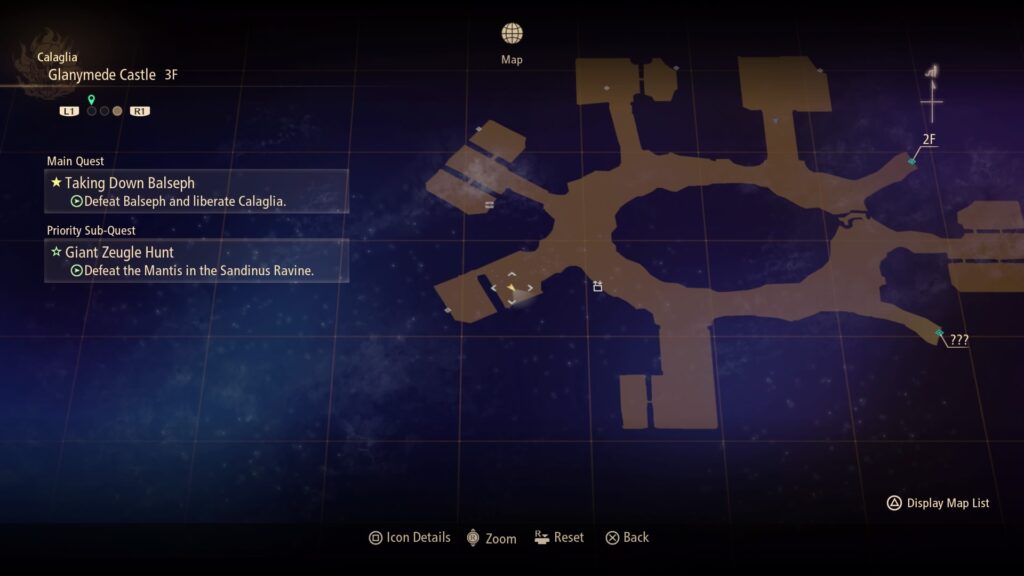
| 12 | increaseReaching to Glanymede Castle , go to the topmost floor until you meet Balcef. Defeat him. |
Leave Calaglia
| Goals | |
|---|---|
| 13 | After defeating Balcef head to the Fire Gate. Talk to Doc in Mosgul. |
| 14 | Head to the Kird garrison, where on the map you will see a large round island near the edge of the area. Get to it and you will find Sweet Pill . Return to Doc. |
| 15 | When Zephyr joins your party, go through via cliffs Lacerda and caves until you get out of the region Calaglian . |
Bolzef
| Recommended Level: 10 | |||
 HP: 19 010 | |||
| Атака | 162 | DEF | 167 |
| Elemental attack | 177 | Elemental Defense | 86 |
| Entry | 406 | Resistance | 428 |
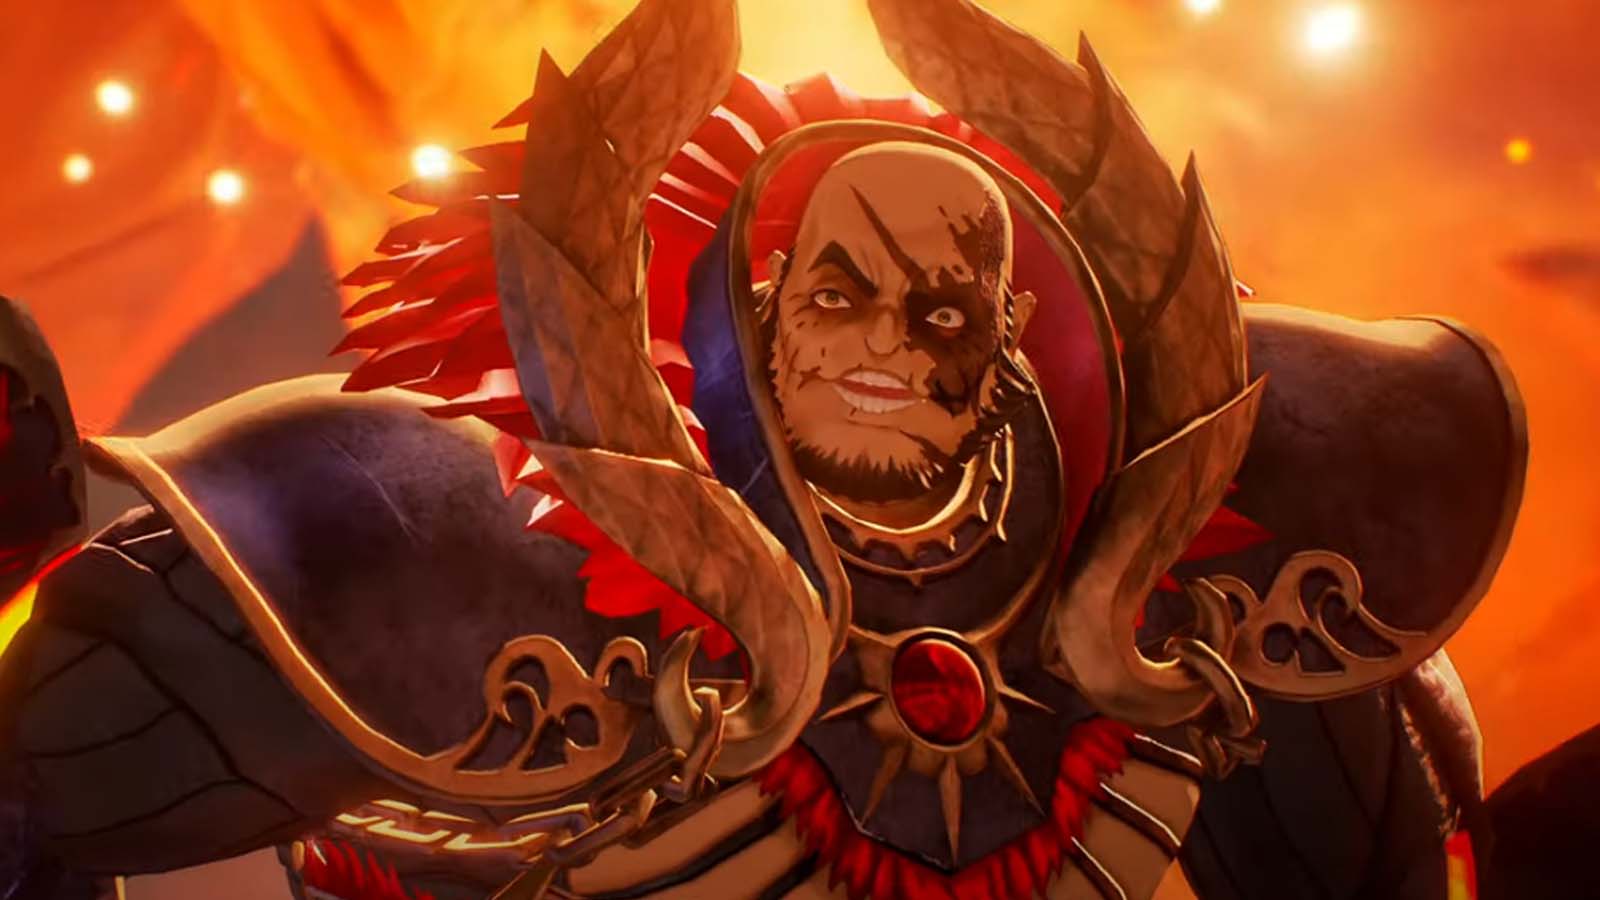
Bolzef — Lord Renaan, who rules Calaglia . He rules from Glanymede Castle , which you can penetrate in the second part the main plot in the Calaglia region.
Additional quests (Subquests)
| Quest name | Awards |
|---|---|
| Finding supplies | 800 gald 200 SP |
| Location / Customer Ulzebek - Diran, standing in front of the inn. |
| Quest name | Awards |
|---|---|
| Giant Zeigle Hunt | 12600 gald 380 SP |
| Location / Requester Ulzebek - An agitated member standing at the foot of the Southeast Step. |
| Quest name | Awards |
|---|---|
| Hunger averted | 700 gald 190 SP Boiled Potato Recipe × 1 |
| Location / Request Gives Ulzebek - Cook Woman, a little south of the tavern. |
| Quest name | Awards |
|---|---|
| Forging from scratch | 500 gald 165 SP |
| Location / Request give Ulzebek - Dayron, upon returning from Mosgul |
| Quest name | Awards |
|---|---|
| Hunting for new weapons | 700 gald 170 SP |
| Location / Requester Ulzebek - Dairon, near the hotel |
| Quest name | Awards |
|---|---|
| Shionne, fashion critic | 1600 gald 135 SP |
| Location / Requester Ulzebek - Handsome nobleman in Ulzebek |
| Quest name | Awards |
|---|---|
| Doc's Secret Ingredient | 700 Gald kebab recipe × 1 Bottle of Life × 2 |
| Location / Requester Mosgul - Dock |
| Quest name | Awards |
|---|---|
| rooting | 800 gald 210 SP |
| Location / Request give Ulzebek - Grenard |
Owls location Calaglia
Owl #1
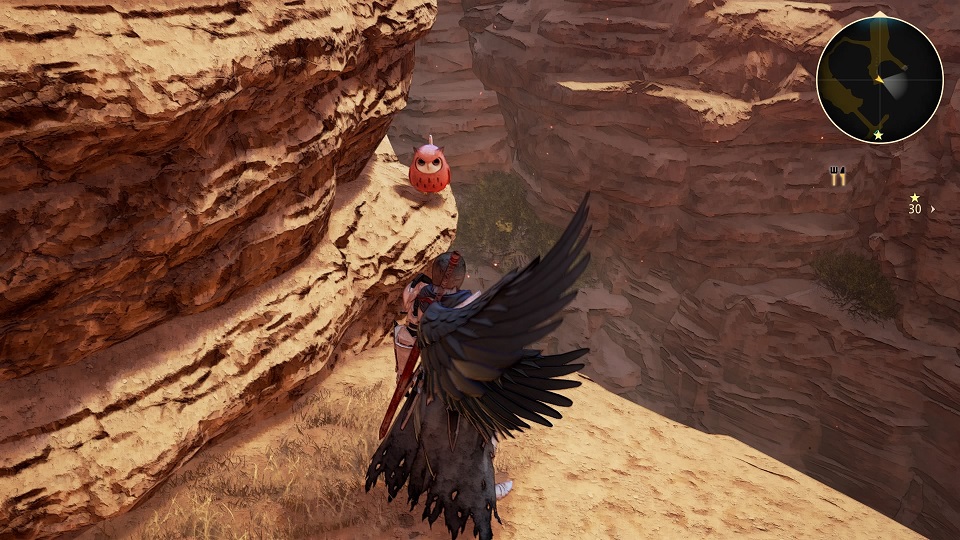
| Sandinus Gorge |
|---|
 |
 |
Go to the other side of the bridge past the Praying Mantis.
Reward : Dog tail.
Owl #2
| Ulzebek |
|---|
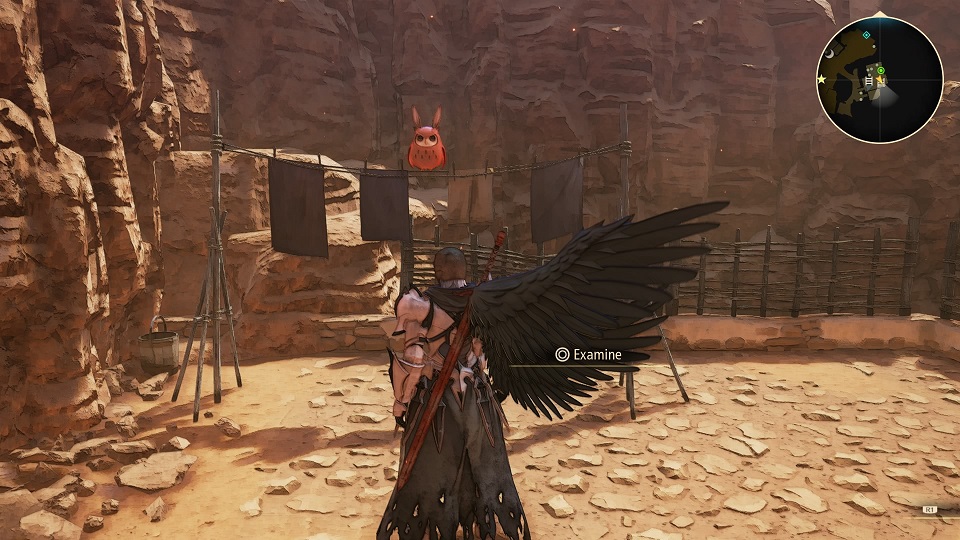 |
 |
Enter the house on the right side of the map and go up the two stairs to the top.
Reward : Rabbit ears.
Owl #3
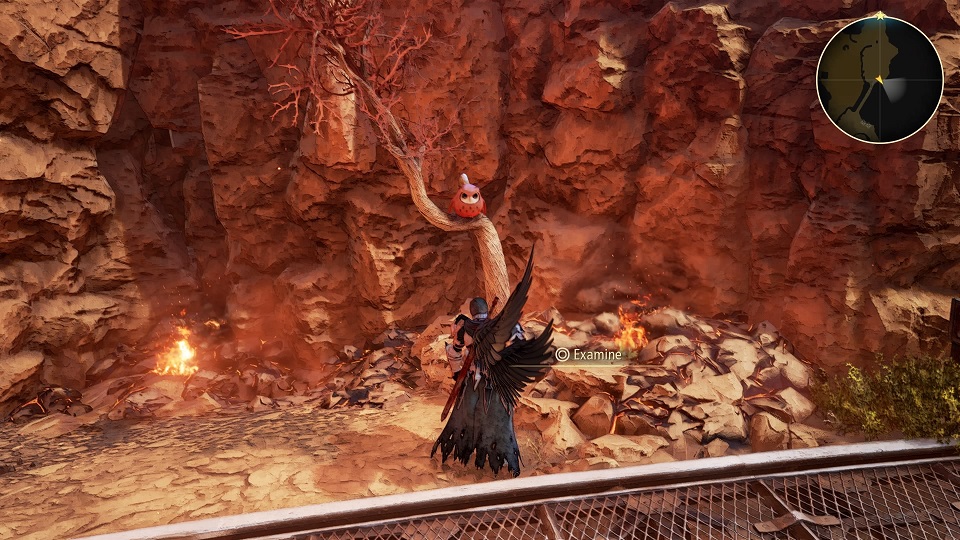
| Iglia of the Wasteland |
|---|
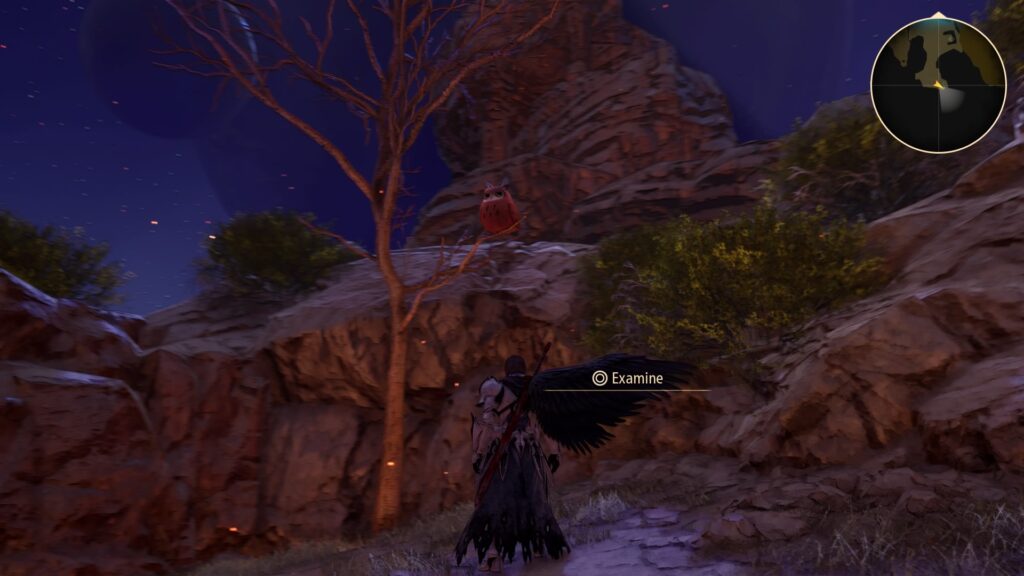 |
 |
Go to the lower left corner of the map and climb onto the vines. Continue south to find an owl at the end of the path.
Reward : Spotted cat.
Owl #4
| Kird Garrison |
|---|
 |
 |
You can find this owl in the southeast corner of the map before you get to the Mosgul entrance.
Reward : Cat tail.
Owl #5
| Mosgul |
|---|
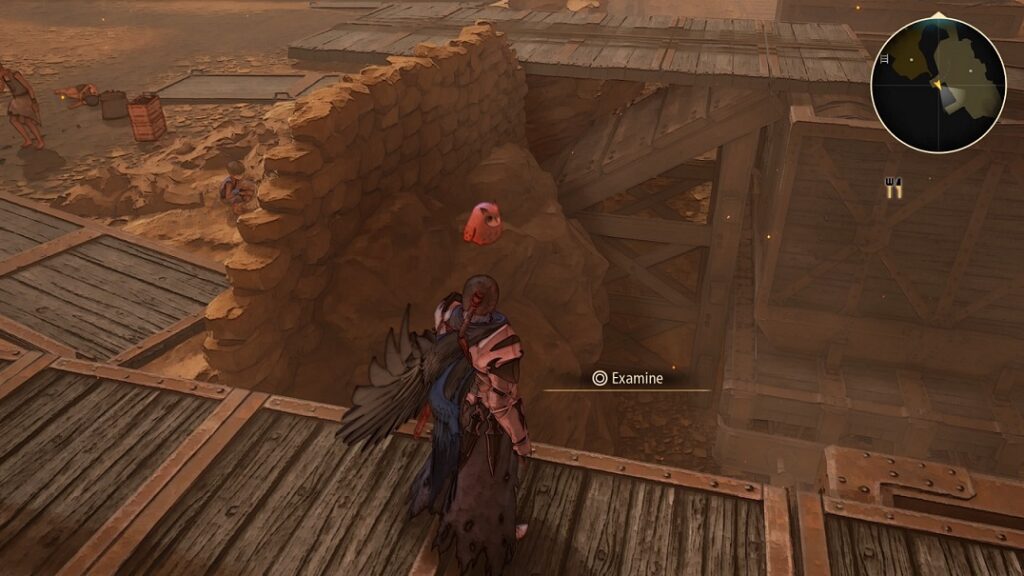 |
 |
Hiding behind a wall along the railroad tracks.
Reward : monocle.
Owl #6
| Flame Trench - Castle Gate |
|---|
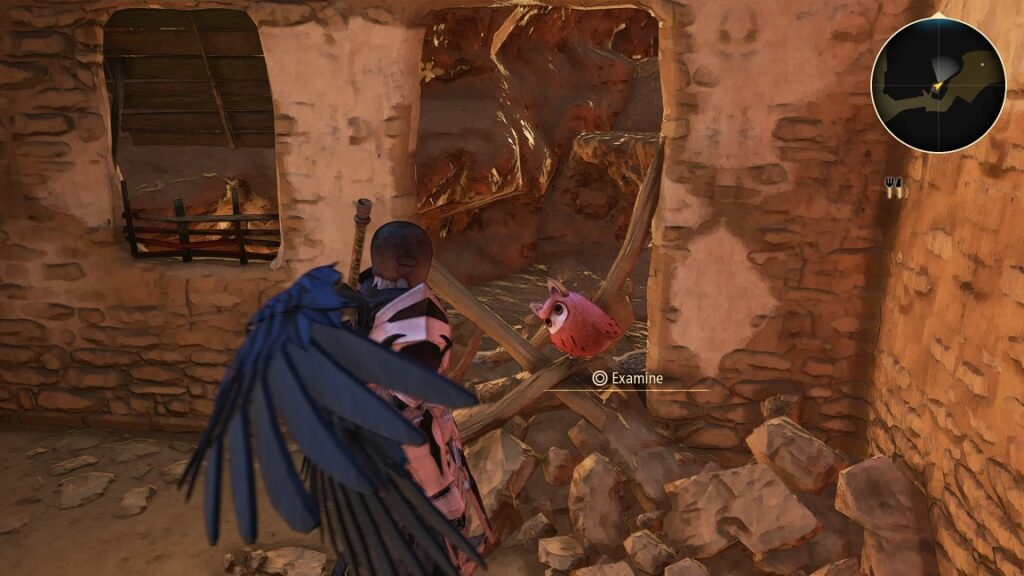 |
 |
On the right path there is a small house with an owl sitting inside.
Reward : dog ears.
Owl #7
| Flame Trench - Gate of Fire |
|---|
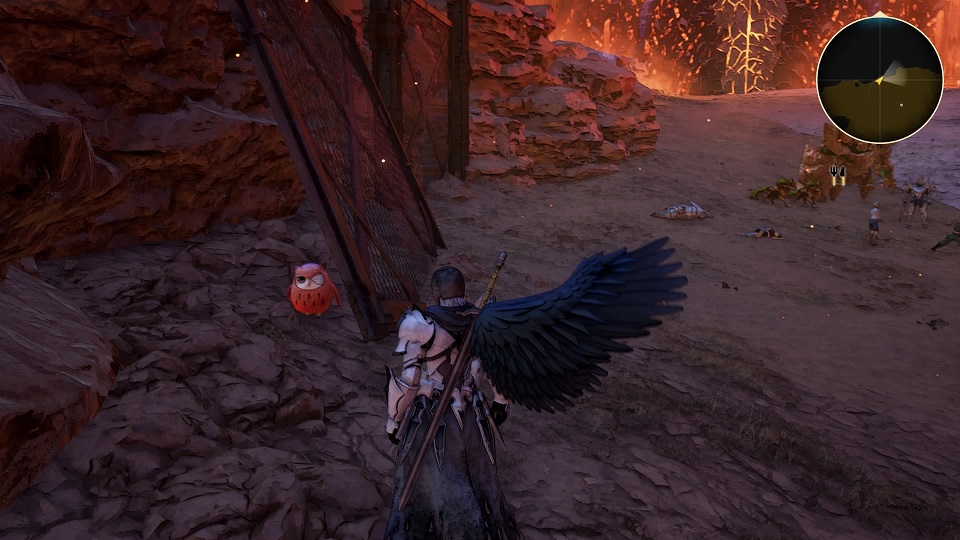 |
 |
When you enter the Fire Gate area, go north and look for this owl behind the net.
Reward : left armband.
Owl #8
| Glanymede Castle - 3F |
|---|
 |
 |
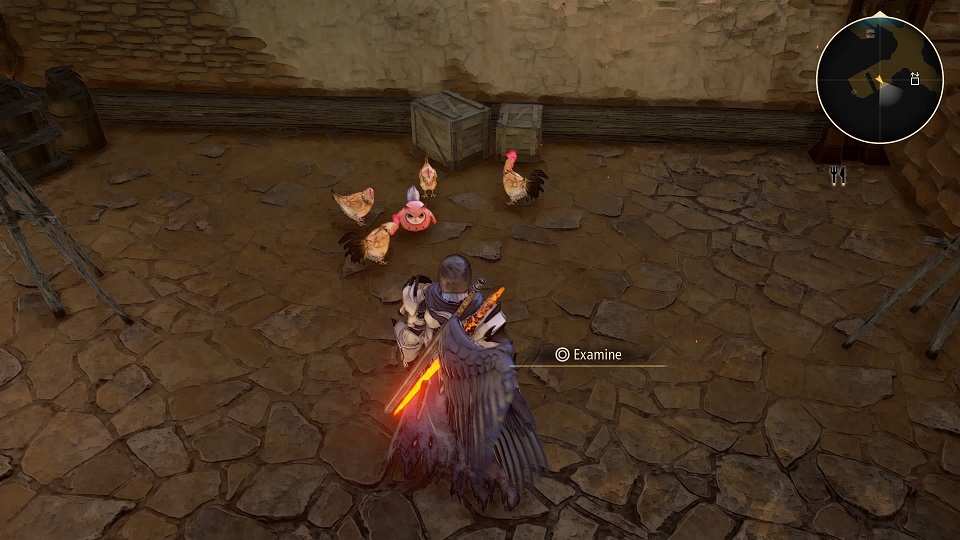
Walk around until you reach the southwest room. Find the owl among the chickens inside.
Reward : rabbit tail.
Owl #9
| Lacerda Cliffs |
|---|
 |
 |
Directly across from the campsite north of the map.
Reward : framed glasses.
All Tales of Arise Guides

Chapter
Calaglia | Cislodia |
Elde Menancia | Mahag Saar |
Was the article helpful?