Prepare for Armor The world is once again under threat from a resurgent, hostile Axis power hell-bent on strangling the Allies. Wasteland Challenge: How...
Operation Tonga Walkthrough Call of Duty Vanguard
This page of our Call of Duty Vanguard Wiki contains step by step instructions on how to complete the second mission: Operation Tonga. How to get to the mill and give orders to the detachment.
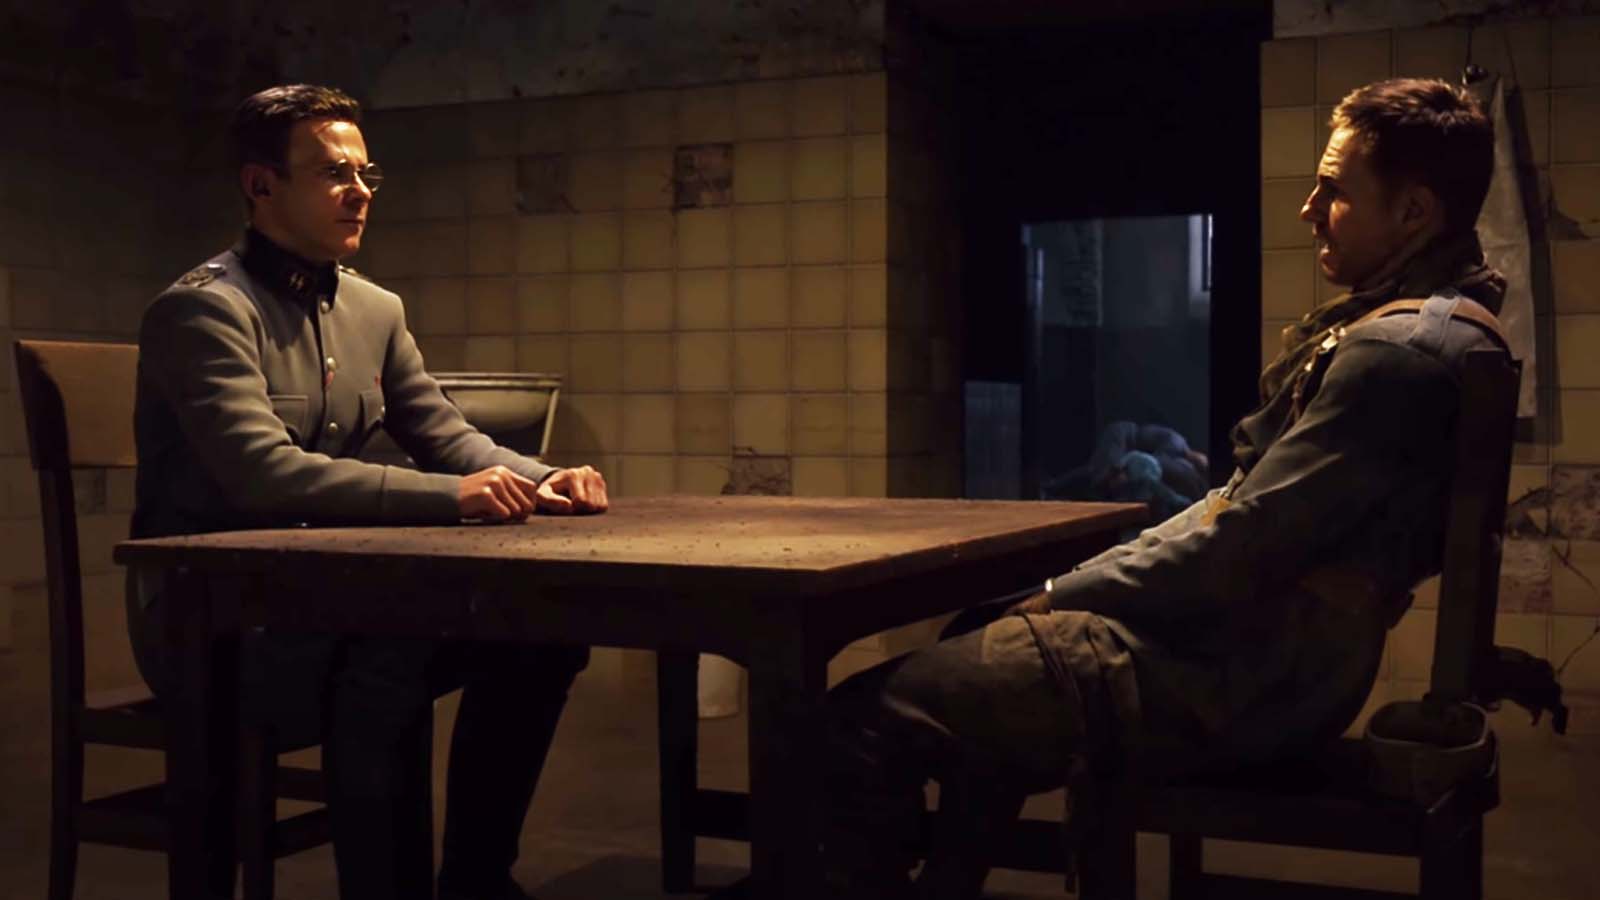
After completing the accompanying cutscenes, you will take on the role of Kingsley during Operation Tonga.
In the distance, a burning windmill with a single target.
Regroup with allies at the windmill

Run forward quickly, approaching the fallen trees. Crouch or crouch as you approach and head to the right, hiding behind a tree trunk.

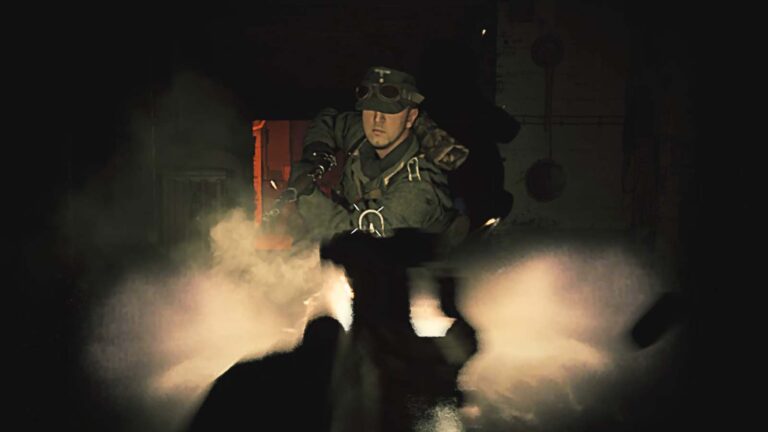
Wait for the flashlight soldier to turn away, then follow the leafy path into the woods. At this point, you can get up and start running towards the explosions.
Make a small left turn at the fire burning along the way and you will see one of your colleagues whose parachute is caught on a tree.

Approach him and the Nazi soldier will attack him. Run up and hit him (default R3) and a short animation will kick in. Kingsley will pick up a rifle when another Nazi soldier approaches him, so shoot him and you'll take control again.

Return to the right and follow the path up the hill. Stop at the gate and wait for the procession to pass. Once they're gone, crouch down and head to the van and truck near the house across the field.

Sneak up on the soldiers on the far right side and take them out silently. Then stealthily kill the soldier at the entrance to the basement, then return to the truck and refuel with ammo.

Once you get the ammo, go back to the basement door by the lantern and go down the stairs. When you get to the basement, a soldier will spot you through the floorboards and start shooting.

Aim up, right above the empty wine rack, and shoot to kill him, then head to the stairs at the far end of the room and climb up to reach ground level again.
Open the door and the soldier will blow it off its hinges. Approach the door lock on the left side and try to look around the corner.

Use the door frame as cover when you take out the soldier, then step forward and turn left to find another soldier who is taking cover behind an overturned table.

The explosion outside will blow a hole in the wall, but the enemy soldier will shoot you if you get close, so aim for the window and kill him first.
The window has an MP-40 with 9-round 64mm rounds, so take it to have a good close-range weapon for the next section, but keep the rifle as a secondary.

Go outside and kill the remaining soldier and you will see a white flash with a whistle, signaling that more enemies are approaching.
You need to take cover behind one of the garden walls and get ready. Make sure your automatic melee weapon is fully reloaded, then switch to your rifle and take out the approaching soldiers.

After killing a few soldiers, you will hear a bark, so switch to the MP-40 and look for the approaching dog (our first furry enemy approached from the right side, and the other followed him from the left).

Once the dogs are dead, return to the rifle and take out the remaining soldiers. After they're done, head to the far end of the yard and follow the path up the hill and you'll reach the house closest to the burning windmill.

Run towards the house and you will pass a cart full of barrels. The soldier will run into the burning house, so approach the open doorway on the right side with a melee weapon drawn.

WARNING A soldier with a bayonet attacks you from inside the building, which is an instant kill, so shoot him immediately. You'll know they're attacking by their battle cry, which gets louder as they get closer.

A few more soldiers are hiding in the stable stalls on the left and behind a table at the end of the room, so grab the grenades from the ammo box on the left and then grab whatever weapon you want (there are some new units in this room) and head outside.

Webb is here, reuniting you with your team, so approach him and interact to regroup and plan your way forward.
New objective: get to the weapon battery
Now that you've reunited with your team, Arthur's special abilities will be unlocked. Use it on the barrier (up by default on Dpad) to have your teammates clear the rubble, then approach it and go through the gap to continue.

After you enter the next area, turn right to find a crate of Model 24 hand grenades and an ammo crate. Take everything and go up the road.
Climb up the ledge and continue to the lookout.
New Objective: Capture a foothold

Your new objective, which will pave the way for the artillery battery, will be to capture the foothold, so follow the path down the hill to the right, then crouch to stay hidden.
At this stage, you will have two options for where to send your troops. None of the options matter in the story, it just focuses their fire on specific targets.

You'll be using this ability a lot in this part of the mission, so have your team target the troops in the truck or the soldiers guarding the gate, then fight the rest yourself to clear the area.
Approach the gate and use it as cover, then order the troops to start suppressing fire on the half-truck to give you an opportunity to move to the left or right side of the area.

Moving along the left side, you will encounter troops in an open-air ammunition depot, which will give you the opportunity to get around several powerful enemy gun emplacements. The area on the right will require you to break through the house, which will give you significant cover in the next section.
If any of these areas are causing you problems, you are free to switch sides, so don't worry about choosing. During the passage, we decided to go to the left, so further instructions will lead in this direction.

Approaching the boxes on the left, right inside the gate you will find a box with smoke grenades inside. Throw one on the street in front of a half-truck so that it is safe to cross the road to the house.
A WARNING. Moving through the rightmost section of the left area is easy and simple, and this resulted in the fewest ambushes.
There are three closed areas on the left, each with a handful of soldiers behind cover, so use your deadly grenades to clear them once you've pinned them down and use your smoke grenades to advance.
WARNING . A soldier with a bayonet will attack you from inside the sheltered area on the left, so approach carefully if you decide to go this route.

As soon as you get close to the end of the row, the semi-truck will move away and you can aim it again with your troop command ability, so do that and jump down. Run to the left and look for cover and you can go around it and kill the gunner.

As soon as the gunner falls, and the rest of the soldiers too, go to the bridge.

Here you will find a machine gun emplacement that will fire heavily, so order your troops to target the gunner. While they're on suppressive fire, run forward and get as far as you can, then dive for cover before the gunner resumes the attack, then repeat the cycle.


Go forward to the cover on the right side closest to the machine gunner. Here you will find a crate of grenades. From cover, throw a grenade at the Heavy's nest and it will explode, clearing a path forward.

Follow the rest of your team ahead and jump into the back of the truck to move on to the next part of the mission.

Prepare to storm the artillery battery

Once the cutscene ends, go to the top of the hill. Resupply your ammo, then keep moving and approach Webb just behind the crest of the hill. Interact with him to take his binoculars.

Look to the right, aiming the center of the screen at the marker at the edge of the cliff, and Kingsley will comment on the casemate where the guns are placed.

As soon as Webb points out the way that the team will get to the casemates, two markers will appear on the left.
Move to the left and hover over each marker and Kingsley will formulate a plan.

Webb would be responsible for leading the team to bring out the bottom cannon while Kingsley would take out the top cannon on the edge of the cliff with his own crew.
The bunker will serve as an entry point to the network of tunnels, allowing the crew to access the guns without having to fight the gun emplacement fire.

The last target for binoculars is a small "no man's land" minefield between the team's current location and the bunker.

Once the plan is made, turn right and move towards the truck. Jump inside and it will start moving.
Clear a path through a minefield

Turn left and right to avoid obstacles such as a pile of logs and a tractor, but ignore the fences as you will break through them.

Once the cannons start firing, get out of the truck (X/Square by default) to escape and let the trucks clear the mines for you.
Break down the outer defenses

Your troops will join you when the trucks explode, so use your tactical sprint (double-tap L3/default left analog stick) to get to the trench right in front of you.
Dodge the shots as best you can, but don't try to hide in the mine craters, just move towards the trench as fast as you can.

Once you reach the trench, turn left and use the Rally command to cheer up three different men to your left and right.
After collecting the troops, go up the hill and take cover next to the marked soldier.
Start raid

Use the command Gather peopleto launch an attack, then run to the next trench with the soldiers.

Hug the left side of the field and jump into the trench as soon as you get to it.
Go up the path on the left side, then turn right and take out the group of soldiers right outside the bunker door with grenades and automatic weapons fire.

Use the "Gather" command to direct the fire of the soldiers to the entrance, and then go inside when they are all dead.
Reinforcements will join you from the other side, so join them inside the bunker, then turn left and run up the stairs.

This room has an ammo crate and a smoke grenade crate on the right, so empty it and then move to the door.
Once Webb is in position, use your command ability to have the soldiers open the door.

Reach the upper casemates
When the door is open, run out and you'll see a target ahead of you shooting across the field. Turn left and kill the rushing soldiers in the trench, then run down the trench they came from.
Use your command ability to destroy vehicles and then kill other nearby enemy soldiers.

A new caravan of half-track self-propelled guns will come up on the left and you'll need to deal with them before you can continue.
Destroy artillery pieces
Once you have suppressive fire, use the RAK or other long range precision weapon to kill the gunner and allow the troops to continue the fight.
Rise with Webb, killing enemy soldiers as you move towards the casemates.
NOTE. When you reach the next section of the trench leading forward, you can dive into the bunker on the right for a different angle on the enemy forces.

Follow the trench on the left and take out another group of enemy soldiers using the crate cover, then move forward back into the field.
There is an ammo crate right in front of you, next to some cover, so resupply ammo and take cover as the wave of enemy troops will start closing in on you.

Use grenades and automatic weapons to thin out the advancing enemy troops, and use your command ability on troops on the right or left to help where you need, then your soldiers will take control of the self-propelled guns, pulling up to you.

Take cover behind the self-propelled guns, and they will start crawling forward towards the enemy trenches. Stay crouched behind the left armored car and move slowly along the left side to protect yourself from enemy fire.
Stay on the ground until the salvaged transport reaches the trench, then use your rifle to take out the enemies in the bunker on the left side.

After killing all visible enemies, jump into the trench and follow the left side of the path.
Throw a grenade at the back of the trench, then gather all the survivors and make your way to the end, turning right to bypass the machine gun turret.
Kill the gunner, then go to the tower and turn left. Loot the ammo box and follow the path that turns left.

Order your troops to throw a grenade into the bunker and then stay in cover until it explodes.
Wait for the door to open, then kill the remaining enemies inside.

Destroy artillery pieces (1/2)
Go inside and turn right. When the path turns left, crouch down and take a flashlight from one of the fallen soldiers.

Follow Phillips down a dark corridor, then turn right. Approach the giant cannon and throw a thermite charge at it, destroying it.

Destroy artillery pieces (2/2)
Turn right and open the door to help Philips, then go down the stairs and turn right again.
WARNING Make sure your weapon is reloaded and keep your melee weapons ready, because a bayonet-wielding soldier will come out of the darkness.

Go to the end of the hall and turn left, then open the door to continue. Turn left and follow Phillips, then kill the soldier who ambushed him to get the trophy/achievement"Talk less, work more».

Keep moving and approach the threshold of the door, allowing Phillips to walk ahead of you. Once he crosses the entrance to the stairs, back up a bit to avoid the grenade falling down the stairs.
ACHIEVEMENT: you can also walk up to the grenade and throw it back, but either way, if Phillips survives you will get the trophy/achievement"Talk less, work more”, although it may not work until you get close to the end of the level. .

As soon as it explodes, run up the stairs and approach the door flooded with red light. Open it and pour fire on the troops around the gun.

A WARNING: Failure to move quickly after planting explosives will result in death, so run to the ladder and climb out immediately after planting it.
Approach the big cannon when all the soldiers are dead and interact to throw the bangalore inside. These explosives are timed and much more dangerous than termites, so quickly turn right, run to the stairs and immediately start climbing them.

Launch a rocket to stop the navy bombing
Once you reach the top of the stairs, Kingsley will raise a flare gun, so pull the trigger to fire.

After that, you will need to find Webb. Turn right and a short cutscene will begin, clarifying your next objective.
Find Richard and use his flare
Run down the hill, keeping close to the rocks on the left, then kill the three soldiers you find near the first trench.

A WARNING: if you don't kill the soldier to the right of the trench, he will eventually lunge at you from behind with a bayonet.
Keep running forward, jump down into the next trench and kill the soldiers, then move without changing direction and you will reach the stairs.

The explosion will shake the area, leaving the remaining enemies dead, so go down the stairs and go through the door on the left.

Run to the left side of the firing position to get to Webb and interact with him to trigger a short cutscene. Pull the trigger at the end to launch the missile and end the second mission.

Page selection menu:
Phoenix. Operation Tonga. Stalingrad. Battle of Midway. Numa Numa Trail. Lady Nightingale. Rats of Tobruk. Battle of El Alamein. Fourth Reich.
Was the article helpful?