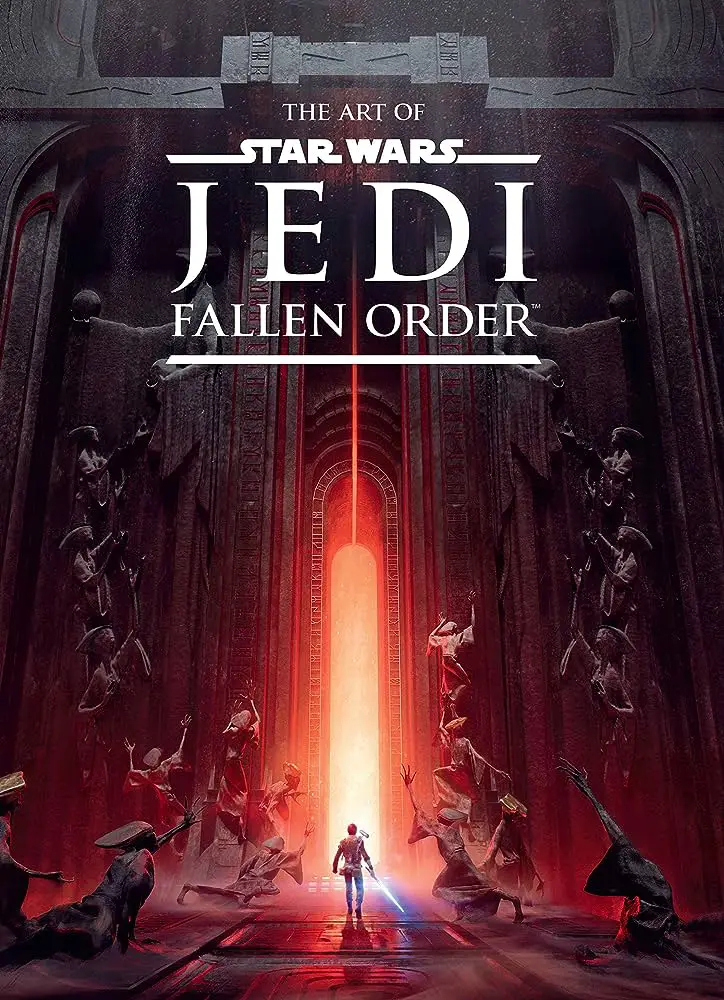
Star Wars Jedi: Fallen Order, tells the story of one of the last members of the Jedi Order, Padawan Cal Custis, who survived Order 66, the game takes place shortly after the events of Star Wars: Episode III - Revenge of the Sith. You have to hide from the Empire, whose formidable inquisitors are hunting you. Develop your Force abilities, master your lightsaber skills, and unravel the ancient mysteries of a bygone civilization to increase your knowledge of the Force. Only then can you begin to revive the Jedi Order. But remember: the Empire will follow you relentlessly.
Chapter 5: Zeffo (Second Visit) in Star Wars Jedi: Fallen Order | walkthrough, all secrets
On this page of our guide to Star Wars Jedi: Fallen Order there is a detailed walkthrough about revisiting the planet Zeffo which takes place in the fifth chapter.
Contents:
Walkthrough Chapter 5: Zeffo (Second Visit) in Star Wars Jedi: Fallen Order
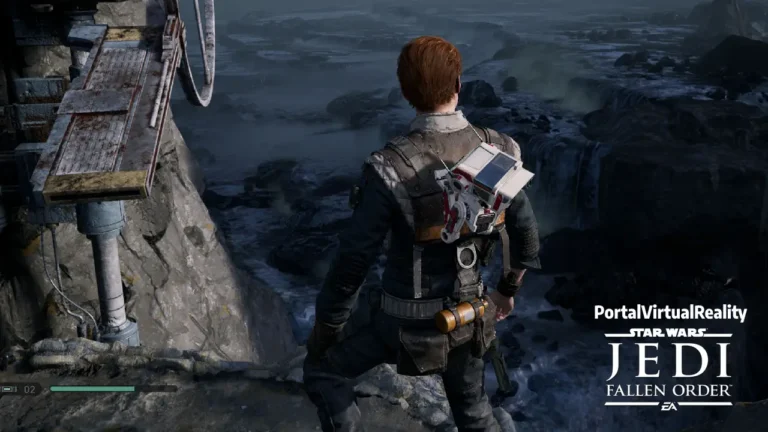
Take the first route you took when you first arrived on the planet. After killing the enemies near the houses of the inhabitants of Zeffo, push down part of the bridge. By bending it, you will be able to get over to a ledge with a chest for a probe adapter. lies inside Durite lightsaber material. Inside the turbine plant, go to the right (we hope you created a short cut like we did). Once you reach the large fork (with a screw on the right and a meditation point on the left), kill the enemies and unlock the door with the probe (on the left side). There is inside chest with "Duty and Resolve II" switch.
If you have already been to the crash site, you can go there by a short path, to the right of the Praying Mantis. If you have not been there yet, then move as described above, to a fork with many enemies. You are interested in the place where there is a screw on the right. Go to the passage to the left of it to find the imperial headquarters. The path to the crash site is described in the Zeffo chapter above.

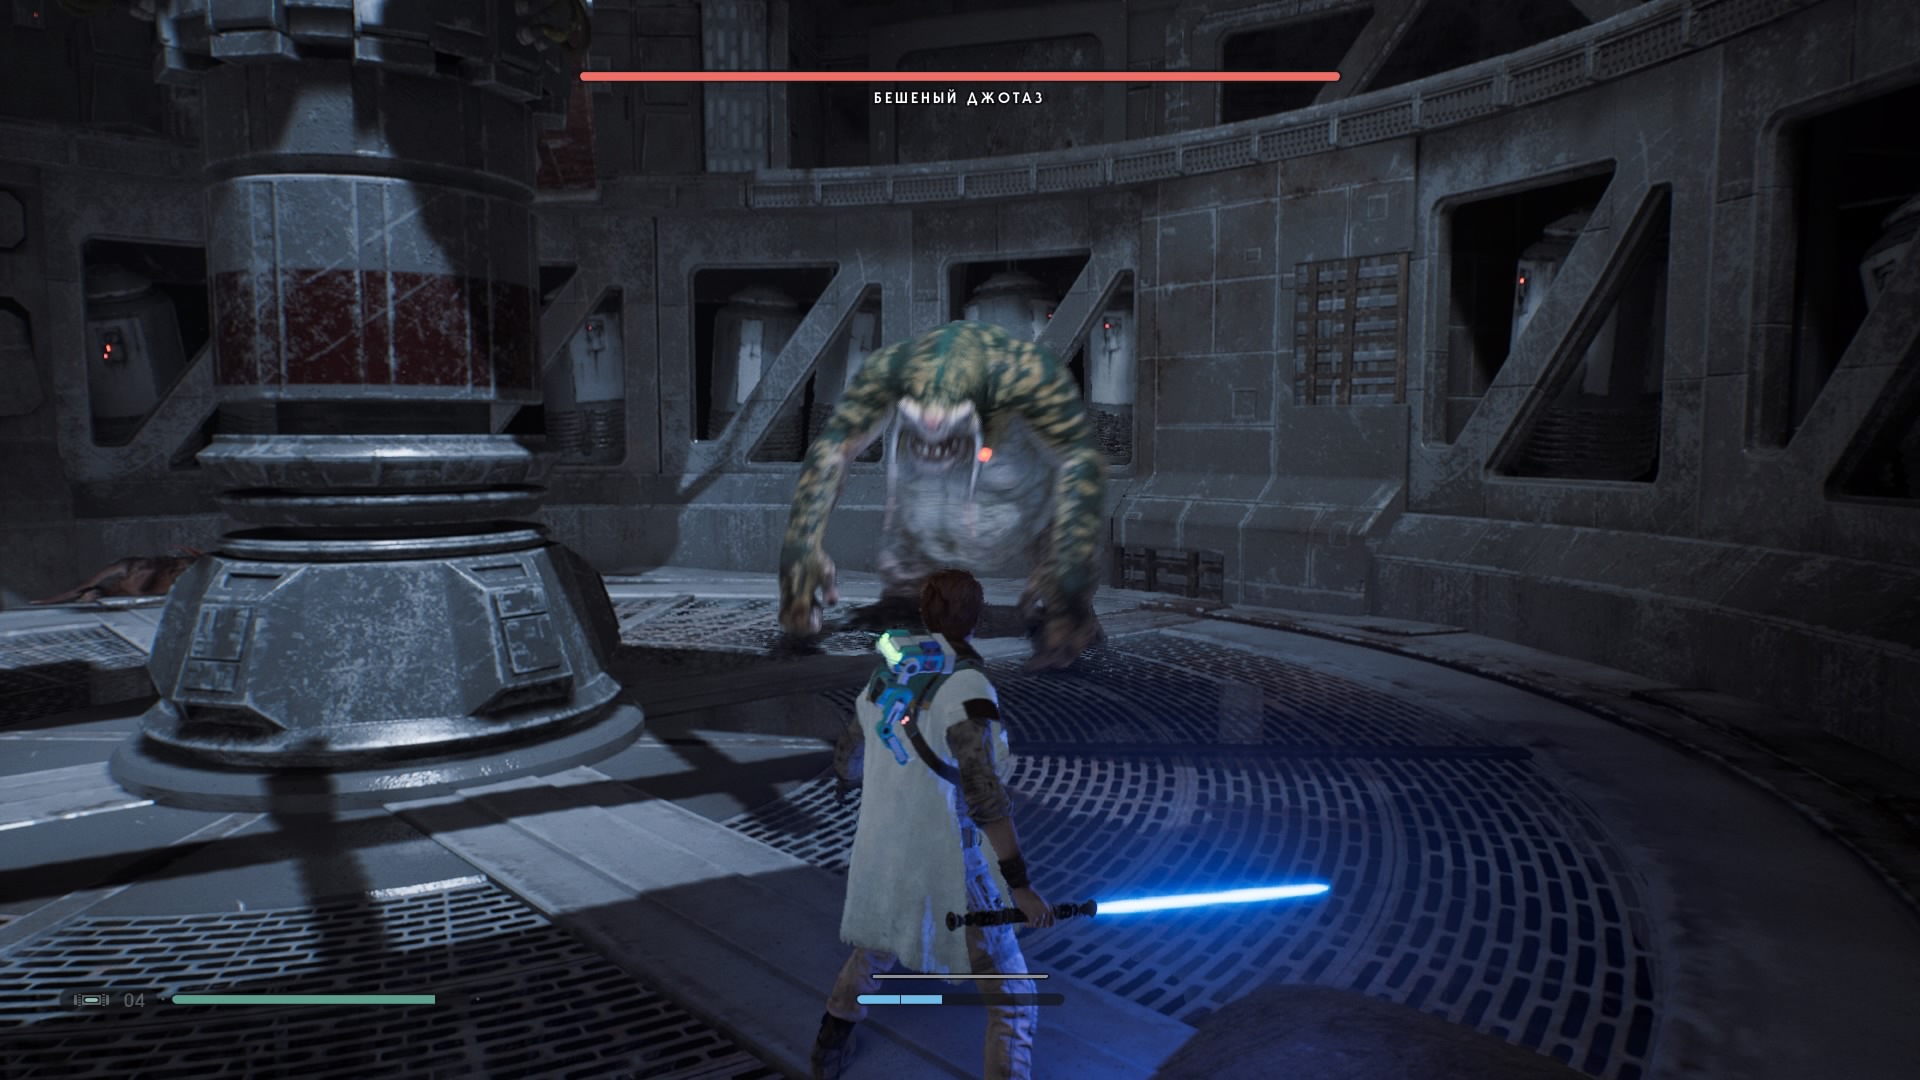
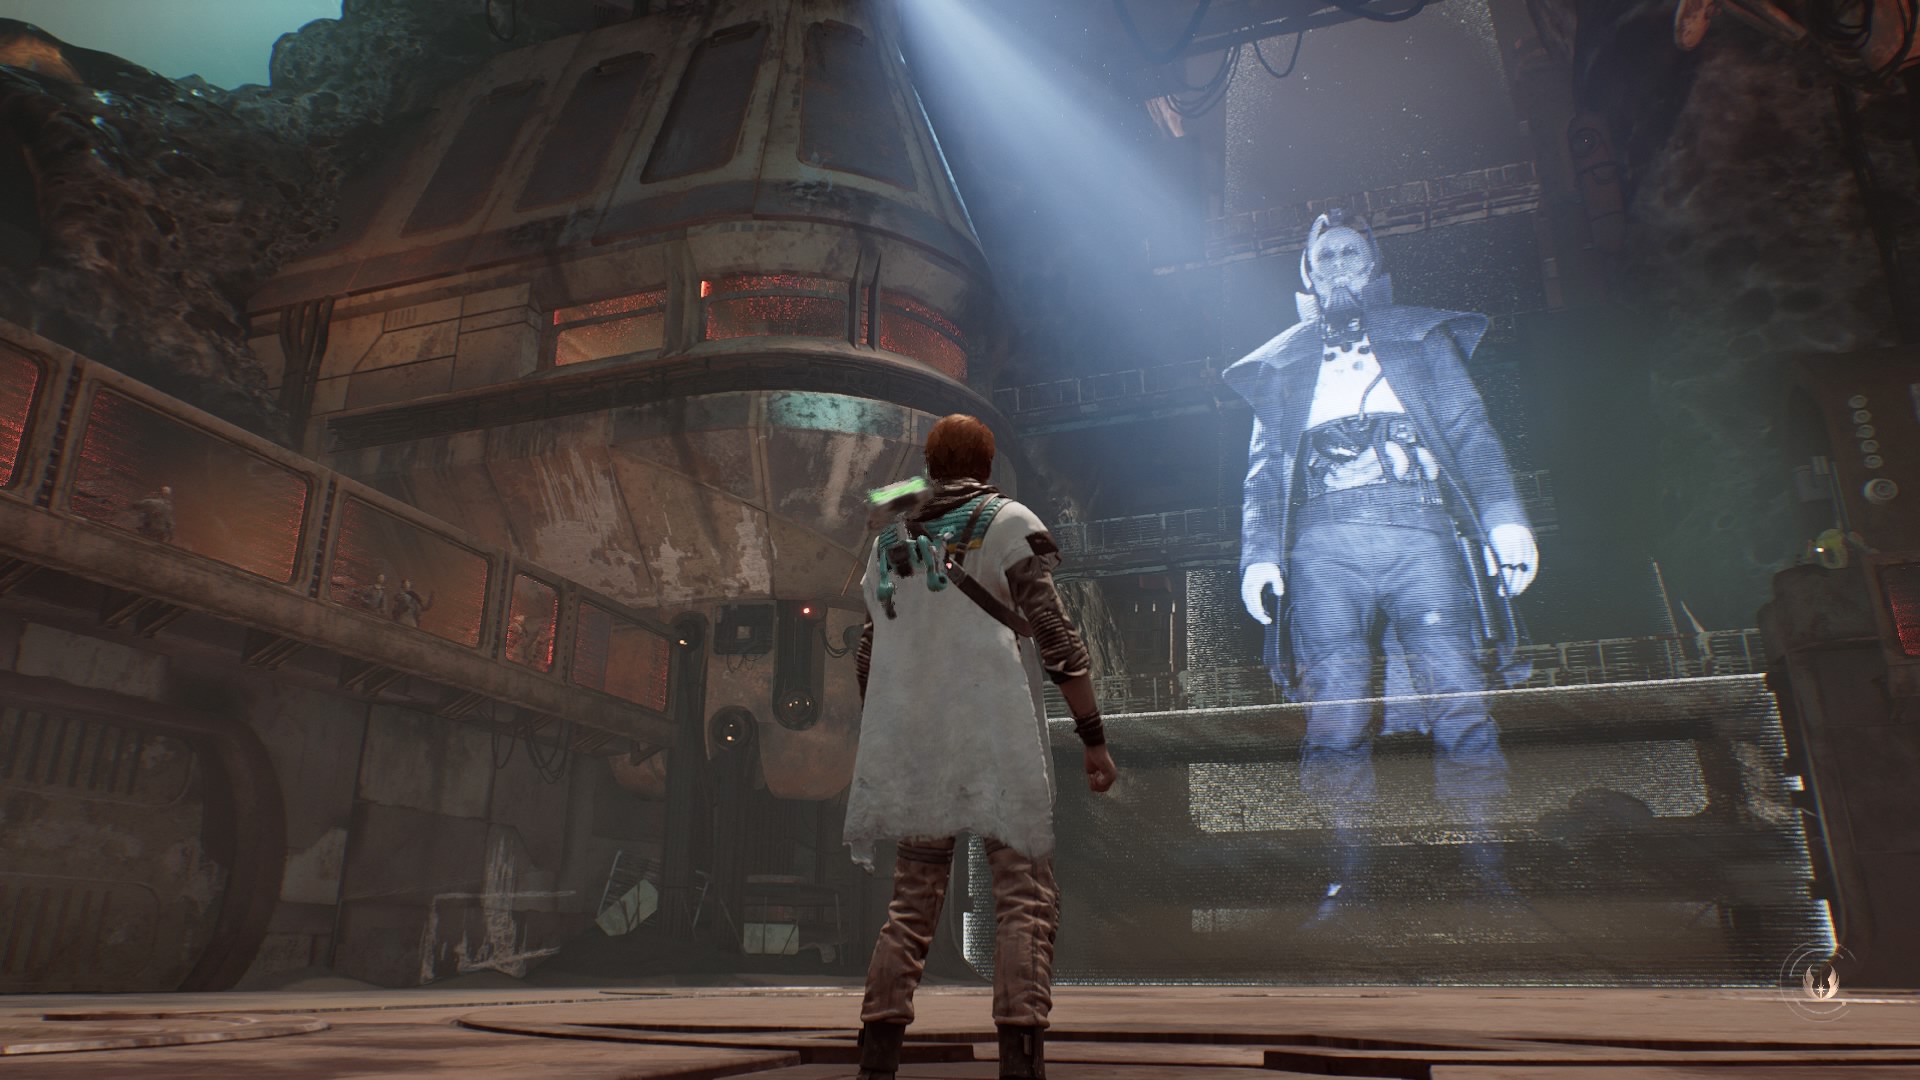
Raging Jotaz
Jump into the water and swim to the left. Kill the monster and destroy the wall below. Go inside the room and close the light panel on the left to listen to the Empire clone's message. Go outside, climb a little higher and disable the red barrier with the panel. Move the only way through two slots, destroying the wires to get to mini-boss Mad Jotaz. In principle, the enemy is not much different from ordinary monsters of this type. He will just use a three-hit combo and also attack more aggressively in general.
The doors above are locked. At the bottom, find the destroyed wall and apply a push on it. Follow through the dark corridor, killing enemies. At a dead end, hit the floor to fall down. Kill the opponents in the room and close the panel. Go through the opened door and get to the place with the droid. After killing him, close the other panel. You will see that the water becomes electrified. Stop shorting, swim across to the other side and cut the wire to the right of the door. After doing this, reactivate the panel. Now the water will not be electrified, and you will be able to go through a new door.
Take the elevator, pick up essence of power и echo "Message" (Crashed Venator).
Close the panel and use the spinning screw to go back to the crash site. Go to the right side. Remember the fallen fighter next to the next monster? There is a rope nearby. Climb up, close the panel to make the mechanical blocks work. Go past the first block. Freeze the second one and climb on it.
Standing on top, freeze the third block so that you can climb up to health essences и echo "Zeffo Skull" (Zeffo Culture).
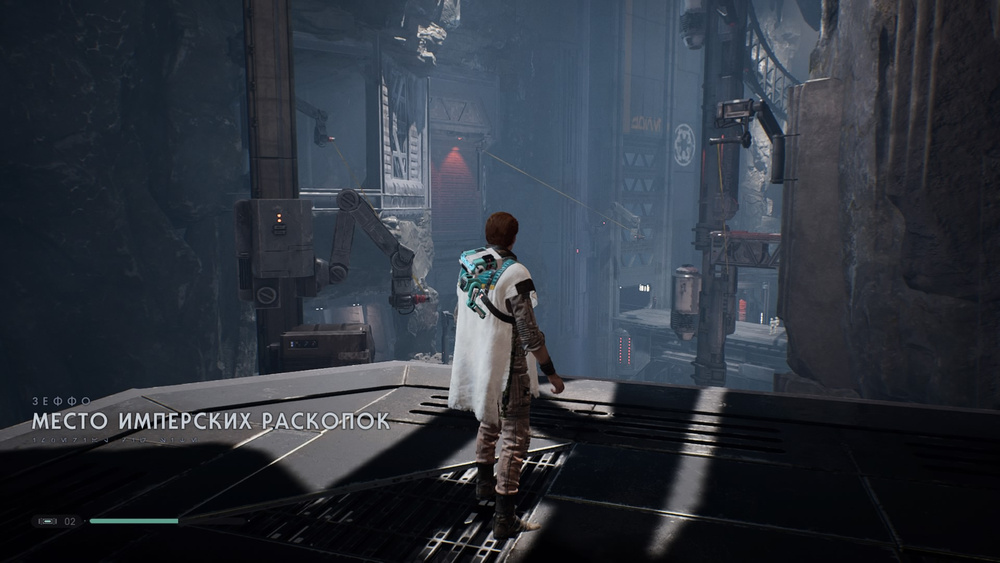
Now climb up the various debris from the monster at the downed fighter. Along the way, kill the flying droids by reflecting their shots. Make your way through the large pipe and close the panel on the left. Stop the circuit to stop the cable next to Cal. Move to the other side and enter the elevator. You will find yourself in the "Imperial Dig Site".
Close the chain to lower the rope and slide down. Then return the rope to its original position and slide down the other rope.
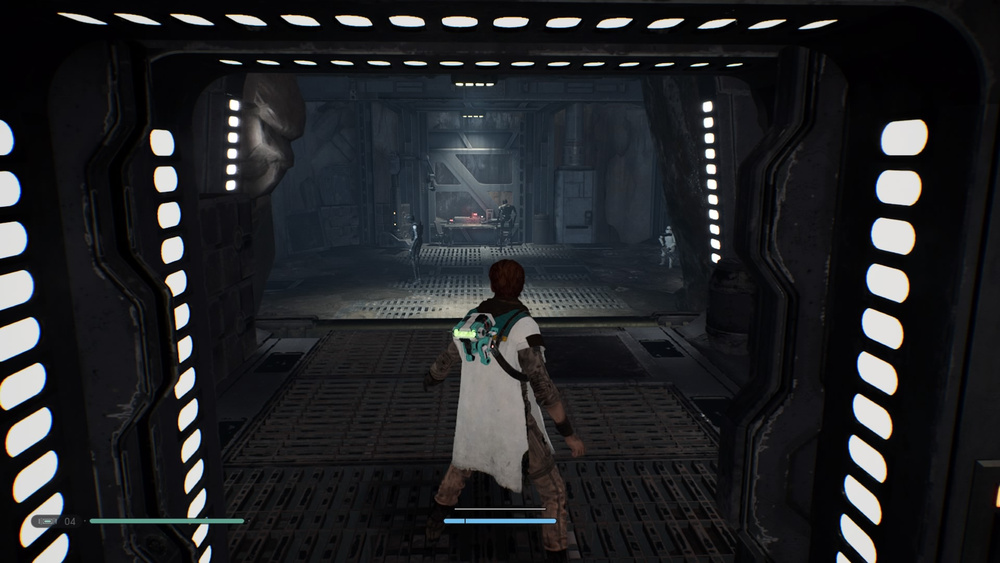
Enter the room with two droids and a heavy attack aircraft
Go to the workbench and install improvement for BD-1 - "Drive for the cable". From now on, your drone can lift you up on the wires.
Return back, climbing the ropes. At the meditation point, close the panel so that you can go higher. Run along the wall and slide down the cable. Kill all enemies on the bridge. You cannot call the elevator, so go through the passage on the right. Destroy the wall at the end on the right to be on the other side of the red barrier. Kill the droid and listen echo "Tomb Keepers" (Imperial Dig). Close the panel. To disable the red barrier and create short cut.
Go to the other side of the corridor, kill the hunter stormtrooper (parry attacks to temporarily stun the enemy) and disable the barrier
There is an item on the ledge to the left. Run up the wall and jump onto the ledge to get Echo of "Destructive Measures" (Imperial Dig). Go through the door and drop down to the container on the right. Go down even lower and use the cable to go up. Run between two walls and grab onto the hanging rope. Turn around, swing and jump onto the container with the collectible. There lies Echo of Finding Relics (Imperial Dig). Using the same rope, jump onto the vegetation on the rock and climb up to the meditation point. A little further there is an elevator that you need to go down.
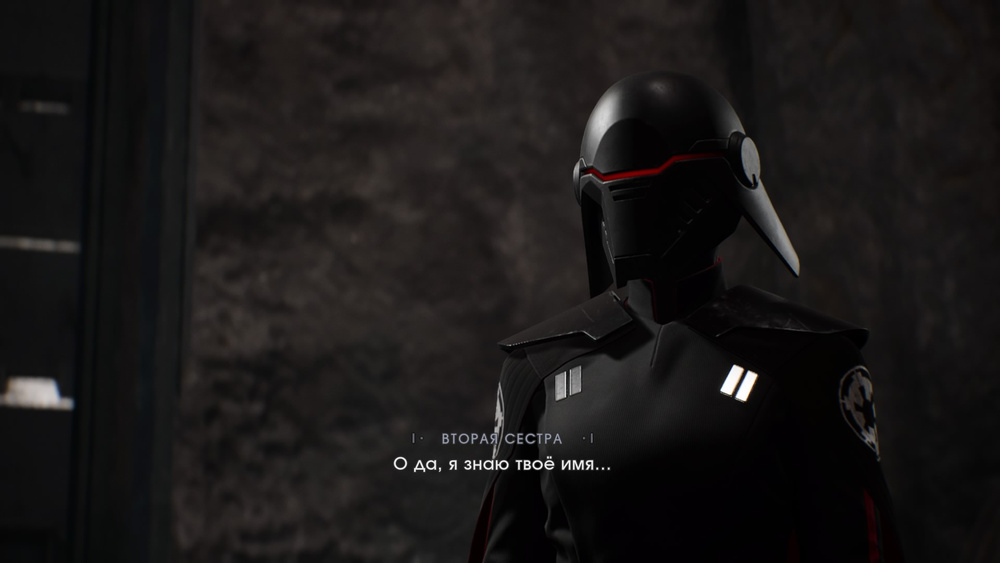
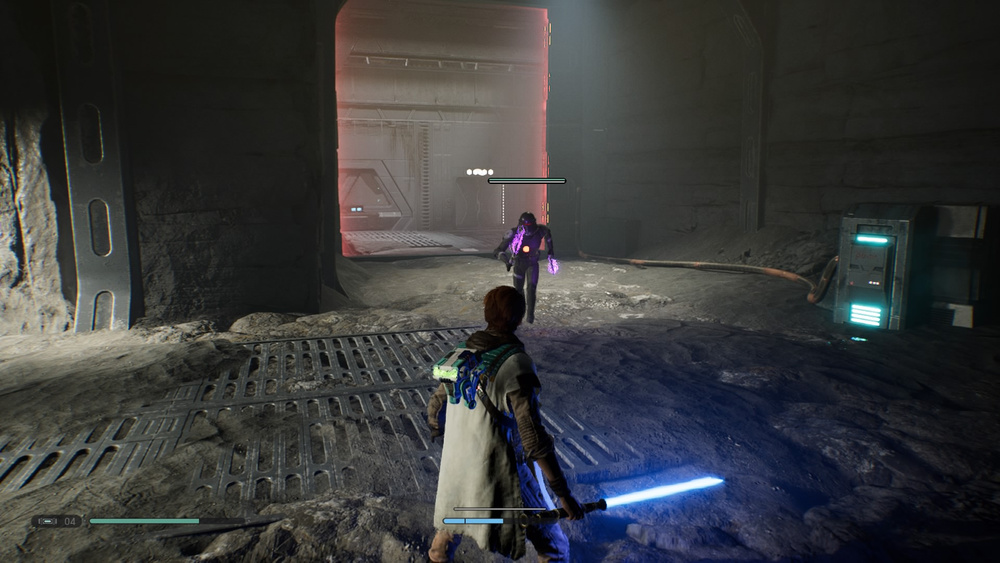
And here the Second Sister awaits you
Second Sister
In a new battle with a familiar opponent, you will need to use time dilation and pushes. If you slowed down the Second Sister, then attack her several times. Hit the enemy with normal blows, and as soon as he reflects your attack, just dodge. However, on hard difficulty, this number will not work, because you will be stunned. The best option is a timely parry and counterattack. However, you still won't be able to win the battle. Sooner or later, the Second Sister will grab you by the throat and throw you away, and BD-1 will create a red barrier. Watch the video.

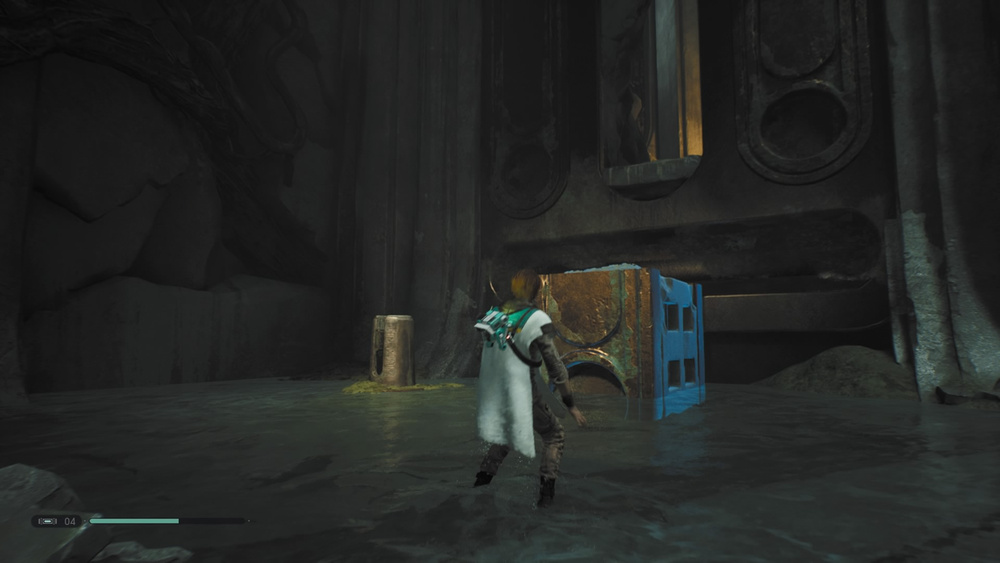
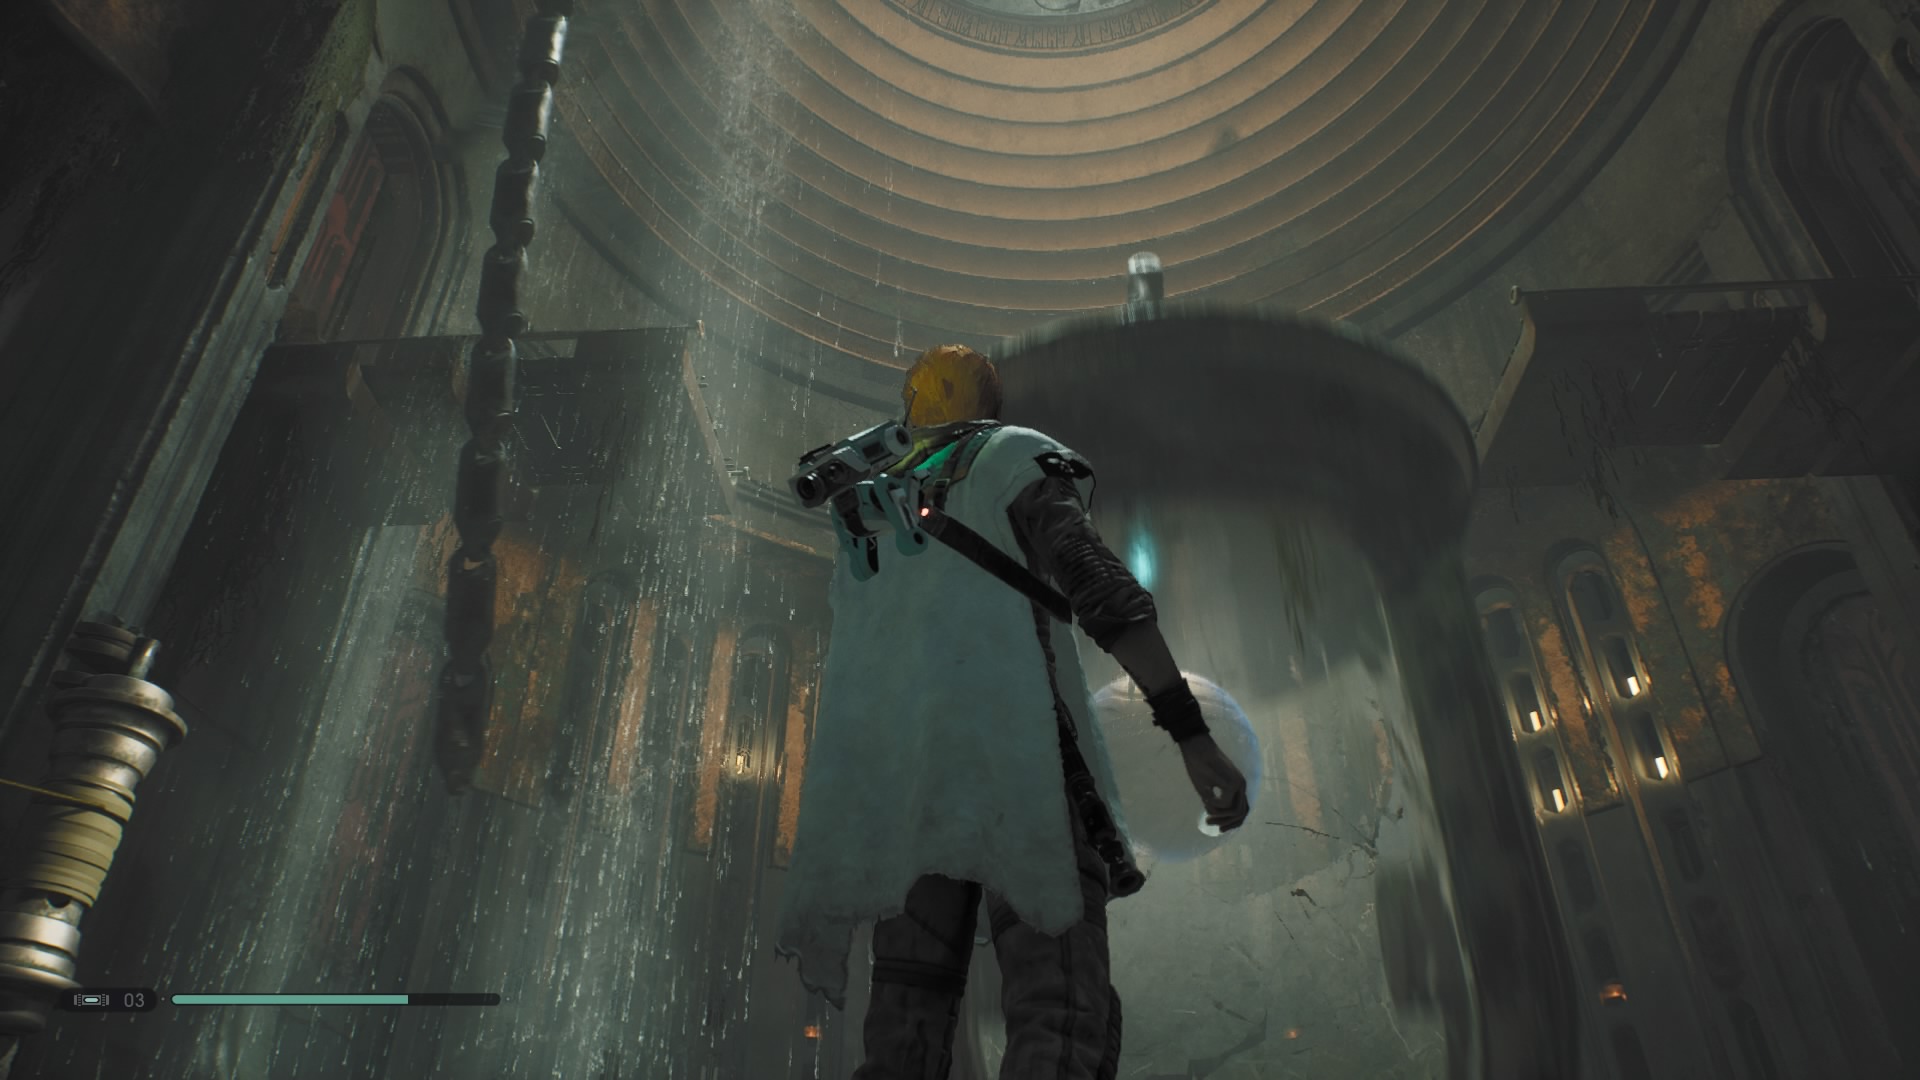
Follow deep into the tomb, run along the walls, go down and find a destructible wall on the left (use the push). Behind it there is a point for meditation. You will reach the tomb of Miktrull. Move down the slope, climb the walls and swing on the ropes. Kill the Guardian and break the wall on the right. You will enter a large hall with water. There is a button, but the sphere is destroyed. Find another wall on the side. Destroy it with a push and scan the wall on the left. Activate the pedestal to attract fire drones and burn the thickets blocking the path. Climb up to the meditation point.
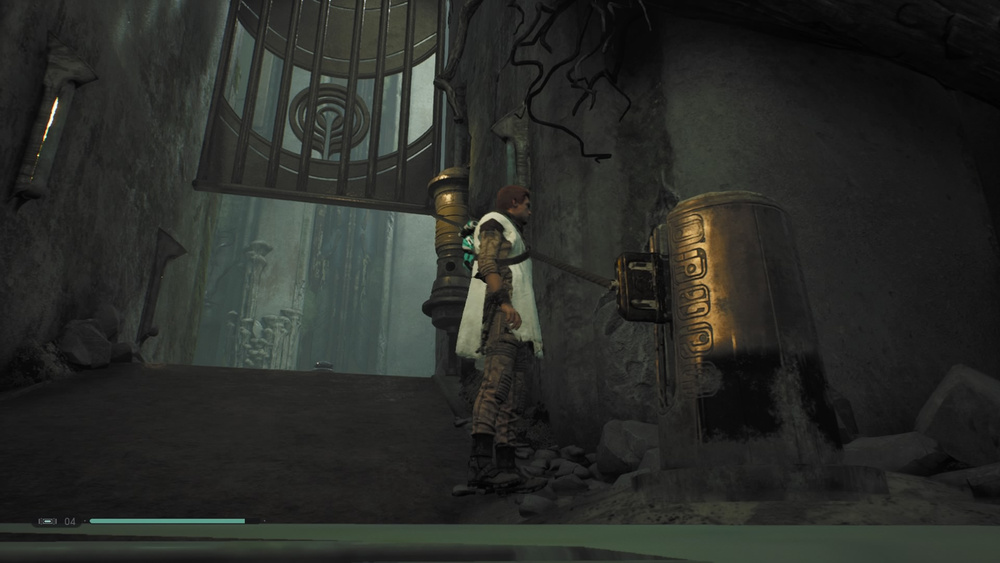
Jump on the wall, climb to the left and up. Once on the upper level, look around. After killing the enemies, jump onto the ledge on the right, clinging to the grass (there were still two attack aircraft). On the right, there are two walls that can be destroyed with a push. If you destroy the nearest wall, you can fight with the enemies, but the path to the right is blocked by thickets, and to the left - by a grate. A strange device hangs to the left of the grate, but it is highlighted in red. If you destroy the far wall on the right, then you will find chest with material for the sword "Hazian Layer". You can also scan the walls there. Go down where you fought the enemies and activate the device. It will pull the block.
Disconnect the device and push the block under the ledge where it flew out
Climb up and defeat the enemy. Move the only way, killing enemies. You will find a chest hidden under the thickets, but so far nothing can be done with it. Activate another device, then use the shifted walls to get to the enemies. Move the blocks apart with the next pedestal, after killing the hunter. Jump on the walls and move on.
Activate the third pedestal and then turn around. See the explosive plant? Throw it at the broken wall ahead to access health essences и echo "Working Zeffo" (Sage Miktrull).
Activate the third device again, slow down the wall and quickly jump onto the plants. The wall will move to the left with you. The next step will be easy. You will reach the bridge.
Kill the goat, activate the device and push the bowl of fire into the thickets ahead
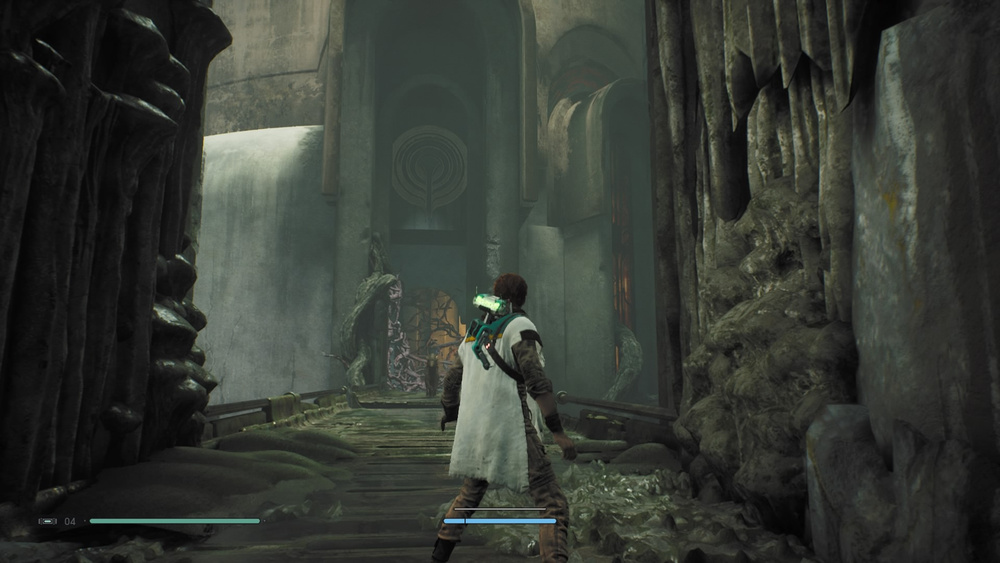
Jump over to the other side, jump under the ceiling, destroying the walls, and then defeat the hunter and a few tales. Find a slope on the side that you can slide down. Do so to be in front of a large gate. Kill all opponents and go to the right of the gate. Jump on the columns with grass, go through the corridor with sliding blocks. You can freeze them. Behind them will be a pedestal that disables the trap. A little further there is a hole through which you must follow. Activate the meditation point.
Walk to the right and get to the suspended block by hooking on the crossbars. Move left and up. Destroy enemies until the cutscene starts. Press L2 several times until you draw your lightsaber. From now on, Cal has access to a new power - "Attraction". Use it to pull towards the vine and jump on it (don't let go of the pull). Jump on the block with plants and climb up. Pull any candle and use the push to throw it into the thicket. Jump onto the wall and climb up to the meditation point you visited earlier. Come back, killing enemies. You can use gravity to grab flying droids and throw them at your opponents.
To open the gate, pull the mechanism near it and tie the end to the pedestal on the right
Go to the left of the grassy slope you came down here. Pull the vine and jump onto the wall you can run on. Open another grate. To her right is echo of "Offering to Miktrull" (Sage Miktrull). Clear the ground floor of stormtroopers and Jotaz.
Go to the room where the thickets were burned for the first time. Climb up to the meditation point and crawl up the wall. Turn left and kill the Guardian at the end of the bridge. Open Chest with new paint for Praying Mantis (Grisi can). lies nearby echo of the "Age of Prodigality" (Sage Miktrull). Go to the hall on the second floor where you were before. After killing everyone, pull the mechanism on the left and tie it to the pedestal by the ledge block you used earlier. Climb up and kill the tale and the Keeper in the corridor. Follow forward to the thickets, under which the chest is hidden. After killing the attack aircraft, jump to the vine and pull it. Run along the wall to the right, jump forward and pull another vine. That's how you get to echo "Oppression" (Sage Miktrull).
Return to the second floor of the hall, where there is a block and where you lifted the ball up. Climb to the ledge on the right, clinging to the vines. Enter the room on the right. On the right hand there are thickets, and behind them are candles. Pull any candle to burn the thickets. Then study echo "Symbol of Reverence" (Sage Mktrull). Opposite there is a grate, but you do not need to open it. There is a gap above it. Take a candle and throw it into this slot.
After that, raise the grate, proceeding as usual, and throw the candle into the thicket on the wall. Climb up the wall to get essence of power и echo of the "Remains of a Zeffo Soldier" (Sage Miktrull). You can do otherwise. First open the gate, then climb up and pull the rope holding the grate up. A hole will form again at the top and you will be able to draw a candle lying on the floor nearby.
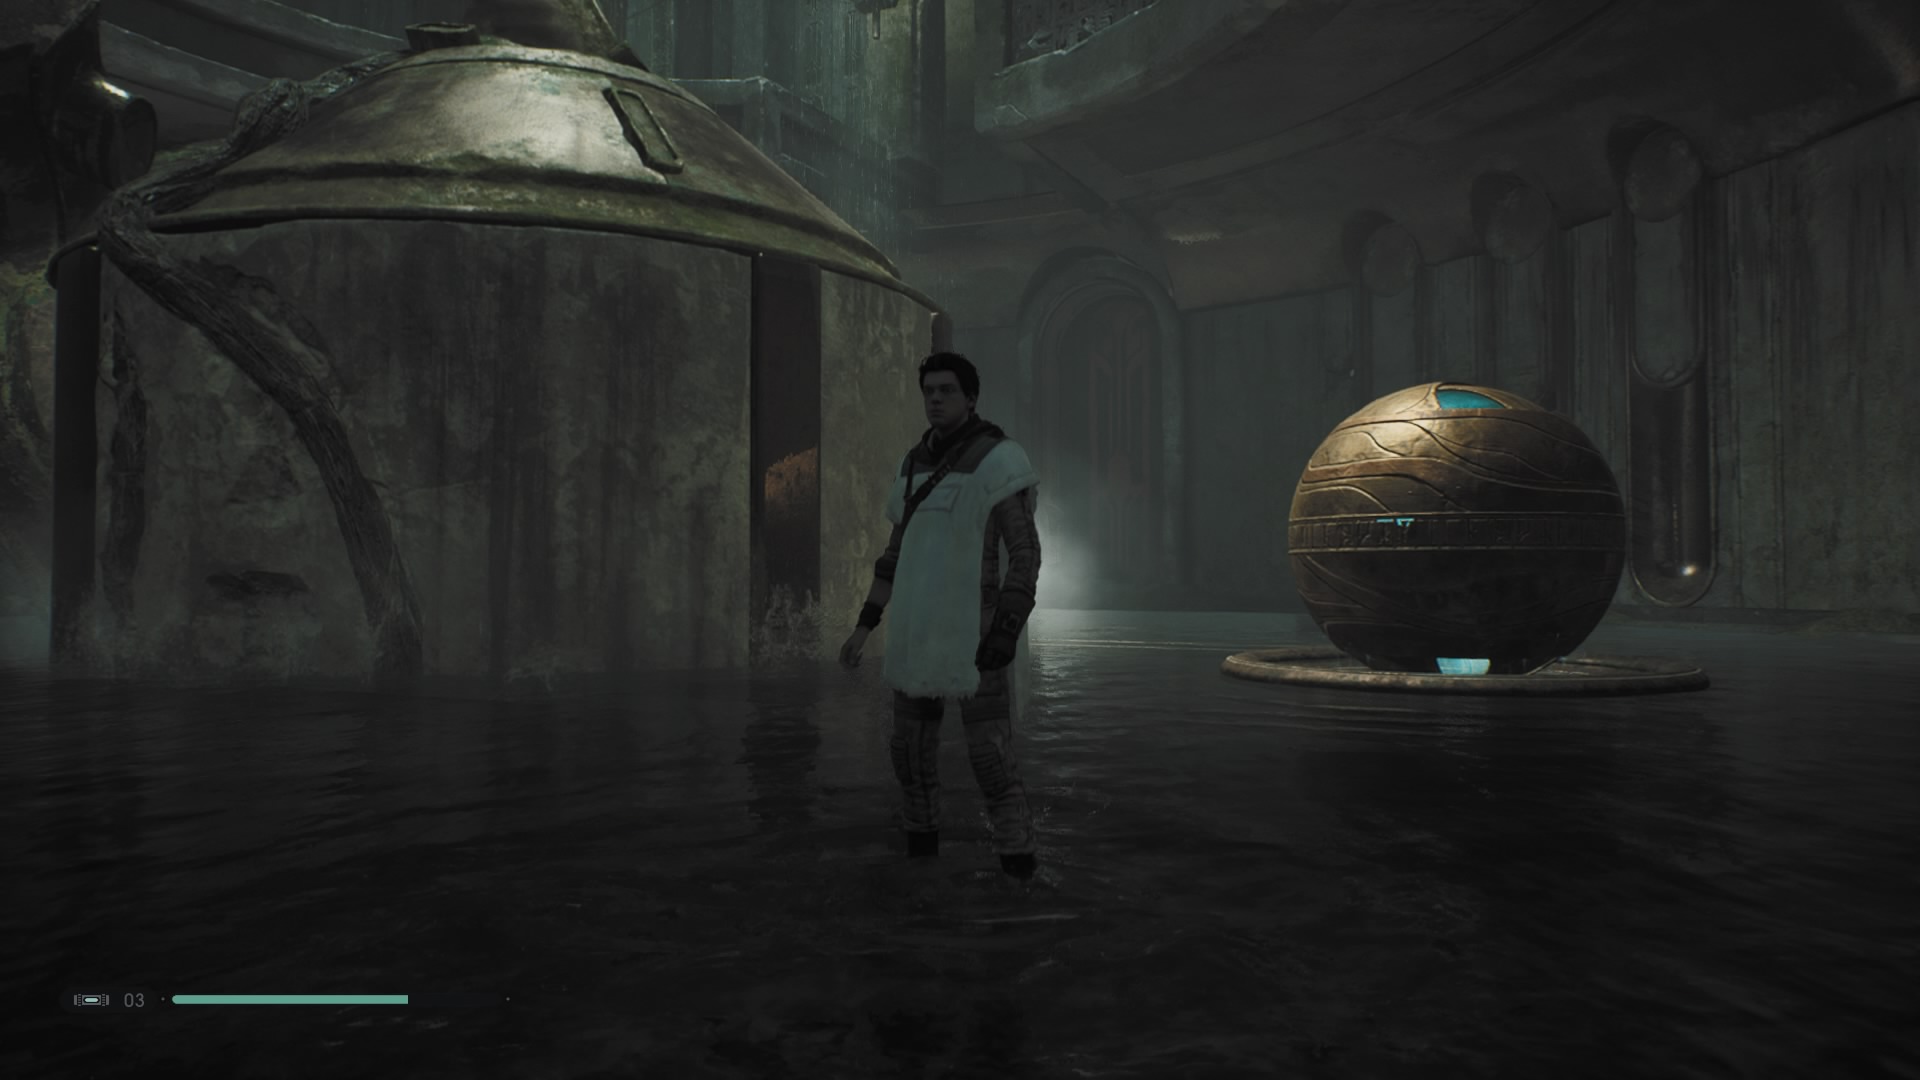
Now let's deal with the ball. So, you raised it up. Now activate the pedestal on the second floor, which will activate the magnetic field (attracting the block). Having done this, jump onto the ledge on the right along the vines, pull any candle and throw it into the magnetic field. Jump down, pull the candle and throw it into the thicket holding the chain. The lantern will fall down, splitting and exposing the ball. Push it to the button, and then go inside Miktrull's secret room. Watch the video. Go outside and go right to get out chest material poncho "Serape". Use the meditation point and then move forward along the walls and vines.
You will reach the enemy and the workbench with an upgrade for BD-1 that allows you to hack scout droids.
Follow further by pushing or pulling bridges. Close the panel to remove the red barrier and then enter the elevator on the left. You will unlock short cut. After descending on the lift, kill the enemies and go through the door ahead. Follow this route as you went before. You will need to jump onto the container, then ride the cable and run along the walls. One way or another, you will get to the cable located on top.
Pull the rope to the left of the cable, which is coiled and hanging from above. Grabbing it, swing and jump onto the same cable. That's how you get to stim container chest.
Jump on the next vines, after which you will be forced to fight the Boom Boom boss
Dodge his attacks, counterattack and gradually deplete your health bar. However, towards the end of the fight, you will still lose when the enemy throws a shock grenade at Cal. Wait for the download to finish.
To get out of the chamber, pull all the panels in a circle and one on top. Behind the one on top is a hidden cable. Behind the panel to the left of the door is a socket. Pull the cable and plug into the socket. Walk forward along the corridor. There are two outlets on the left and right, right in the aisle. Pull the wire from the far right cabinet to the right socket by the aisle. Insert the wire hanging nearby into the left socket at the aisle. The door will open on the side, in the corridor. Two sockets on the central equipment and a wire on the left do not interest you.
Reach the BD-1 cell. Pull the socket out of the wall on the left, go back a little or immediately jump to the hanging wire. Swing on it to be above the BD-1 camera. Pull the wire, insert it into the socket from above and jump into the chamber. You will be reunited with BD-1. Pull the panel and have BD-1 close the circuit, which will open the way out. Go back through the corridor ahead and unlock the door. You will return to a room with several sockets and plugs. Order BD-1 close the light panel on the right. Now this wire is live. Plug it into the socket to the left of the central equipment. Pull the wire from the other side and insert it into the socket on the right. Both pistons will work, and you will be able to go up on the elevator. Use the meditation point and then go to the arena.
Listen to Sorka Tormo and then fight in several arena fights. Everything is standard, but in the end you have to win again Boom Boom. Don't miss the opportunity to scan it. He will fight similarly to the previous time. Watch the video.
Was the article helpful?