Star Wars Jedi: Fallen Order, tells the story of one of the last members of the Jedi Order, Padawan Cal Custis, who survived Order 66, the game takes place shortly after the events of Star Wars: Episode III - Revenge of the Sith. You have to hide from the Empire, whose formidable inquisitors are hunting you. Develop your Force abilities, master your lightsaber skills, and unravel the ancient mysteries of a bygone civilization to increase your knowledge of the Force. Only then can you begin to revive the Jedi Order. But remember: the Empire will follow you relentlessly.
Chapter 2: Zeffo in Star Wars Jedi: Fallen Order | walkthrough, all secrets
On this page of our guide to Star Wars Jedi: Fallen Order you will find a detailed description of the visit to the planet Zeffo, which takes place in the second chapter of the game. On this page of our walkthrough, we have only described the route to Wilhelm's tomb. Along the way, Cal will have to solve puzzles, jump across platforms, fight monsters, and defeat different types of stormtroopers.
Contents:
- Ship
- Passage through the village
- Journey to the ruins
- Finding the entrance to William's tomb
- Arrival at the central hall of the tomb
- How to get to the place where you get the power of push
- How to solve the puzzle with three spheres
- Leaving the tomb
- Return to the crew spacecraft
- Boss Duel: AT-ST
Walkthrough Chapter 2: Zeffo in Star Wars Jedi: Fallen Order
Ship

The protagonist will return to the Mantis spaceship - after everything has been done on Bogano. Several additional activities have been unlocked on board, but the only mandatory step is interacting with the galaxy map. Select the Zeffo planet from it and hold the Start button to get to that location. Go to the captain's bridge and wait until Grizz asks you to sit in the right place. A video will be shown, which depicts landing on a new planet.
The planet Dathomir is also visible on the galaxy map, but it is not necessary to explore it at this particular point in the game's history. Also, it would be impractical because the opponents on Dathomir are very strong and difficult to defeat. The best option is to wait and go to this planet in the later parts of the main campaign.
Passage through the village
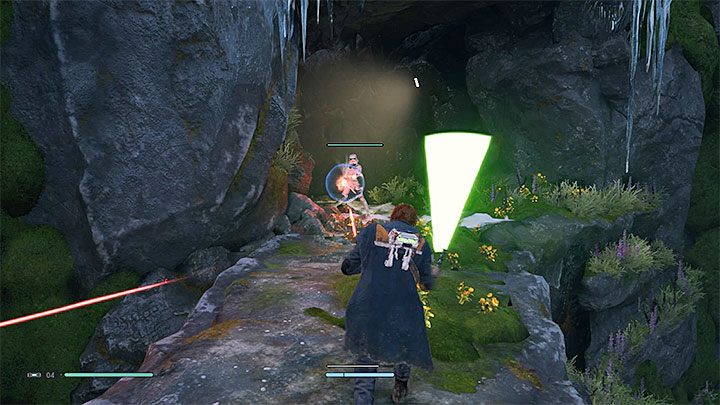
Select a side mountain trail adjacent to the landing zone. As you walk along the narrow beam, you will encounter monsters Scazz, although eliminating them shouldn't cause many problems. Along the way, you should look for a side entrance to an unlit cave. Checking it is purely optional, but you can easily find the stem stem and get a canister that increases the number of BD-1 treatments by 1.
Ultimately, you must choose the path that leads to the hill. There you will find the first stormtroopers. Remember that in the case of enemies using blasters, the best tactic is to deflect bullets with a lightsaber.
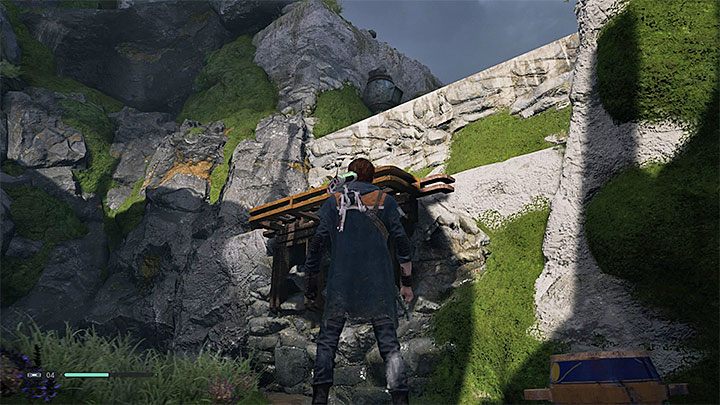
Finally, you will reach an abandoned village. The water mill is an obstacle on the way to the village, but this technique will help you get to the other side. Use the power slow power on it so you can jump on one of the blades.
In the village you have to take part in numerous battles against attack aircraft. It's best to start by deflecting projectiles from distant enemies and get rid of them quite easily. The best tactic when fighting stormtroopers equipped with electric batons is to parry their attacks.
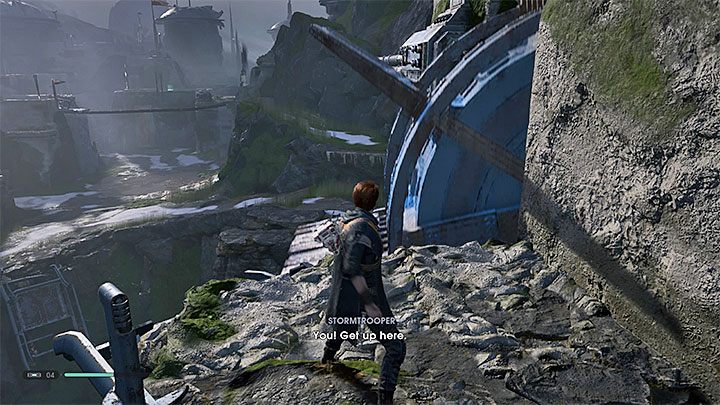
You cannot take the shortest path through the village, as there is a raised metal bridge at the end of it. You cannot go down the bridge at the current stage of the game. Look for an orange ledge on the right side that you can grab and reach the roof of one of the buildings.
In the area, you will encounter new Stormtroopers with blasters. Try deflecting their laser beams with your lightsaber as always. Go through the pipe connecting the buildings and jump to the roof of the next building. A few more jumps and you'll be out of the village. Jump over the nearest stormtrooper. Then turn left and reach the Meditation Point.
Journey to the ruins
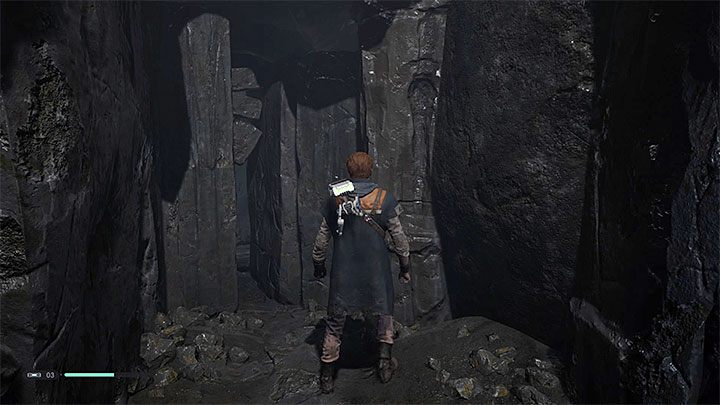
You have to go through the cave and once again it is useful to illuminate the area with a lightsaber. Choose the path leading straight ahead. Along the way, you will find a switch. Use it to light up the cave.
As soon as you go outside, watch out for new monsters. Move towards the rotating mechanism that runs at high speed. Use the slow force to "create" a horizontal bridge that you can run across.
In one of the following areas, a new large group of stormtroopers appears, although they can be attacked by surprise. Watch out for the first attack aircraft with a rocket launcher. Don't try to bounce or block fired missiles, although you can slow them down with force. Avoid heavy fire and try to close the distance to the stormtrooper to kill him when he reloads his weapon.
The next section assumes reusing the deceleration force to launch through horizontal platforms. On one of the platforms, you can stop him when he is in an inclined position, which will allow you to reach the meditation point shown in the picture. You could also ignore this point and get to the opposite end of this section faster.
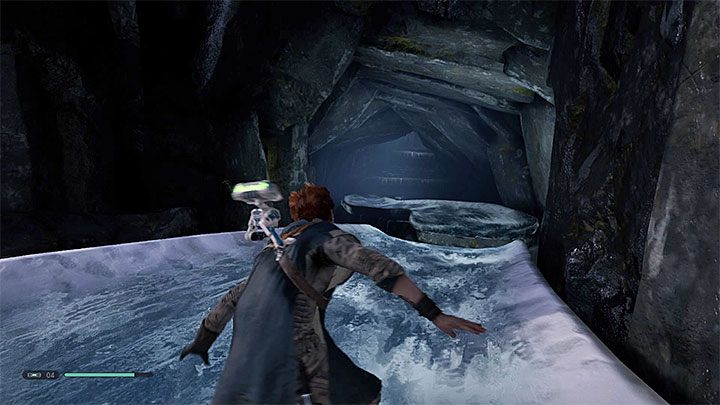
Eventually, you will reach a new location guarded by stormtroopers. Deal with them and get to a place where you can start sliding down the icy path. Sliding off an icy path requires a lot of effort to keep from falling into an abyss - you have to turn sideways or jump when necessary.
You will find yourself in front of a hanging rope. Jump to it, swing and land on the far rock shelf. Run up the vertical wall. Head towards the hill occupied by stormtroopers and take them all out. Among them will be a commander who is better at hand-to-hand combat and is able to parry some of your attacks, among other things. It is worth helping yourself with the slow power to perfectly parry his blows.
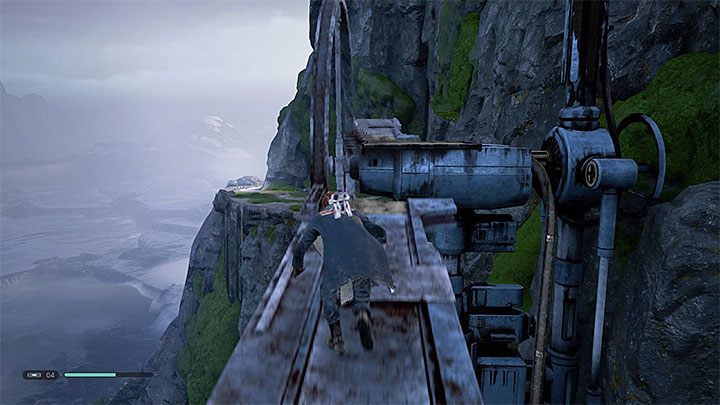
Run along the new wall leading to the Meditation Point. Select the bridge leading to the heavy attack aircraft. Don't try to deflect his burst of projectiles, but run towards him while holding the block button. Attack your opponent with a lightsaber when you are close to him. A little further you will meet another type of enemy. In this case, also run along the narrow metal beam while blocking the incoming missiles.
Further crossing involves ascending the rope and moving along the pipe. You will have to hang on it to avoid the tanks blocking your path. Get to a new location where you will have to slide down an icy path.
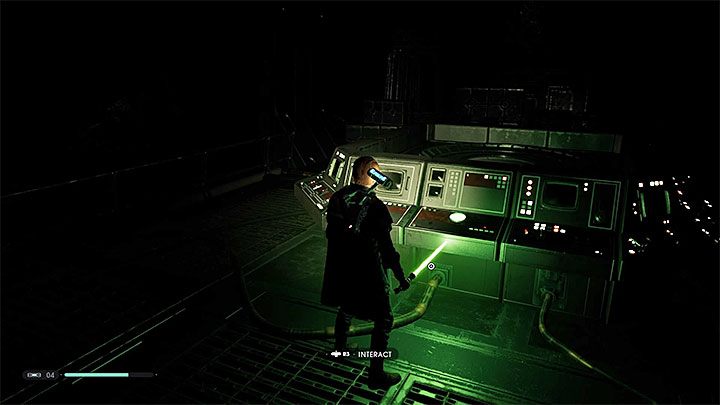
Watch out for a new enemy with a rocket launcher. After you deal with him, enter the unlit building. One of the rooms has an interactive terminal. After using it, a hologram will be activated.
Watch out for the next commander. You will meet him when you go to the metal balcony. Turn right after the fight. You must go down a short icy slide and make a flawless jump towards the hanging rope. It's easy to make a mistake here, so make sure you plan the moment of your descent and turn towards the rope before you jump. Swing on the rope and jump to the new rock ledge.
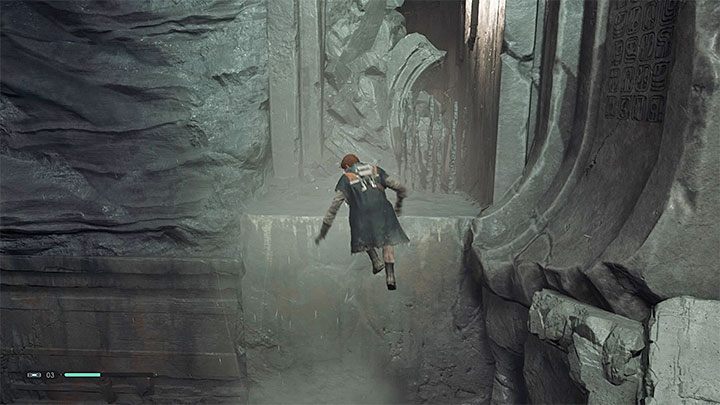
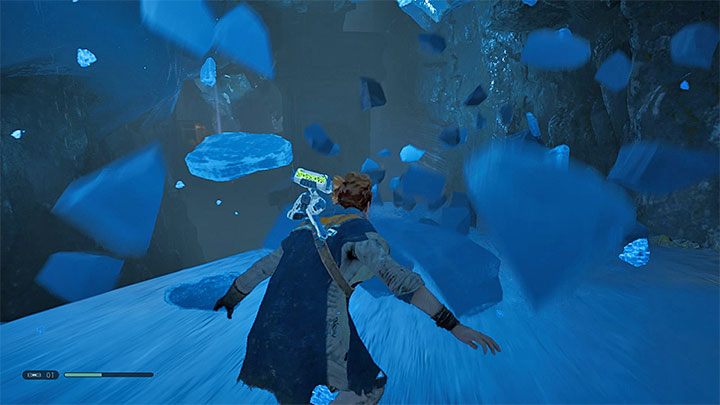
You will be in a place with moving blocks that can crush Cal. Here it is worth using the force of deceleration and thereby provide more time to move to the next safe point. In the case of the last block, you have to slow it down as it leaves in order to climb it (picture above).
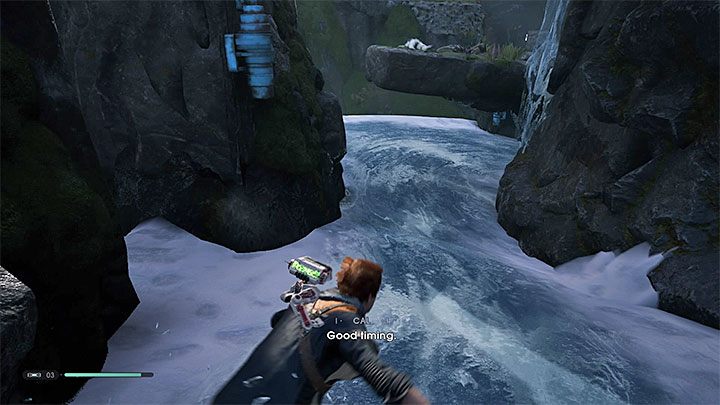
Follow the narrow mountain path and reach the meditation point. Two ropes hung over the abyss. When you catch the first one, make sure you turn perfectly to the other rope. Only after that, swing and make a jump, which should lead to a successful catch.
Eliminate the new stormtroopers and jump to the next hanging rope. A longer descent across the icy ground will begin. Again, you have to make sure you don't fall into the abyss along the way. The most difficult moments of the descent are jumping on a hanging rope and jumping over chasms, which have to be started at the very last moment.
The next part of the transition involves frequent runs on the walls. Beware of the monster hiding in one of the dark rooms. The path will lead you to a staircase leading to windswept ruins.
Finding the entrance to William's tomb
Full exploration of the ruins is not required and would be impossible due to lack of relevant skills. Here you will meet new Fillak monsters. They are easier to avoid than other enemy creatures due to their poor eyesight. In the event of a direct encounter, fix the camera on the monster and jump whenever it initiates a “red charge”.
The exit from the ruins is at the opposite end of this place. You must squeeze between the rocks.
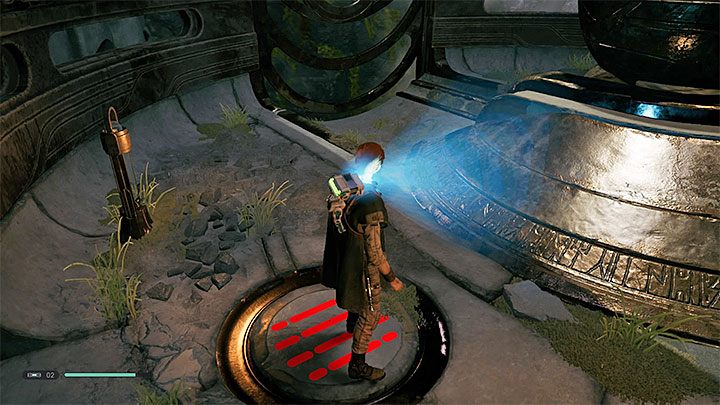
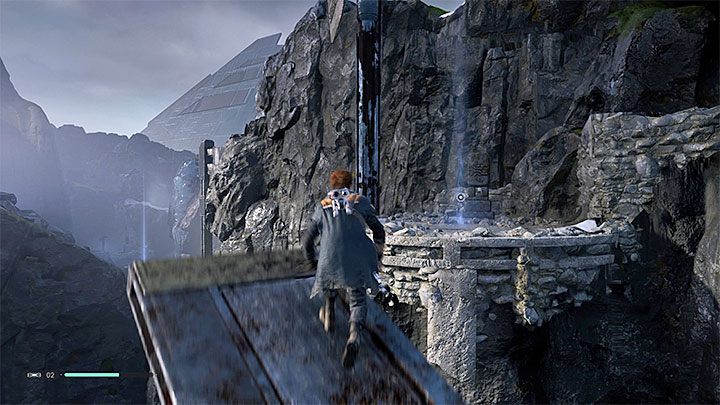
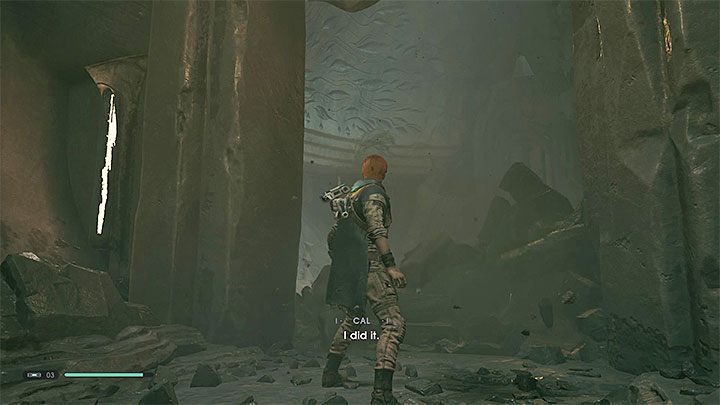
Head towards the large building visible in the distance. The wind is raging around it (this is the so-called Eye of the Storm) and your attempt to get to the central object will lead to a collision with one of them. Use the slow power to stop the flying objects and quickly run towards the middle structure.
Stand on the pressure plate shown in the figure. She will turn red. Then you will be transferred to Wilhelm's tomb.
Arrival at the central hall of the tomb
Climb up the stairs. Keep an eye out for skunks and spiked monsters during your entire stay in the tomb. They are immobile, but can deal a lot of damage if you make contact with them. Take your time through the places where they occur and always check where you are going to jump or land.
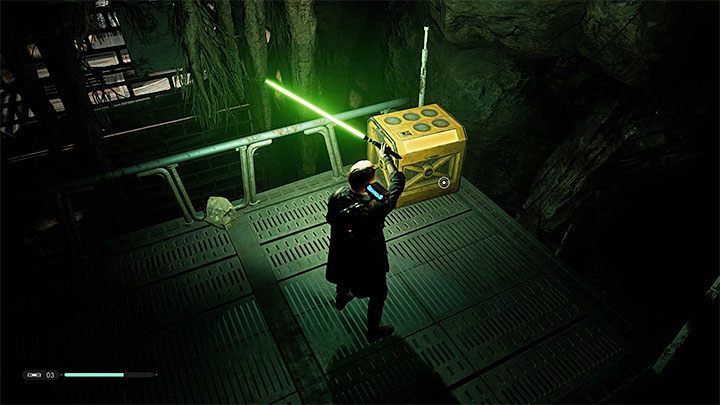
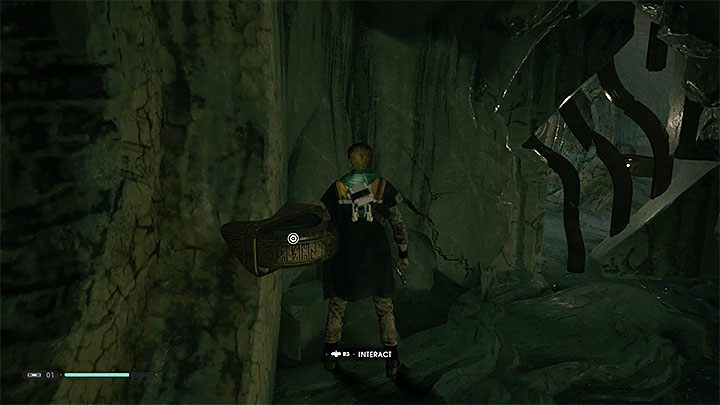
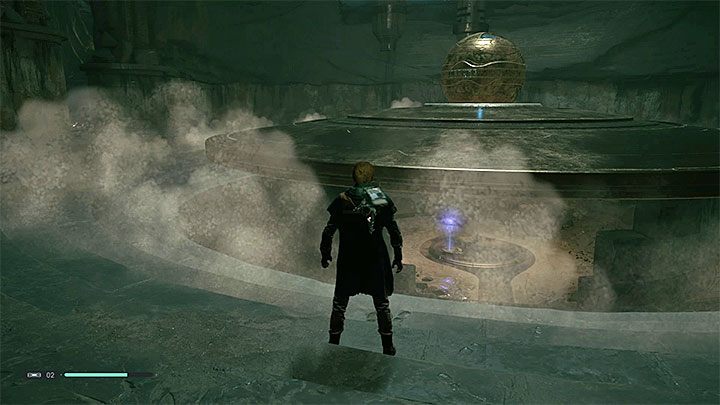
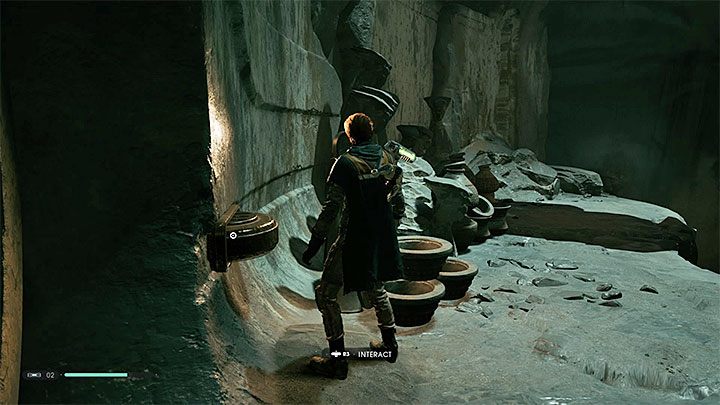
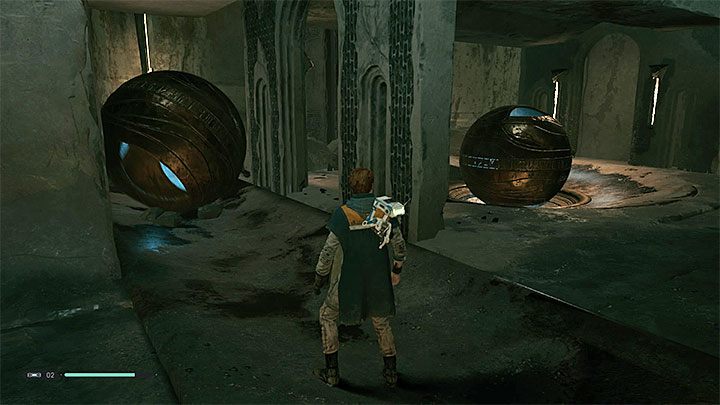
Run along the wall and go down into the large hall. Start by getting rid of the monsters here. The first sphere puzzle must be completed here. This is when transporting the sphere to the central slot. Mechanisms like those shown in Figure 1 will help you solve this puzzle. Interaction with them leads to the opening or closing of the air flow, which can push the object of the sphere. The orb can roll to several different locations and shatter wall fragments to reveal local secrets. Activate more tunnels until the sphere reaches the center slot shown in picture 2.
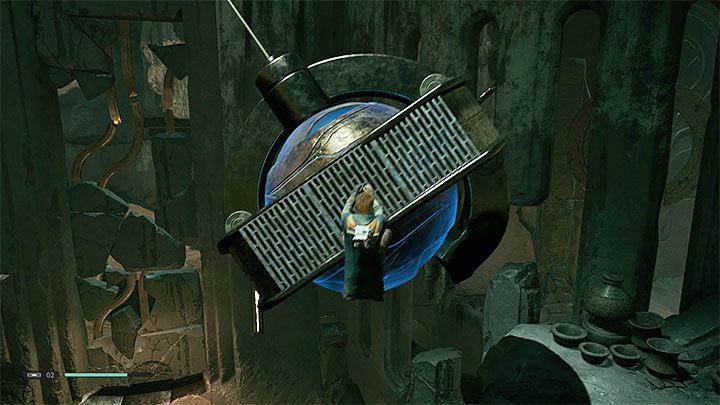
You can move on, but watch out for new monsters. Break the small obstacles and get to the room with a suspended structure with a sphere. Start by using an interactive wall. When you reach the top, use the mechanism in picture 1 to release the airflow. The central structure will begin to sway. Stand on your side, jump up to it and grab its walls - this is shown in Figure 2.
Jump back as you approach the new shelf and run up the wall to where the Meditation Point is.
How to get to the place where you get the power of push
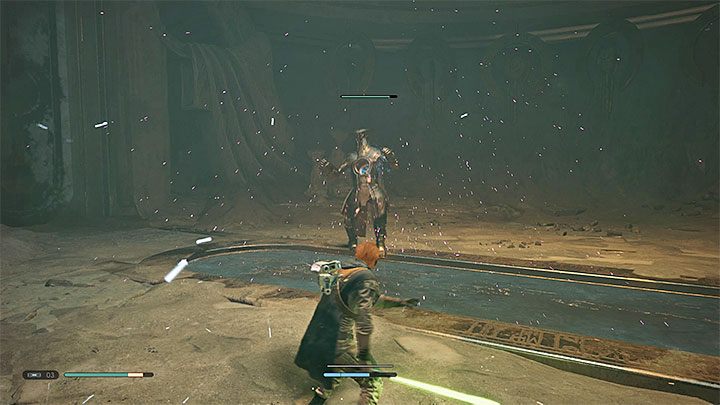
There is a guard in the new large room called the tomb guard. It is not necessary to fight him, although it is worth practicing in defeating this type of enemy. This is a much stronger opponent than those you have met before. Avoid the guard's ranged attacks and strong melee attacks, especially the red one. Look for opportunities to launch your own attacks after the guard has made a failed (slow) attack.
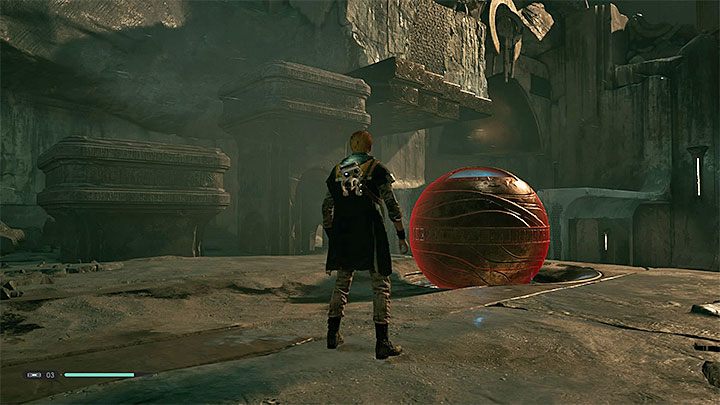
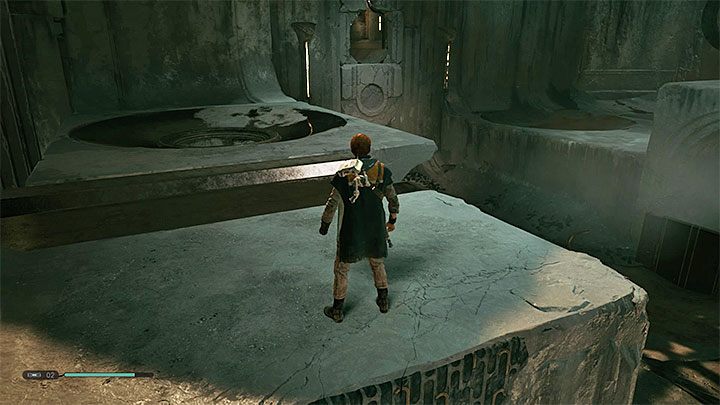
To advance further in the exploration of the vault, show interest in the sphere located next to the meditation point. Next to it is a mechanism for opening the air flow. Use it and the sphere will be pressed several meters into the slot. New platforms will appear on the left side (shown in the picture above). Get on them.
Use the climbing wall and break through small obstacles. A new difficult descent will begin, during which you will have to jump perfectly to hang on the rope, and then on the wall on which you have to run.
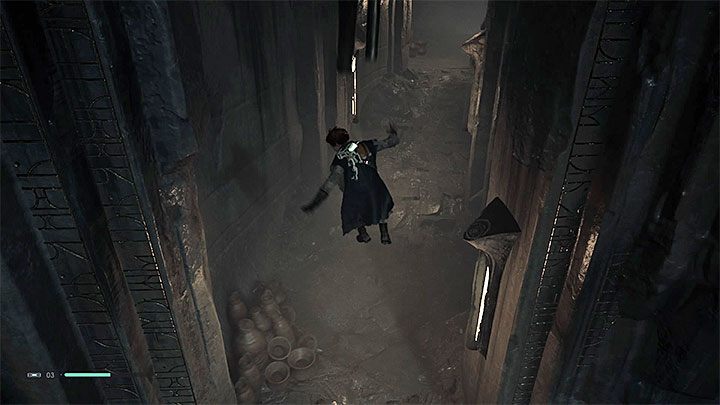
One of the following rooms has air currents that cannot be closed. As a result, you have to make adjustments when measuring each jump and position yourself slightly to the side, because the hero will be pulled to the side during the flight. In the next room, you will reach an air tunnel opening mechanism. This will repel all Skungus monsters. Jump to the other end and jump (image above). Cal will be pushed by the air current, making the jump longer.
There is another tomb guard in the new location, although the guard will be weakened by exploding Skungus. However, don't underestimate your opponent and don't take too many risks during a duel. After winning the battle, reach the vertical air current and jump to the top shelf.
Use the already known mechanism to open a new wind tunnel. Jump towards the ledge shown in the picture. Cal must be forced out by horizontal airflow. Break through small obstacles to move on.
You will find yourself in a large corridor. Go straight ahead and touch the closed gate. When you are in a corridor with a blowing wind, go straight ahead and ignore the objects that Cal will run into. A new flashback scene will be shown showing one of the protagonist's lessons. You will unlock the Push power. As Yoda said, do or don't, there is no attempt. To complete the tutorial, press the button to use the new attack (R2/right trigger on consoles) to throw orbs.
When you return to the tomb, use a force push on the central gate to take it down (you can also force push from here in many other places that were previously inaccessible).
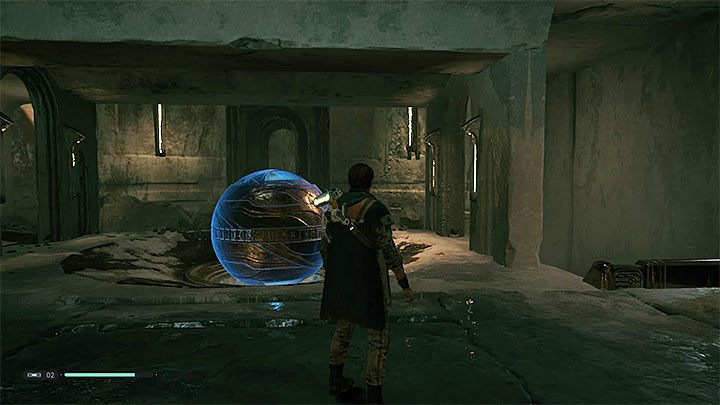
Enter the circular room where you will see a new hologram recording and learn about the planet Kashyyyk as another place to explore.
After a while, a new tomb keeper will appear. The newly unlocked Force Push can help you win this duel - activate Force Push when a guard performs one of his strong attacks. This will interrupt his attack and temporarily expose him to your attacks.
How to solve the puzzle with three spheres
You will return to the central hall with a meditation point (Note - the game has unlocked new skills to buy!) and you must solve the puzzle of placing three spheres in their respective slots.
Start by positioning yourself on the first sphere, which is the one that was previously pushed by the air current. You can push it through with a force push. Bring it to the new bottom slot in the picture above. This will open a new passage on the right side.
Explore a new passage. Along the way, you must grab some parts of the interactive wall and move to the left. There is a second sphere in the upper corridor. Start using force to press on it and throw it into the central room.
Point the second sphere towards the chute from the picture above - it surrounds the place where the first sphere was placed. Click on the second sphere until it rolls towards the “launcher” and is thrown to a higher level by the air current. The second sphere should stop in the top slot.
Break through to the hanging cargo bay with the third sphere. Climb up to use the force to press on the load and release the third sphere. Then break through with him into the central hall.
As with the second sphere, point the third sphere at the chute. Once it starts rolling, two air currents will keep it in continuous motion. Reach the place shown in the picture above, i.e. above the first sphere.
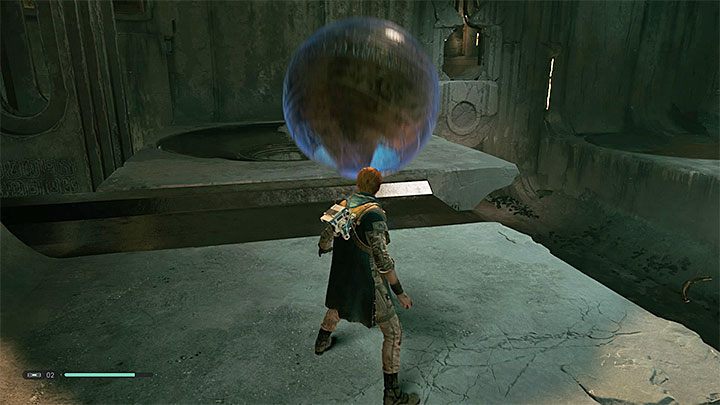
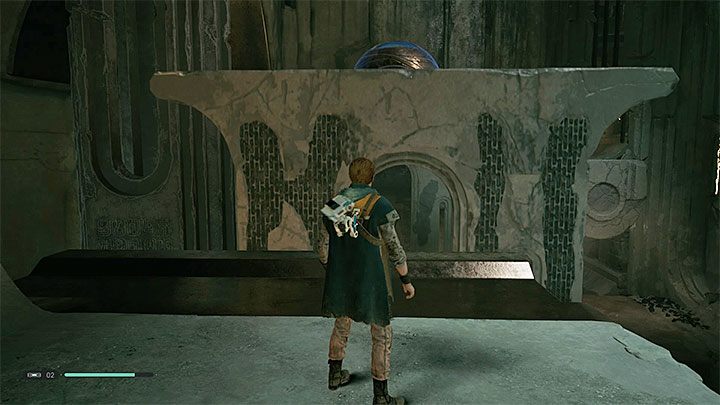
Wait until the traveling third sphere is ejected and in front of the hero. Quickly use the slow force to stop the third sphere (Figure 1). Then use the push force to push the orb into the third slot. The entire structure will rise (Figure 2).
Leaving the tomb

You can use the narrow climbing wall to get to the gap with the third orb. Jump to the nearest edges and climb up to the higher shelf. The weakened part of the wall can be demolished here (picture above).
You will return to the elevator room. Push the local sphere out of the slot and let it roll down. Stop on a special pile plate to set the elevator in motion and leave William's tomb.
Return to the crew spacecraft
You must now return to the team's spaceship. Once you're in the ruins, start by stopping at a meditation point. New stormtroopers appeared in the ruins. Take the opportunity to attack them by surprise and watch out for a commander who can throw grenades (quickly jump down before they explode).
Go straight ahead after defeating your enemies. Destroy the wall with a force push and complete a new descent on the icy surface. This is a rather difficult stage. In several places you have to make the perfect jump, run along the wall or catch the rope. The hero will finally reach the ice caves. Right next to where you ended your descent is a meditation point.
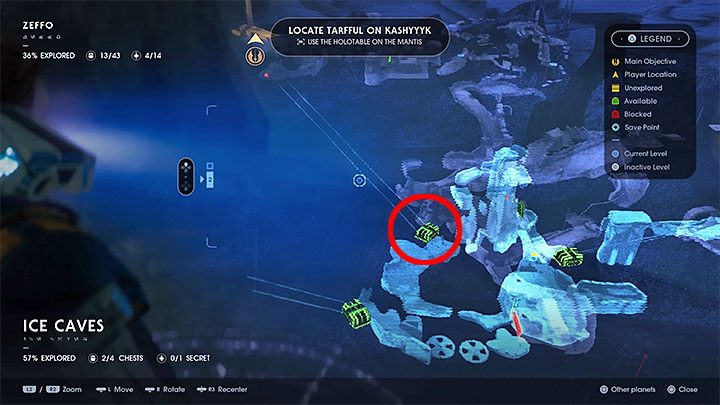
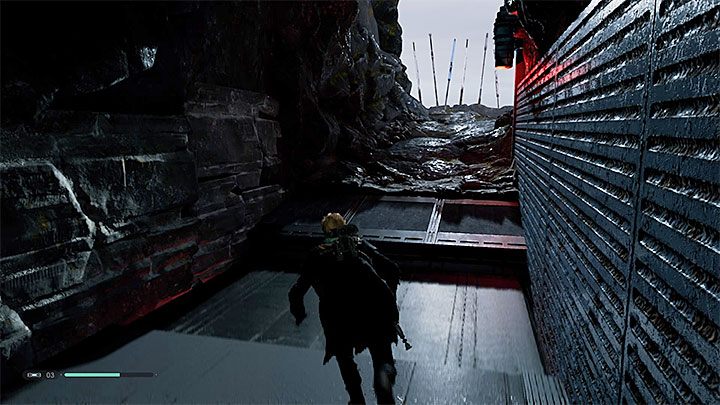
A full exploration of the ice caves is optional. There are three different elevators in the caves, marked in green on the holomap, that can take you to the surface. To get to the hero's spaceship as quickly as possible, use the elevator marked in the attached picture.
On your way to the elevator, you will meet an ice monster named Jotaz, but it is completely optional to defeat him. Also, keep an eye on the stormtrooper's rocket launcher and attack him while he reloads his weapon. Activate the elevator and wait until it reaches the surface. Be sure to rest at the new meditation point before heading to the landing pad where you started exploring Zeffo.
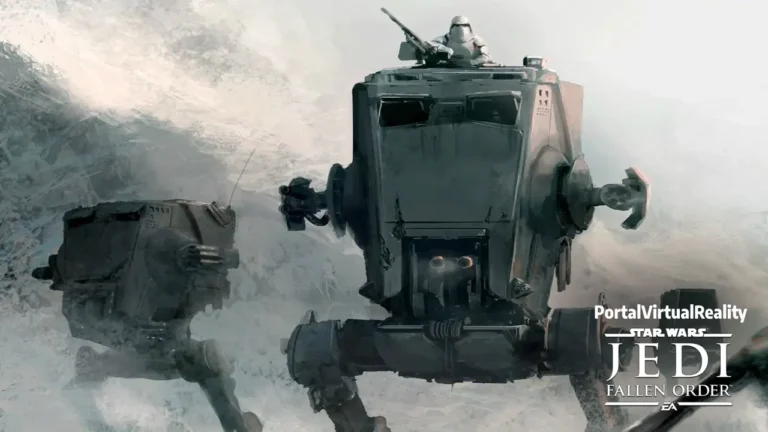
Boss Duel: AT-ST
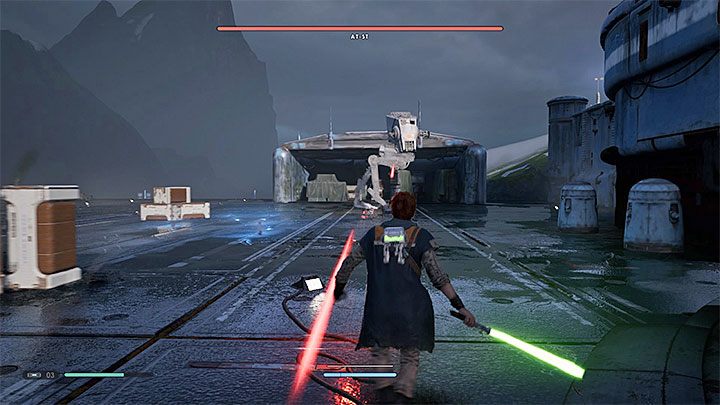
Upon arriving at the landing zone, you will be forced to defeat the AT-ST walking vehicle. It has three main types of attacks:
- Blaster strike - You can deflect laser projectiles with your lightsaber, but they will only deal minor damage to the AT-ST.
- Grenade Launcher - Contact with one of the thrown grenades will result in an electric shock to the hero. You can use the push force to throw them at the boss.
- Rocket Launcher - They are coming, but they can be avoided by jumping. Alternatively, you can turn them back to the AT-ST by using the power push.
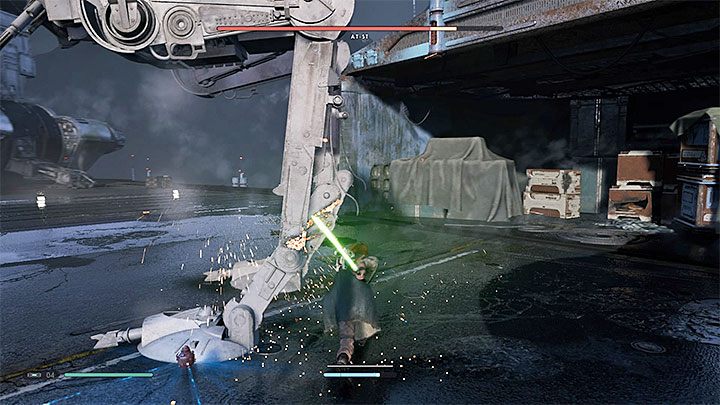
The best way to quickly weaken an AT-ST is to attack its lower mechanical legs with a lightsaber. AT-ST, of course, will not be idle. Jump down as soon as you notice a grenade dropping next to you. Return to attack after the grenade explodes.
After defeating the AT-ST, you can board your team's spaceship and fly away from the planet.
Was the article helpful?