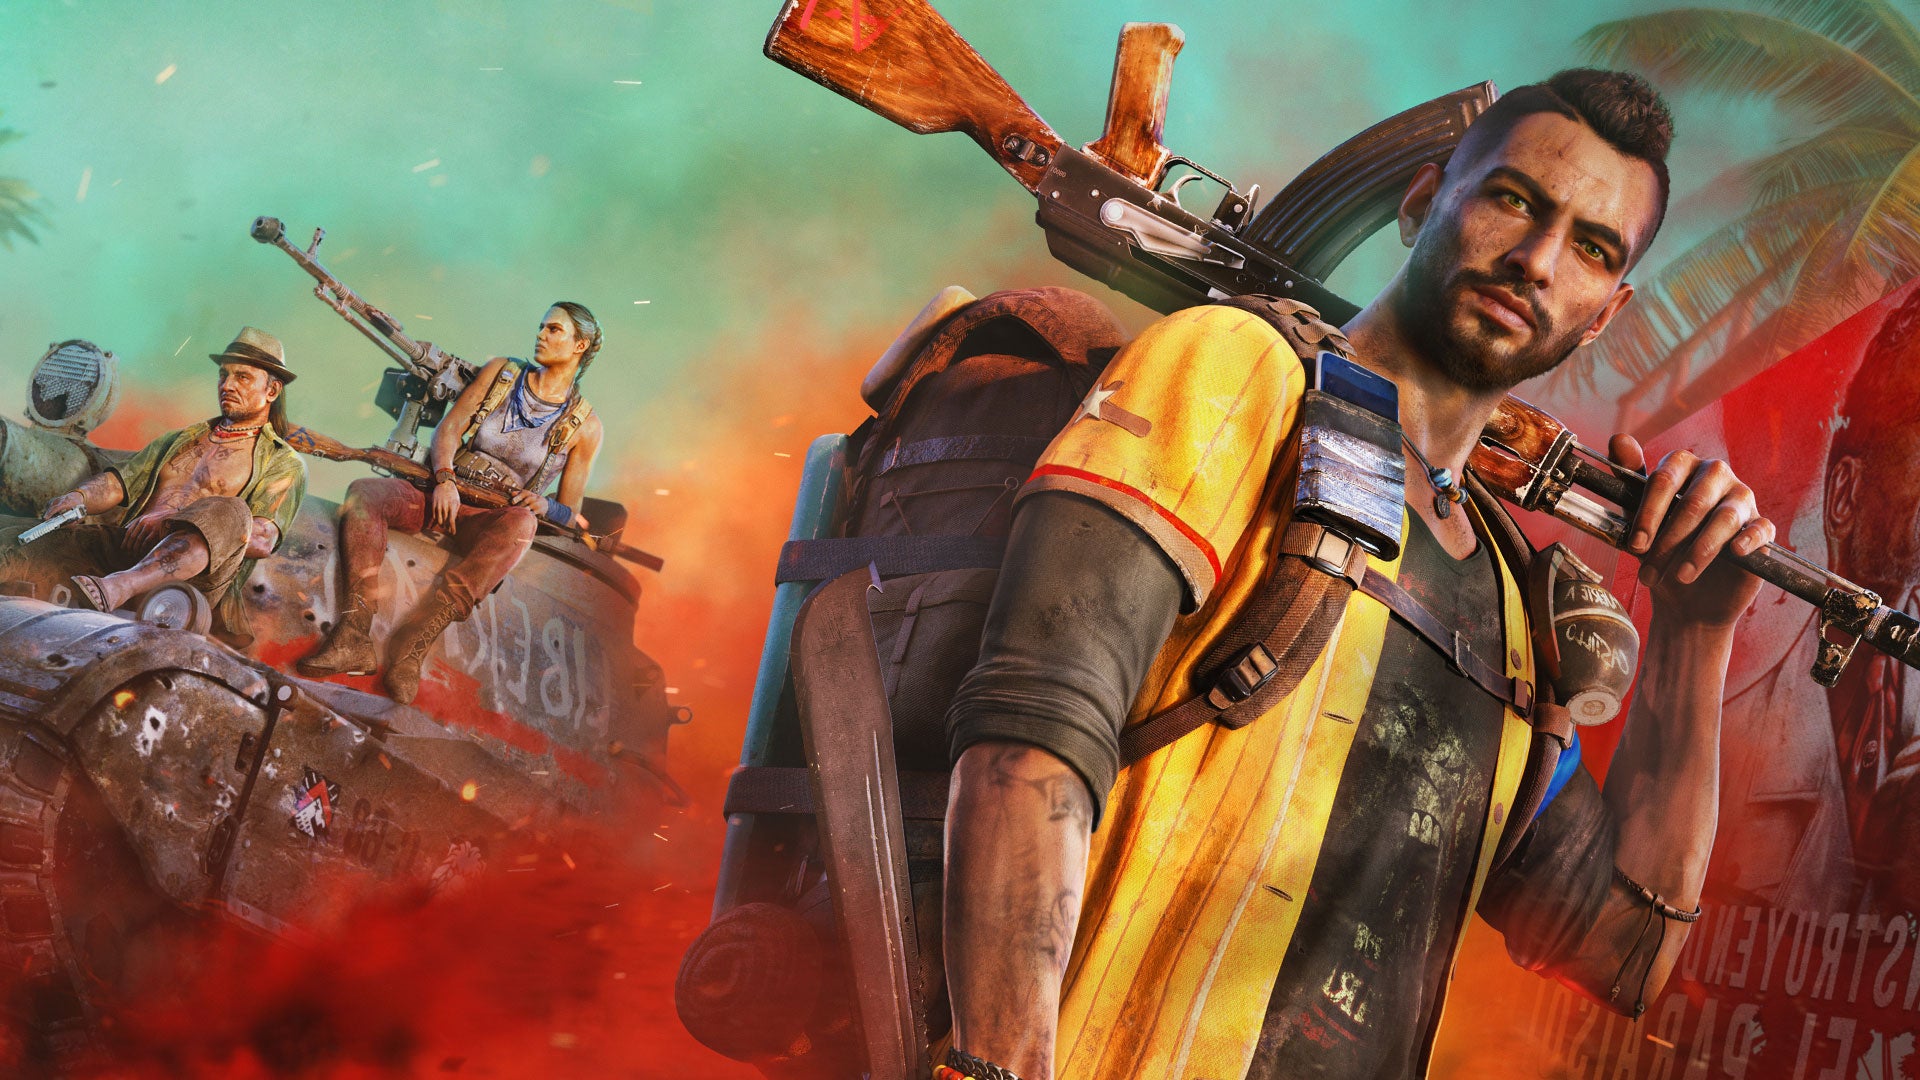
Far Cry 6 - 100% Walkthroughs, Achievements, Collectibles, Endings, etc.
We are preparing a guide and it will appear in the near future!
The Night of Death (La Noche De La Muerte). Island escape
Quest rewards
- Smartphone - You will be able to use it to receive calls and read messages, as well as perform reconnaissance and scan items, among other things.
- Machete (used for hand-to-hand combat and destruction of obstacles) and basic inventory .
- Diego's baseball card is a quest item.
- Yo Soi Dani Rojas trophy.
- Operation unlock "Lucky you" .
Building escape
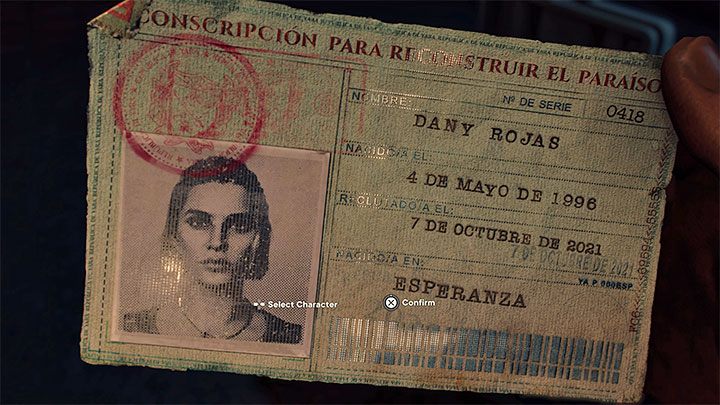
You will start the battle on the roof of the building in Esperanza and the first thing you need to do is choose the gender of the main character . We covered this topic in more detail on a separate page − Is the gender of the protagonist important? .
We remind you that the gender of the main character does not affect the gameplay or quests in any way. However, it should be noted that this is an irreversible decision, and if you want to change the gender of your character, you will have to start the whole game again.
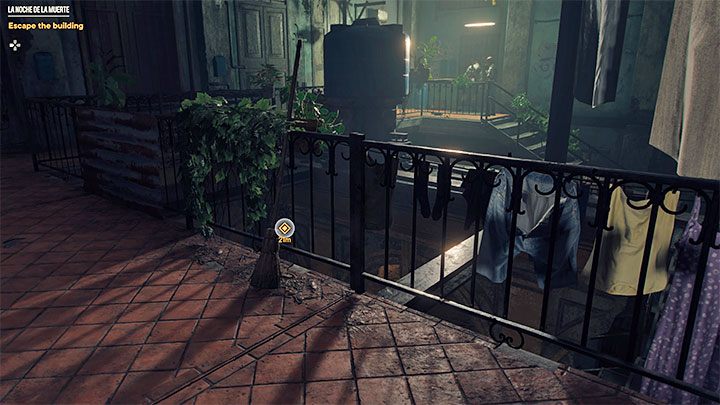
You can’t stay in one place for too long, because a soldier will appear on the roof and shoot at you. Follow Lita avoiding any collision.
On one of the lower floors you will meet soldiers - this is a chance to check cover technique . Wait until the enemies stop knocking on the door and go down to the first floor. Go to the stairs.
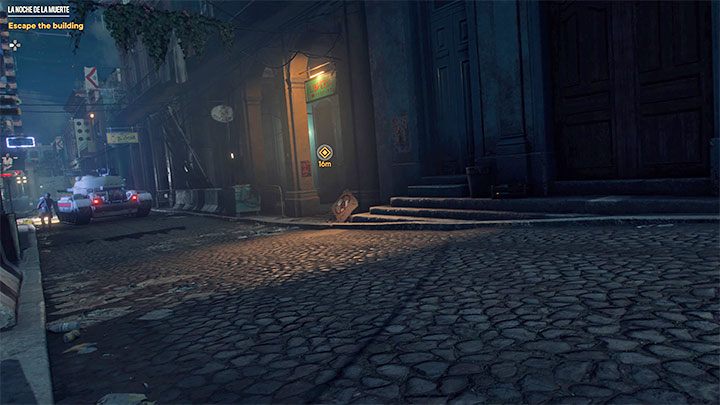
Run away, try squat and avoid oncoming enemies while maintaining a safe distance.
After reaching the street, wait for the right moment to sneak into the neighboring building - you will learn how to get out of cover.
Get to the sewers
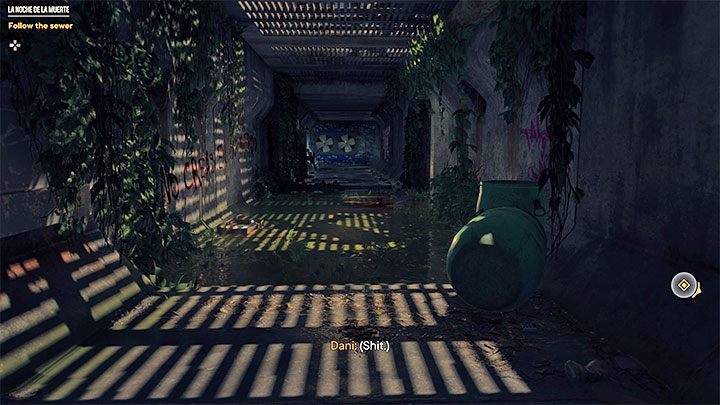
Follow another linear path leading to the sewers - just get to the next mission markers. You can also test the option sprint, to get out of outer space faster.
There is also only one path in the sewers leading to the stairs. When studying them, the hero automatically turns on the flashlight.
Get to the rooftops
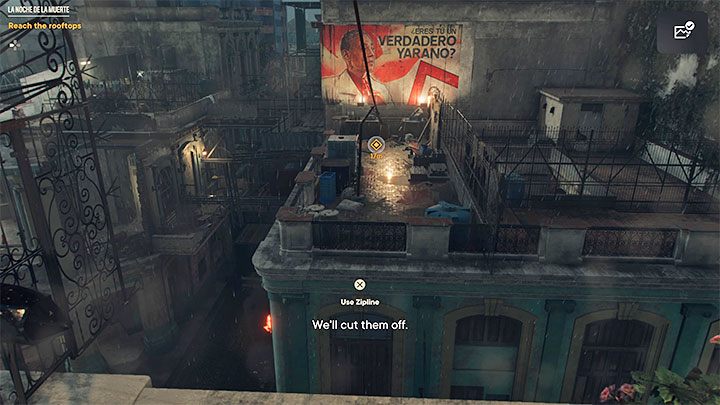
Shortly after exiting the sewers, you will notice ladder, which you need to use. Climbing to the top you will learn how climb higher steps - just stand in front of the step and press the jump button.
When you reach the roof, you will need to complete a simple escape sequence. Get to the place where you need to use zipline, and zip-line to the adjacent lower roof. It's time for another very linear section where you will learn overcome small obstacles using the jump button. Continue your journey to where you need to go down the next zipline.
Get to the boat
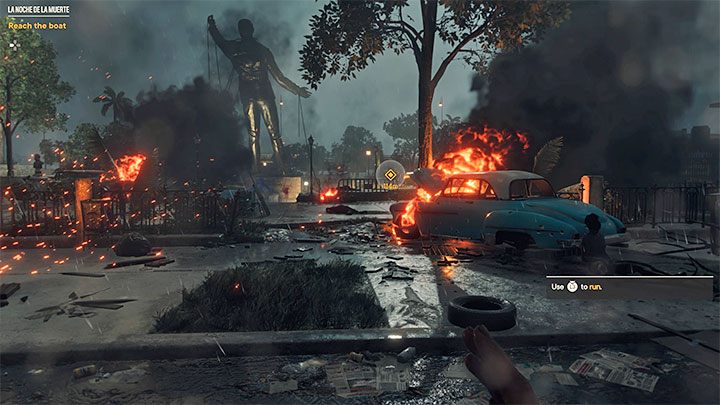
The final part of the mission will not surprise you with any new mechanics. Use a sprint and follow the linear path through the ruined part of the city until you reach the boat dock. Watch the cutscene that ends the prologue.
Lucky you
Quest rewards
- PMM Pistol is the first firearm you get.
- grapple kit is a very important gadget that will allow you to capture various capture points and reach seemingly hard-to-reach places.
- FAL rifle - A good starting weapon.
- Unlock access to Clara's camp is the first guerrilla hideout in the game where you can meet NPCs and use a workbench, among other things.
- Unlocking Juana Good operation.
- Having opened world map - you will be able to freely travel around the "starting" island - Isla Santuario.
Search the beach for supplies
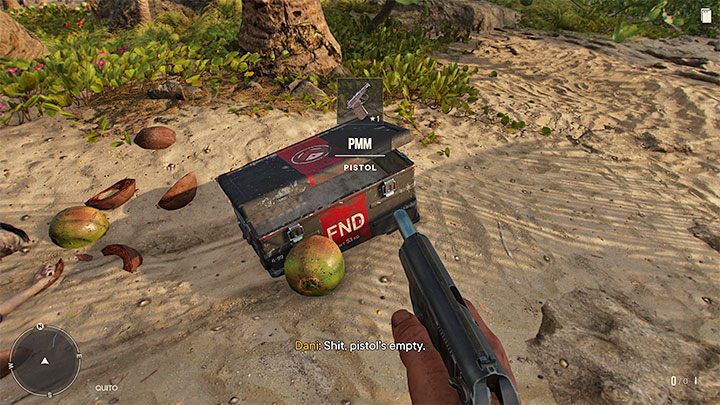
The described main mission is a continuation of the prologue - La Noche De La Muerte . You start at Isla Santuario beach where you will spend at least the first few hours of the game.
You must look around the beach. note on the radar in the lower left corner where you can see for example search zones or interactive containers and objects (later in the game). To complete the first task of the mission, you must inspect box next to one of the palm trees - it contains gun PMM . Unfortunately, you will need to get some ammo for this first firearm somewhere.
Find Clara's Camp
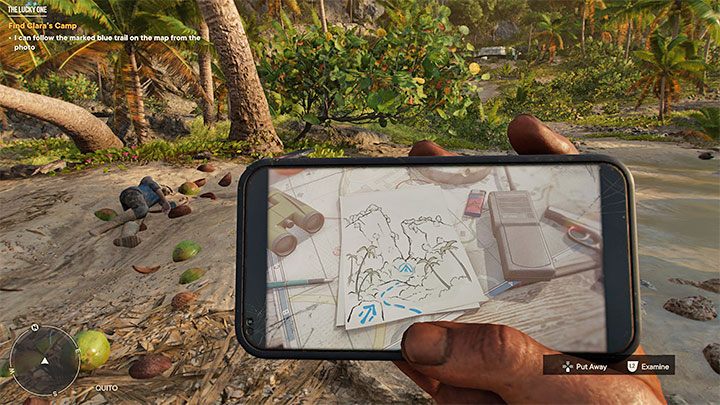
You will be prompted to view the photo on your smartphone - the one you got after the prologue. Press the d-pad to look at the smartphone screen. You will learn that you need to follow the route marked blue lines . Fortunately, you don't have to worry about getting lost - the main route will also be visible on the radar (along with additional paths).
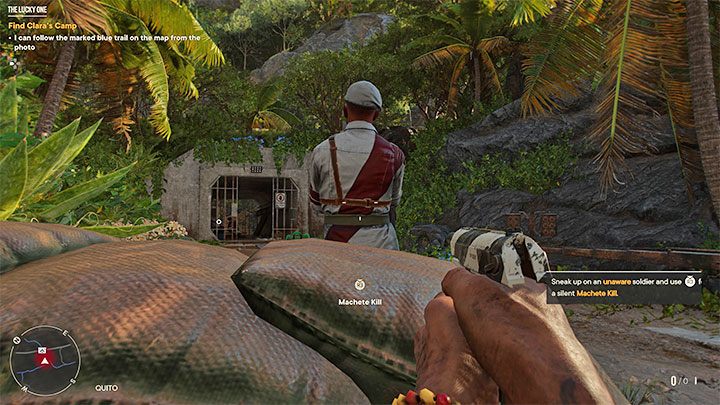
Start by heading towards bunker, which visible in the distance - to what is next to the beach. Here you have to fight with the soldiers. If you wish, you can inspect it from the inside - the entrances are blocked by boards, but you can break them machete (press the right analog stick). In the bunker, among other things, you will find crafting materials.
Continue along the path to the jungle. You will soon encounter enemies , so crouch to go into stealth mode. you can check execution with a machete - This is a great way to silently kill enemies, although this move can also be used in normal fights (you will attack with a machete). Get behind an enemy and perform a kill with a machete (right analog stick).
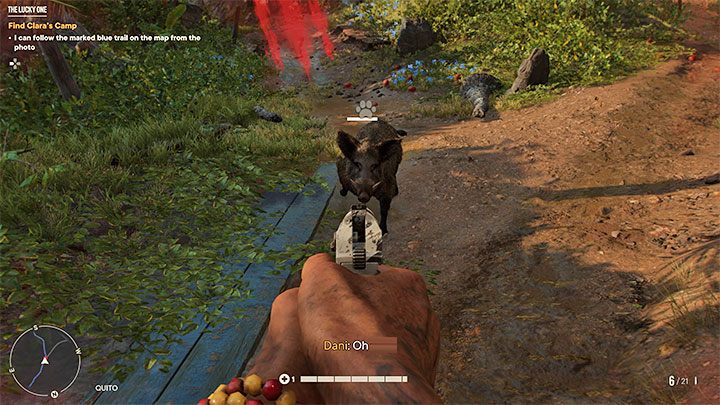
The hero will receive ammunition , (automatically) searching the enemy's body. Keep using machete executions as this is the safer option. Get rid of the soldiers you meet. Along the way, you will come across a larger chest. It's worth checking all of them because they may contain, for example, new clothes (check their stats and choose the ones that will be most useful to you at the moment), weapons or rare crafting materials.
Crossing the jungle, expect to meet with a wild boar is a forced encounter, so use your firearm to kill the animal.
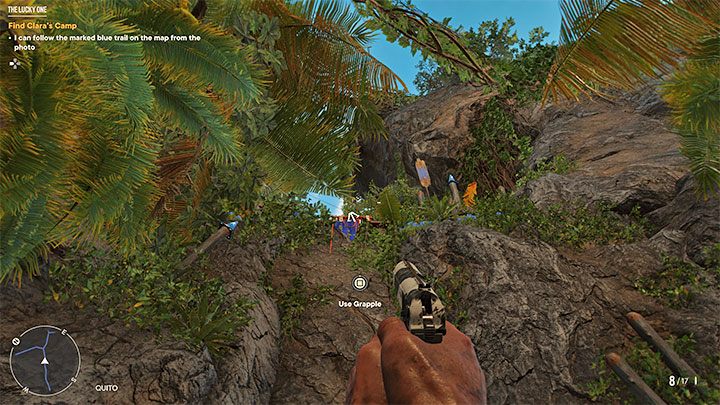
A little further you will notice that on the ground is lying grapple kit He has an anchor with a rope tied to it. True to its name, you'll be using it throughout the game to complete the climbing areas.
Every time you must find over an interactive clip grab onto it and pull towards it. If the interaction icon doesn't appear, it may be a sign that you're too far away from the clip and need to get closer to it. After a successful ascent, watch a cut-scene during which you will meet Clara and other rebels.
Juan is one.
Quest rewards
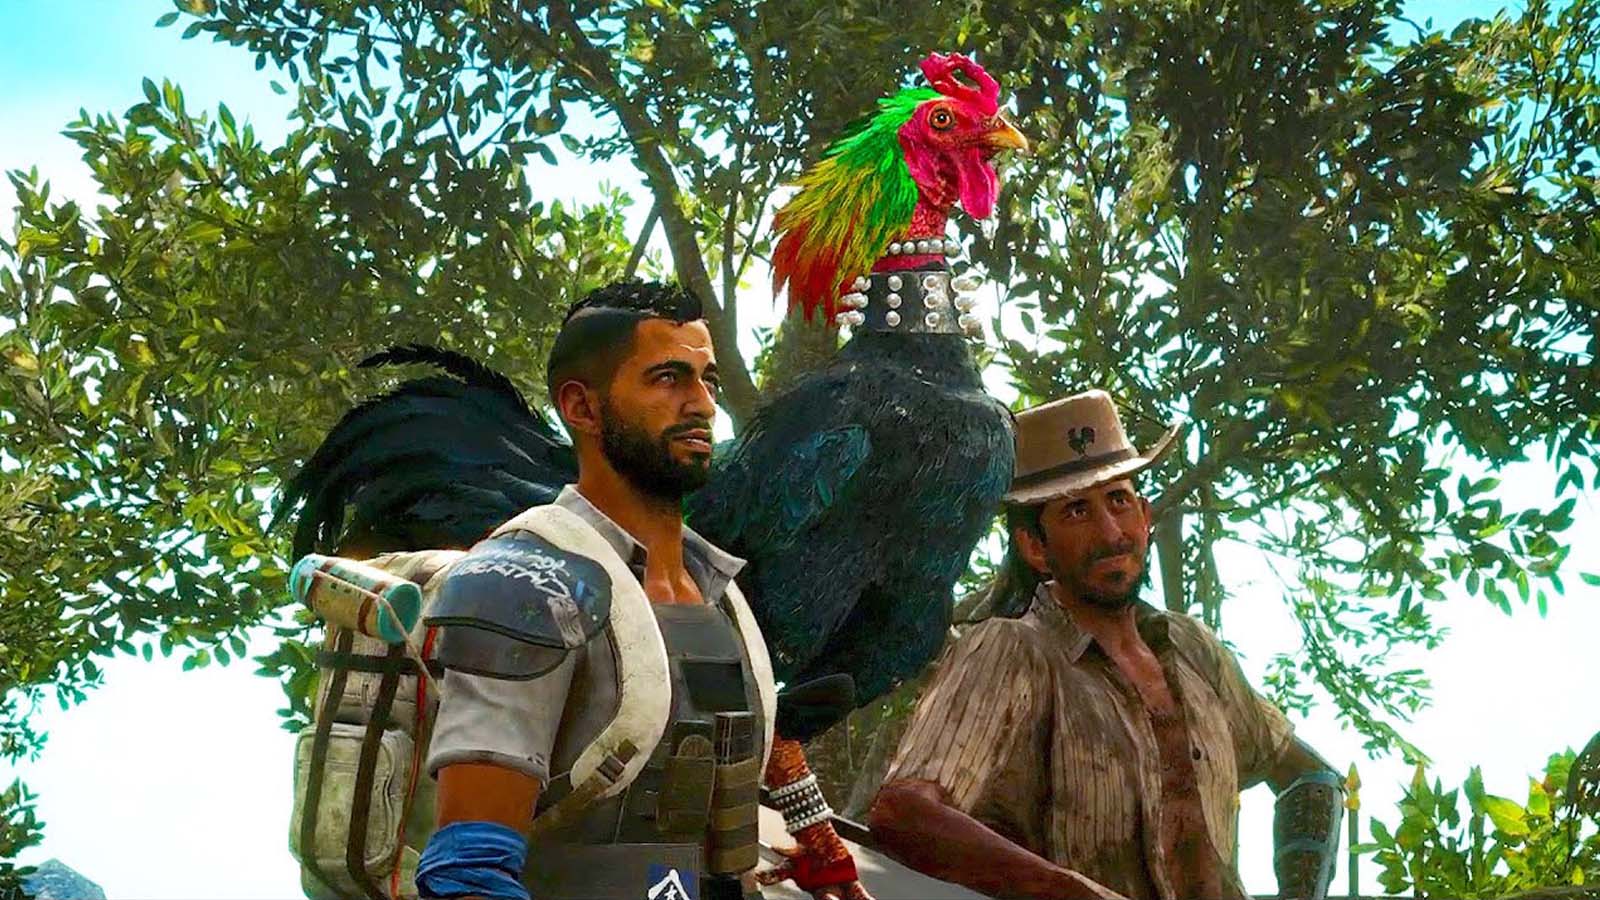
- Guapo is the name of the crocodile that will become your first amigo, i.e. / pet / animal friend. He can be ordered to attack opponents.
- Rifle MS16S - this can become one of your primary weapons at the start of the game.
- Unlocking rifle mods at the workbench is part of the tutorial.
- Operation Unlock » Do or die" .
Mission unlock
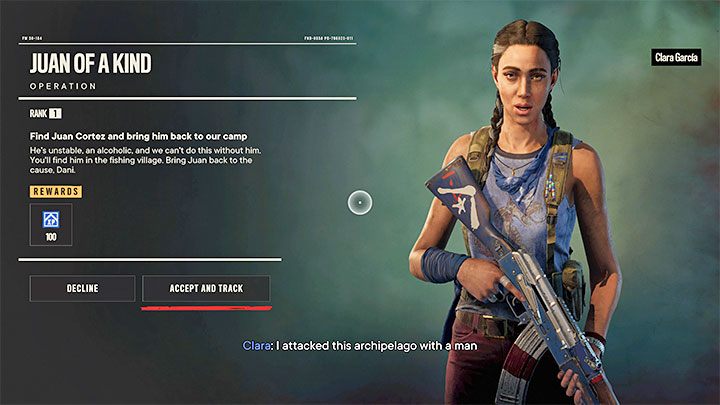
This quest will start at Clara's camp , which is the first of several Rebel hideouts in the game. You won't get the first objective of the mission right away, as you need to meet Clara Garcia in the camp. From her you will learn that Juan needs to be found.
After talking to the quest giver, the game always displays a window where you can accept or decline the quest. Never use the last option, because even when you accept a new mission, in the vast majority of cases you don't need to complete it right away. It will just stay in the log and you can also leave it for later.
Find Juan
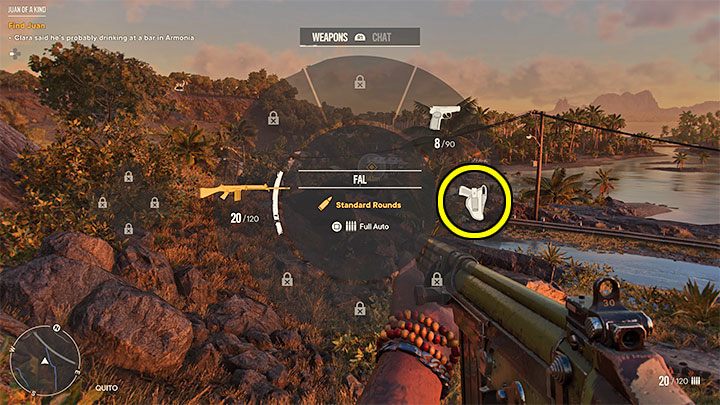
To find Juan, you must go to the village of Armonia located north of the rebel camp.
Once there, you must put away your weapon в holster, as the game suggests, in order not to attract attention - open the drop-down weapon wheel and select the option on the right (Holster). Be careful - even with a weapon in a holster, avoid approaching the soldiers so as not to intimidate them and provoke unnecessary fights.
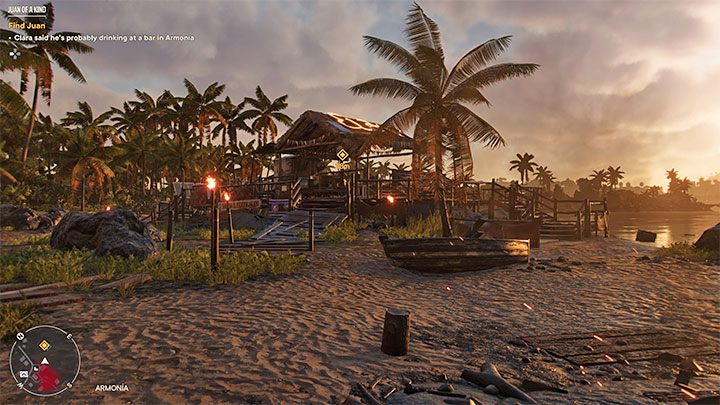
You can find Juan at bar next to the beach . When you get to this place, a cutscene will start.
Protect the Beach
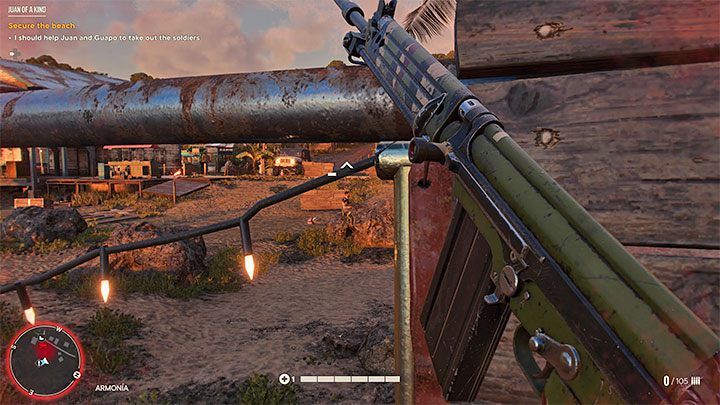
Straight the battle will start immediately after cut scenes. You can choose how to proceed and not worry about Juan.
It would be nice to use the FAL rifle that you got automatically by completing the previous mission. You can choose to engage in aggressive firefights, or hide behind cover and look for safer shots. If you are seriously injured, hold down the heal button to restore your health bar. This method is "free" but does not have unlimited usage.
Follow Juan
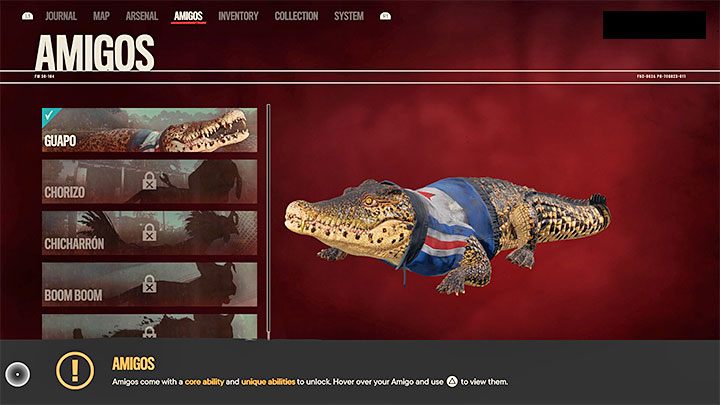
After winning the battle, you will find out that the main character has joined Guapo, alligator, tamed by Juan. He will become your so-called amigo , i.e. a pet/animal that helps you win fights and kill enemies.
Guapo can be given one of two commands (press or hold directly on the d-pad) - attack the specified enemy or return to you. An alligator cannot die, but if it loses its entire health bar, it must be "resurrected".
Steal supplies for Juan
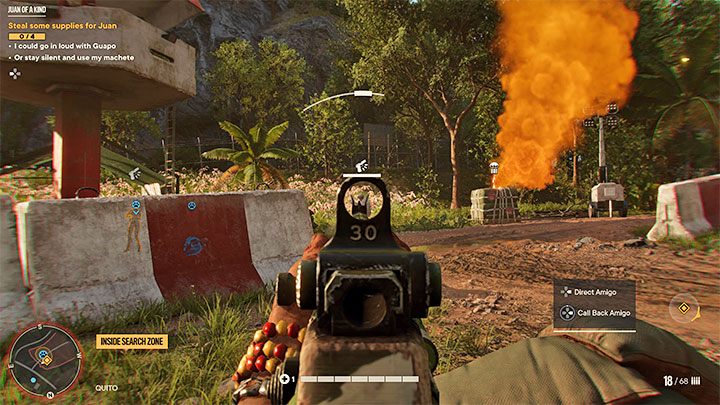
With Juan, you will reach a small enemy outpost and receive the task of obtaining the unique supplies stored there.
According to the information received, you can take part in direct fights or sneak around and suddenly destroy enemies (sneak into the location of the enemy from the side). It may also be a good idea to give the crocodile the first commands, but this will alert your enemies and does not guarantee success. Luckily, the resulting battles shouldn't be too difficult.
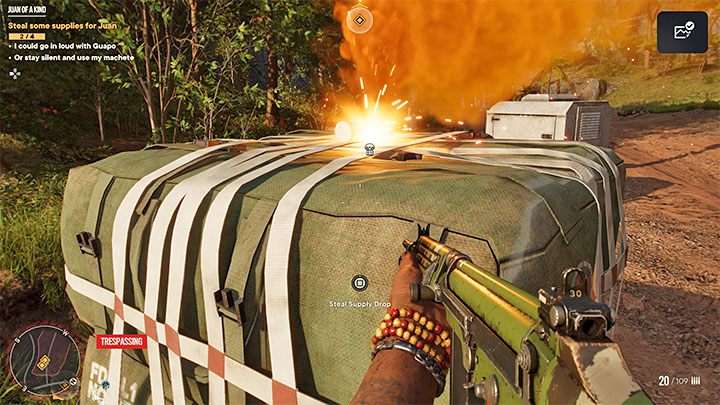
The enemy outpost has 4 supply locations and you can visit them in any order.
- Open boxes with common crafting materials.
- Explore big supply drop (you must hold the interact button) - you will get powder и overhaul (rare crafting ingredients).
- Open the big chest in the tower - you will get MS16 S rifle .
Return to Juan and go with him to Clara's camp, where you will first watch another cut-scene.
Use the workbench to transform your weapon
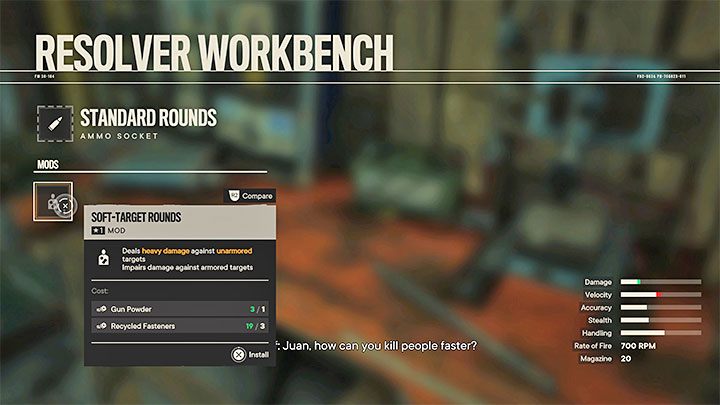
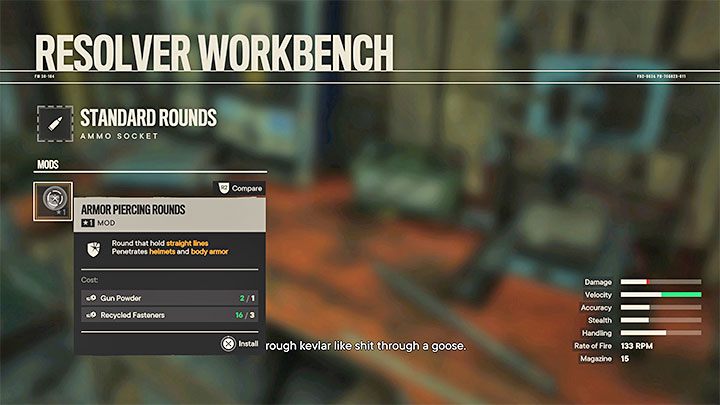
Now you will have to pass training on the use of workbenches , which can be used in the game world to, among other things, modify and upgrade your firearms.
For training purposes, you will need to upgrade the two rifles you have (FAL and MS16 S). As part of the tutorial, you will equip the first rifle with an upgrade that deals more damage to unarmored targets, and the second one with an upgrade that deals more damage to armored enemies. This way you will get two different weapons that are effective against different types of enemies. In the future, try to choose a weapon that will be most effective against the type of enemy soldiers so that they can be defeated more easily.
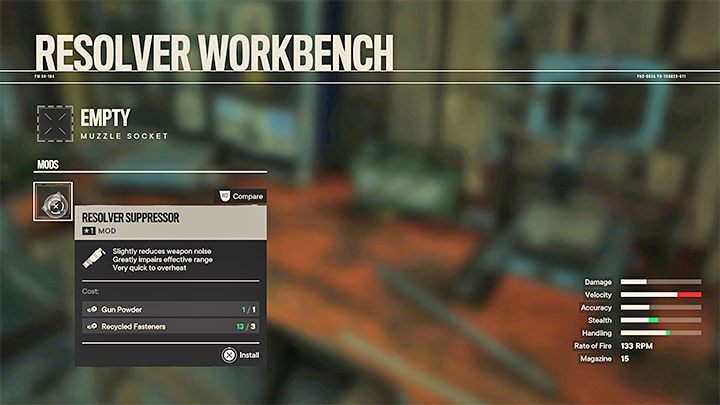
You must also equip one of your rifles with a mod that adds muffler . This will make this weapon an ideal candidate for silently taking out enemies from a distance.
Closing the workbench window will complete this mission.
To die early because of uranium.
Quest rewards
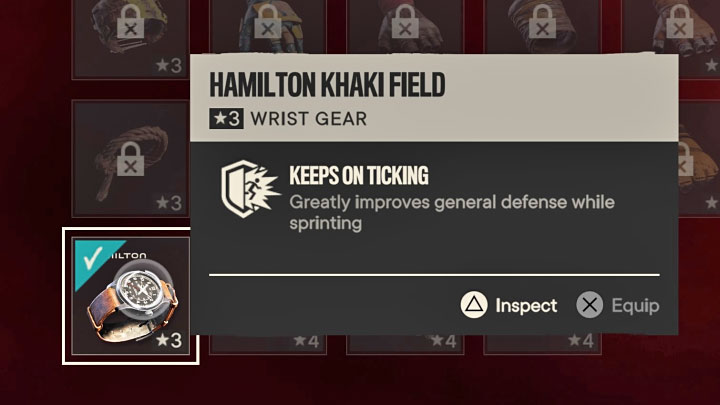
- Hamilton Khaki Field Watch is a unique piece of equipment that can be placed in a wristwatch slot. hours . This item provides a bonus to defense when sprinting.
- Parachute is a very important gadget that you can use throughout the game to perform jumps from aircraft and from great heights.
- Tostador is a unique weapon resolver , which is also a flamethrower.
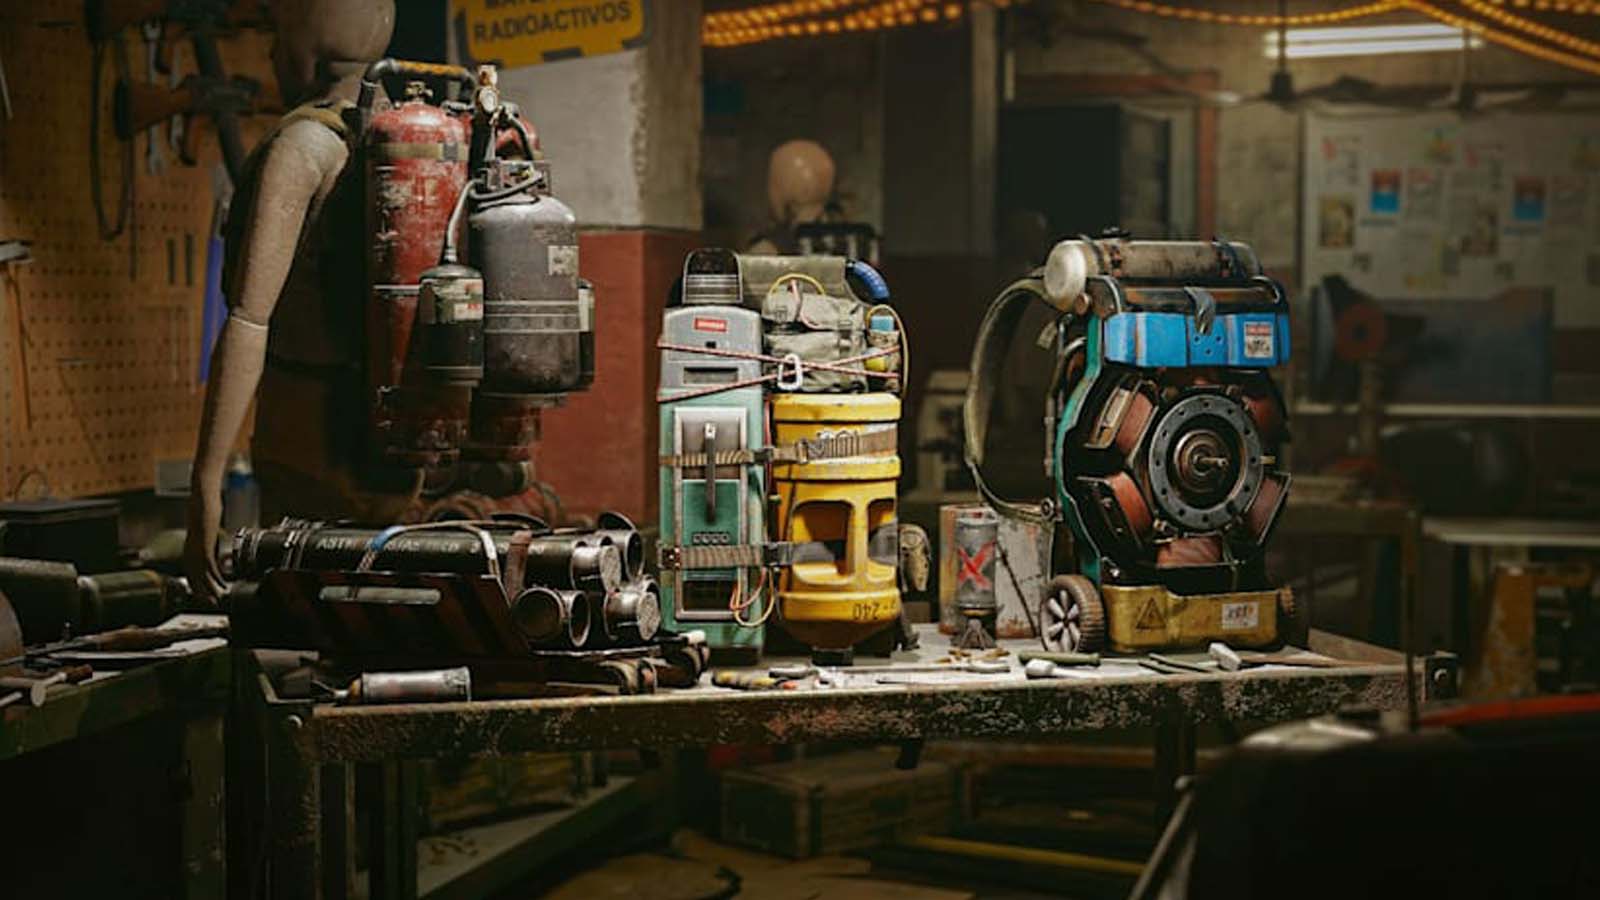
- exterminator - this is supremo, i.e. backpack with unique features. This special supremo allows you to fire missiles, which are especially useful for destroying enemy structures and attacking opponents.
- Unlock usage Gadgets - Each supremo can be assigned different gadgets (e.g. grenades, throwing knives, molotov cocktails or baseballs to distract enemies).
- Unlocking cooperative - in a cooperative You can complete the following missions.
- Operation unlock Fire and Fury .
Talk to Juan's contact
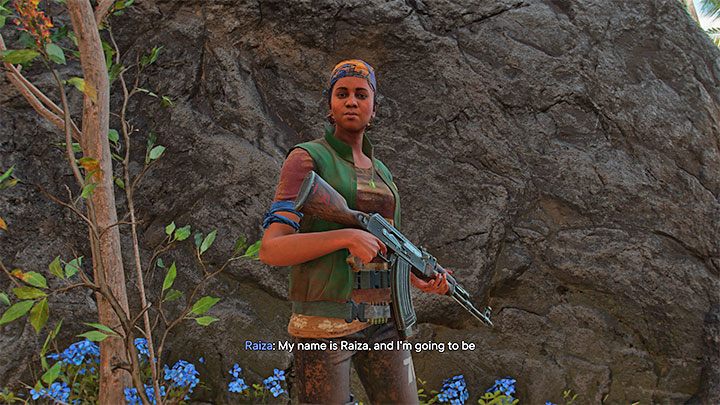
To start this quest, go to Clara's camp, to meet with Juan , which you found in the previous quest, Good Juan . To complete the first objective of the mission, you must travel far east of the hideout, to Sagrado .
At the location marked on the map, you must find Raizu and talk to her. She will give you a very useful parachute (activated by pressing Circle/B in the air).
Bribe the soldado with Yaran Peso
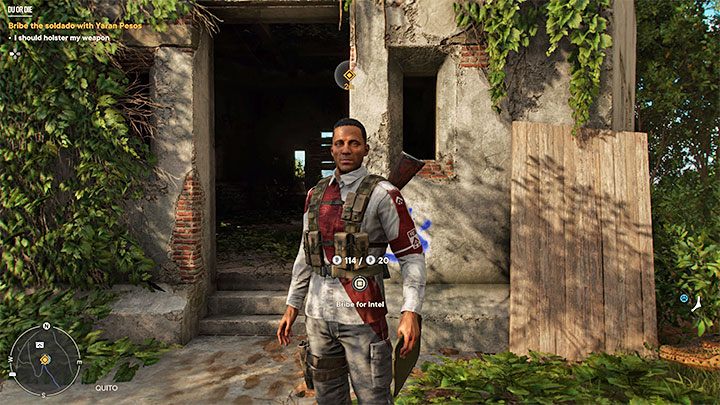
Raisa will lead you to a small building and according to the instructions you will need to hide the weapon you now you are using so as not to alarm the soldier you are about to encounter. You need to bribe the person you are talking to - press the interact button to give him some pesos and get information from him. In this particular case, this will include information about the location of several surrounding FND boxes. Finding these types of objects with less significant prey is completely optional.
Scout Fort of Quito
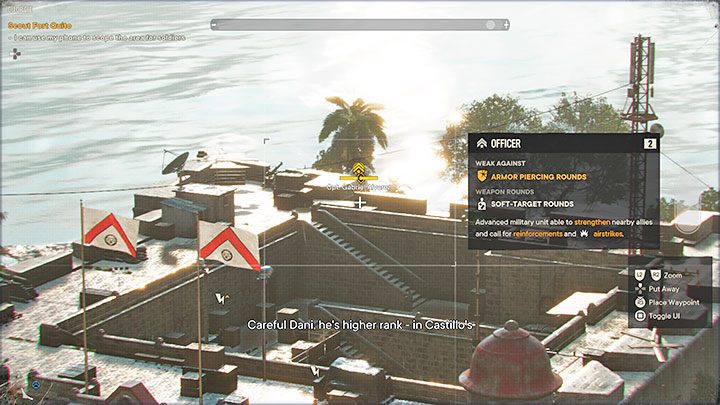
You must continue to follow Raisa in order to eventually reach viewpoint . Will tutorial on how to inspect the area for which you will use smartphone camera your character instead of binoculars - this device can be selected by pressing the D-pad up.
Use the zoom option and try to keep track of subsequent enemies so that they are permanently marked. In particular, don't forget to mark officer traveling through the fort so that it can be easily found and destroyed later.
Steal depleted uranium
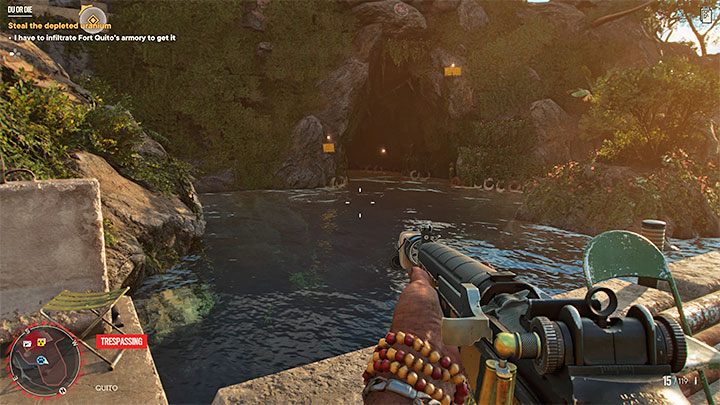
Ahead of you is the main part of this mission - infiltrating Fort Quito . The game gives you complete freedom of action, but it will be safer to treat this as a stealth mission. Start by jumping and using a parachute in flight.
We offer use a stealthy approach heading towards the back of the fort. Jump into the water and find the cave entrance shown in the picture.
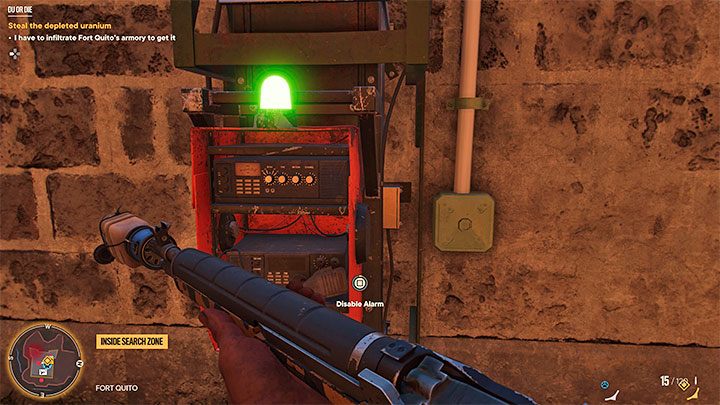
Upon entering the cave, you will enter the basement of the fort. Here you can easily get rid of the only soldier and use the stairs to get to the locked area of the fort.
If you want to avoid intense open fort fighting then:
- try to squat as much as possible, use silenced weapons, follow the marked enemies and check the radar readings,
- destroy or bypass the security camera,
- try to get to the crate to detonate the alarm system - this will prevent the enemy from calling for reinforcements.
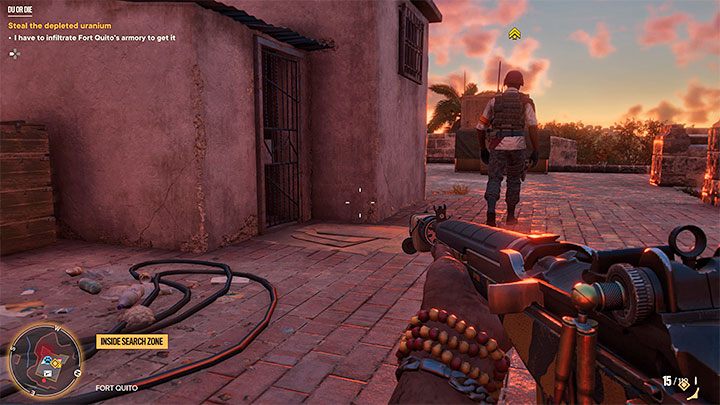
Your main task is find an officer , because he has key . You can get rid of the officer in any way, but if you prefer a stealthy approach, it's best to sneak up on him from behind while he's busy traversing the upper walls of the castle.
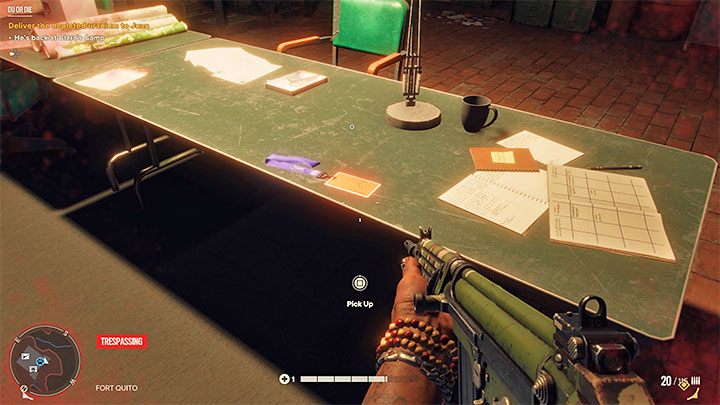
Additional Information - In addition, you can also find the key you need in one of the rooms in the fort, so eliminating the officer is not mandatory. However, you should not refuse this step, because it is not difficult to kill an officer.
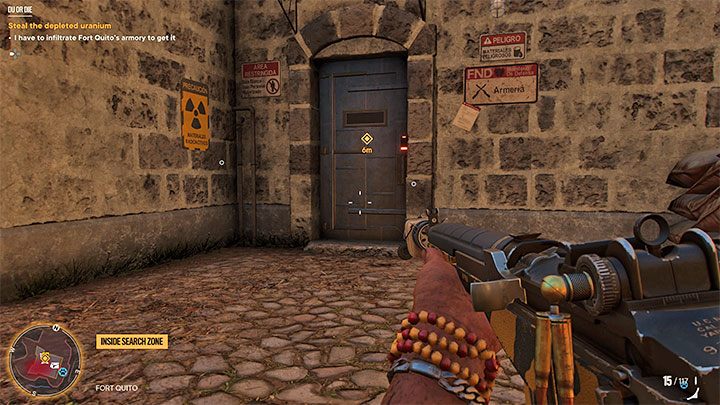
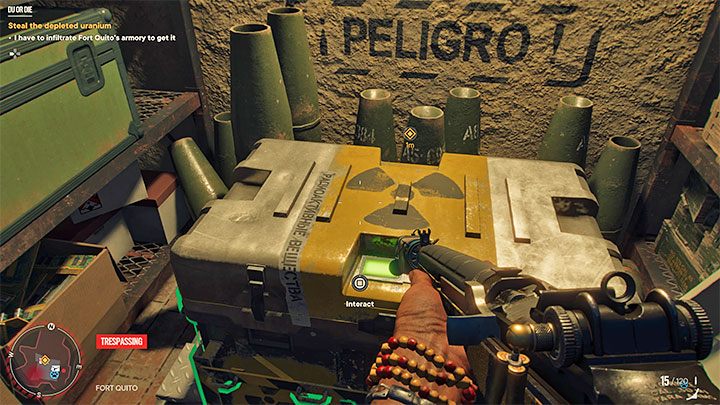
Once you have the key, you can open armory door, shown in the screenshot, at the bottom of the fort. In the new room, interact with the big box to get depleted uranium is one of the rarest crafting materials in the game.
You can leave the fort in any way, such as through the front door (beware of the only guard), by returning to the basement, or by jumping over the wall.
You can also find other valuable loot in the fort area. It is recommended to check all containers marked with icons on the map and radar. However, searching 100% of the fort is not a mandatory mission objective.
Deliver the depleted uranium to Juan.
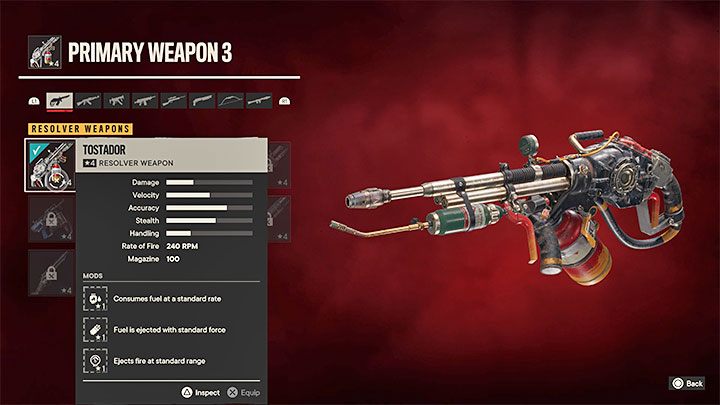
Return to Clara's camp (you can use the fast travel option). You will receive two unique gifts from Juan:
1) Tostador is a unique weapon resolver , which is also flamethrower . The Tostador will automatically be placed in one of your weapon slots and will come in handy in one of your new quests soon.
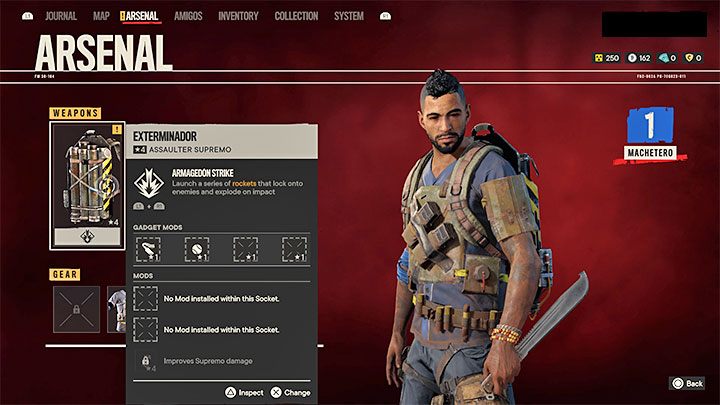
2) Supremo Exterminador It's a kind of backpack. Supremos come in many varieties and this particular one allows you to shoot a series of rockets, which can hit marked targets or the area in front of your character. Supremo requires you to wait for it to charge before you can activate it (L1 R1 / LB RB on the pad).
Use Workbench to Create a Gadget
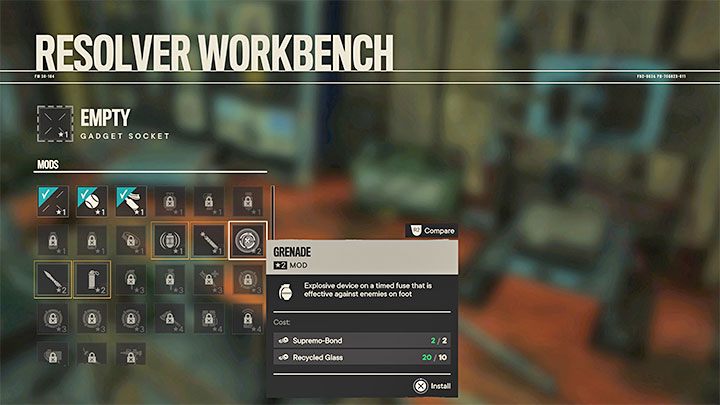
As for the supremo, it can also be installed Gadgets . Interact with workbench, select Supreme, and then Gadget Mods .
Some gadgets are available from the start of the game, while others can be unlocked by spending crafting materials. Here you have complete freedom of choice, but, as a rule, it is better to always have a grenade, dynamite or other explosives at the ready.
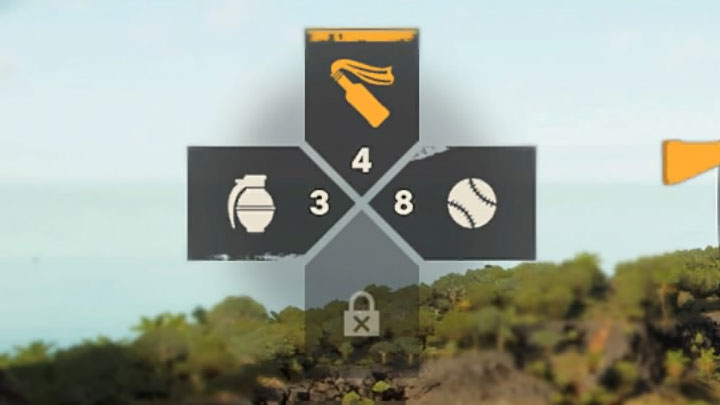
Gadgets assigned to this supremo are selected from the drop-down menu by pressing the corresponding button on the d-pad. Your character can then use the active gadget by pressing one button (R1/RB on the bar).
Stepping away from the workbench will complete the mission and tutorial.


