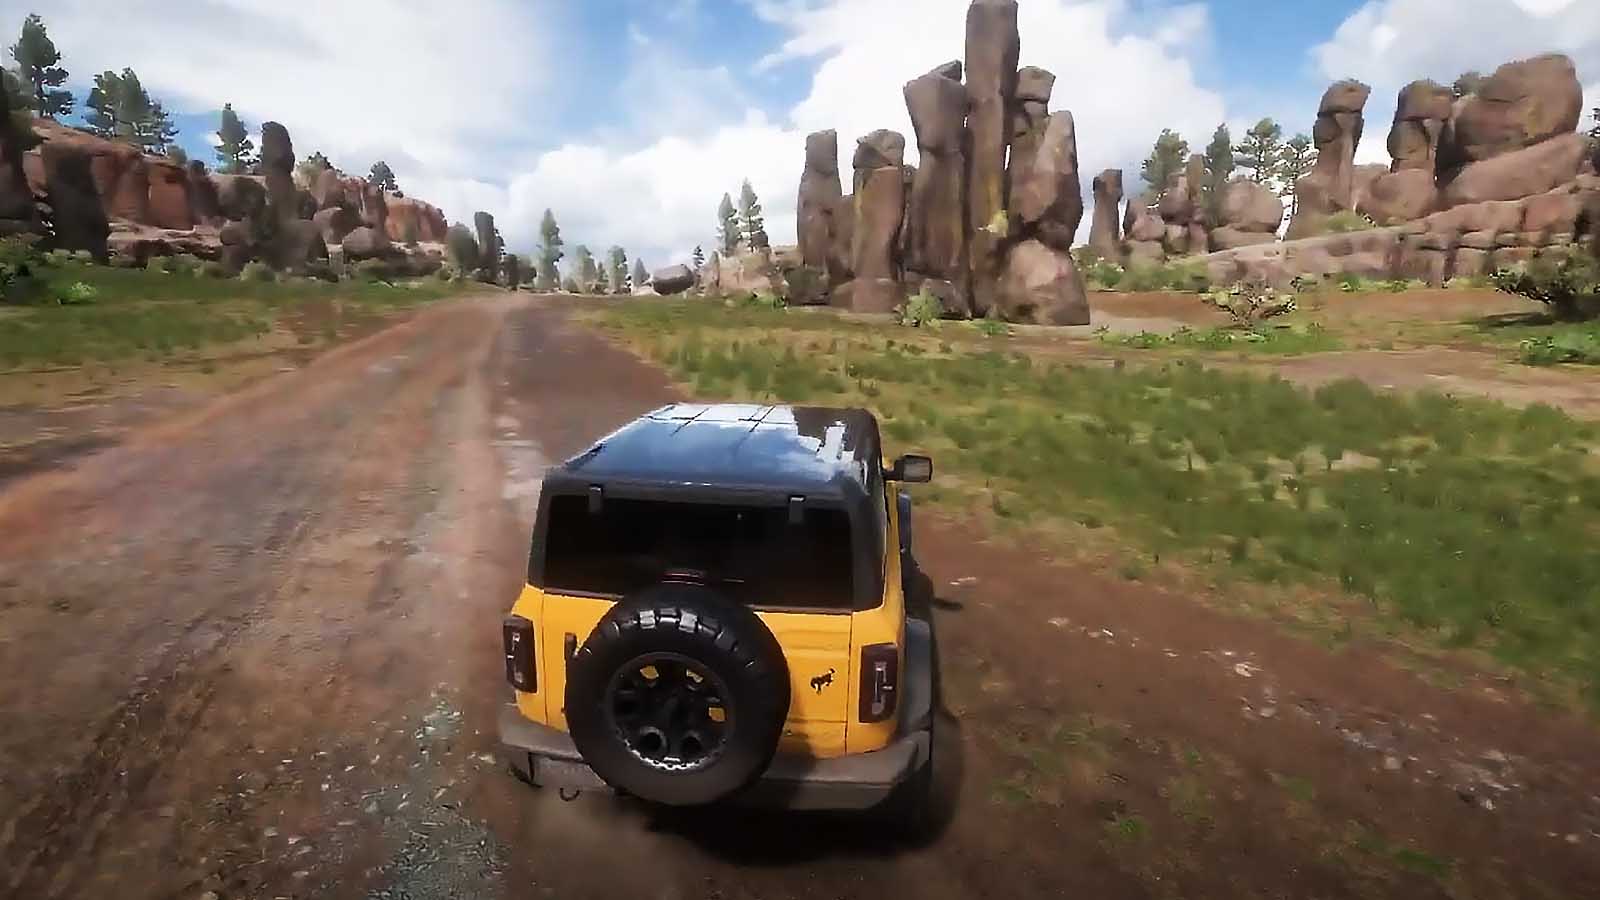
Everspace 2 is the sequel to the third-person space shooter. In the new part you will find a huge open world, an exciting story and classic RPG elements. As you progress, you will meet and interact with NPCs, including aliens, solve puzzles, participate in space battles, and upgrade your ship.
Everspace 2 Walkthrough, Guide, Manual, WiKi, FAQ
Everspace 2 walkthrough, including a guide to the main storyline and tips and tricks for completing all side missions.
If you need help completing any of the Everspace 2 missions, all mission step-by-step instructions are listed in the table below. As guides are created, they will be added to the table below. And if you're struggling with anything in particular, feel free to ask in the comments below.
If we haven't created a guide for the mission you're stuck on, you can still ask for help in the comments. We may have completed the mission, but have not yet published a guide and can still give some advice. Since Everspace 2 is currently in development, more missions will likely be added to the game over time.
Walkthrough Everspace 2
- The Wingman
- flying blind
- FromScratch
- The Edge of the Universe
- in transit
- Spares & Scrap
- Ceto Ghost Hunt
- Old Friends
Everspace 2 side mission walkthrough

The Wingman (Part 1) Walkthrough
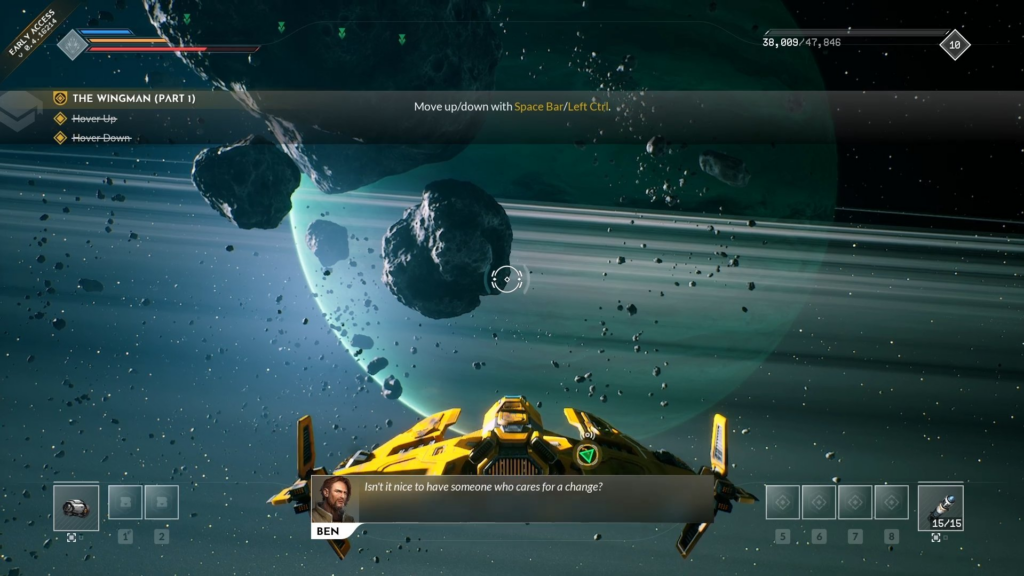
This is the first mission that starts with a quick tutorial before you get thrown into action. Once you have the ship, follow the miner convoy and listen to the dialogue before Ben asks you to do some tutorial tricks. This includes rolling left and right, hovering up and down, spinning your ship left and right, and then accelerating to the right. After that, charge your default F cruise drive to accelerate towards Craig Calahan. You can use Cruise Drive just about anywhere, as long as you're not too close to anything and you're not under fire.
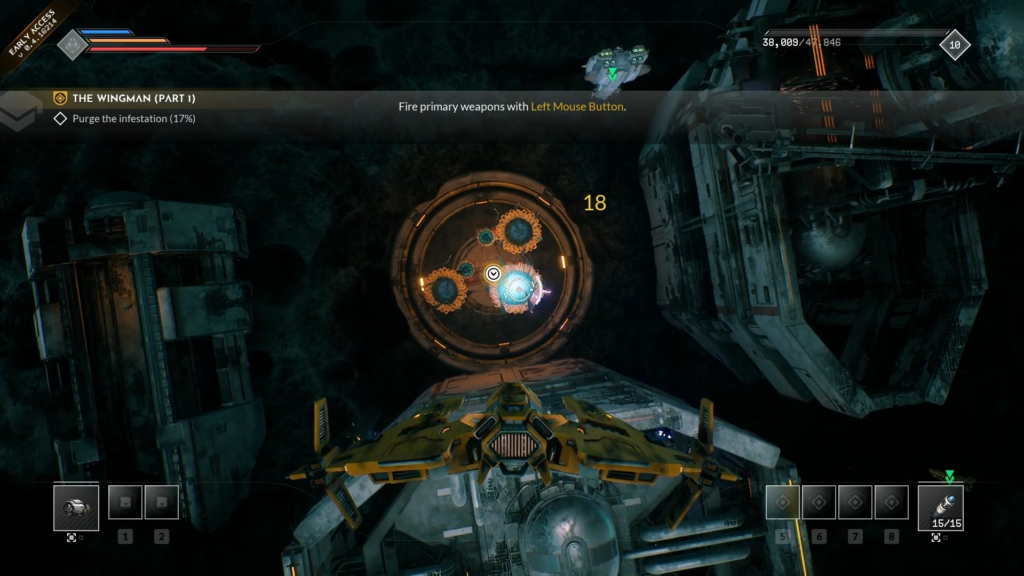
Once you get to Calahan, he will mention a hydra infestation blocking the gate. All you have to do is follow the prompts on the screen and shoot those strange mushroom-like creatures. Go inside the gate after it opens and then wait for the next gate to open. Keep flying through the tunnel, you will find more hydras along the walls.
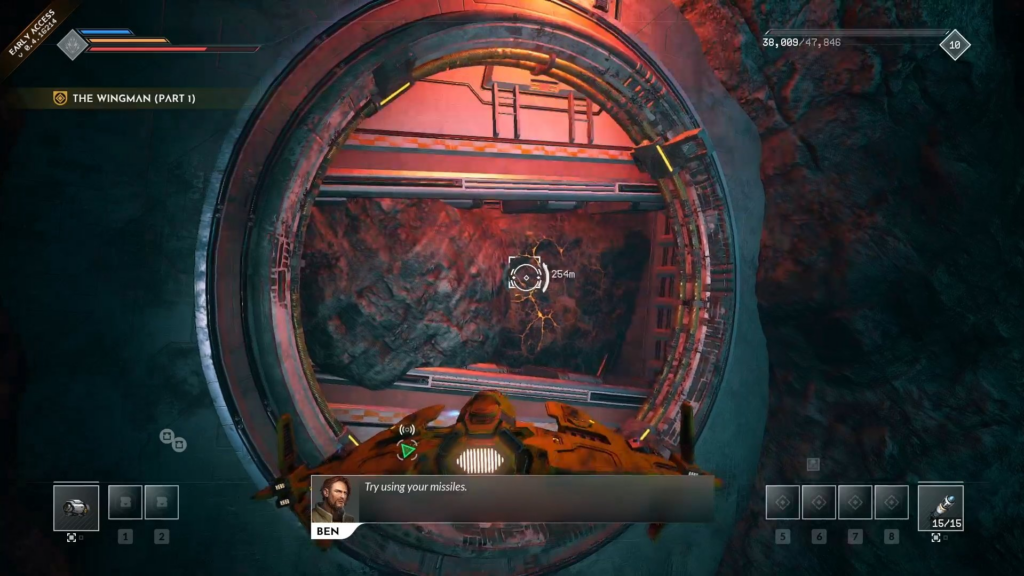
You will eventually come across a "Debris" container, which you can find by getting close to it. Be sure to steal any other debris containers you might come across. After that, you will come across a blocked gate, which Ben suggests can be blown up with missiles. Kill the floating criminal drone. You will then reach a closed gate with a terminal that you can hack to open it. It's to the right of the gate.
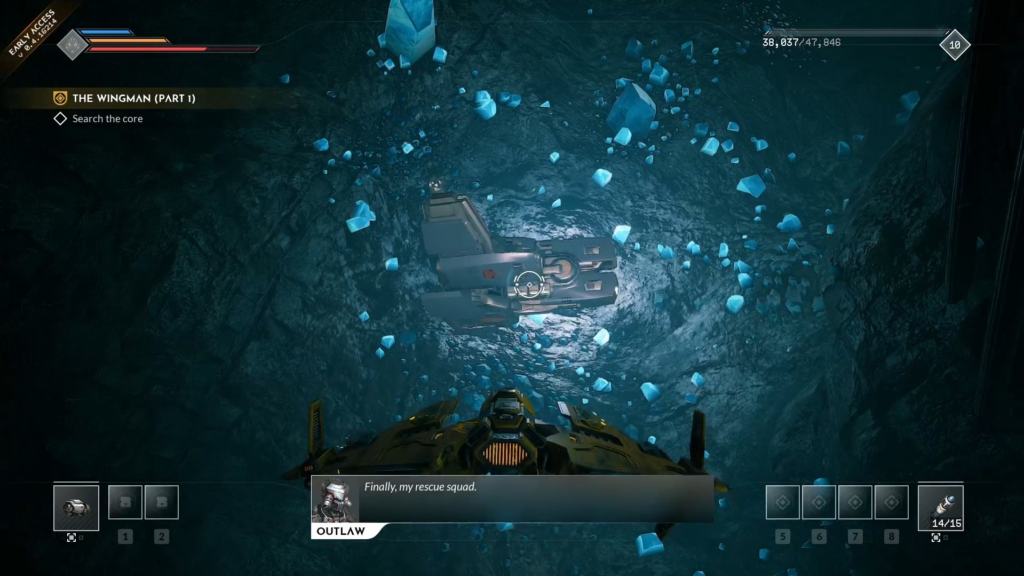
Enter the cave, pass the structure near the middle and go right behind the cave pillar. You will encounter a ship floating in place that will suddenly attack you after thanking you for your help. Deal with the criminals' ship and pull out the spiral gun from their wreckage. If you go into your inventory with Tab, you can use the spiral gun as a secondary weapon. Get ready for a new drone battle.
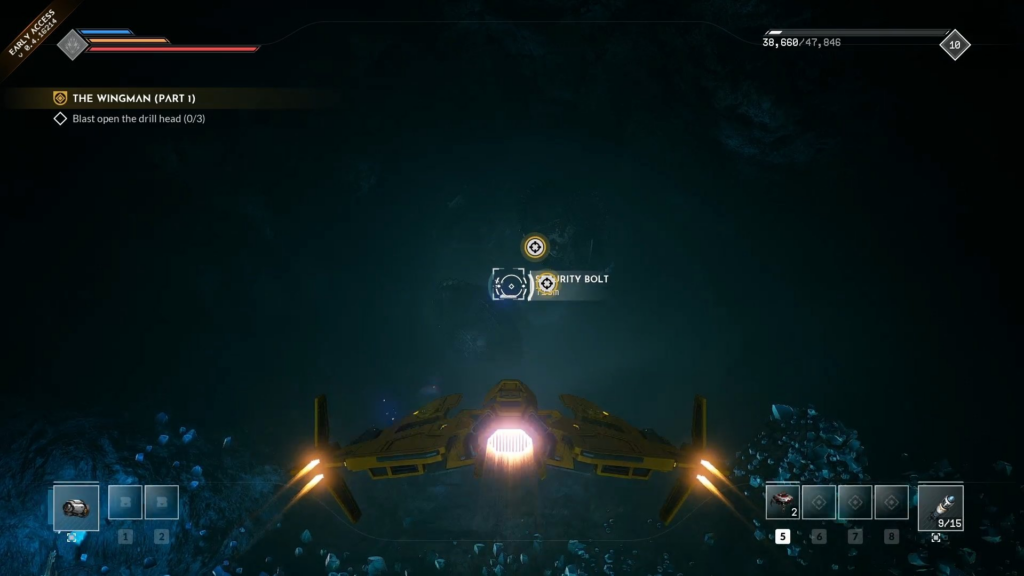
Now that the drones are dead, follow the mission markers to a few breakable security bolts. Once all three have been eliminated, head through the open tunnel to trigger a cutscene. Now you need to take out the swarm of criminals attacking the G&B convoy. Destroy the criminal ships until you get an objective upgrade to test Ben. Head to his ship, where a long cut-scene will play, completing The Wingman mission (Part 1). This leads into Everspace 2's next mission, Flying Blind.
flying blind
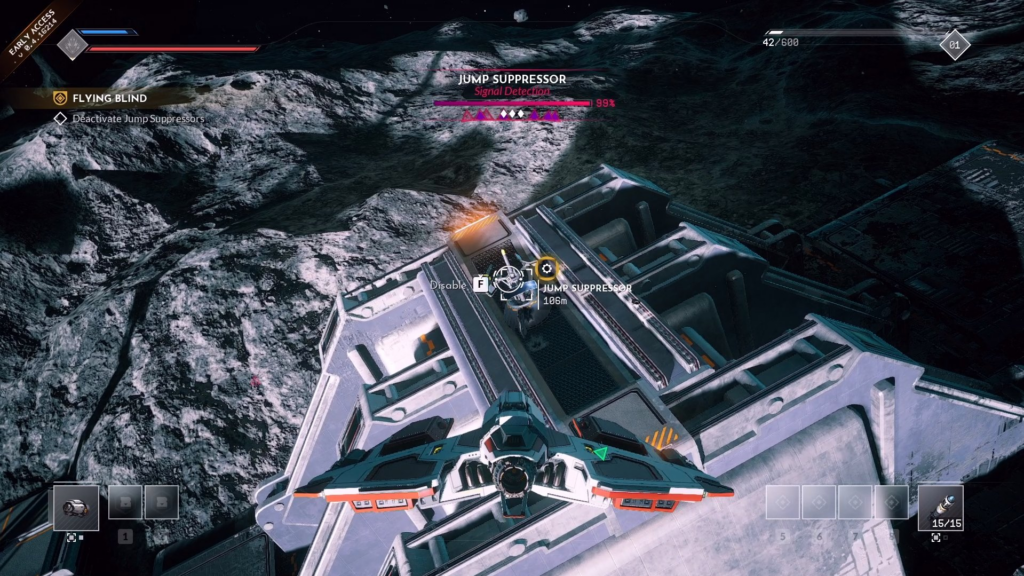
The Flying Blind mission starts right after completing The Wingman (Part 1). Since you can't continue escaping due to jump suppressors, you need to disable them somehow. Fly to the mission marker or keep moving until the jump suppressor signal at the top of the screen approaches 100%. The higher the percentage, the closer you are to it. Once you get to it, take out all the enemies nearby and then fly up to the silencer to disable it. You will have to interact with it by default using F.
Now head towards either of the two objective markers. Along the way, you can meet several ships of criminals, so be ready for new battles. In addition, silencers have turrets and drones to protect them. No matter which target you're going for, get closer to the first one and turn it off.
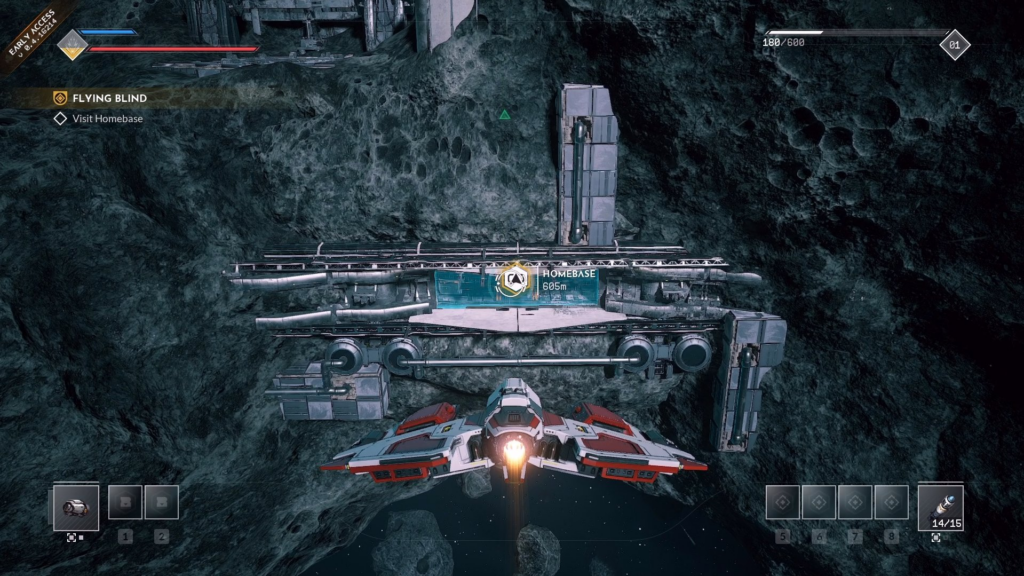
After you have successfully disabled all three jump suppressors, enter the ultralight travel/jump drive to leave the area. After a while, Dax will give you a location called Rodia II where you can go. Find a location marker and use the autopilot to quickly get to it. Now that you're in the Rhodia II area, go to the Homebase marker to trigger a cutscene and complete the Flying Blind mission. This leads into Everspace 2's next mission, From Scratch.
FromScratch
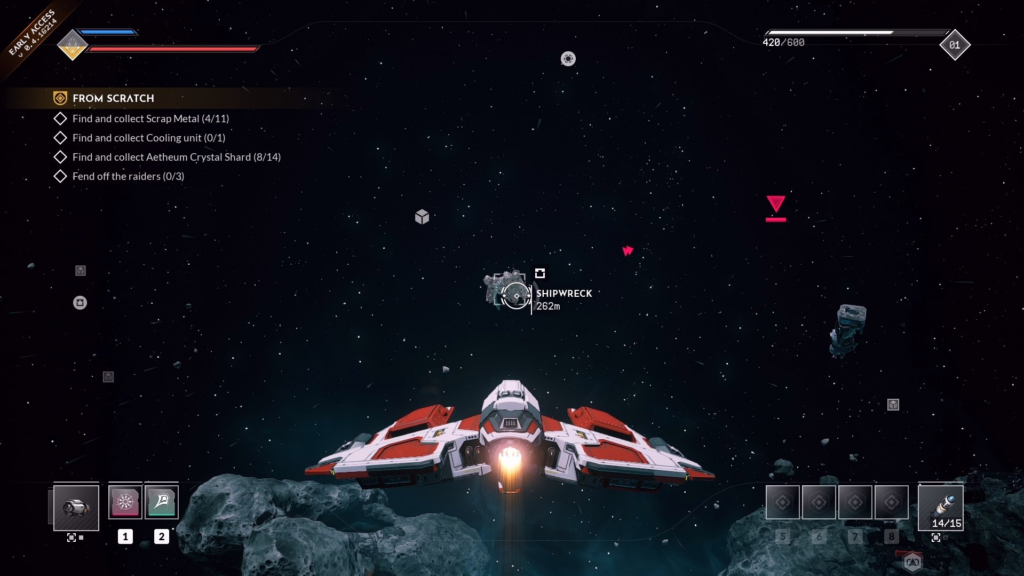
At the end of the cutscene, Dax reveals that he has installed two new devices on your ship. Basically, these are abilities that you can use and change when you find new ones during the game. Once you're ready, exit the hangar and jump onto the Cruise Drive to reach the nearest marked debris field. Here you can find the resources mentioned below for Dax.
- 11 Scrap metal
- 1 cooling unit
- 14 Etheum Crystal Shards
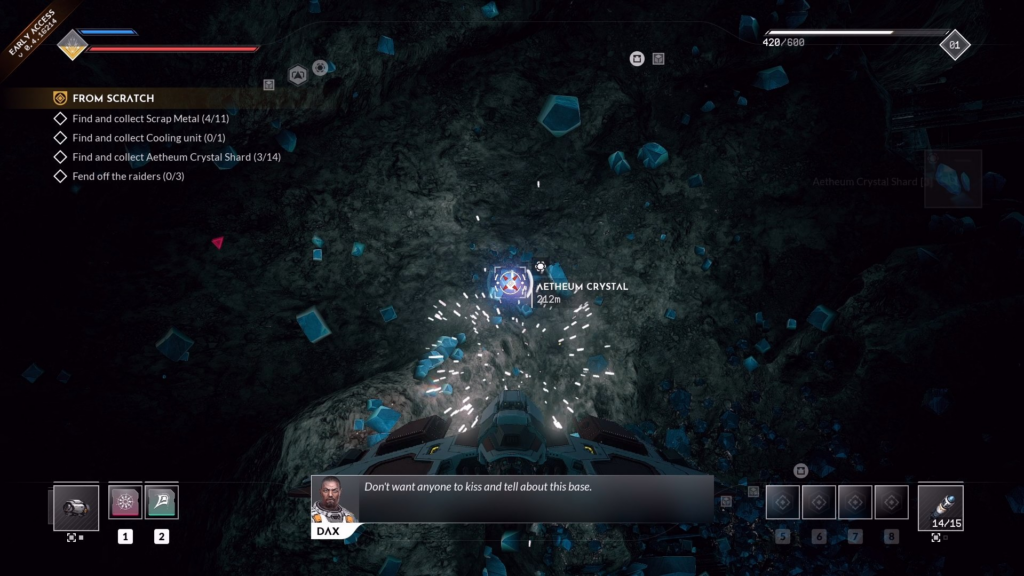
While you are looking for scrap metal, a hostile outlaw scout will appear. This starts an optional task to use any of your devices while using it. After that, continue searching the wreckage field for materials you can find or find in wreckage containers. If you see an Aetheum crystal marker, you can shoot it to get crystal shards. You can only get shards from marked Aetheum crystals.
In order to get the cooling device, you need to destroy a small batch of outlaw ships nearby. It's one of your tasks to destroy them, so you're doing two things at once. After destroying the criminals, take the cooling block. Then, when you have all the necessary materials, return to the base.
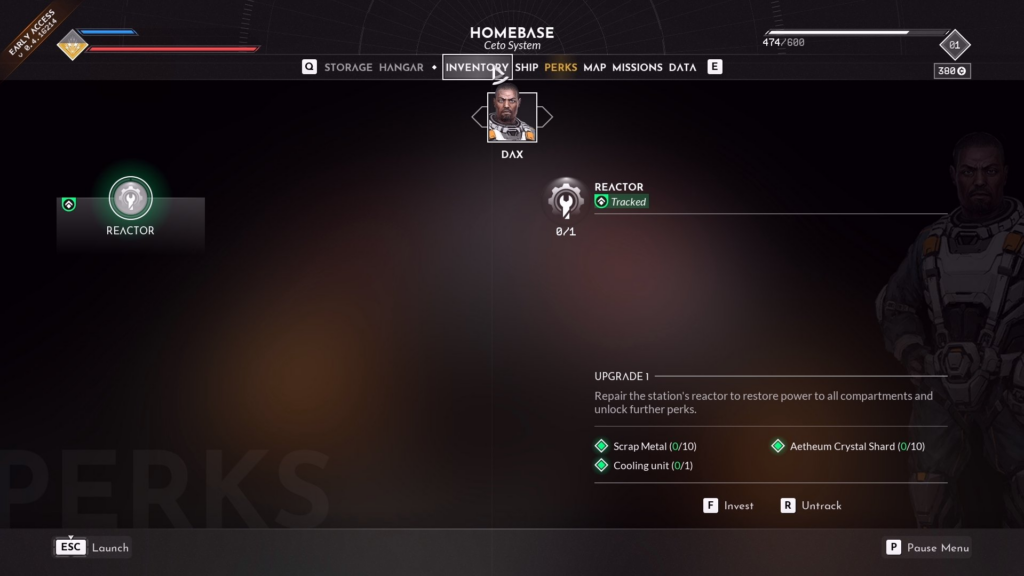
Now that you have returned to base, a new menu will open regarding your companion Dax. Go to the Perks menu and click on the Reactor icon to invest resources. Holding R by default will put in all the necessary materials to create a Reactor. This will complete the mission.
The Edge of the Universe
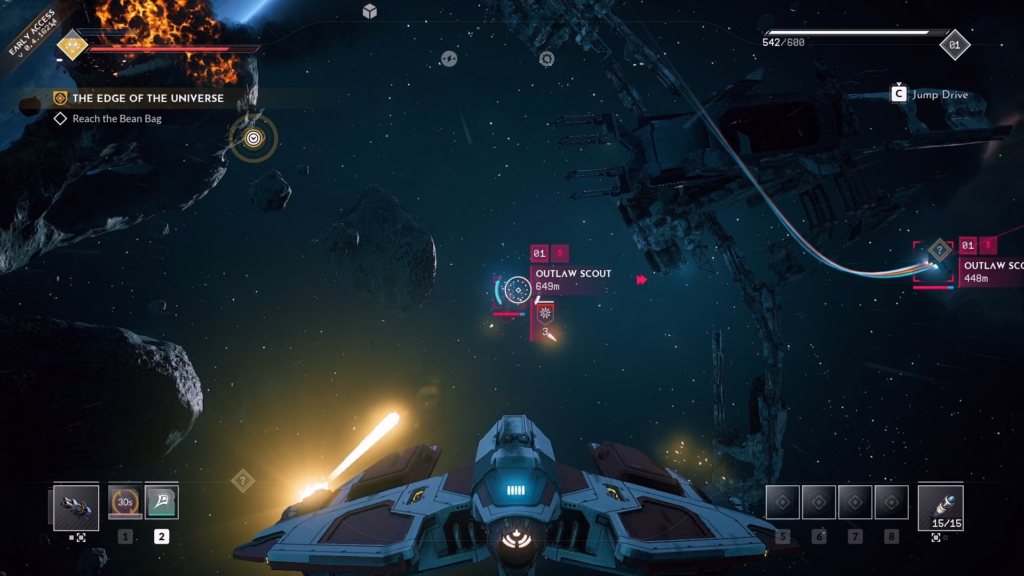
For this mission, you will need to travel to three different locations and activate devices to divert enemy radars. These devices are known as bean bags, Dux said. Now exit the hangar and jump into the Jump Drive towards any of the three objectives. This walkthrough starts with a bag of Rhodia Orbit beans.
Rhodia Orbit bean bag
Once you enter this region, stay on Cruise Drive until you reach the goal where some criminals are. Don't be surprised if they rip your shield out, there are several nearby. If you want to repair the hull, you may have nanobots in your inventory that you can equip. They will appear in the hotkey bar in the bottom right corner when they are equipped.
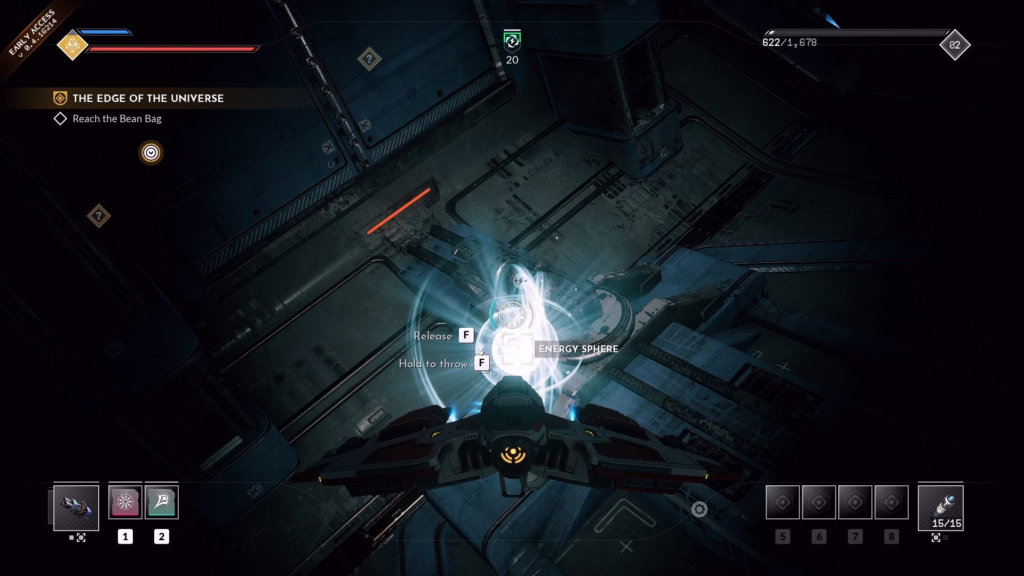
Depending on where you met the criminals, you may end up next to a secret container . To do this, you need to go to distributor energy spheres, receive an energy sphere from him and bring it to the energy nest. Both the dispenser and the outlet have markers on your HUD when you are near them. While not required for Edge of the Universe, it's worth doing as you'll find other loot opportunities like this one. As soon as you bring the sphere to the nest, release it to open the nearest door with two containers.
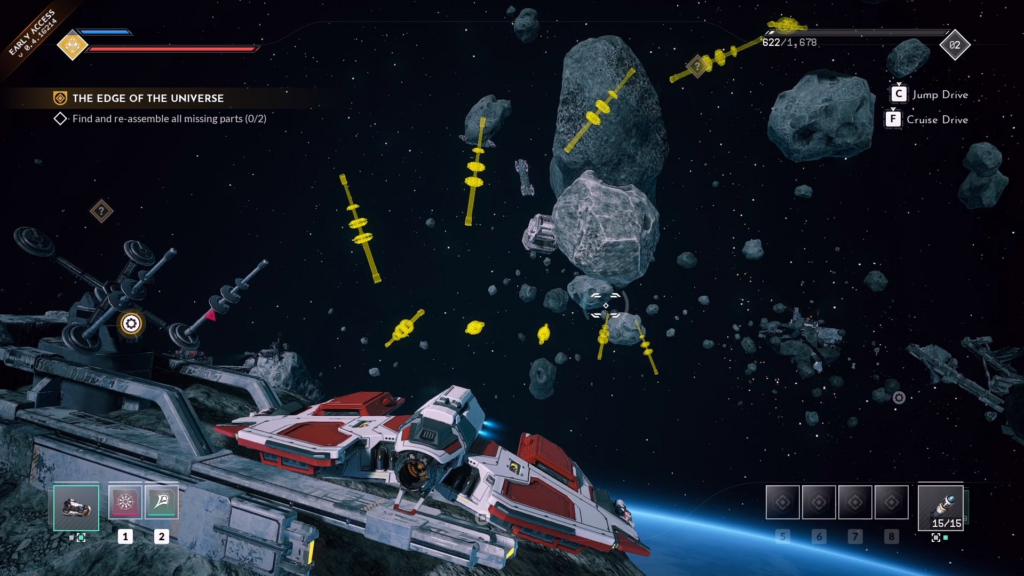
Back on the mission, once you reach the goal of the bean bag, you will find that it is missing two antennas. Your character simulates the trajectory of the crash, showing the direction in which each antenna swam. These are the yellow holograms of each antenna. By following the direction of each hologram, you will eventually reach where the antenna is. Take each and return it to the broken bean bag. When you get close to a bean bag with an antenna, it will automatically attach.
Union Bridge bean bag
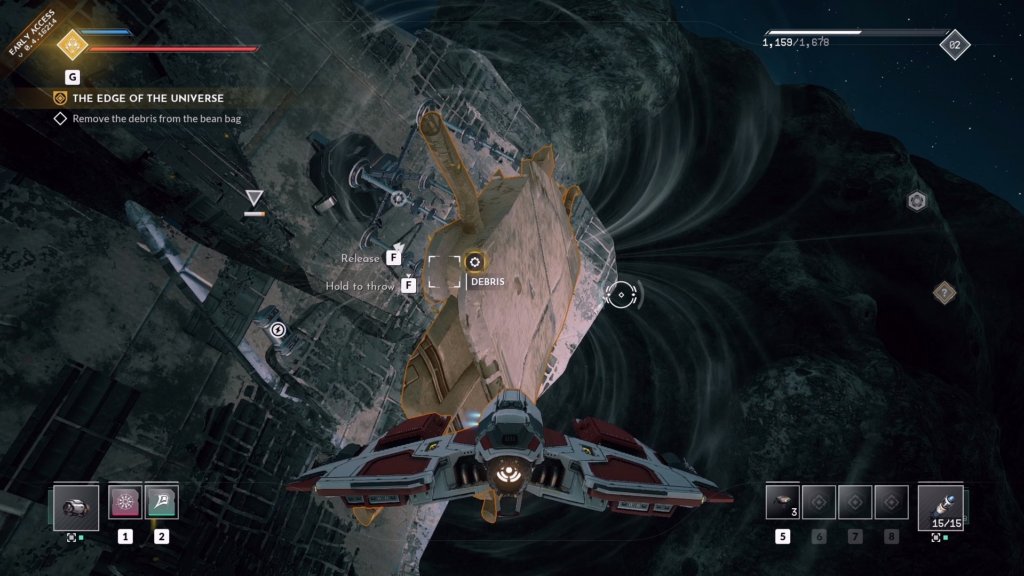
Cruise. Drive up to the goal in the Union Bridge system to find another broken bean bag. Noticing a disabled energy core nearby, your character assumes that this is the problem. This leads to Dax telling you it's an ambush. Once the criminals are done with, all you need to do is clean up the garbage near the bean bag. Just take the trash with your ship and throw it away to fix the bean bag.
CETO bag with outer rim
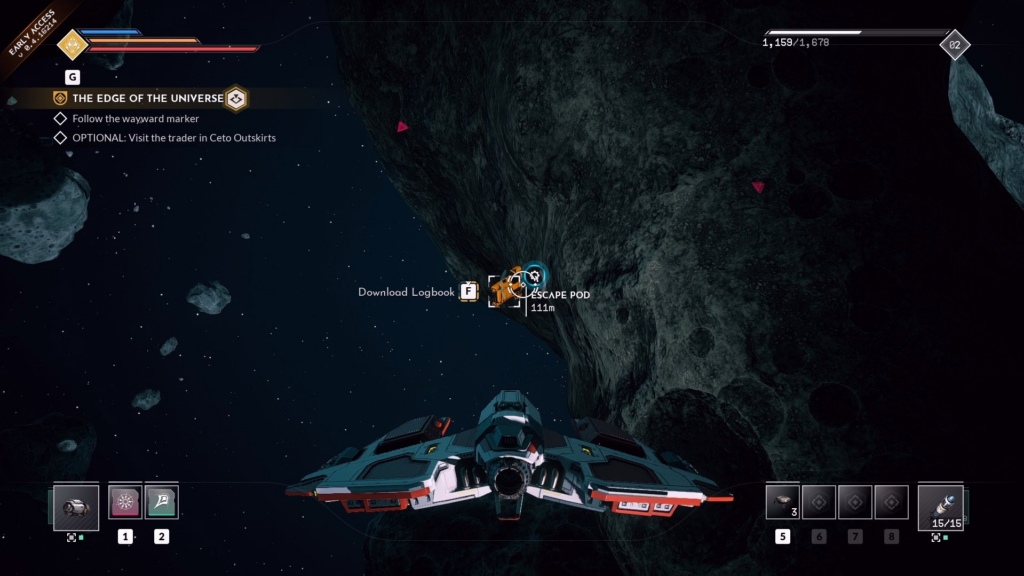
Once you log in to the CETO Outer Rim, your first marker will likely be a side mission that you can capture. This is an escape pod where you can load up a magazine to start the Ship of the Undead mission. Otherwise, Dax will mention that there is a merchant in the area called "The Flying Duchess". This is an optional target that you can drop by their store and accept the challenge for. Don't buy plating for your ship here, as Dax will give it to you for free.
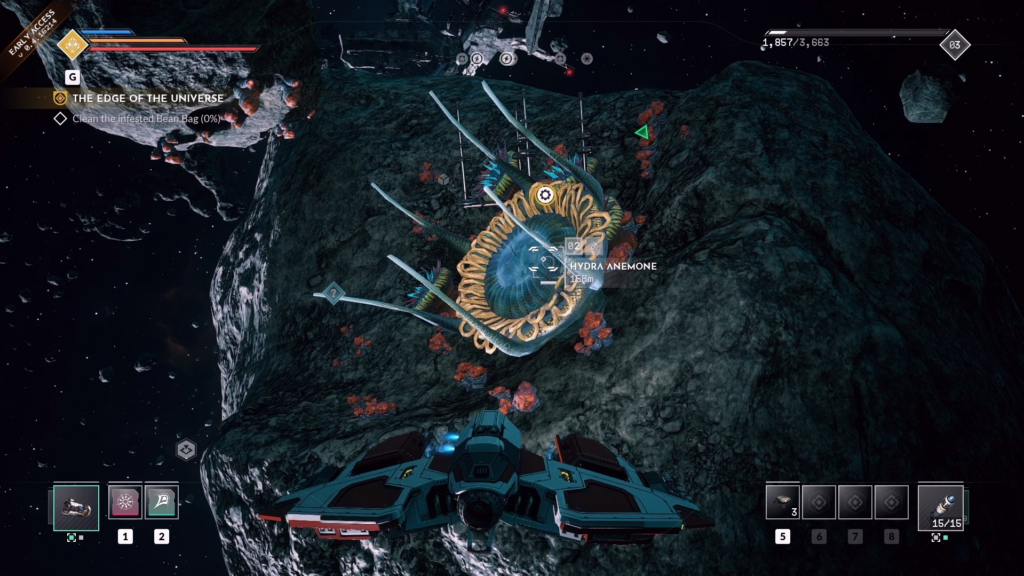
For the main mission objective, you may notice that the objective flickers randomly on the edge of your HUD. This is the wayward marker mentioned in the End of the Universe objective. Watch him and try to fix his position. Eventually, it will lead you to an asteroid where the beanbag is teeming with Hydra. The same strange mushrooms from the first mission of Everspace 2, The Wingman (Part 1). Destroy them to clear the area.
If you don't mind spending more time in this system, there are power cores nearby that you can move to sockets. If you stumble upon this place in CETO's Outer Rim, you can loot a few containers. After that, return to the base in Rodia II .
Return to base
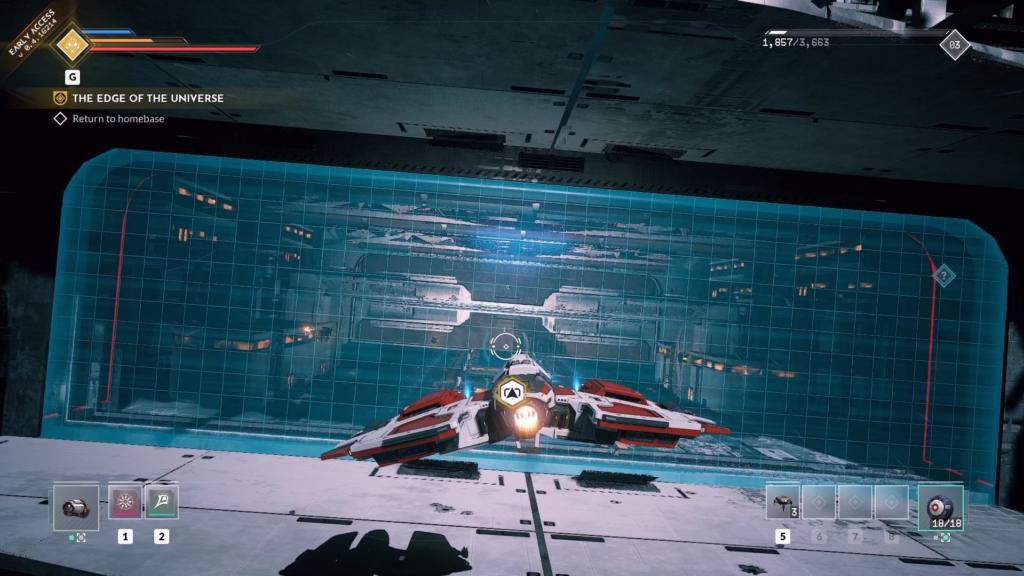
Once you return to Rhodia II, head to the base through the blue force field. You will get a new dialogue with Dax to learn more about who he is. If you didn't buy the hull from The Flying Dutchess, Dax will also give you one for your ship. Then check the "Home Base Storage" tab and put on the skin to advance the mission. Once your conversation with Dax is over, the End of the Universe mission will be completed.
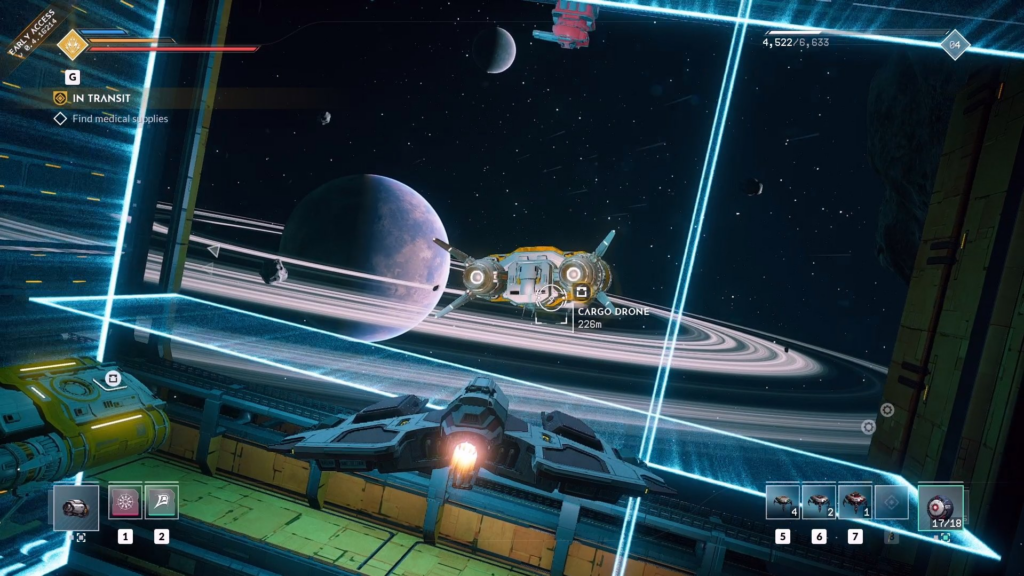
in transit

Return to Union Bridge, where the trading post is located. Here you will find the Primesense STA item for which you need 4200 credits. Fortunately, here the trader offers you a job for 2500 credits, which he later increases to 3500 credits. To view the walkthrough for this side mission, Good, Bad, and Worthy, click here for help. Otherwise, continue reading the walkthrough in the path below.
After buying Primesense STA
Now that you have the Primesense STA, leave the trading outpost to trigger a cutscene with Dax. After learning that there are no medical points in the system, you will need a medical capsule. Luckily for you, an automated G&B convoy appears, probably holding a medical capsule. Head to the Nereus transit point, where the convoy should try to find medical supplies.
Once you arrive at the Nereus transit point, a cutscene will show the convoy ships being meticulously scanned. To find medical supplies, you will need to search each marked convoy ship, looting the container attached to them. This will take a couple of seconds, so be careful not to get scanned. Luckily, you can get scanned once before the AI attacks you. The trick here is to hack the terminal attached to each scan bay. This will stop the scanners for a short time, which will help you search the ships. You can do this as many times as you like.
Since the medical supplies are likely to be in the same place every time, you can go to the last scan bay where the object has a yellow outline. However, you can still get some goods for money from other ships.
Hack the distribution terminal
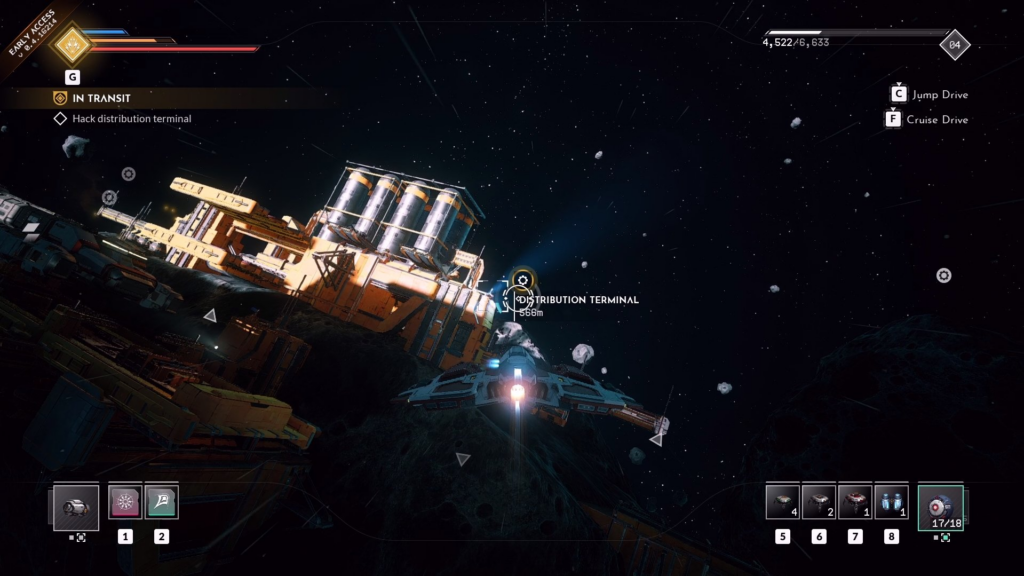
Fly to the nearest distribution terminal and get close to interact with it. This triggers a cutscene where it initially appears to work, but then the security system kicks in. Leave the area by jumping on the Rhodia II, but you won't be able to do so if you're constantly being shot at. Use the Energized Boost starter device to get away from enemies and safely jump out of the area. Return to the base, where a cut-scene with Dax will take place. This will complete the Everspace 2, In Transit mission.
Spares & Scrap
After completing the In Transit mission, Dax will send you to Nephtys Plains to get the jump keys. Use your jump drive to get to a new location where you will encounter outlaws attacking the G&B outpost. This is where you will get the opportunity to buy new ships in Everspace 2 for the first time. Once all of the outlaw ships have been destroyed, dock at Nephtys Plains Station to speak with Officer Shaw. Before you continue with the "Spare Parts and Scrap" mission, you can also get a job here. It appears to be side missions to gain reputation with factions along with rewards.
Deal with the mine raiders
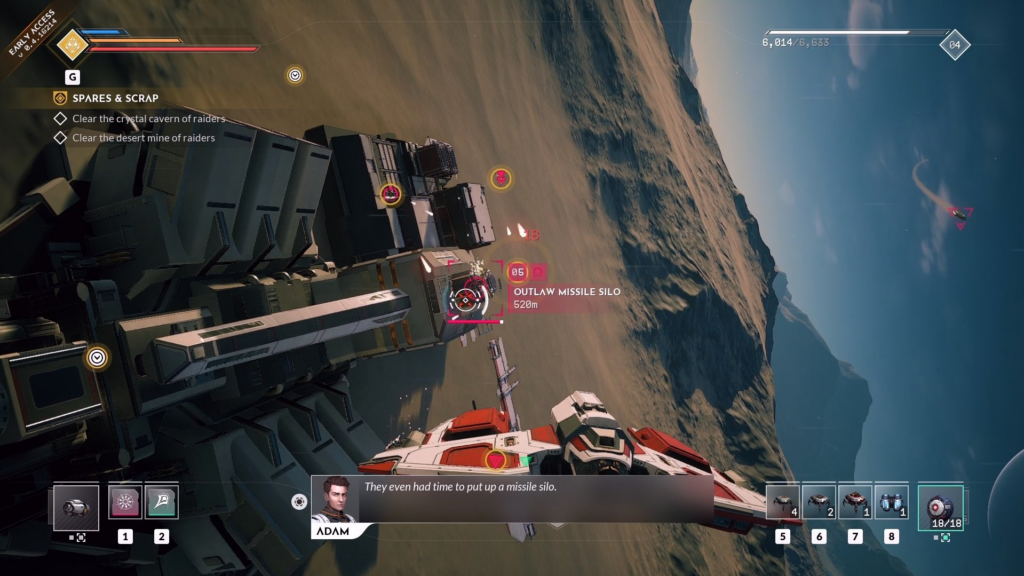
Now exit the station to deal with some criminals nearby. Officer Shaw mentions that he can give you some jump keys if you can get rid of these criminals. Since you are low to the ground, you can use cruise drive to fly high and see your targets more easily. Fly into the crystal cave to fight the group of raiders protecting the entrance. After that, go inside to deal with the remaining criminals.
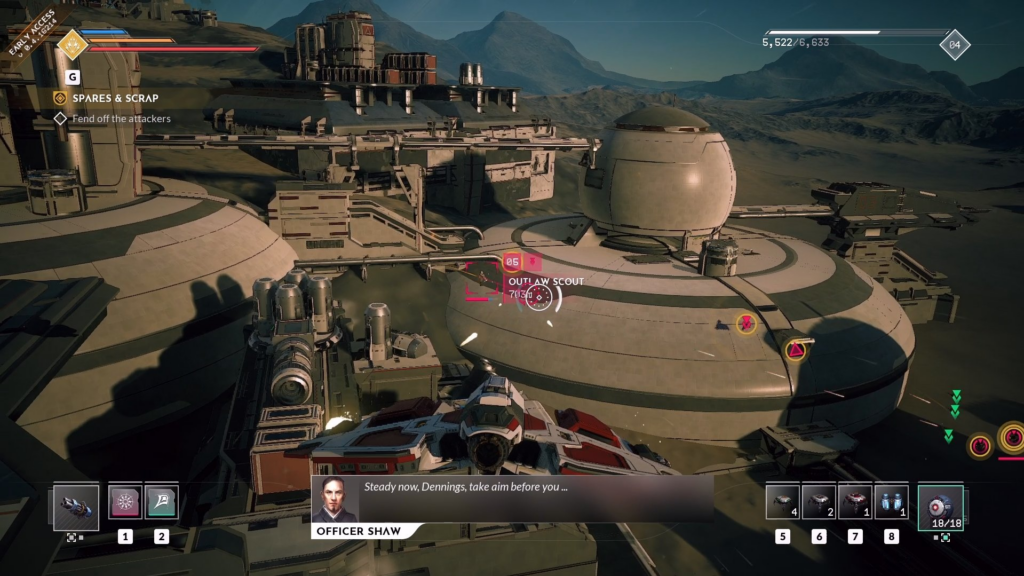
Now fly to the entrance to the desert mine and go inside. Get ready for suicide bombings called Outlaw Detonator Drones. Keep exploring the deserted mine until you have killed all the criminal ships inside. Once you do, the mission objective will update, prompting you to return to the surface. Here you will need to kill an elite outlaw scout with good armor. Be sure to use weapons with high kinetic damage against them. After the death of the leader, return to the Nephtys Plains station where Officer Shaw is located.
Go to Charybdis bowl for jump keys
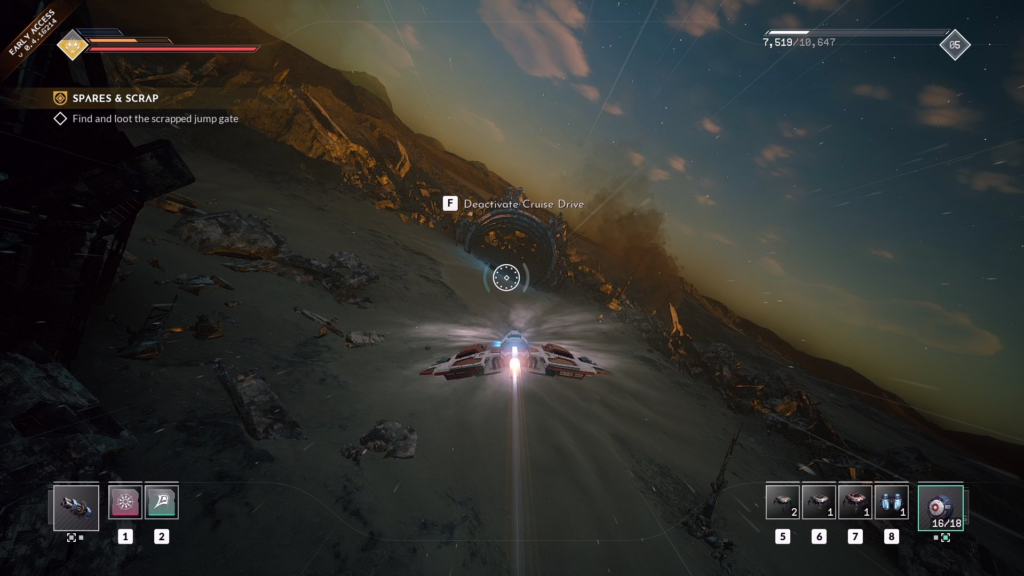
Continuing your Spares & Scrap goal of finding the keys to the jump, head to the Charybdis Bowl where the scrapyard is located. Broken jump gates lie on the surface, with a lot of debris everywhere. If you carefully search the area, you will find several hidden containers. The container you need to find is next to the large jump gate ring shown in the above screenshot. As you get closer, a container called "Jump Gate Module" will appear. Search it to advance the mission. Before you can jump out, a jump suppressor signal appears.
Jump suppressor signal detection
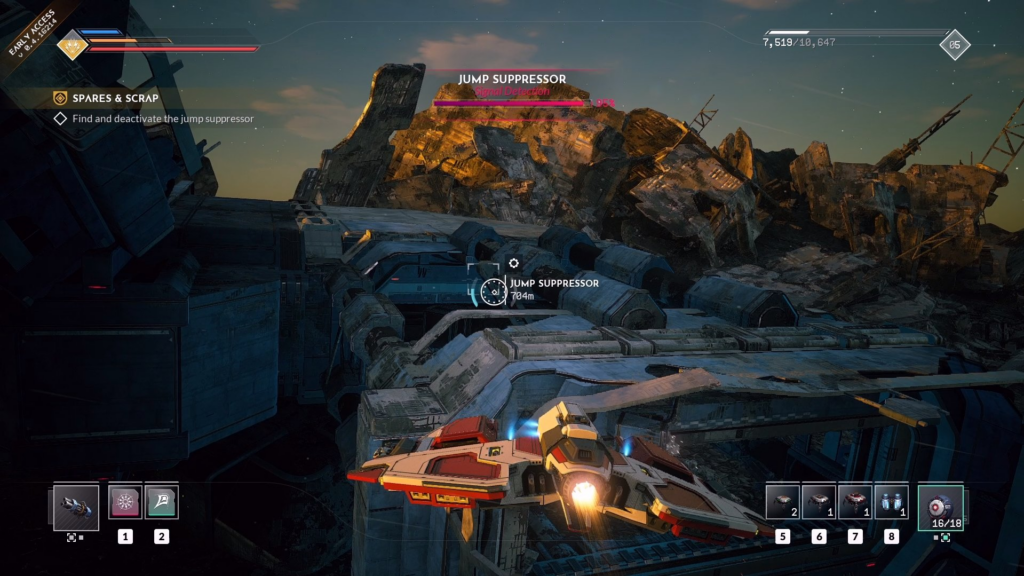
Use cruise drive in a certain direction while trying to get close to the muffler. If the percentage goes up, you are on the right track. This is even more debris that you will end up inside. Continue moving deeper, avoiding laser traps and closing doors. If you are struggling, just wait for the opportunity and use your momentum through the moving doors. Eventually, you will reach a blue force field that you need to disable.
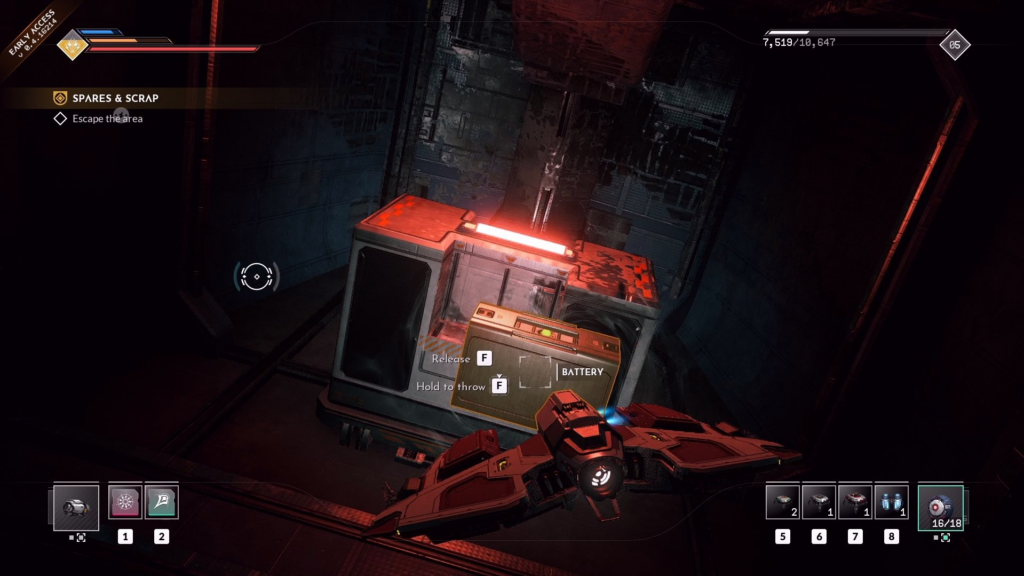
Find the nearest battery that you can grab and insert into the empty generator by the shield. This will open up an enclosed area with two shield generators that you can destroy. Return to the surface by walking through the disabled force field. When exiting the AI object named Bunjack, it will ask you not to leave. End the conversation with Benjack and then stand at the nearest station called G&B Scrapyard.
Return to base Rhodia II
Unable to get the jump keys, return home to Rhodia II. Dax mentions that the doctor in the medical bay has woken up. As soon as you enter the base, a cut-scene will be triggered, which does not seem to have voice acting yet. That's probably why it's being told now. After the cutscene ends, the Spares & Scraps mission ends.
CETO Ghost Hunt
After completing the Spares & Scraps mission, you will need to track down the HIVE squad so you can jump. Your first step is to hunt down the three distraction bases blocking the location of Cheto's Ghost Fleet. Depending on which of the three undiscovered locations you go to first, you may have a different order than shown in our walkthrough below. Click on any mission step in the table below to go directly to it.
- First undiscovered site
- Distractor first base
- Second base distractor
- Third base of distractions in Palamon's wound
- How to destroy bombers
- Defeat the main boss of criminals
- Hacking the Union Bridge.
First undiscovered site
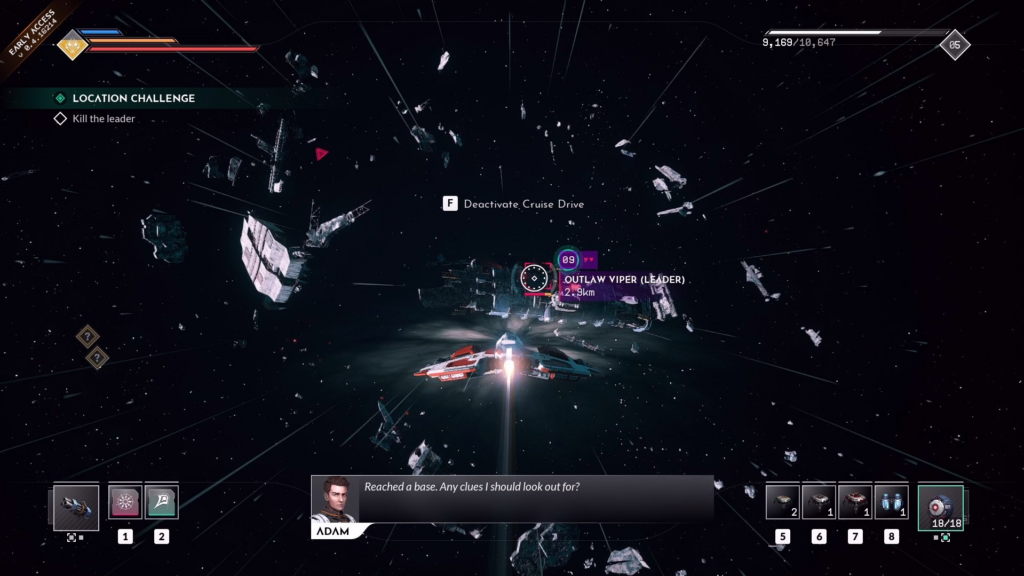
The first undiscovered location has an abandoned ship with outlaw turrets attached and an outlaw ship (leader) nearby. Although you don't feel like you need to destroy the Viper, you can blow it up in the location challenge. Plus, you'll get decent loot from them if you can. Since your character quickly realizes that there is no distracting base here, you can leave the area and move on to the next one.
Distractor first base

The second undiscovered area has a diversion base filled with a swarm of enemies. Get ready to deal with sniper drones, detonating drones and tons of turrets. Try to destroy the ships and then work your way through each turret to safely destroy the targets listed below. All listed structures must be in the same zone surrounded by towers. After you destroy all nine buildings, the station core will open, making it vulnerable. Destroy this and then proceed to the next base of distractions.
- 2 Communication
- 2 fuel tanks
- 1 energy coil
- 4 towers
Second base distractor
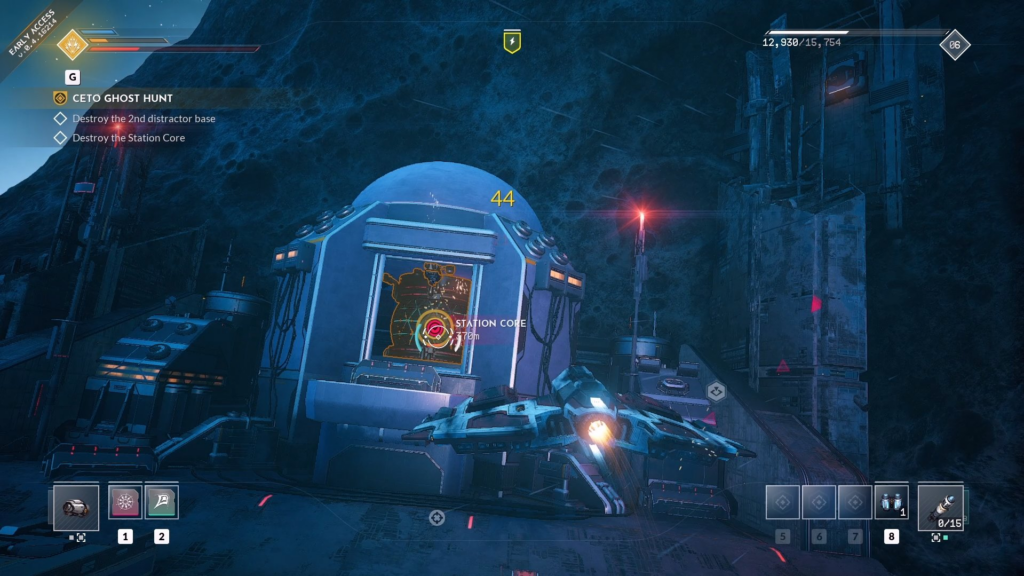
Now that you've reached the second distractor base, destroy it the same way you did the first one. Beware of drones and turrets that can quickly disable your ship. Nanobots are always a great help if you find your hull taking damage. Once you have destroyed each of the base structures listed below, take out the now vulnerable station core.
- 2 fuel tanks
- 4 energy coils
- 3 towers
Return to base in Rodia II.
The final objective sends you back to base to find out where the third distraction base is. Once you get home, Dax will explain that the last distraction is in Palamon's Wound. Unfortunately, this place has a dangerous base, but at least Dax is here. Repair and resupply your ship, then jump over to Palamon's Wound.
Meet Dax at the Palemon Wound

As with the previous distraction bases, all you have to do is destroy a bunch of ships and structures in order to continue Ceto Ghost Hunt. Don't worry too much about Dax, he can take care of himself. If you try to destroy the Outlaw Destroyer in the area, give fair warning, it has a ton of health. All buildings that need to be destroyed are listed below.If you don't know how to take out the bomb throwers, take the bomb they throw at you and throw it back. This will destroy his shield and you can shoot him.
- 9 fuel tanks
- 7 energy coils
- 1 missile silo
- 2 bombers
- 1 station core
Ride the ghost fleet
Now that you have destroyed all three distraction bases, jump to the location of the Ghost Fleet. In addition to a few criminals on patrol, start searching the area for AI Unit containers. After searching three containers of AI units, a Blood Star Chief, often referred to as a gas mask, will appear. Prepare for your first boss by following our tips below.
Tips for Defeating Outlaw Chief/Gas Mask
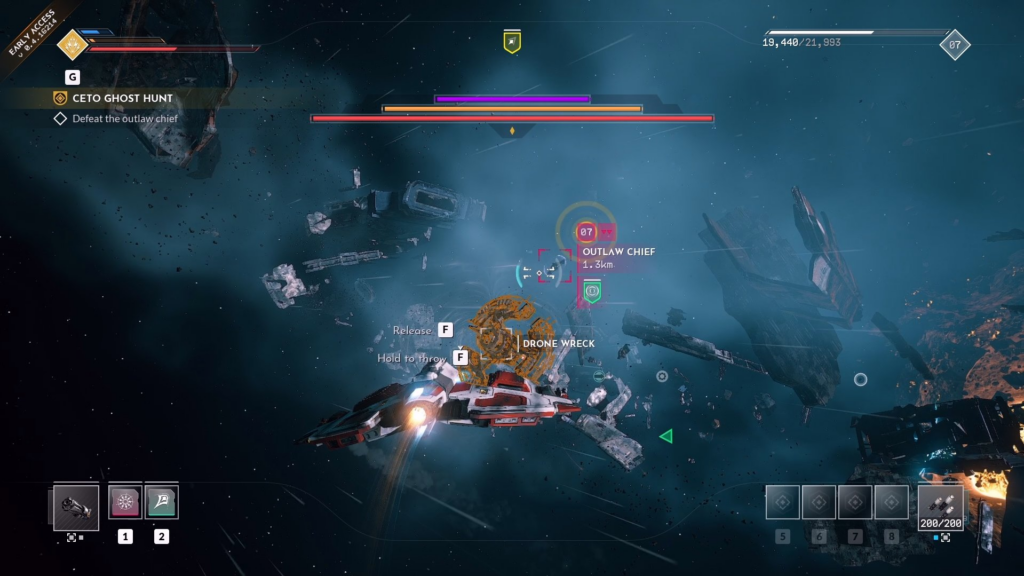
The trick to fighting a criminal leader is that there is only one way to destroy their impenetrable shield. This is represented by a purple health bar at the top of the screen. As Dax eventually mentions, you can destroy the outlaw chief's drones and grab their wreckage to throw at the shield. This will temporarily destroy his purple shield, opening the way for some damage. Additional quick tips are listed below:
- The orange-red health bar does not regenerate.
- Once you deal too much damage to the outlaw chief, the purple shield will regenerate. You can kill them faster with just XNUMX purple shield cycles.
- Get close to the leader of the outlaws to get under the wreckage of the drone. Luckily, the debris will block some frontal attacks.
- Criminal drones will return after being destroyed.
- Don't forget to use your ultimate ability if it helps here.
After you defeat the Outlaw Chief, a cut-scene will appear revealing some important details of the story. We won't spoil it here, don't worry. After the cutscene ends, search the wreckage in front of you to find a hive inside. You can now head to the Union Bridge jump gate and launch it. Before heading out, make sure you're ready for a new fight. It won't be as difficult as a boss fight, but you still have to fight a heavy ship.
Hack Union Bridge Jump Gate Open
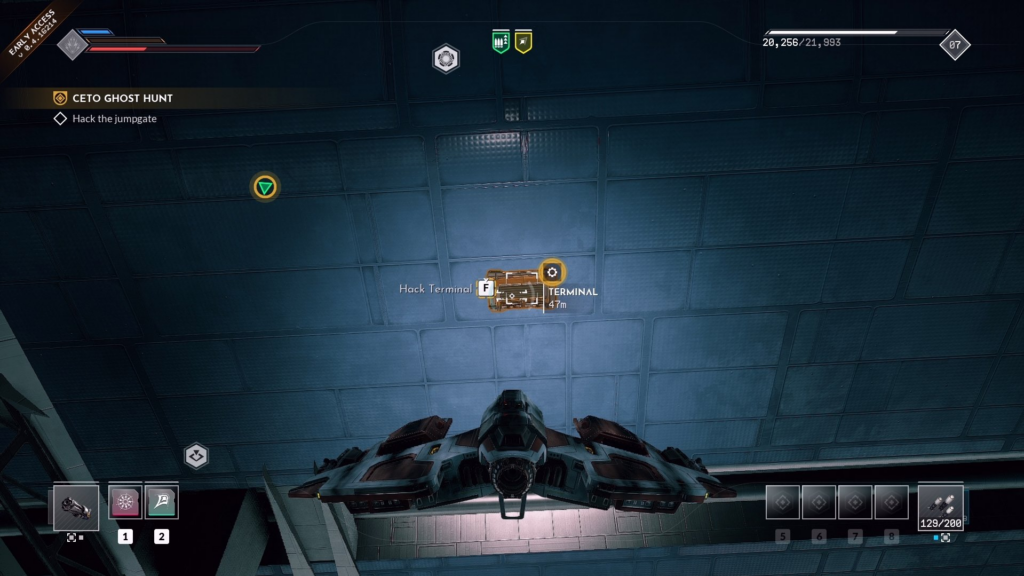
Make your way to the Union Bridge jump gate with Dax. Since the abandoned HIVE block is still a bit wobbly, you need to break open the gate. Follow the mission marker to the right side of the gate where the terminal is. Interacting with it will hack it and trigger another cutscene. After a while, a mysterious ship will appear and stun Dax and the gate. Once the cutscene ends, you will need to fight the mysterious G&B Elite.
This fighter will teleport a decent distance as soon as he takes enough damage. Just use your cruise drive to get close enough to fight again. Eventually, you will get an objective to go to Dax, where a cutscene will trigger. Another cutscene will start when it ends at the home base with the doctor. This cutscene is narrated rather than fully voiced by each character like at the end of Spares & Scrap. Once this cutscene ends
Old Friends
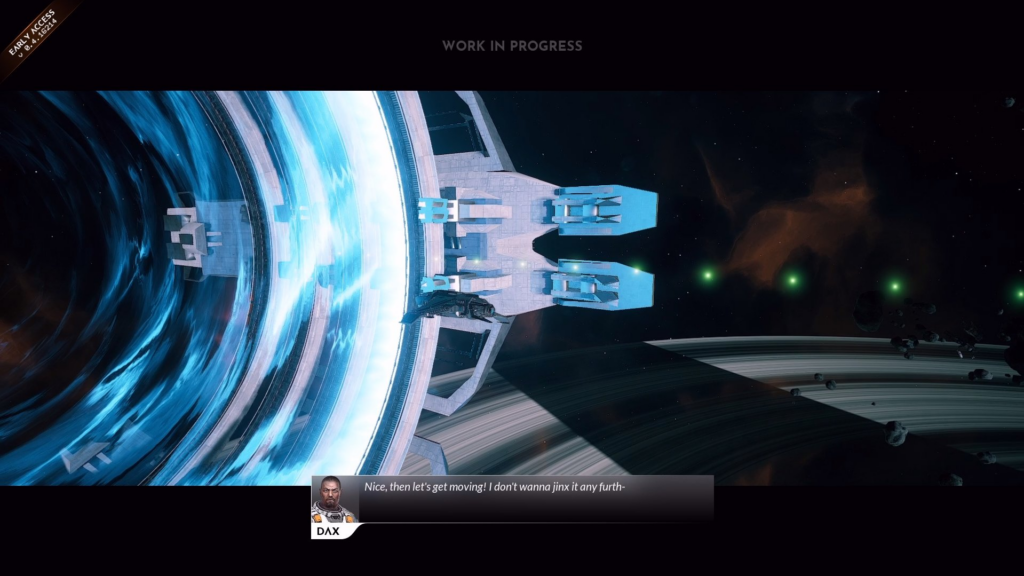
Traveling through the gates of Union Bridge
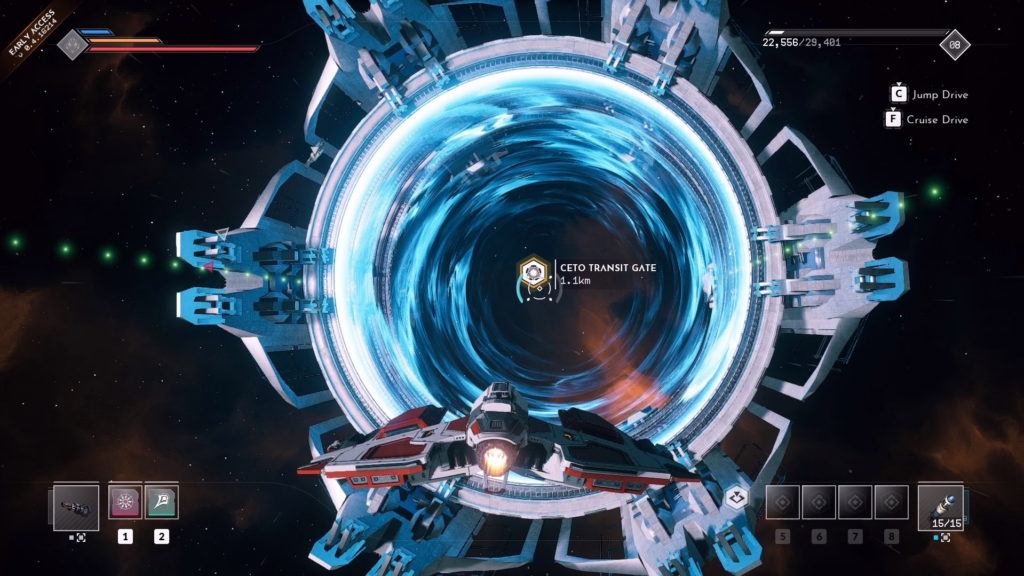
It's time to visit the Union system. Return to the Union Bridge location where you can enter the Ceto Transit Gate. Once you're on the other side, you'll have a new companion, the HIVE squad. The standalone cargo dispatcher is a useful upgrade if your inventory is often full. Now continue towards the Prescott Starbase, where there should be a man named Maddox.
Besides the fact that Prescott Starbase is a pretty cool town, you can also find new ships and equipment here in many stores. For the Old Friends mission, it doesn't seem to matter the order in which you check each ramen shop, but this hasn't been confirmed. Check all three until the chef points you to someone named Daryl at a nearby casino.
Meet Daryl and go to Seaphas Downs
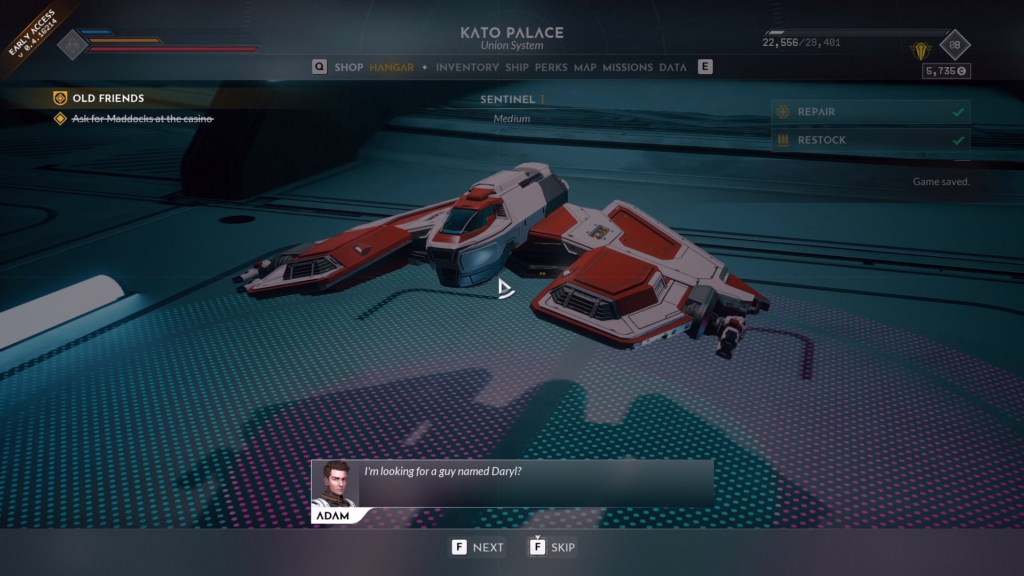
Head to Cato Palace to meet with Daryl and get more information about Maddox. You will need to complete a task for Daryl before he believes you enough to tell you where Maddox is. Now leave Prescott Starbase and go to Cephas Downs. Follow the mission marker to the tunnel leading to the underground settlement. Once you dock at the abandoned settlement, the Everspace 2 Early Access main storyline will be completed. This also completes the "Old Friends" mission.
Before leaving the settlement, check the nearest container with the mission item inside. The Cephas Cabernet Sauvignon product has a letter addressed to the owner of Flying Dutchess. If you return this to her, there may be a reward.
Additional missions
The Undead Ship
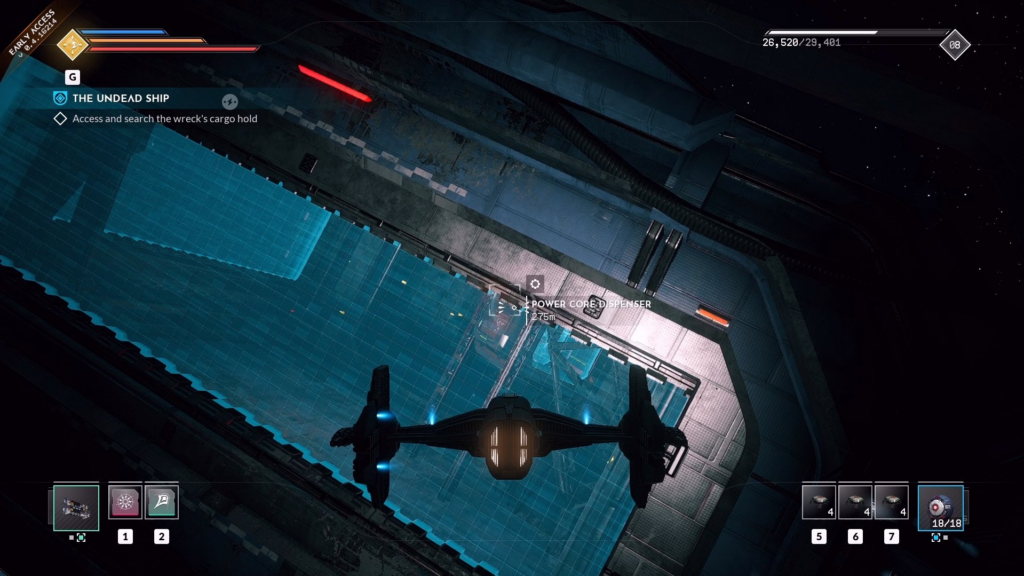
This is a side mission that you can get in the Ceto Outer Rim system. There is an escape pod that you may have plundered during the main mission, End of the Universe, which contains a journal starting with the Ship of the Undead. This will send you to an undiscovered location with a wrecked freighter. Head to the freighter and start looking for the Power Core Dispenser. Although you won't be able to reach it due to the force fields, there is a red-marked generator nearby that powers it.
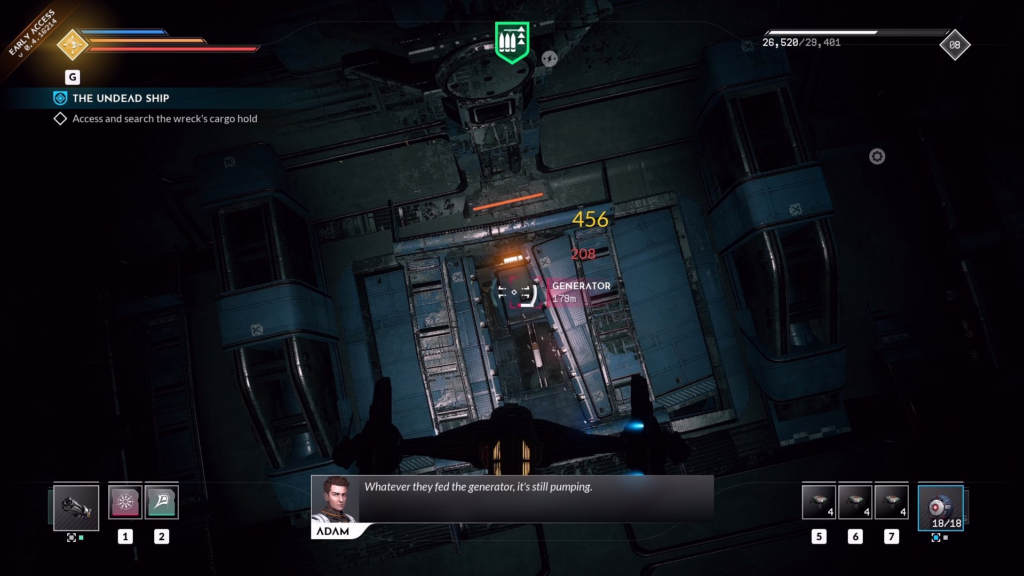
Once you destroy the generator outside, you will be able to get past the first force field. The second generator is next to the Power Core dispenser where the door is constantly opening and closing. Then, in front of this generator, there is another one, blocked by debris. Get close to the wreckage and grab it with your ship to destroy the third generator behind it. After destroying all three generators, you can take the Unstable Power Core from the dispenser. Head back outside the force field where you can find the power socket through the hole in the wall.
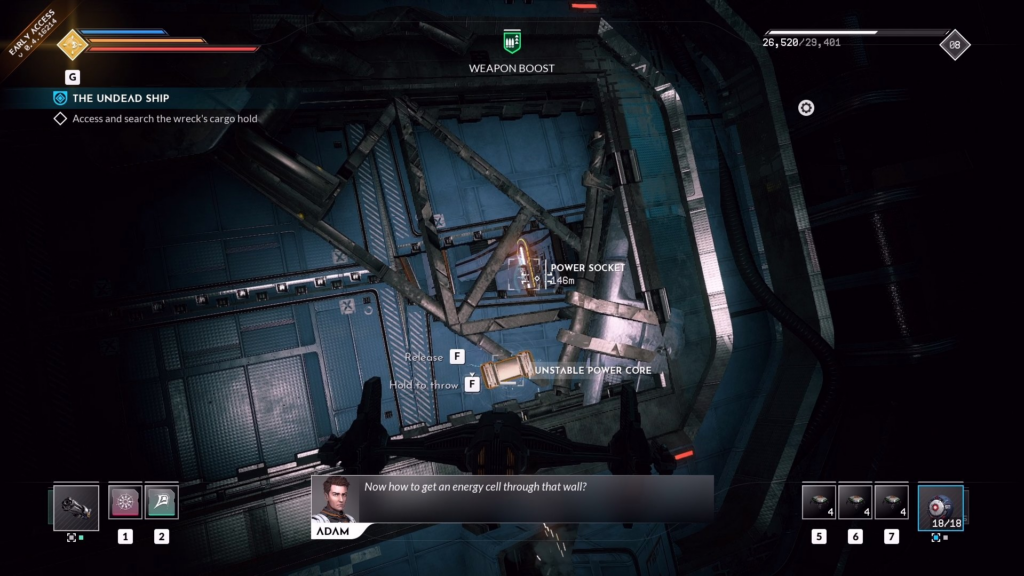
Now throw a meter of unstable strength into the nest and it will attach itself, opening a gate leading in. A little further on, you will come across a bulletproof container marked with the "Ship of the Undead" mission. Here you will find a bulletproof container marked with the "Ship of the Undead" mission. Assuming the loot inside is the same for everyone, it includes a Rocket Launcher and a Cruise Booster. However, after looting the container, this side mission is completed.
The Good, The Bad, and The Decent
This mission will start after you land at the Union Bridge Trading Outpost for the In Transit mission. The trader offers you this job for 2500 credits, increasing to 3500 credits afterwards. You will most likely need to do this in order to enable Primesense STA for In Transit. Otherwise, it's just a side mission that can be completed at any time. The trader needs you to grab and deliver the package to him.
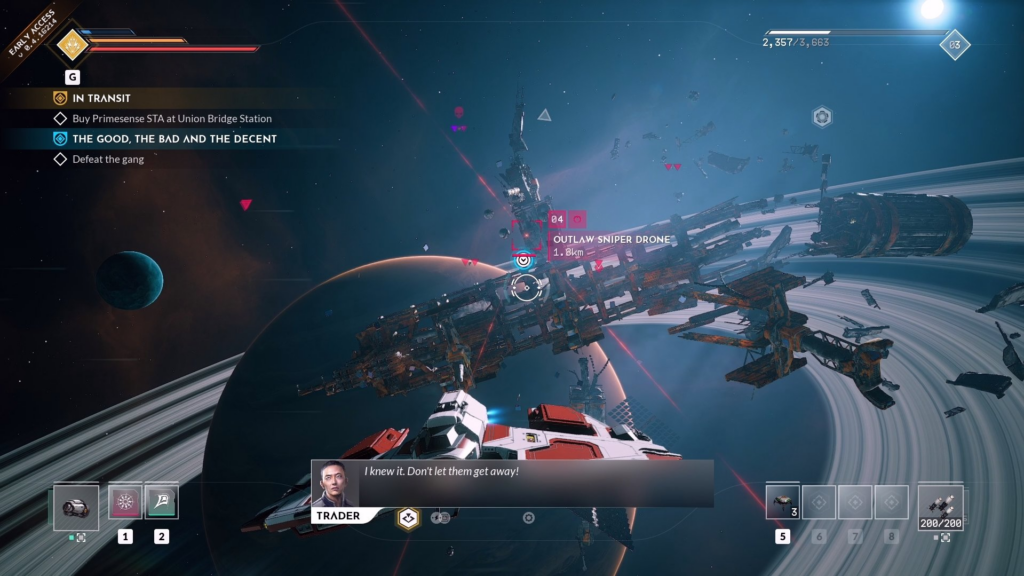
Exit the trading outpost and use the cruise drive to quickly get to an abandoned station nearby. You will need to deal with a batch of illegal ships before you can receive the merchant's package. The main ship to worry about is the Outlaw Sniper Drone, as the Viper won't linger. The sniper doesn't have as much health, but is still capable of hitting. Once the criminals are defeated, look for a container in the station until the mission is updated. Since he's gone, use your jump drive to get to Rodia's orbit, where the Viper is likely to be.
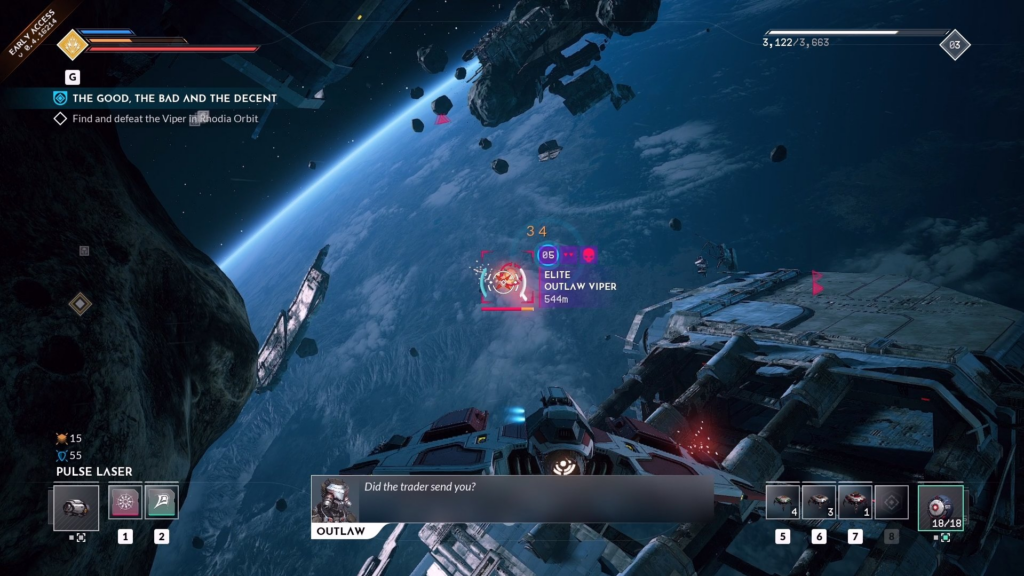
Once in orbit around Rodia, locate the Elite Outlaw Viper. Depending on the patrols, there may be other criminal ships nearby. Try not to let them overwhelm you. Quick tip for Viper - he doesn't have a shield, so kinetic damage will wipe off his armor. After the ship is destroyed, take the remaining viridian paint. Now leave the area and head towards the outer edge of CETO. Here you will deliver the package to another Viper ship.
Return to the Trade Outpost in Union Bridge for your reward from The Good, the Bad, and the Worthy. The trader will explain the difference between each group of criminals due to the fact that one has manners and the other does not.
Spelunking For Madcaps
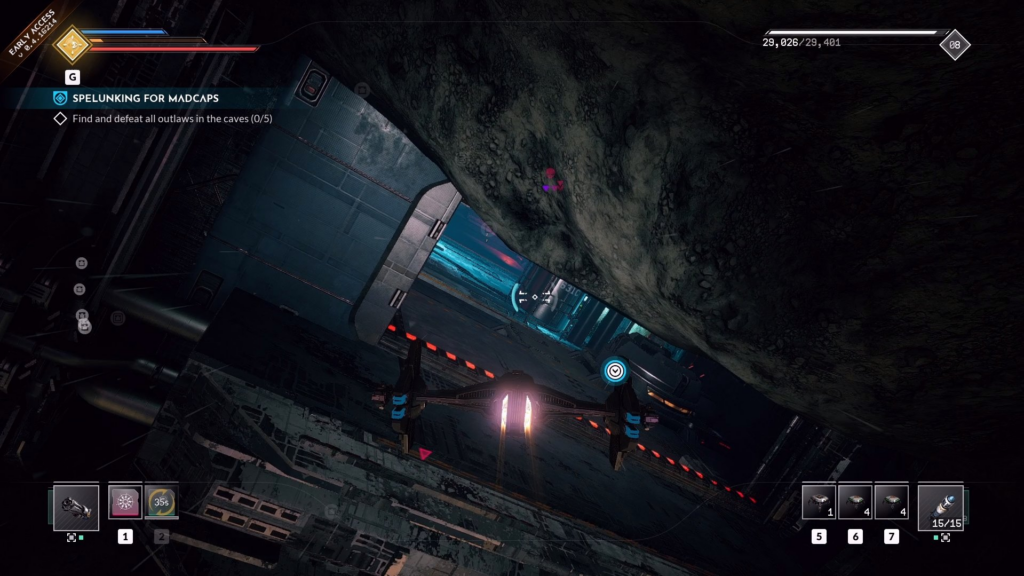
This is a side mission that you can receive from Prescott Starbase Command when you land there for the first time. They will say that they have many works, but one is more important than others - Spelunking For madcaps. They need you to deal with a bunch of criminals in Sato's Orbit. As soon as you arrive, markers of hostile enemies will most likely start to appear. You may encounter a roaming patrol, but there is a group of five that must be eliminated.
Locate the cave entrance marked with the mission marker on nearby asteroids. Go inside the cave, where you will be met by a criminal sniper drone. The unknown pilot will also talk to you. Keep flying through the cave, taking out the enemies as they appear. Beware of the second enemy - the detonator. Once all five criminals have been eliminated, go outside to find the leader of the criminals. This leads to a new cave where they are.
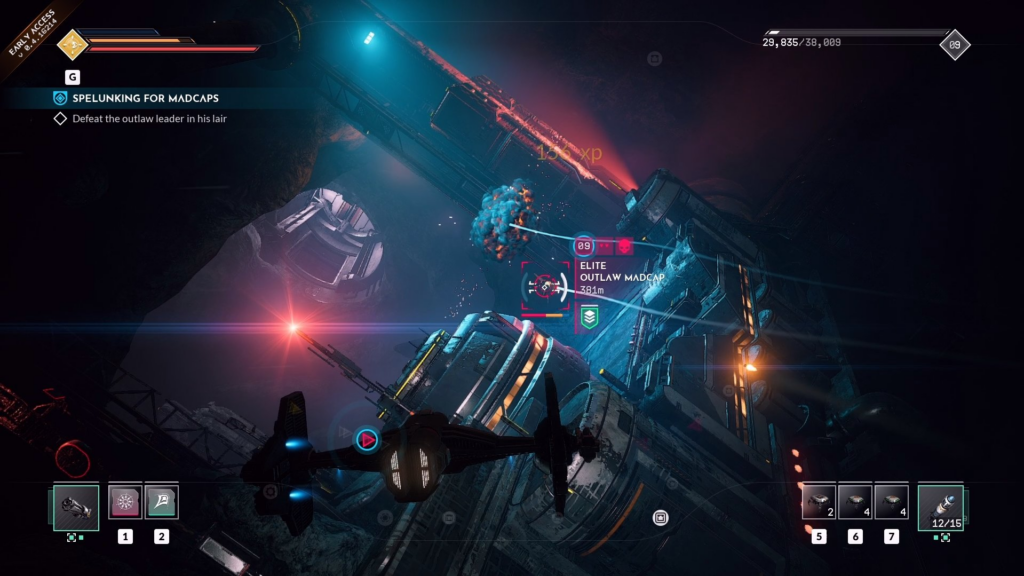
Get ready to deal with multiple outlaw drones and the leader at the same time. Fortunately, the leader of the criminals is in a weak drone with the armor of the criminal. Unless the mission gets past the last remaining enemy. After killing a group of outlaws, return to Prescott Starbase Control and dock to complete Spelunking For Madcaps.
Puzzle Solving Spelunking For Madcaps
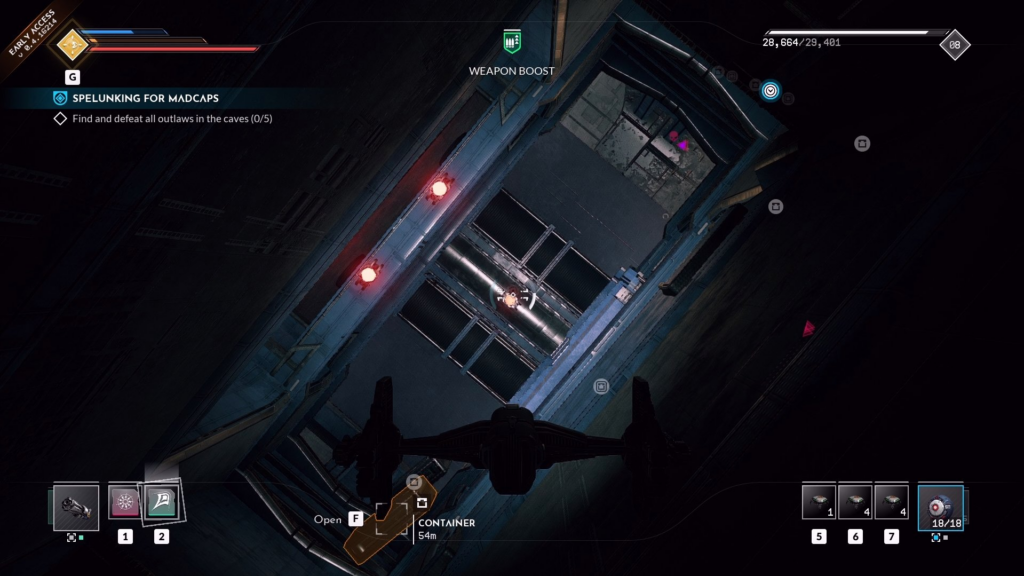
There are two puzzles in the Sato's orbit area involving flashing red lights. Fortunately, they are not too difficult and we have a solution if you run into problems. The first one is shown in the above screenshot with three red lights. All you have to do is shoot the red light from top left to bottom and then the third one in the middle. This will open a container and two doors leading outside.

The second puzzle is shown in the screenshot above. It's inside the outlaw leader's lair where six red flashing lights are on. If you don't know how to solve this puzzle, all you have to do is shoot the fire from right to left. When five lights turn green, shoot the last one to open the nearest container.
A Custom's-Made Error
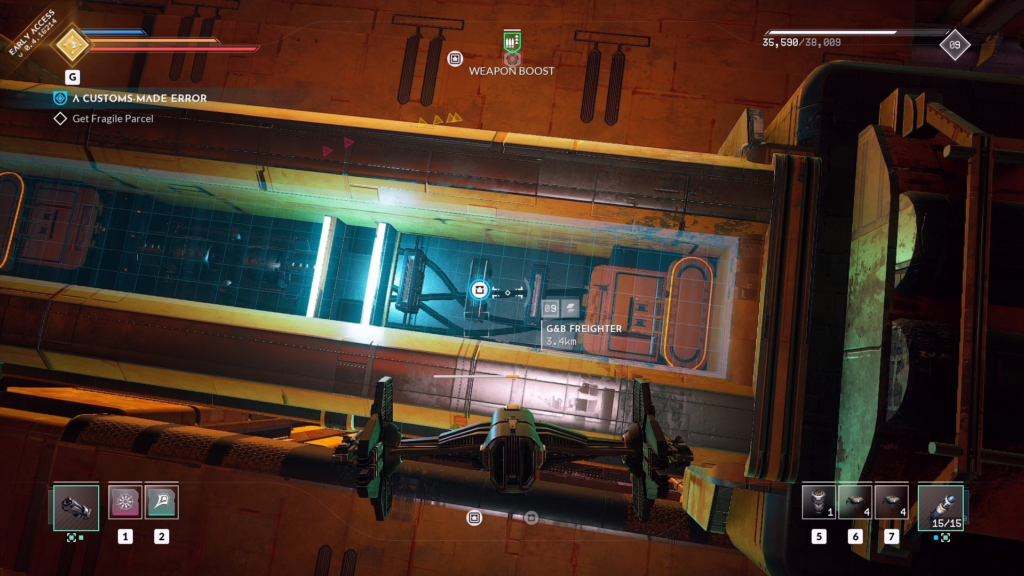
If you dock at the DMZ research station at Starbase Prescott in the Union system, you will receive this side mission. The researcher needs you to track down a package lost in customs, even if it requires some theft. After receiving the task, go to the Zharkovsky border control using the jump machine. Follow the mission marker until you come across a bulletproof container hidden behind a blue force field. Fortunately, there is a quick way to disable this shield.
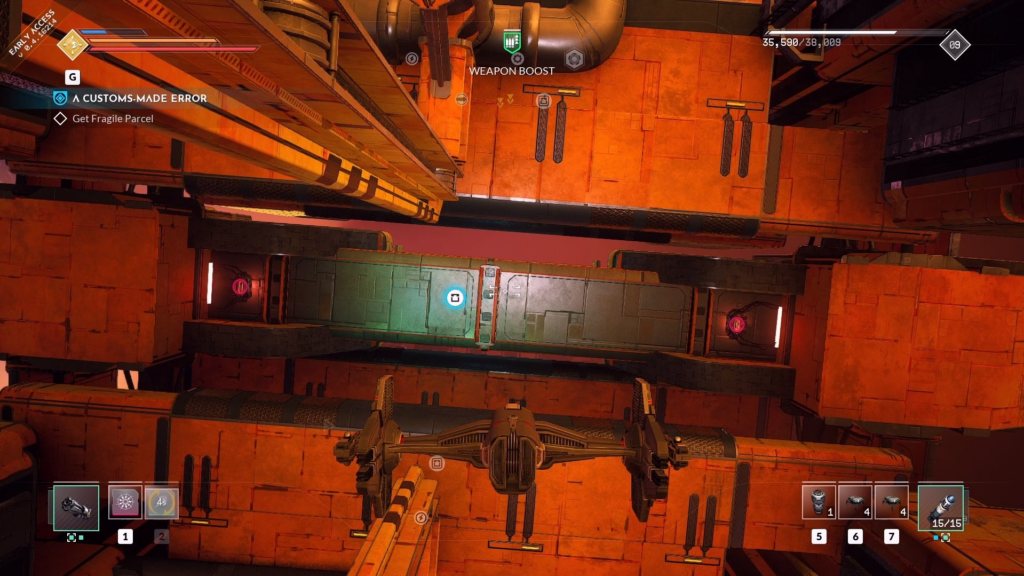
Take a look at the other side of the structure holding the container and you will find two generators at the back. Destroy each generator to disable the force field, then loot the container with the breakable section. The other two containers have loot worth grabbing if you have the cargo space. After receiving the fragile package, you can either return to the DMZ research station or continue to loot cargo containers in the Zharkov border control area.
This area has a large number of containers that you can loot that are locked behind various obstacles. One requires the destruction of the floor panel, while others may require the use of battery dispensers to unlock. Stay tuned for new markers. In addition, there are many scannable ships that can be simply plundered without any puzzles. You just have to be careful not to be hit by the cargo scanners. If you've finished looting Zharkovskiy Border Control or want to come back later, head back to Starbase Prescott. Attach to the DMZ research station and deliver the package to complete a custom bug.
Was the article helpful?