
https://portalvirtualreality.ru/?p=32728
Doom Eternal Walkthrough Guide All Bosses

Hell on earth
After choosing a difficulty level (even the default can be difficult at times) and a cutscene, you will land on Earth. Currently, you only have a shotgun. Kill zombies, the weakest type of enemies. Then go through the door and the game will teach you how to complete finishers. Go ahead and find chainsaw . The fuel status is displayed in the lower right corner of the screen - you can kill weak enemies with a chainsaw to restore ammo.
Learn the mechanics of brutal killings. After you deal enough damage to the enemy, he will be temporarily stunned. It's easy to understand: the enemy will begin to glow. As a result of the Glory Kill, you are guaranteed to receive several health cells.
Go a little further and get a saw.

The saw is a great source for ammo. Very soon you will realize that a limited number of ammo is available for each weapon. In this way, Doom Eternal forces you to try out all the weapons, because you simply won’t be able to fight with the same one. Fuel for the chainsaw is restored automatically, but you can find canisters on the locations. If you take one, you will be able to use the chainsaw immediately without waiting for the cooldown.
Go to the far corner of the room to go around the big cube. The closest side will be highlighted in green. This means that such an object can be hit. Hit the cube and climb higher with it. At the top, activate the first mod-bot.

Modbots are special items that allow you to unlock modifications for weapons. Almost every weapon has 2 modifications. If you find all mod-bots in the game, you are guaranteed to unlock modifications for all weapons.
See the green crack in the door? These doors can be broken. The same applies to cracks not highlighted in green. Secrets are usually hidden behind the latter. In the next room, new enemies will appear - soldiers and imps. The former shoot their weapons, while the latter throw fireballs or fight in close combat. Both can be cut with a chainsaw. To restore health, collect blue bottles, first-aid kits, use brutal murders or a chainsaw. Go through the door and watch the cut-scene.
Be sure to memorize what the game suggests. It gives the best options for destroying each of the new opponents.

You will be outside. From this point on, cacodemons will begin to come across. The easiest way to destroy them is to use a regular shotgun stickybomb. Throw it into the cacodemon's mouth. After the explosion, he will be stunned, and you can perform a brutal murder. Go through the building by activating the second mod-bot. To switch between modifications of the same weapon, use the F key.
Climb down and clear the area. Climb to the ledge on the right, jump forward to the yellow pipe to push off and get to the other side. In the next location, a new enemy will appear - the Arachnotron. To make it easier to fight against this enemy, use a sticky bomb. Throw it at the weapon located on top. After the explosion, the arachnotron will simply not be able to shoot from a machine gun, but will launch slower energy spheres. It's much easier to dodge them! Climb up to the opened gate and take heavy gun. To switch between weapons, use the weapon wheel (Q key). Climb over the wall on the left to find automap. By interacting with such a map (it is on each level), you will get a complete location map, and then various markers will begin to appear on it.

Below you will find a protracted battle. The gate on the left is closed. You need a key card to access the subway. After winning the battle, go to the building on the right. Break the green wall, climb up and climb the wall. In order for the Executioner to hook onto the wall, you need to press E. At the same time, you do not need to hold this key. Take away yellow key card and get down to the subway, which was previously closed.
After descending into the subway and killing the enemies, take the modification from the mod-bot, and then enter the train. Inside you will find fragmentation grenade. To throw a grenade, you need to press the CTRL key. Grenades do not need to be picked up anywhere! They regenerate automatically! Jump over the chasm using the yellow pipe and clear the building. At the end of the fight, an arachnotron will appear, which will knock down the door and create a path for you further.

Exit the building and go through the other door on the left. Follow on by climbing the wall and jumping up. Go through the tunnel and technical corridors, and then clear the parking lot from enemies. to climb higher, cling to the wall above the pit. Clear out the mall. Kill the enemies outside, go under the bridge and enter the bloody portal. Go to the central hall, where you will receive a message stating that fast travel through the level is available from now on. This will happen every time towards the end of the task. So you can return to where you have already been to collect the secrets left behind. Use the elevator and watch the video with the meeting with Kahn the Maker.
Rejoicing

Before the start of almost every task, you will fall into Stronghold of the Guardians. This space fortress is the home of Doom Slayer. And in some cases, certain plot actions will await you. Now you need to go along the marker and take the Flame Belcher. Now, by pressing R, you can set fire to your enemies.
Jump forward on walls that you can grab onto. Jump forward with the yellow pipe and break the wall. Go to the right and clear the location from opponents. Gargoyles will appear among them. These enemies can be cut with a chainsaw and are generally comparable to the rest of the simplest monsters. Step inside and pick up a new ability - Blood Strike. As you kill enemies, you gradually charge up a Blood Strike (bottom left icon). If Blood Strike is charged, the next time you melee hit an enemy (E), a strong shockwave will be generated. Unlock any of the nine runes. In this case, only three can be active. If you collect all the runes, you can unlock each one.

Go forward past the electrical discharges, climb up, grabbing the yellow pipe. Jump down, use the yellow pipes to grab the blue orb. It temporarily empowers the Executioner. Pass through the destroyed bridge and clear the room from the demons. This will be your first normal skirmish (red markers on the map). For each skirmish on the level, you will receive gunsmith points. These points are spent on upgrading weapon modifications. If you take part in all the battles of the level, you can earn the maximum number of points - 10.
Go outside and go left. Jump onto the wall by pushing off the yellow pipe, enter the building and run around the room from the rotating blades. Push the cube by hitting its green side. Climb up and break the three remotes. To get to them, jump onto the spinning blades. Then interact with the yellow marker to get a new ability - dash (left Shift).

Go outside and jump along the walls to the green dog. Go through the door and listen to King Novik. From the throne room, return to the room where you have already fought. Now electrified water is spilled here. Kill the enemy and take the Guardian Battery. After taking it, go to the portal ahead.
Here you will find new weapon - plasma gun. She shoots energy bolts, which is very important when the enemy uses energy shields. A little further, a new enemy will appear - a revenant. To weaken him, use the Precision Heavy Cannon Arrow and use the scope to destroy both cannons on the revenant's shoulders. You can also throw stickybombs at them.

The marker points to a wall with a yellow crack. You cannot smash it with your fists. You need to activate the weapon of the Tyrant. Go to the caves opposite. You cannot jump or run while in purple liquid. Learn this later. A little further there is an automap. Get to the reactor, go back and insert it into the Titan's hand to break through the wall.
Get to the gate, kill the enemies and activate the pentagram. You will need to find 5 green dots in turn and stand on them. One of the dots will be at the bottom. To get out of there, jump on the walls. In the next area, there will be another protracted battle. There will be another wall with a yellow crack here.

Go right, climb up the slope until you see a booster. Such boosters, if picked up in the sky, will reset the dash application. That is, you can make not 2, but 4 jerks at once. Fly with it to the wall. Get to the Titan Reactor. Run up the stairs, get to the Titan. Jump on a huge spear, go to the marker and activate the weapon.
| Weapon | Weapon mods |
| Combat Shotgun | Sticky Bombs, Auto Shoot |
| heavy gun | Precision Bolt, Micro Missiles |
| Plasma Rifle | Thermal explosion, Microwave beam |
| Rocket launcher | Remote detonation, homing |
| super shotgun | Increase in power |
| Ballista | Crossbow, Blade of the Destroyer |
| chaingun | Mobile Turret, Energy Shield |
| BFG 9000 | — |
| Unmakyr | — |
Go inside, clear the next area and move on. Continue to the third Titan. Find a handrail on the side. From the large cube, jump onto it and into the corridor with green fire. There you will find a reactor. Go higher, jump onto the Titan's shoulder and insert the reactor into the socket. From here, jump towards the booster and the resulting passage. A little further you will find yourself in a section with falling platforms. Jump on the platforms, climb up with the trampoline and cling to the wall.

Enter the cave (the Executioner's Gate will be on the right) and kill the enemies. Climb to the high ledge, and from there fly to the ledge even higher using the booster. Follow deep into the cave, clinging to the walls. Jump down the platforms and talk to the Betrayer. After that, there will be a long stretch with falling platforms. Jump up on them, hook up a booster and a couple of poles to get to a safe island. Kill all enemies, after which you can complete the level.
Base of sectarians
Follow the marker on the Stronghold and insert the Sentinel Battery into the free slot. Now, by collecting such batteries, you will be able to unlock secret rooms in the Stronghold. They contain various collectibles. There are also secrets, which we describe in detail in a separate guide. Follow the new marker and take the cryogrenade. You can switch between grenades using the G key. Go down to the demon prison and kill a group of monsters. Treat this place as a training ground.

Test
- craving for crystals. Just check out our guides to all the secrets of the game.
- armor rain. Pick up the moment when there will be several ordinary zombies in front of you (we will indicate it in the walkthrough), and then apply the "Speech" (R key) on them.
- Turret Master. Use any weapon, including stickybombs, to detonate the weapons on the Arachnotron. Everything is simple.
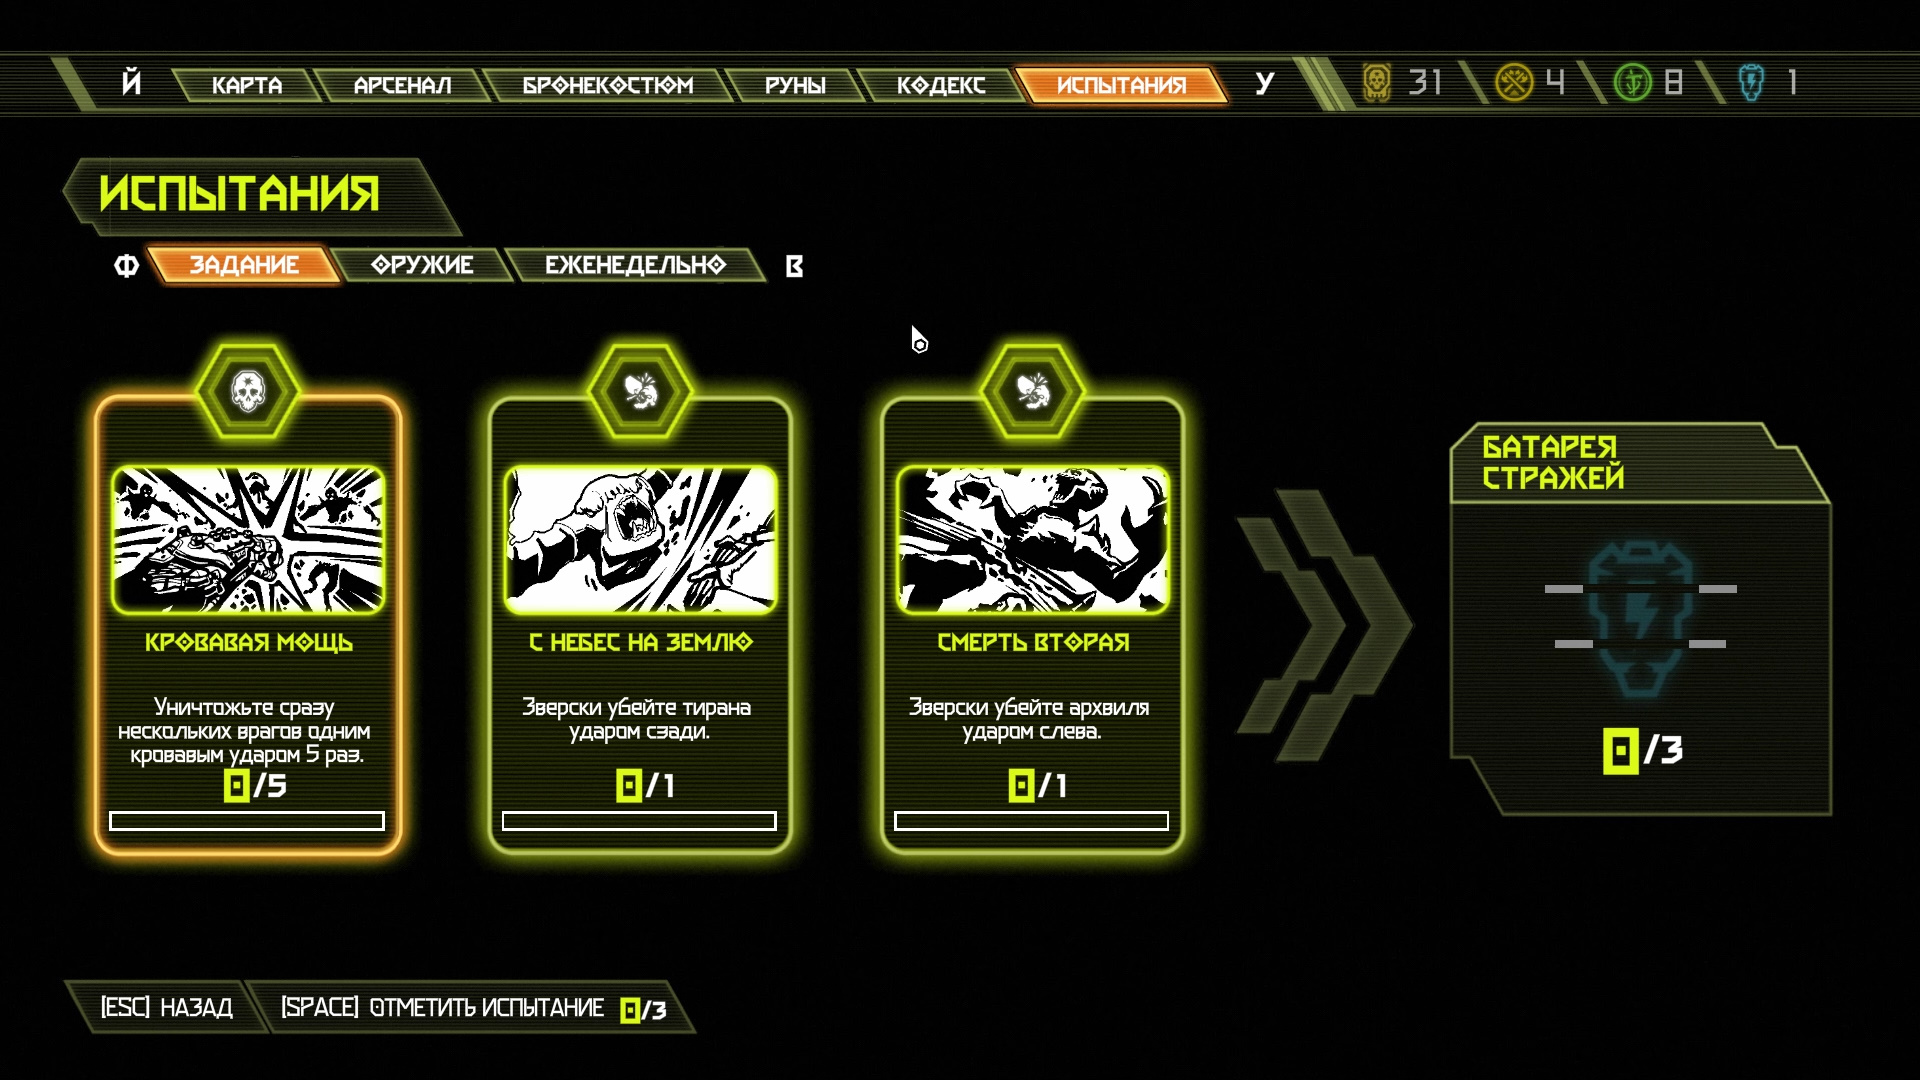
For completing each test (there will be 3 of them in each subsequent task), you will receive Praetorian points. And if you complete all three tasks, then you will be given a battery of Guardians.

Jump to the wall and to the right. After killing the enemies, jump onto the springboard from below, behind the floating mountain. Move to the wall, from there - to another, avoiding red traps. At the top, break the wall with a crack. After breaking it, you will find yourself at the location. There will be a whole group of ordinary zombies. Use them to complete the second Belcher challenge.
Go along the yellow bridge, kill the enemies and inspect the closed passage. Requires a Cultist's Key. Approach the remote control on the side and activate it. listen to Deag Ranak. Kill all opponents and stand on the platform with green rings. You will be introduced to a new enemy - the mancubus. To weaken this enemy, shoot the weapon in his both hands. After killing everyone, exit to the balcony through the opened door, shoot at the green target on the left and quickly fly through the opening. Cling to the wall, climb up and clear the location.

Climb a little higher, use the yellow bar to jump on the moving box and pick up the key of the cultist pointed to by the marker. The door ahead will open. You will learn that the Plasma Cannon can easily destroy energy shields. You will find yourself in the courtyard with the "red sword". But now the skirmish will not start. Approach the edge of the cliff, where there is a broken stone arch with a skull. Jump on the wall that you can climb. Jump onto the platform with the armor, fly down to the springboard and shoot at the green target in the air to get into the corridor where you need to destroy the grate with a green crack. You will discover new weapon - rocket launcher.
Clear a huge location from all monsters. There is a button in the niche at the bottom that you can hit. Do this so that the crossbar appears. Jump forward with it, turn around and use the same bar to fly up the wall with electric traps. Climb up, activate the runes and follow above. From here you can jump down to the marker and activate the remote with the skull.

Defeat new opponents and stand on the platform with green rings. Hit the cube from the side of the green symbol and climb up. Break two locks to lower the bridge. Outside, another protracted battle awaits you. Defeat all the enemies, enter the building and stand on the platform to ride forward. By the way, you will find yourself in another place with zombies worshiping the priest. You can use them for the second test. Take the plot item and follow the marker.
Destroy the lock and activate the remote control. You will see Doom Slayer's super shotgun. The floor is gone. Jump down. Kill all opponents. Cue balls will appear here - demonoids stuffed with explosives. Shoot at them so that they fly off and explode near other demons. After the victory, you will climb back. Go to the only open passage and find the automap on the left. Move along the corridor with red goo. You will need to cling to the walls, as well as use the booster on a long straight. Activate the remote control with the skull.

In the next room on the right there will be walls moving up and down. They have holes and niches. Go through the hole on the left wall. Don't get out of it. Let the wall bring you down. You will find a hidden corridor. It will lead you to a marker with a button. Hit the button to make the yellow bar appear. Jump from it in front, simultaneously shooting at the green target to remove the fence. Behind the fence there will be a wall for which you need to cling. From the wall, jump into the niche that goes up. She still has armor.
Follow the marker and follow through another corridor with red goo. Cling to walls and crossbars. Ride the elevator down and activate the device that will allow you to control the revenant. Kill all opponents and take the Executioner's Super Shotgun. Bring it to the main character. Go down even lower on another elevator and go into a room with several containers. Each has a lock. Break these castles by killing enemies. all containers must be opened. Get to the next elevator, go upstairs and find yourself in a room with a sarcophagus. Find an open passage on the side, jump down and fly to the wall. After grabbing it, follow the left to get to the remote control behind the bars. Activate it, use the springboard and find yourself on top of a sarcophagus suspended from the ceiling.

Jump sideways, shoot at the green target from below and fly to the walls with hooks. Climb the walls to the very top, move between the crushers with spikes, after shooting at the green target. Walk along the left wall and break the wall with the green crack. Stand on the structure in the center and from here shoot at the green target. You will go upstairs. Clear the location of enemies, go down and shoot at the green target again to raise the same tower. Quickly hit the green button on the side to turn on the light. He must pass through the raised tower. Only then will the way forward open!
In the corridor, go right, through the door for the key of the cultist. When you kill everyone, stand on the platform with green rings. The path will open further. To the right is a tall statue. Behind it there is a crack that you cannot break with your fist. Behind the statue there are two walls for a hook. And between them is a yellow crossbar. Use it to jump onto the left wall, climb up and jump onto the wall on the right, which leads even higher. On top, you can go to the opposite side, jump down and push the cube by hitting its green side. Jump on the springboard that appears and hit the green symbol on the statue in the air. She will fall, breaking through the wall further. You will return to a familiar place. Step on the platform in the center to head towards the Dome of Terror, where the priest is hiding.

Having fallen down, clear the location from enemies. It will be a long and dangerous battle. Don't forget to use the chainsaw. Then you will need to ride on a couple of platforms to get to the Dome of Terror. This is where the task ends.
Doom Hunters Aviaries
Test
- Musical pause. Just find an album. Read our guide to the secrets of Doom Eternal.
- Information leak. Activate the autocard. In the passage below, we indicated its location.
- Lie down! Throw a grenade where there will be three regular zombies. Please note that this is a fragmentation grenade. Cryo grenade is not suitable.

Clear the platform of enemies, and then stop it. finish off the enemies inside the building. Jump to the platform where the red lasers are working. There is a wall on its back that you can climb up. From it, jump to another wall, climb up and you can go further.
Clear the next room, where you will find the usual skirmish. New enemies will appear here - kicks. These opponents have powerful armor and try to ram you. Jump over, turn around and quickly attack Pinky's tail. Preferably from a regular or super shotgun.
Enter the green mist in the room above to see the priest. Go into the room ahead. You will see a hologram of the future boss, which will later appear as a simple enemy. Behind him there is a cartographic post. Activate it to complete the challenge, among other things.
Jump on two sarcophagi floating in the sky. Note that after a few seconds they will fall. Climb up the wall and kill some Cacodemons. At the top, jump on two more sarcophagi and climb higher along the next wall. Another one will appear and you can climb inside. Kill the opponents in the long corridor along which the bowl of lava moves. Go to the opposite end, jump onto the moving lava platform and cross to the other side.

Behind the door will be crushers with spikes. Shoot at the green target to make a hook wall appear. Pick up the moment and jump onto the wall, avoiding getting hit by crushers. Do the same to fly to the other side, further down the corridor. Walk along the corridor, killing the enemies, jump past the laser beams to the sarcophagus, from it to another, and from there to the platform where the demons are fighting. Kill them and activate the remote with the skull.
There is an exit on the side. Follow there, jump on the ring and climb up the wall. Climb the wall to the left and jump into the open opening. The floor is electrified here. The path along the corridor leads to the second console with a skull. Activate it and jump to a new wall. From it you can jump towards the marker.

Go outside, jump along the yellow pipe to the sarcophagus, and from it - to the left. The way inside is closed, you need a red key card. Jump to the right with the help of the wall and the booster. Find a hole inside, kill the zombies and go down the corridor to the grate with the red key card. When you pick it up, the key card will disappear. Fly back and use the door.
Climb up the steps. It is useless to go to the right, because there will be a closed door. Go left and clear the area during a normal skirmish. Go to the hall where the boss creation procedure will continue. Follow through the door, jump forward and climb inside the building through the ventilation (breaking the bars in the air). There is an extra life in the spinning rotor room. In the same place where you got into it, a little higher there is another ventilation. Climb through it and fly along the sarcophagi and the yellow pipe to the next building.

Look backwards from above. See the green target? Shoot it and jump onto the extended bridge. You will again see the process of creating a monster. Go back, the door is now open. The path ahead leads to the boss.
How to beat Doomhunter
The battle will consist of two stages. On the first one, you fight with one Doom Hunter, and on the second, you fight two at once. see the blue box around the boss? This is energy armor. You must destroy her. You can use any weapon, but much more effective - a plasma rifle (key "3"). It will destroy the energy shield faster. After that, you can freely attack the boss. If you wish, shoot at the platform on which he flies. By destroying this platform, you, firstly, deprive the enemy of mobility, and secondly, exclude the reappearance of the energy shield. Do the same in the battle against two Doomstalkers. Then the task will end.

Bloody Super Nest
Test
- Gun connoisseur. You need to find a mod-bot. We indicate its location in a separate guide to the secrets of Doom Eternal.
- bloody secret. You need to find both secret skirmishes. Again, read the guide for secrets.
- Combat kicks. You need to attack pinky until he starts to glow, and then perform a brutal kill. To make these kills different, each time you approach kicks differently - from behind, in front, in a jump, and so on.

Before starting this quest, go to the specified location of the Stronghold of the Guardians and pick up new weapon - ballista. Go through the wagons, and then use one of them to climb higher. After killing the enemies, make your way through the wall to the streets of the city. Ahead, pick up an extra life, clear the street from opponents. The battle will be long, and some of the enemies will appear from below. When the battle ends, kicks will burst out of the door. Kill him and follow through this door.
There will be a hole here, and on the right side there are walls that you can climb up. So do it, go through the floor and kill all the enemies in the back room. At the bottom there will be an obstacle that requires a yellow key. To the right of it there are fangs, behind which the same key is visible. Climb back up, pick up the moment when the column goes down, and then jump on the crossbars to fly higher where the marker points.

Ahead of you is a battle with enemies who are under the influence of the totem of cruelty. All of them are highlighted in red, act more aggressively, deal more damage. Until you destroy the totem, the demons will not stop appearing. Start killing enemies and wait for 4 green portals to appear. One of them will lead you to the totem of cruelty. Interact with it to destroy the object. Then the portal in the center is activated. Enter it and take yellow bloody key. Get out of here and use the key to unlock the opening on the right.
Come outside. Here you will find another long battle. You will create a shortcut to the beginning of the level. There are also several blue key openings here. Now you don't have it. See the purple glow at the new location? Approach there and you will see a place under three keys - yellow, blue and red. Insert yellow key. We need to find two more. Go down below, where the passages have now opened. Use the pole to pick up an extra life.

Below you will find the heart of the nest. Kill the enemies, go past the camera with the machine gun and jump forward for the white suit. It protects against radiation. Match the "radiation" icons to restore protection. Walk forward until you see a spinning column with poles. Don't go down! Instead, take your time to fly higher with the pole and smash the wall with the green crack.
Jump down to a new corridor with a green liquid. In a high room, jump up, climb up the walls and find red bloody key. Head back and open the nearest door using the red key. Pick up a machine gun along the way. Interact with the panel near the heart, go to the room on the left and activate the first generator (of two). You need to find access to the second generator. Exit the control room and go left.

In the next room, kill the enemies, go around the closed teleport and click on the panel with the skull. Enter the teleport. You will face red enemies. To weaken them, go forward and to the left, find a hole with extra life and jump after it. At the very last moment, accelerate to a safe ledge and climb up the ramp. You will find yourself in a location with a totem of cruelty. Destroy it and finish off the remaining enemies. Jump onto the pole of the spinning contraption and fly towards the wall that you can hook onto. Push the cube and get inside the building
Turn around and jump to the hill, under which there was a cube. Jump further, dodging the fire until you are inside the building. Break the wall, kill the enemies and activate the skull panel in the poison alcove on the first level. The path will open further. Jump along the corridor with poison, grabbing the walls. You don't need to fall down. So you get to the opposite end.
Go to the right of the opening that requires a blue key. Break the wall and take blue bloody key. Open that opening. You will return to the location where you need to apply all three keys. Kill the enemies, use the keys and go through the new opening to get to the second generator. When you launch it, all that remains is to flee.

Committee Complex
Test
- Rune collection. You need to find two runes. Read more in Doom Eternal secrets guides.
- External combustion. Use plasma weapons (key "3") to attack the demons with shields. You need to kill six enemies in this way.
- Missile elimination. Use the Precise Arrow of the Heavy Cannon or Stickybomb to destroy the 4 Cannons on the Revenants' shoulders.

Break the pipes and jump down the shaft. You will find yourself in an elevator. Falling down, clear the entire floor from the demons. Go down below and deal with the remaining demons. Follow the marker, jump into the hole. When you kill the demons, he will be able to go down even lower. In the end, you will find yourself on the street with a purple liquid. Avoid these puddles, which can restrict your movement. Kill all enemies, then interact with the remote control. The path to the Complex is blocked. You need to activate two huge turrets to clear the way.
Pinky will burst out of the building on the left. After killing him, go inside. Climb higher, deal with the demons. A new enemy will appear here - the Cybermancubus. Unlike the regular Mancubus, it has heavy armor. However, it is shattered with a single use of Blood Strike. The enemy also uses acid. There will be ruins in the center of the hall. Climb onto them and jump to the ledge on the right. the demons will break the window, and behind it there will be a pipe. Don't rush to use it, but go up the stairs on the left to find the cartographic post.

Go back a little lower and jump into another building with the help of the yellow pipe. After killing the enemies, move up and move to another building. You don't need a booster. From this house, jump into the next one, several floors down. Clear this place and jump higher on other yellow pipes. Hook on the wall and fly to the intermediate roof of the building. There is a cube in the corner. Get over to it and hit the green side to move it. Jump into the building nearby, break the wall and take an extra life. From here, jump to the opposite wall, a little to the right, in transit through the yellow pipe. Then jump to another wall, and from it - inside the building on the left.
Jump under the plane, where there is a wall that you can cling to. Kill the enemies in the large building, go up to the third floor and exit through the hole in the wall. Jump over to the next building. There is an extra life in the room on the right. Go down through the hole in the floor, call the elevator, and then fall down even lower. Clear the huge hall from enemies. there is a teleport in the kitchen that takes you to another part of the room. Then go outside and kill the enemies on the roof. Jump from the roof to the teleporter to reach the first turret. Look for a hole in the floor and jump down inside. activate the first turret.

Clear the corridor, use the elevator and clear two corridors - upper and lower. Go to the hall where the plot skirmish awaits you. Having won, look for a hole in the floor and jump down. You will find yourself in a tunnel with purple liquid. Walk forward, push the cube with the green side at the beginning of the spacious room. Use it to jump onto the yellow bar and fly to the right. Use the booster to get to the platform with the Sentinel Battery. And from there follow the new tunnel. Get to the elevator and go up.
Go through the corridor with electricity through the unlocked door, to the room in the form of a ring on the map. There will be an elevator leading up to the second turret. Take advantage of it. Get to the location of the new story skirmish. Kill the enemies in the parking lot, go downstairs and open the blinds to get out to a familiar place. Move along the marker, killing enemies, and watch the video.

How to defeat the Marauder
At the end, you will have a battle against the Marauder. This enemy, as in the case of the Doomstalker, will appear as a normal enemy in the future. There are two options. The first is, as the game advises, to wait and attack the enemy when his eyes are green. It will be a long fight. The second option is to use a rocket launcher, namely a modification that allows you to launch four homing missiles. So you can break his shield. Several similar hits and the Marauder is killed. And in order to have enough ammunition, saw the ordinary demons that appear on the location.
Mars core
Test
- Big Ba-da-boom. When you get the BFG, use it to destroy 40 demons. Just remember that the green markers on the map indicate the location of the shells for the BFG.
- Disarmament. You need to shoot from any weapon at the cannons on the hands of the mancubuses. Destroy 3 cannons this way. It's enough.
- Key and lock. You need to find the key to the Executioner's Gate. We tell you more about all the keys in the Unraveler secret weapon guide.

Watch the video with Dr. Samuel. You will learn about the BFG 10K gun. Make your way through the corridors of the complex, jump into the ventilation and knock out the bars. Get to the teleporter and move to a new location. A new enemy will appear here. This powerful demon attacks exclusively in melee, so you should use the strongest weapons against it and try to stay as far away as possible. Go outside and clear the location of the enemies. This is the first story encounter. You will need to go forward and climb a little higher, turning left. The familiar Doom Hunter will also appear here. Climb down through the hole VEGA is talking about, jump into the small hole and smash the fuse box. Go through the hole ahead, kill the demons and activate the map post.
In the same room there are descending and rising capsules. Jump into the far right when it goes down. From it, jump onto the roof of the neighboring one, then onto the roof of the first one and follow the marker through the ventilation. This is how you get to the cannon. Watch the video with a shot at Mars. From now on you have access to new weapon - BFG-9000. Go ahead, kill the enemies using BFG. Fortunately, you will immediately pick up new ammunition for weapons. Enter the capsule.

Jump over the ruins in the air to the ruins of a large building. You can go right and pick up an extra life. Go forward along the corridor and outside you will find out that there is a totem of cruelty nearby. Jump down and clear a large area of demons, thus completing the story skirmish. Look for the totem itself in the passage on the left, not far from the springboard in the corner. After defeating everyone, jump down. Move to the end of the corridor and ride up the elevator. Activate the remote, go to the cannon and activate the second remote to move to another location.
Climb up to the Praetorian token and jump towards the springboard. Move along the markers outside the complex, jumping on separate islands. You can shoot at the huge red tanks so that they hit the cacodemons and other enemies with an explosion. Continue driving to the location with a new story skirmish. Defeat all the enemies, go through the complex and jump down the new islands.

Reach the trampoline, which will take you to the building. Jump to the right of the entrance, to another part of the building. Clear the location, find a hole leading to a new level. Find the remote control near the capsule in the last room and interact with it. After moving to a new location, go forward and clear the location.
Stronghold of the Guardians - how to defeat the Gladiator
In this mission, you will have to destroy Deaga Grav. Follow the only route until you get to the boss - the Gladiator. Watch out for the eyes on the Gladiator's shield. When they start to glow green, he will move his shield and try to hit you. Bounce to the left and fire at the enemy at the same time. Trying to break through the shield is useless. In addition, in addition to the glow of the eyes, this moment will be accompanied by a specific sound. Use normal zombies to cut them down and get ammo, health and armor.
In the second phase of the battle, the Gladiator will lose his shield. Now he will act more aggressively, using two weapons at once in both hands. If you see a rotating weapon, then do not rush to shoot at the enemy. Otherwise, it will reflect all fired projectiles back at you. Just move around the boss using dashes. You will avoid half of his attacks. When he creates two barriers to your side and starts to wiggle the chains, watch out for the energy beams. Pick the moment to either pass under the beam or jump over if it's the bottom of the wave.

Taras Nabad
Test
- Anesthesia. You need to destroy the Pain Elementals in three different ways. It's about brutal murders. Attack them from the front, from behind and from the side (in a jump, for example). Pain Elementals are enlarged versions of Cacodemons.
- composure. Simply switch from Frag Grenade to Cryo Grenade (G) and don't forget to use it throughout the level.
- Walking Wikipedia. The location of all pages is described in a separate guide to the secrets of Doom Eternal.
After the previous mission, demons will attack the Stronghold. Kill everyone and restore power. Go to the crucible. Go ahead, clear the bridge and quickly hit the two green levers on the left and right to open the door. Climb over the abyss, go down through the hole and exit into a large courtyard with a statue. This is where the first story encounter begins. The battle will be long. Be sure to destroy the demon that buffs the rest of the enemies. On the side there will be a map of the location. Climb up to the large statue and hit it from behind to push it back and see the green button. Click on it. The pool will open in the center of the yard.

Dive under the water, swim down and break the wall with a green crack. The water level will drop. Climb into the tunnel with protection from radiation, turn around and shoot at the green valve in the tunnel opposite. Swim down and find that the grate covering the tunnel is now open. Swim there, get out of the water and clear the corridor. Climb the stairs to the left, to the door, and enter the building.
Exit through the passage on the right and clear the area, completing the story skirmish. To get further, to the left and to the right, look for two green buttons. You must quickly hit them to open the hatch below. Go down into the tunnels. Get to the water room. Take an insulating suit and swim to the bottom. Break the wall with the green crack to lower the water level. Swim into the adjacent corridor, get to the surface and shoot the green valve. Having done this, swim through the opened grate and break the second wall with a green crack. The water will go even lower. Push the cube, jump from it to the wall for a hook opposite, turn around and shoot at the green valve above the grate. The last one should go up.
Get out further and fight the monsters in the second skirmish. Here the fiery demon will reappear, strengthening the rest. Kill him first. Climb out and pull the blade handle out of the Titan's chest. Climb a little higher and defeat all the demons in the story skirmish. Walk up through the hole, turn around and jump the other way. Jump to a separate ledge on the right, kill the enemies, and then fly towards the booster and break the wall with a green crack. Take the elevator up and follow forward.
Go through the door and go to the left of the statue. Shoot the green button on the grate. There will be a huge door here. Walk past it and press the green button to open the door. Run back to the grate with the green button. Shoot it, go forward and to the left. You will find the first button. Hit it, shoot the grate and return to the room to the left of the massive door, where you need to hit the second green button. The door will open.

Go to the elevator to go higher. You will find yourself in a hall with a suspended core. Jump down and enter the green niche where you need to activate the panel with the skull. You activate the trampoline. Jump up and hit the chain so that the ball falls down and punches a hole. Go down and go even lower on the lift. Here you will find an insulating suit. Jump down and float up to the crate in the water. Shoot the green button and jump to the ledge above. Clear the room of enemies, find water and dive to the bottom. There will be a floor with a green crack. Break it. Shoot the green button above the large grate. Go through, climb onto the cube and shoot the green button in the wall on the left. Follow the marker, jump down and clear the area of enemies using the Crucible. Pick up "red icons" to restore sword charges.

Nekravol
Test
- Death by blade. Kill two demons with the Crucible. Any. Easy task.
- Tricks and traps. Kill 8 demons using millstones. Below we indicate the location of these traps.
- fatal hunt. Brutely kill a Doom Hunter with a left slash. When you stun him, approach on the left and use the Glory Kill. You can activate a rune that significantly extends the stun time of opponents.
Kill opponents and approach the closed gate. Go right and climb up the ledges. From here, jump onto the claw pole and fly into the passage on the right. Go to the courtyard and kill all the enemies in the first story skirmish. Stand on the platform with green rings to open the way further. Jump into the hole, activate the skull remote and kill the enemies. shoot the green button on the wall to raise the grate, go under it and hit the cube with the green button. He only moves out of the room for a while. Quickly run out of here by shooting the green button through the slot in the grate, and use the cube to jump onto the wall. If you do not have time, then shoot the green button in advance, and then hit the cube. Jump into the cell.

When you get to the huge creature, shoot at the eyes that appear from the pillars. In total, you need to destroy 4 eyes. Then hit the monster in the back. Finish off the remaining opponents. Climb up the trampoline. There will be a green button on the left. Hit it to raise and lower the spiked ceiling. You need to kill several opponents like this to complete the challenge. And a little further there will be another similar trap.
Climb to the other side and kill the enemies in one more place. There are millstones here! This is your last chance to complete the challenge. To advance further, climb onto the cells that rise up. Move under the millstones to the next room. There will be a totem of cruelty. Climb to the ledge in the far corner, turn around and fly to the ledge with the totem of cruelty. Destroy it to make the fight easier.
Further there will be a blocked path (rods). Use the cells on the left to jump onto the wall and to the left to find the first console with a skull. From here, jump to the opposite side, go under the millstones and activate the second remote control. Go further along the marker and clear the location from the monsters. Jump into the hole.
Nekravol (Part II)
Test
- bloody might. Using a bloody strike, you need to kill several enemies at once 5 times. That is two or more.
- From heaven to earth. Stun the Tyrant and brutally kill him by sneaking up from behind.
- death second. You need to finish off the archvile (which buffs the enemies) brutally, with a backhand.
Clear out the enemies in front of the fortress, then jump onto the wall on the right. Pick up the moment so as not to get under fire, and jump over to another wall. Use the booster to get to the building. Kill all opponents inside. Clear the hall with monsters and go to the passage in the far left corner. Jump down and kill the opponents.
After killing everyone, including the marauder, jump from the central platform to the marker, grabbing the wall. Climb up the rotating rings of fire. At the top, activate the map post and ride the elevator up. Follow even higher along the walls and with the help of the trampoline.
After reaching the huge mechanism, jump on it and go upstairs. Break through the wall, clear the area and climb a little higher using the springboard. Jump up to the wall. Break it and climb higher using the rungs and metal walls for hooks. Pick up the moment and jump even higher. Shoot in two eyes to open the passage further. At the end of the location, destroy a huge number of enemies. There will be a Tyrant required for testing. When you kill everyone, stand in the green rings, and then break the two chains. Now you can complete the level, but make sure you collect all the secrets.
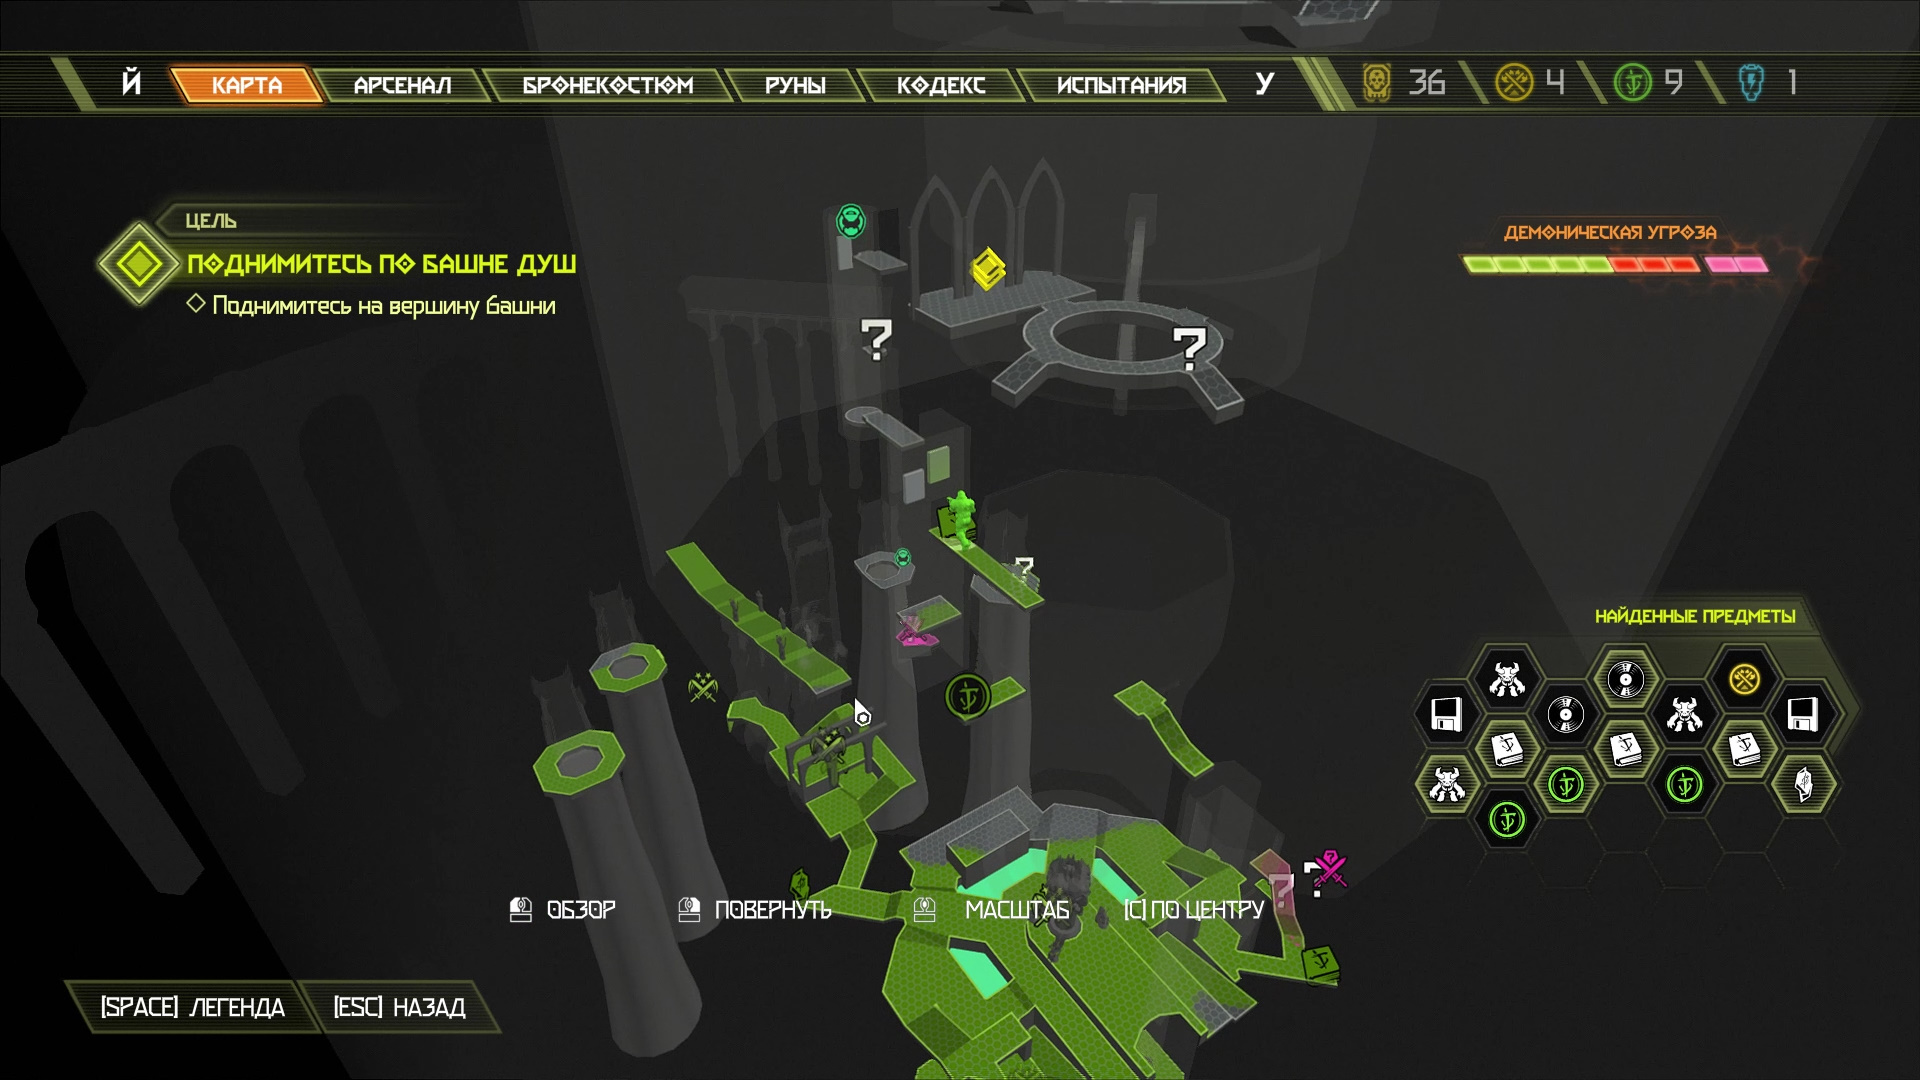
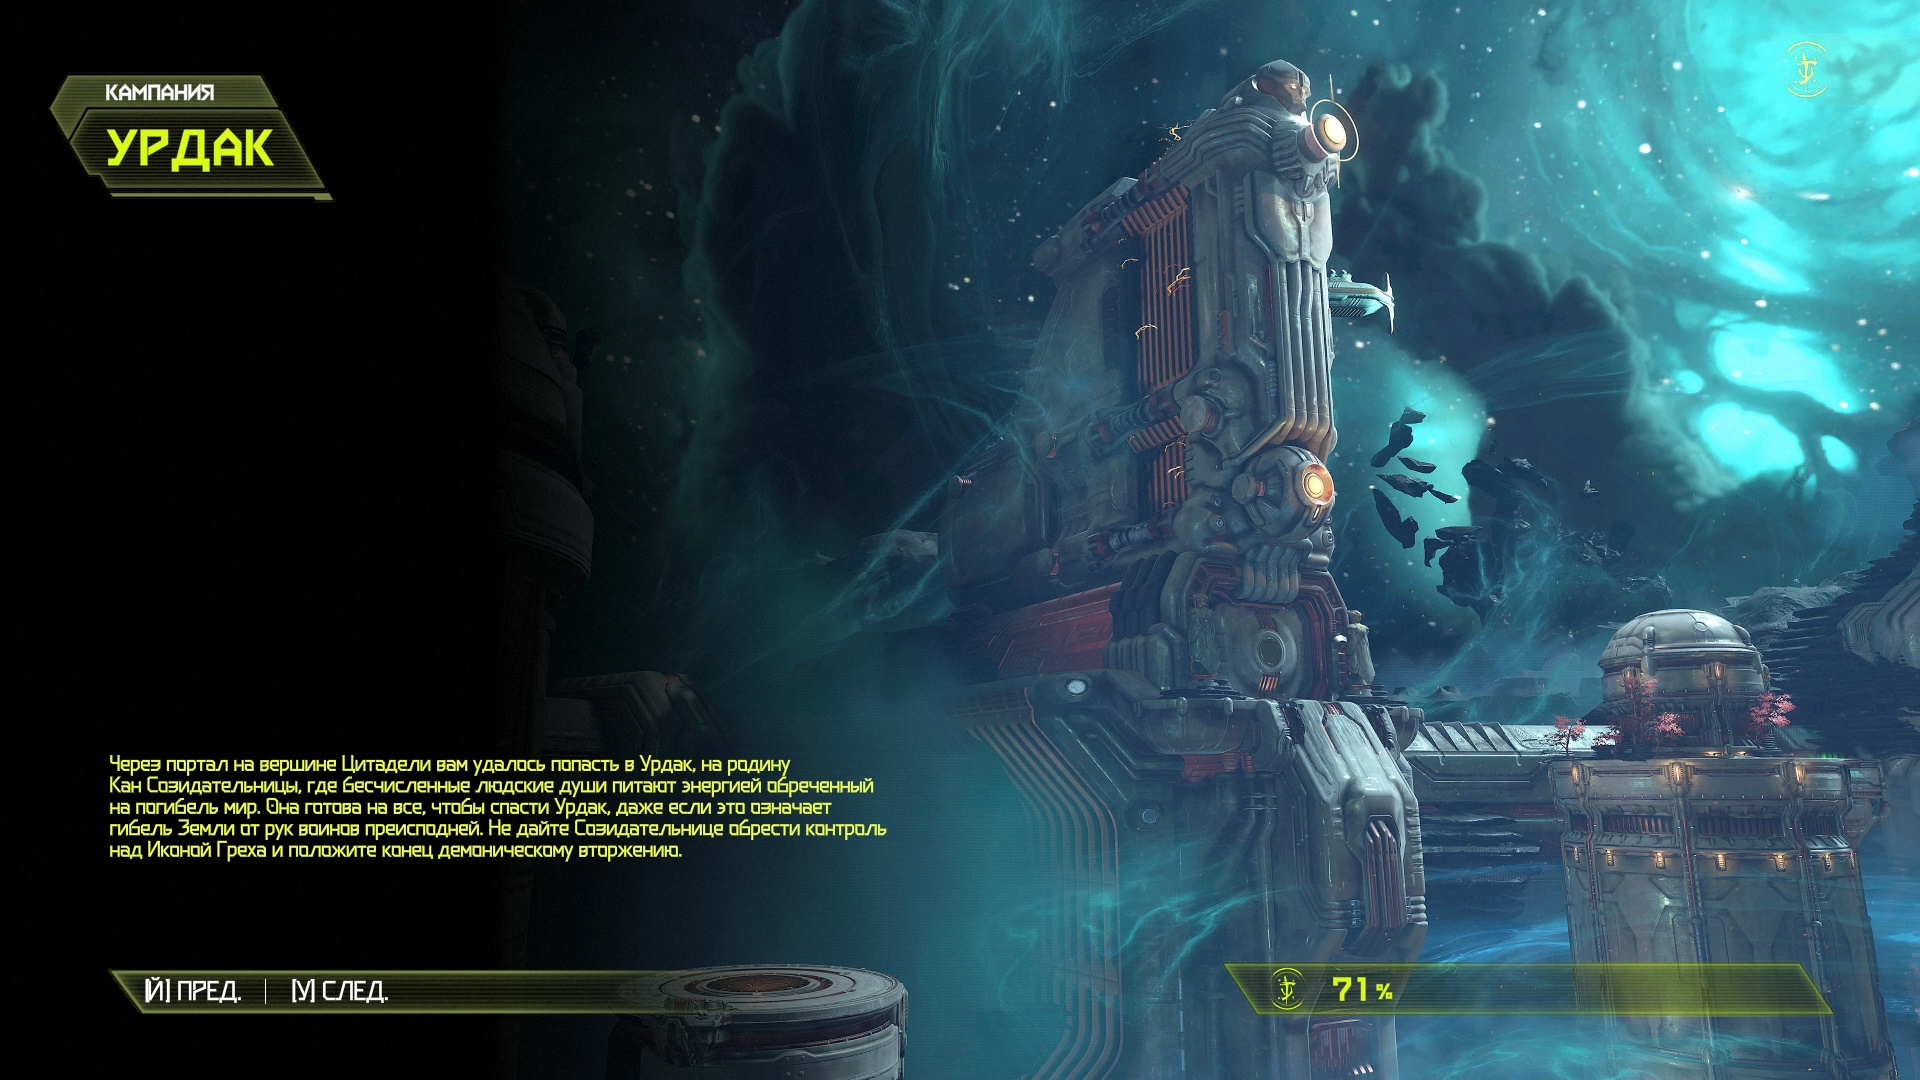
Urdak
Test
- Without accessories. You need to find a collectible toy. We talk about it in the DOOM Eternal secrets guide.
- Massacre in flight. Use a rune that allows you to slow down time in flight with the right mouse button. Kill 12 enemies like this.
- Angel of Death. Kill 5 Creator Drones with a headshot using Precise Arrow. Accurate Arrow is a modification of a heavy cannon that allows it to be fired like a sniper rifle.
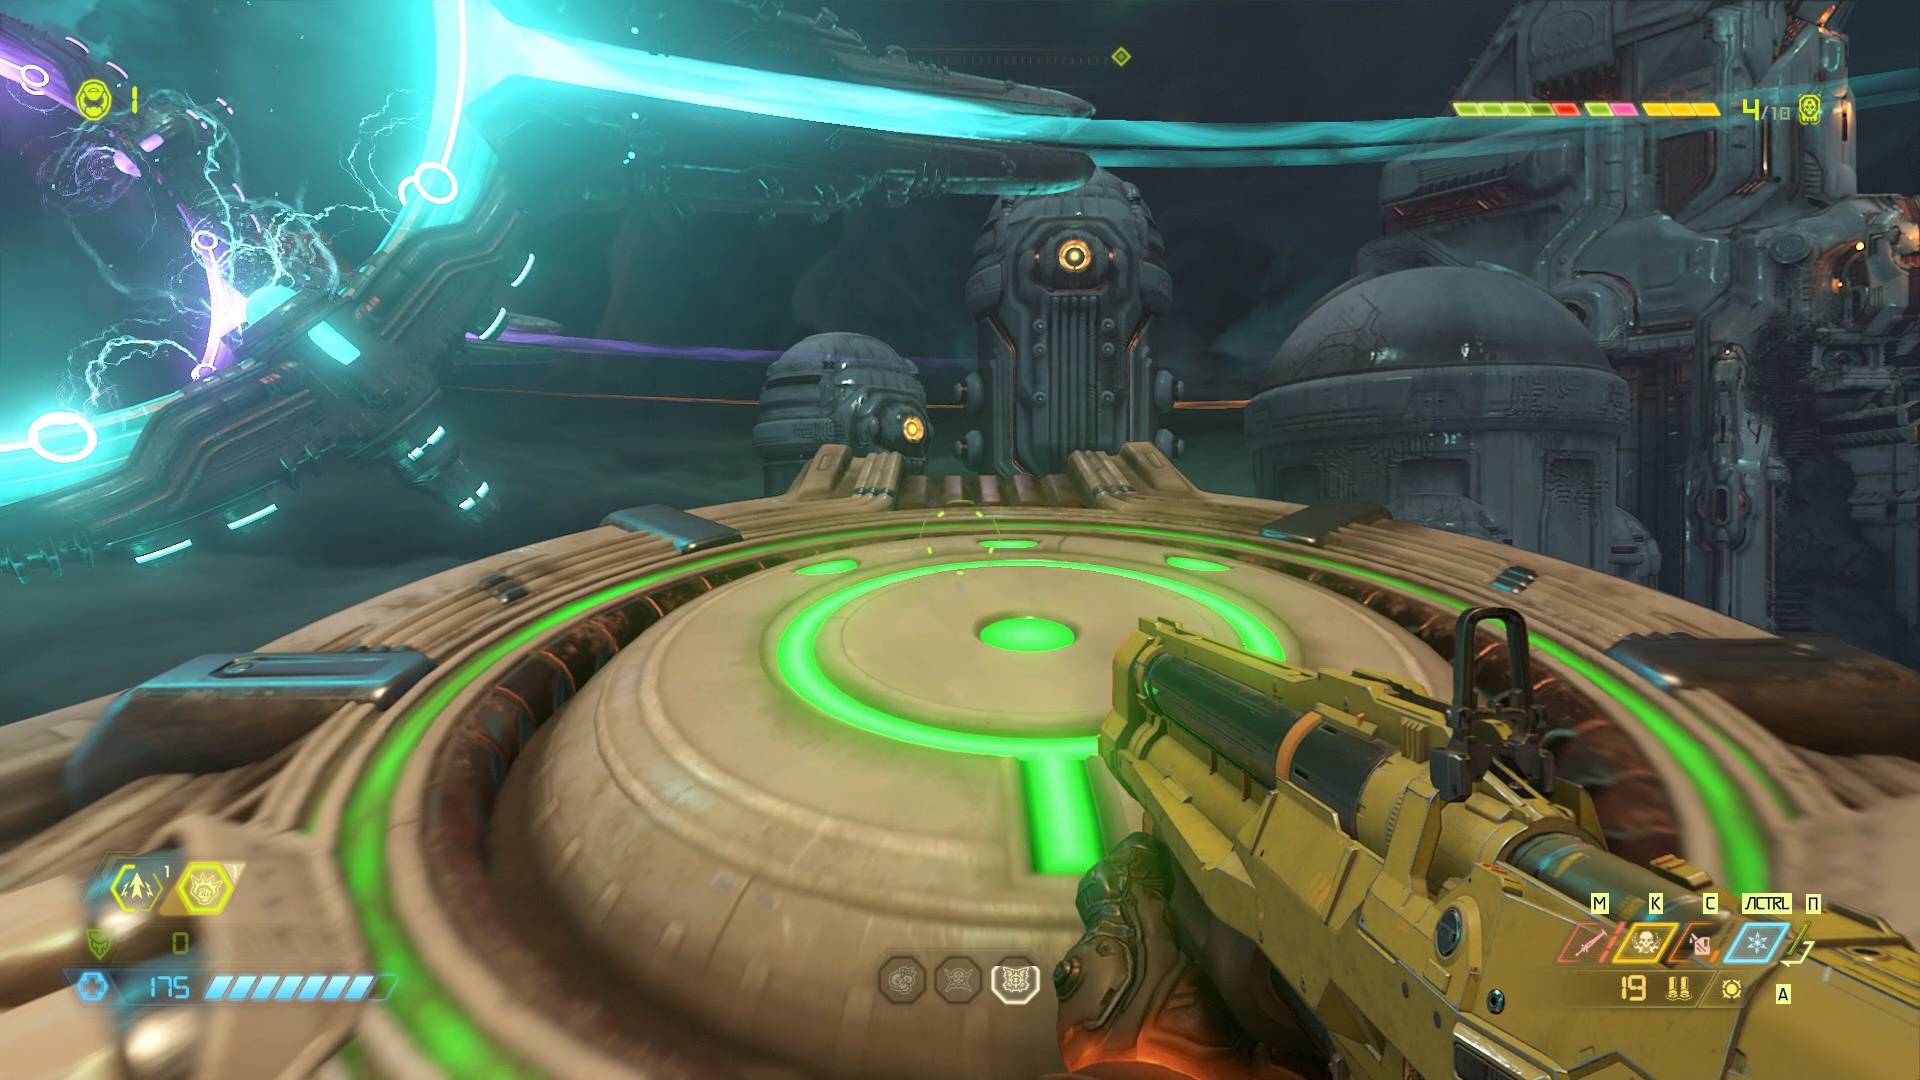
Exit the building and stand on the green platform on the right. An orange ring will appear. These rings will speed you up. Use a few more of these platforms and rings. Remember that in flight you also control your hero, so you need to slightly adjust the direction in order to fly into the desired rings. Soon you will reach the second building. Shoot the green button and fly into the opening while there are no lasers. There you will find a map post. Go through the door and fight Creator drones and other demons. The weak point of drones is their heads. Therefore, Precise Arrow is the best thing you can counter them with. A nice bonus of destroying drones with an accurate headshot is the amount of supplies that drop.
After the victory, two sarcophagi will appear. Jump on them and punch a hole in the wall. Jump down and cling to the metal wall. Fly to the left with the pole. Follow further along the ledges and break another wall. Behind the tunnel there will be a hall where you will have to kill several opponents. Push the cube out of the room and jump towards the statue to hit the green spot. The statue will be destroyed, and you will be able to jump from the pedestal on which it stood to the pole, and from there - to the metal wall. Fly to the wall to the left, and then - through the pole to the grate, which you need to break.

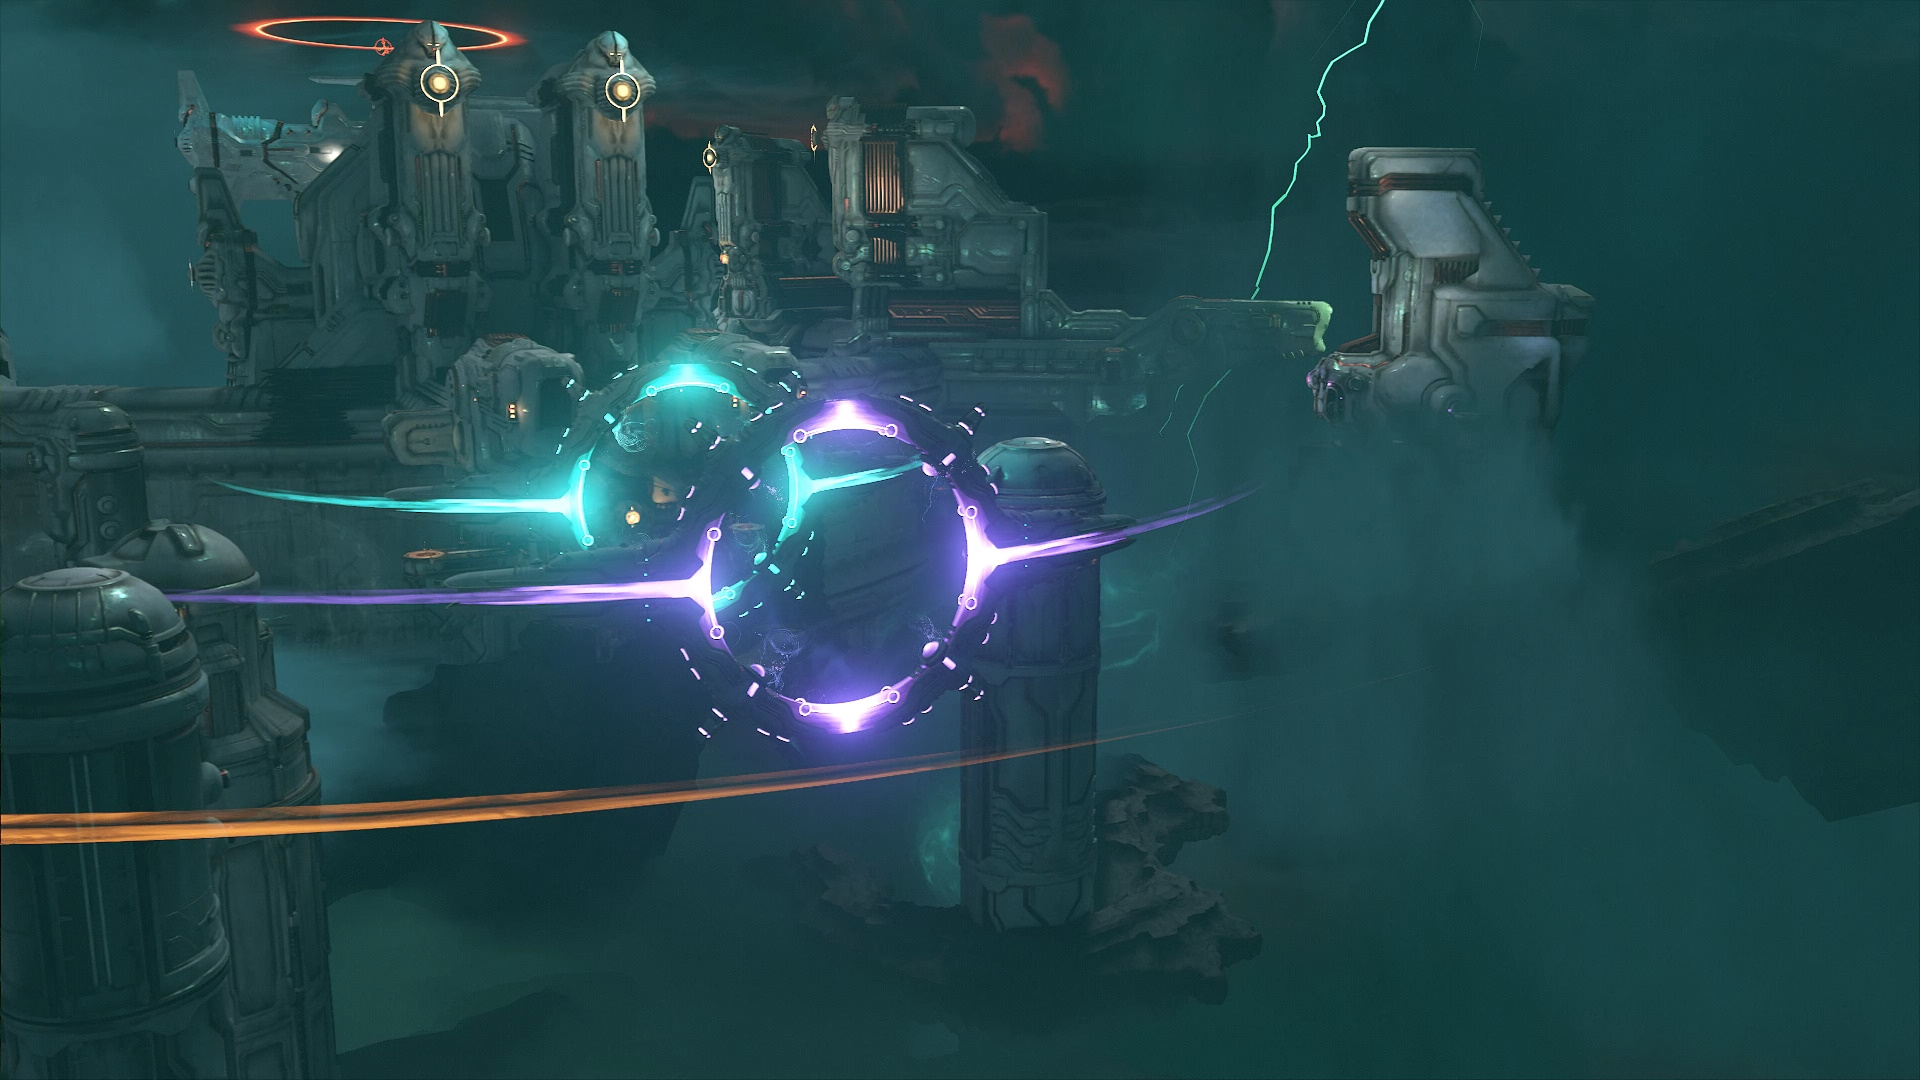
Deal with the enemies in the next room. Hit the green button and move on to where the story skirmish ends. Come outside. You will need to set up 3 rings. Get on the green platform and fly through the orange rings. Kill all enemies, including the Marauder, and activate the first ring.
Stand on the green platform and fly further through the rings. Deal with all enemies, including the archvile. Follow on with the help of another green platform, through two orange rings. Clear the location. The totem of cruelty is on the outskirts, closer to the purple ring. Enter the building, take the elevator up and activate the second ring.
Get on the green platform and fly further. Repeat with another set of orange rings to hook onto the metal wall. Clear another room of demons, follow the rungs and kill the enemies in the yard. Then use the green platform to fly through the rings to the wall, from there - over the sarcophagi. To fly into the building, you need to hit the green button in flight. This is a difficult section. If something doesn't work out, from the first orange ring at the green platform, fly directly to the passage with the green button (shooting it along the way).
Use the last green platform to return to the door that was previously locked. After killing the enemies, dive into the purple water and swim to the bottom. Break through the wall with a green crack, climb onto the ledge and jump to the console with the skull. Activate it and go to meet Kahn the Maker.
How to defeat Kahn the Maker
The meaning of the battle is as simple as possible. You need to shoot Kahn the Shaper until she is stunned (the blue bar should decrease completely). Then, using the Super Shotgun hook (5 key and RMB to activate), get close to Kahn and attack with a melee attack (E key). Repeat steps 6 times. With each new damage received, the boss will act harder. Use normal enemies to cut them down and get ammo.

Unredeemable Sin - How to Defeat the Icon of Sin
This is the final mission of the game. Moving around the city is quite easy. Questions should not arise. The main problem is a large number of battles, but by this point you should already be well trained. Eventually, you will encounter the Icon of Sin. To defeat him, in both cases, you need to destroy all parts of the armor. He has 8 pieces of armor in total. If you have destroyed the armor on the right hand, then shooting at it is simply useless. The monster will not take damage. Repeat the same steps in the second step.
Was the article helpful?
